This post may contain affiliate links. Please read our disclosure policy.
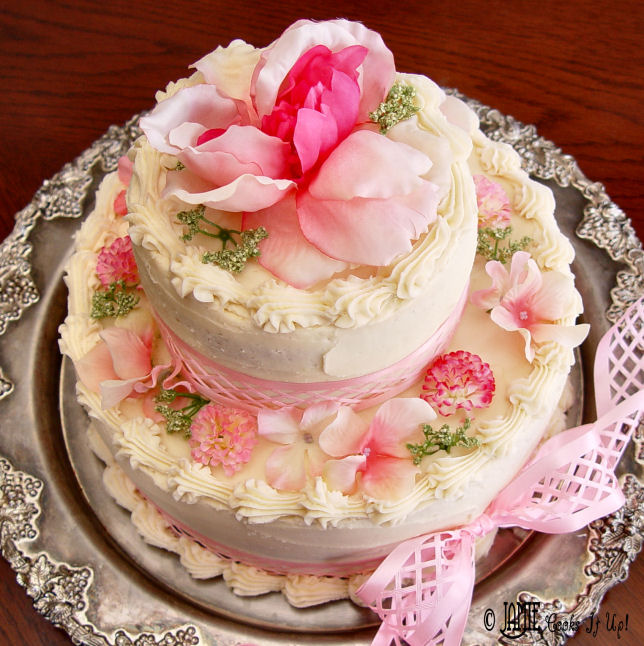
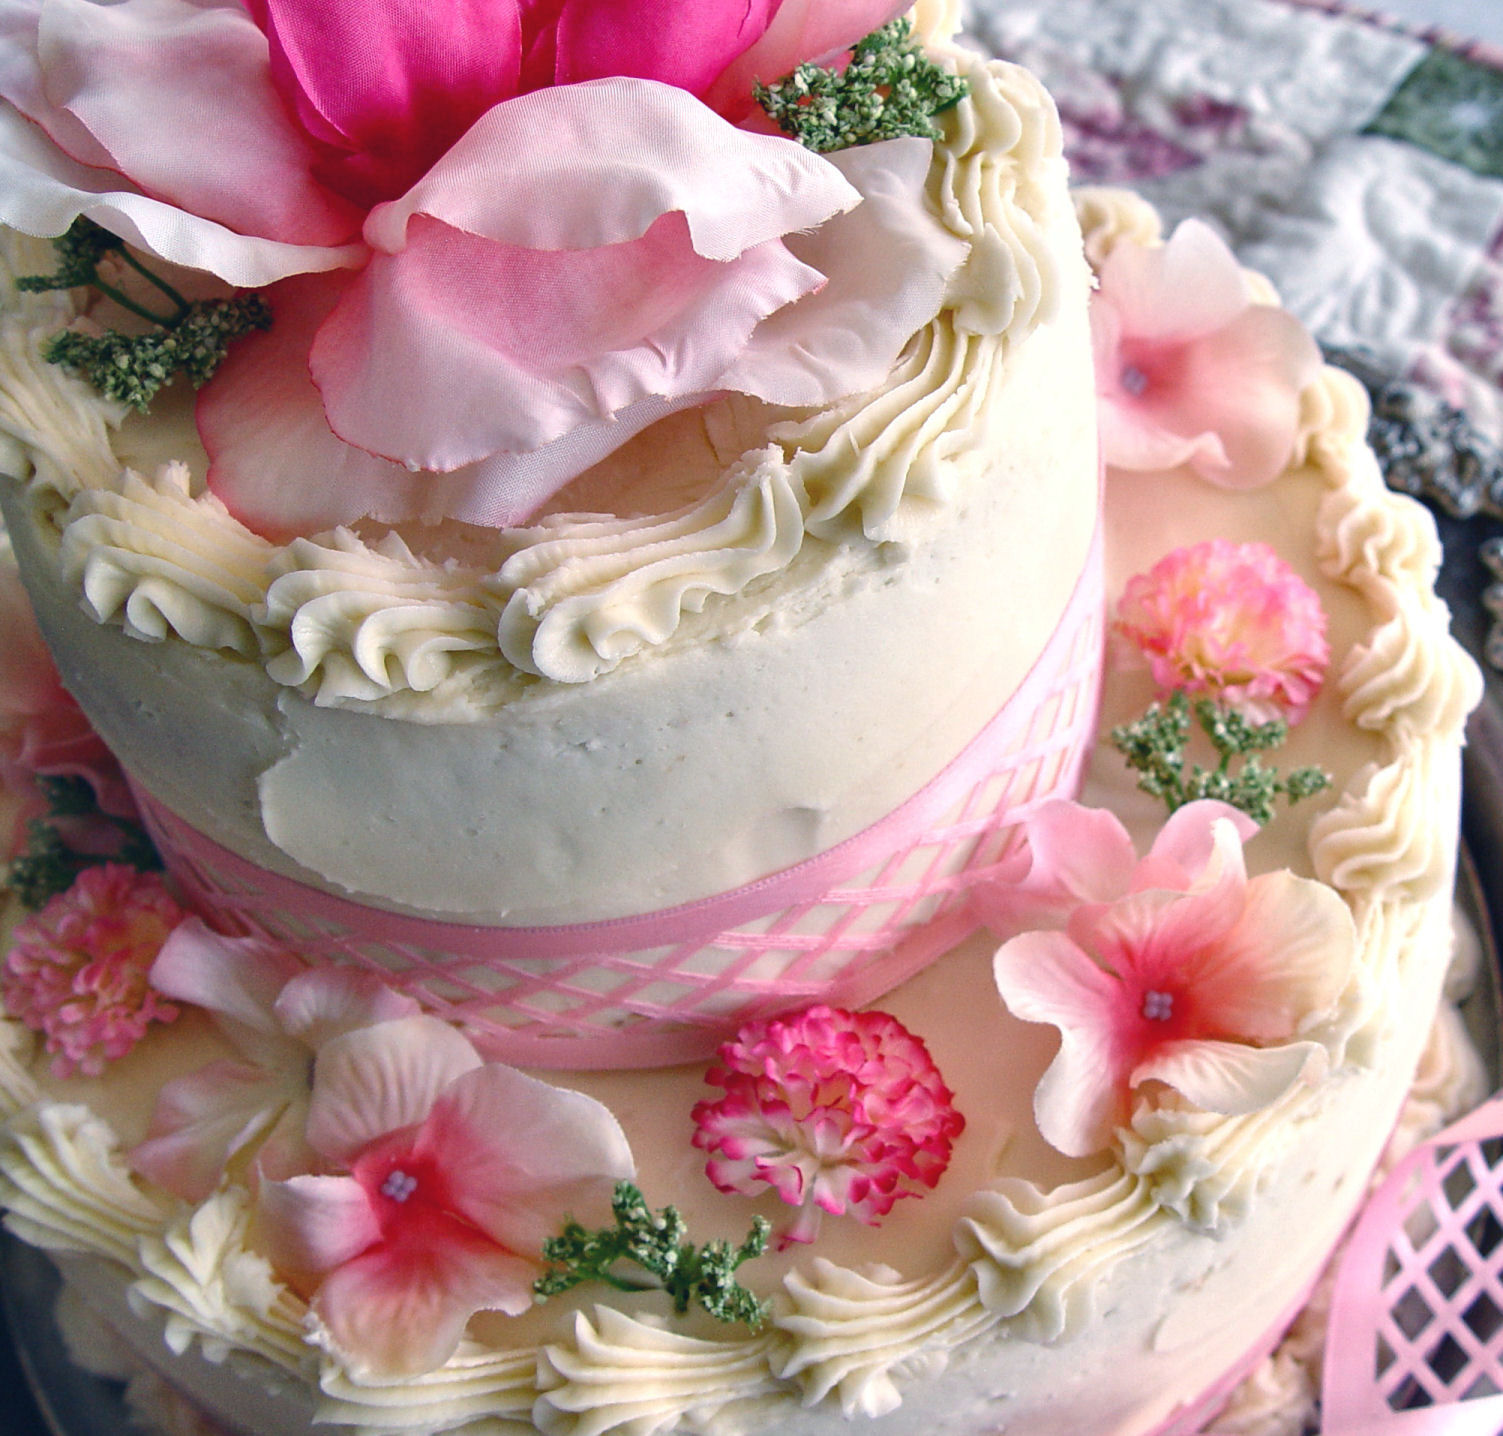
Here you have it! The cake I made for Emily’s birthday/baptism celebration. Does it look like the cake the dear girl picked from Flickr Photostream?
Well….not really.
But at least I didn’t accidentally turn it elephant gray.
I have learned a bit since that bad food coloring experience.
She loved the cake and we had a wonderful day on Saturday when she was baptised a member of our church.
Thanks to Betty Crocker for supplying me with the ingredients to make this cake. Keep on reading for the recipe and instructions!
Tiered Vanilla Cake with Raspberry Filling
Yield: 25-30 servings
Time: 1 1/2 hours baking/mixing time
Freeze it overnight
1 hour to decorate
Recipe from Jamie Cooks It Up!
Cake:
3 Golden Vanilla Cake Mixes by Betty Crocker + ingredients to make cake
3/4 C seedless Raspberry Jam
Butter Cream Frosting:
1 C Butter softened
1 C Butter flavored shortening
1 t vanilla
3-4 T milk
dash salt
4 C powdered sugar
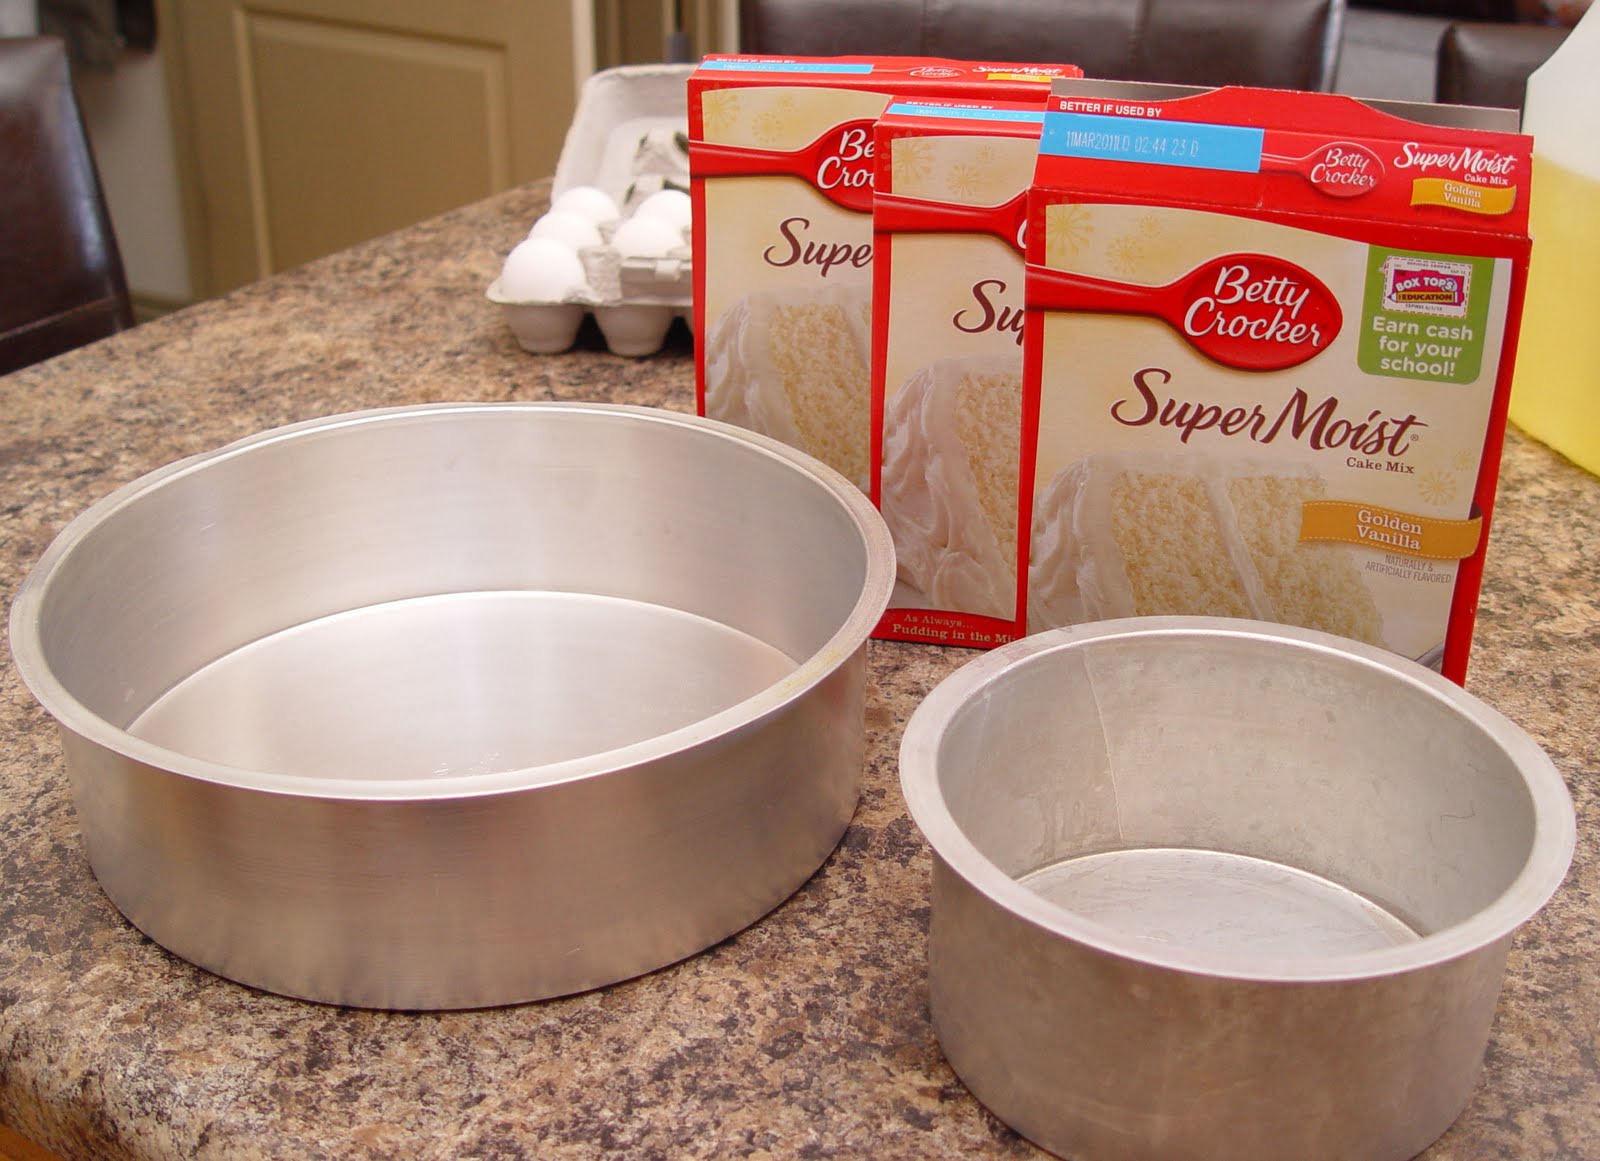
1. Make the cake mixes according to the instructions on the box. I mixed each one separately…I wasn’t sure how they would turn out if I did them all together. I borrowed these Wilton Cake pans from my sweet friend and neighbor Melanie. She always has great cake advise for me!
I used each pan twice. The larger pan will hold 1 cake mix, and the smaller will hold 1/2 of a cake mix. (You see the need for 3 cake mixes now don’t you.)
I used each pan twice. The larger pan will hold 1 cake mix, and the smaller will hold 1/2 of a cake mix. (You see the need for 3 cake mixes now don’t you.)
Bake at 350 degrees…you will have to watch to be sure they don’t burn. The smaller pan obviously cooks for a shorter time.

2. When the cake is still warm from the oven carefully cut the rounded top off so that the cake will be flat and even. Put the cake on a cookie sheet and place it in the freezer. Yes….put it in while it is still warm. Don’t cover it at all. Leave the cake in the freezer until it is cooled.

3. Take the layers out of the freezer wrap them in tin foil and put them back in the freezer. Leave them overnight. This is going to make your frosting experience a lot easier.
4. Make your frosting by beating the butter and shortening together until smooth. Add the powdered sugar a little at a time, alternately with the milk. Add the vanilla and beat until it’s all nice and smooth. If it’s too thick add just a bit of milk, if it’s too runny add a bit more powdered sugar.
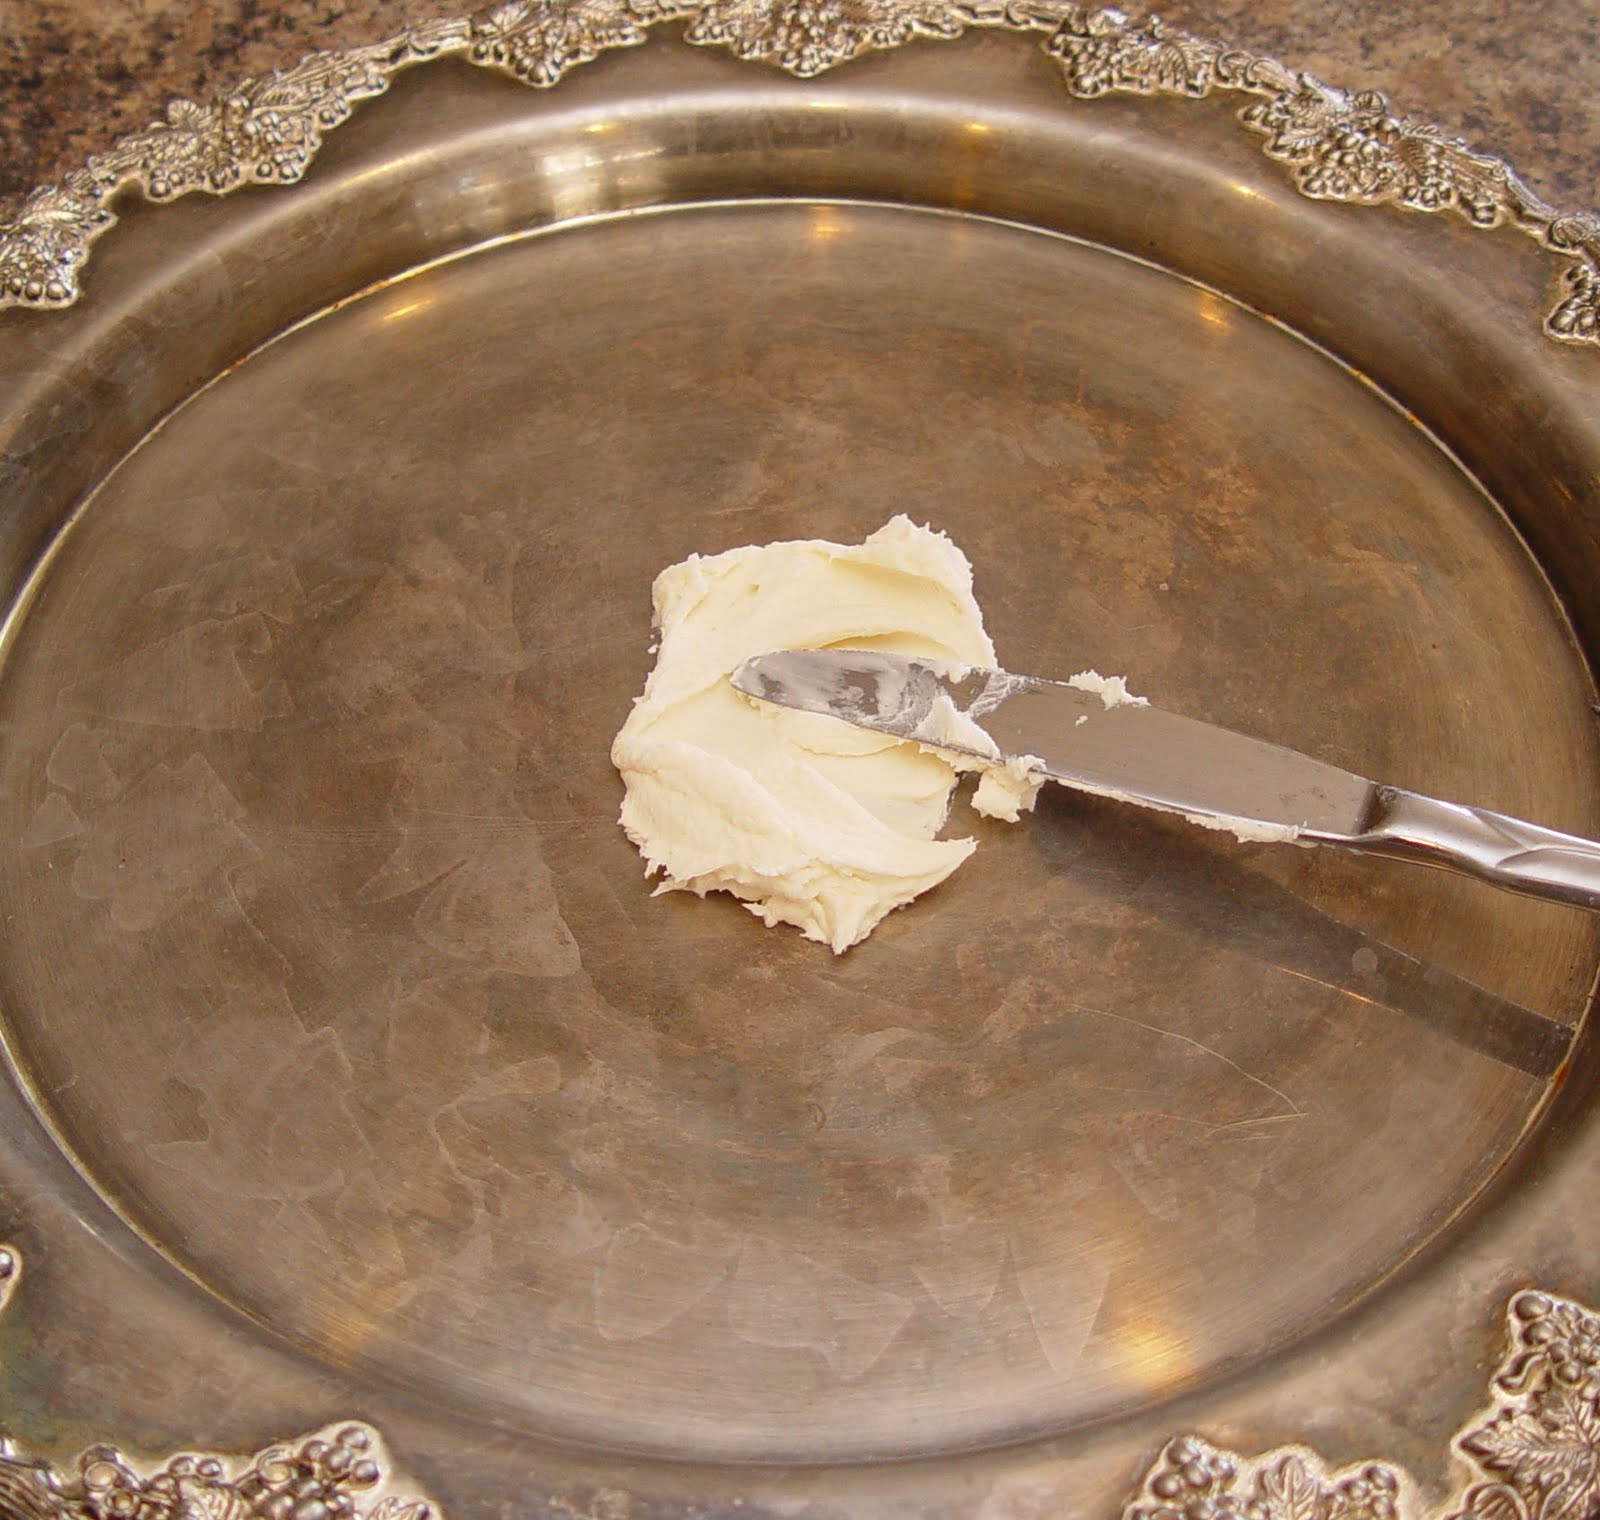
5. Put a bit of the frosting in the middle of your serving tray and place the first layer of cake on top of it.

6. Pipe a ring of frosting around the top edge of the cake and then spoon the raspberry filling over top. Place the other large layer on top. Add the small bottom cake layer on top of the large layer, pipe frosting around the top edge, spoon the filling on and place the second small layer on top.
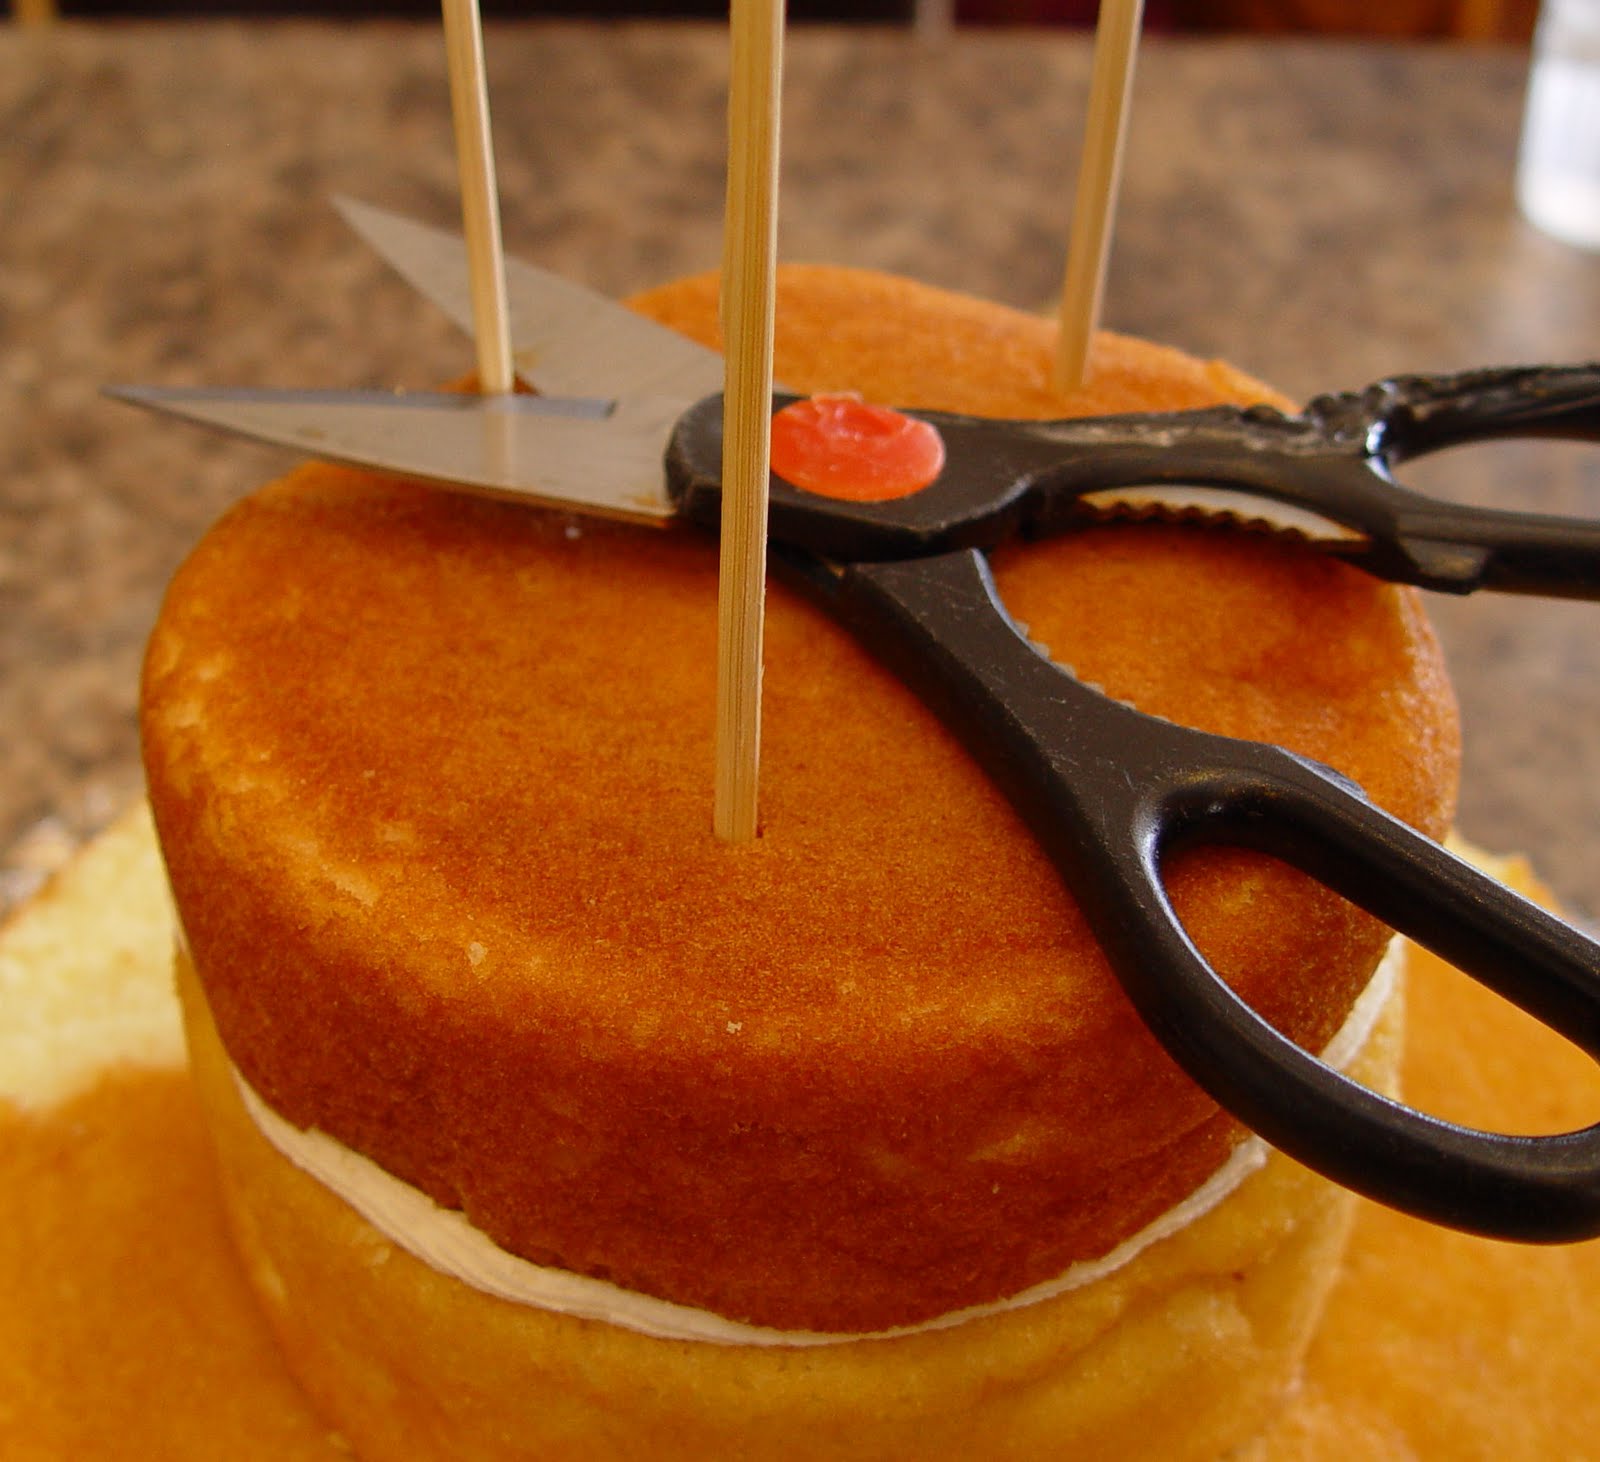
7. To be sure the cake doesn’t slip slide away stick some straws or shish kabob skewers through the top layers all the way down to the serving plate. Cut the tips off with some scissors.
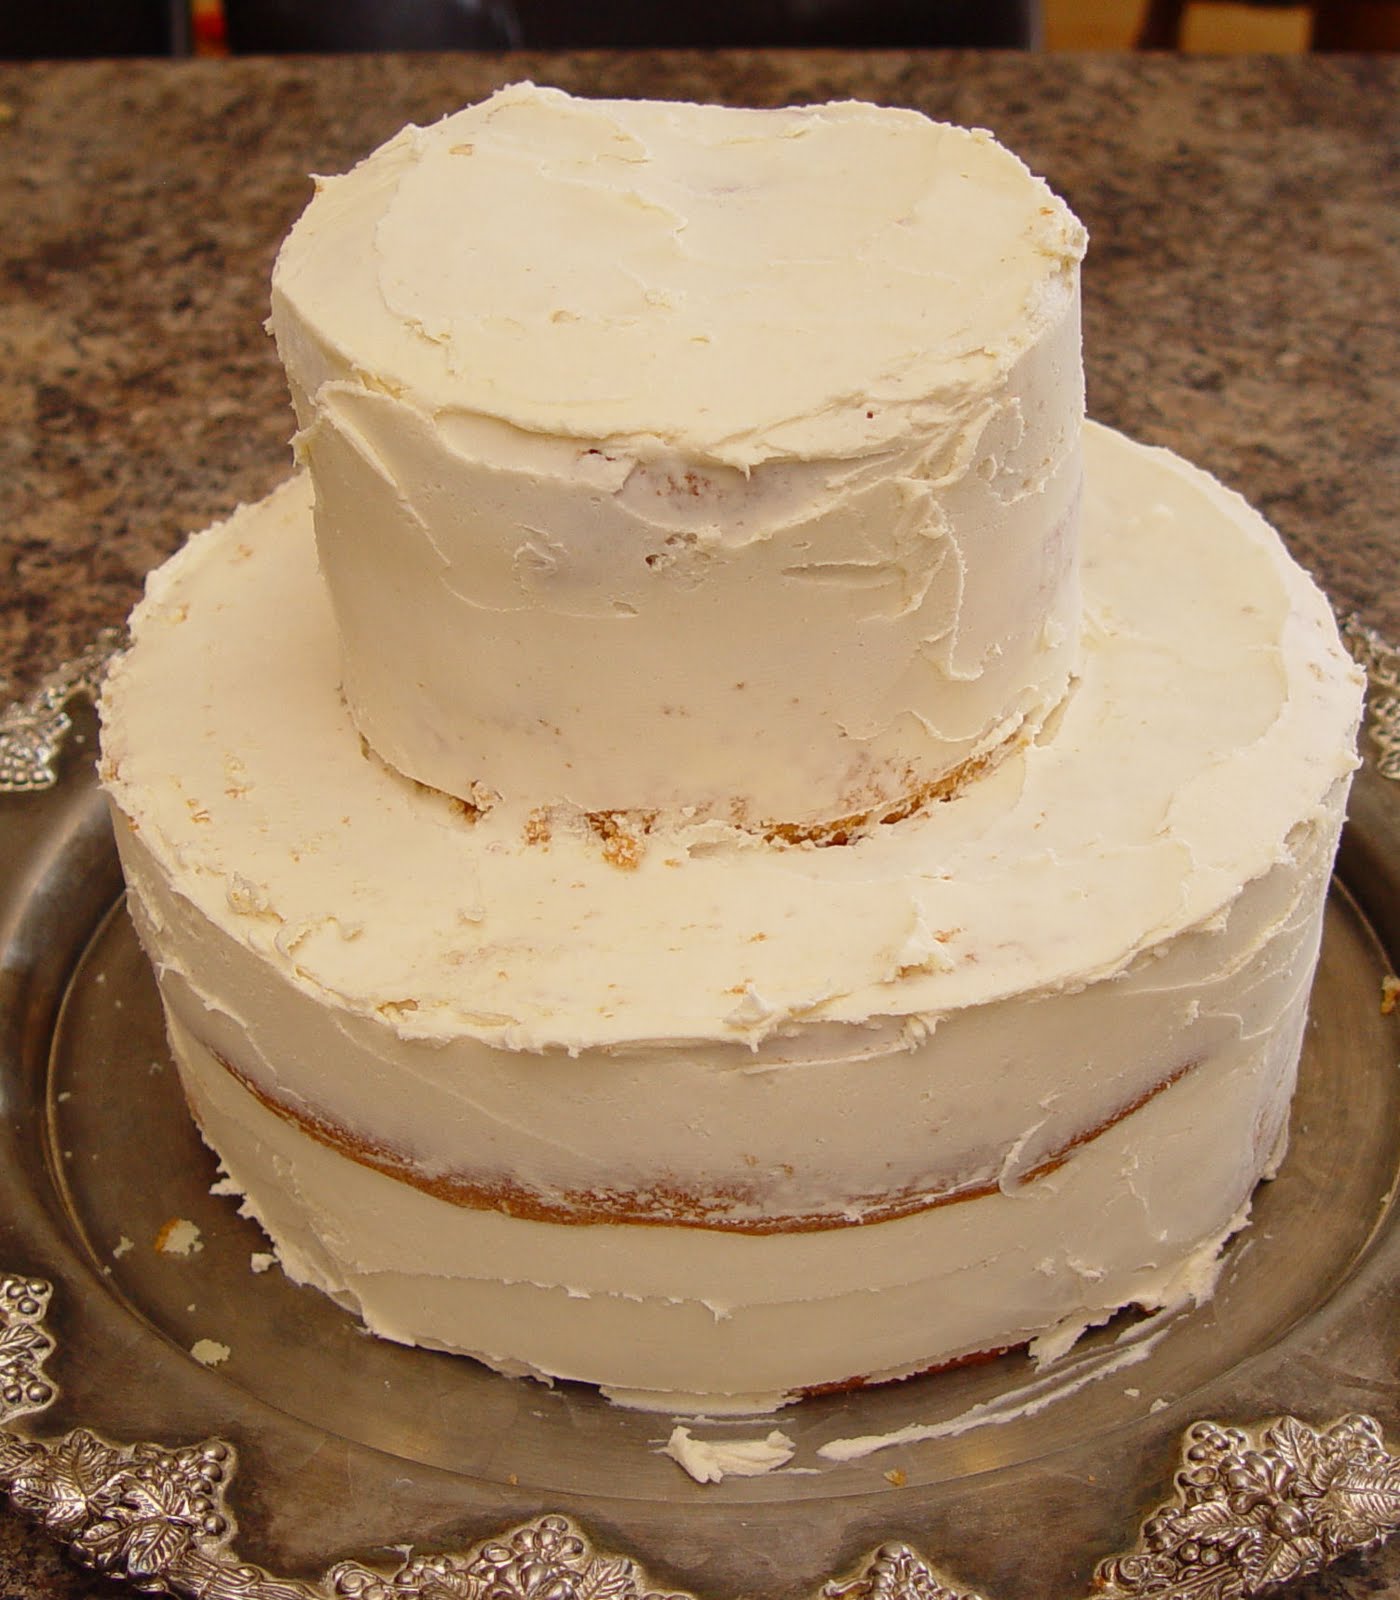
8. Frost the cake with a thin layer of frosting. Doesn’t look too pretty here does it. No problem! This frosting layer is called the “crumb layer”. You are just getting started here. It’s ok if it looks messy. After your crumb layer is done, put the whole thing back in the fridge for about 15 minutes.
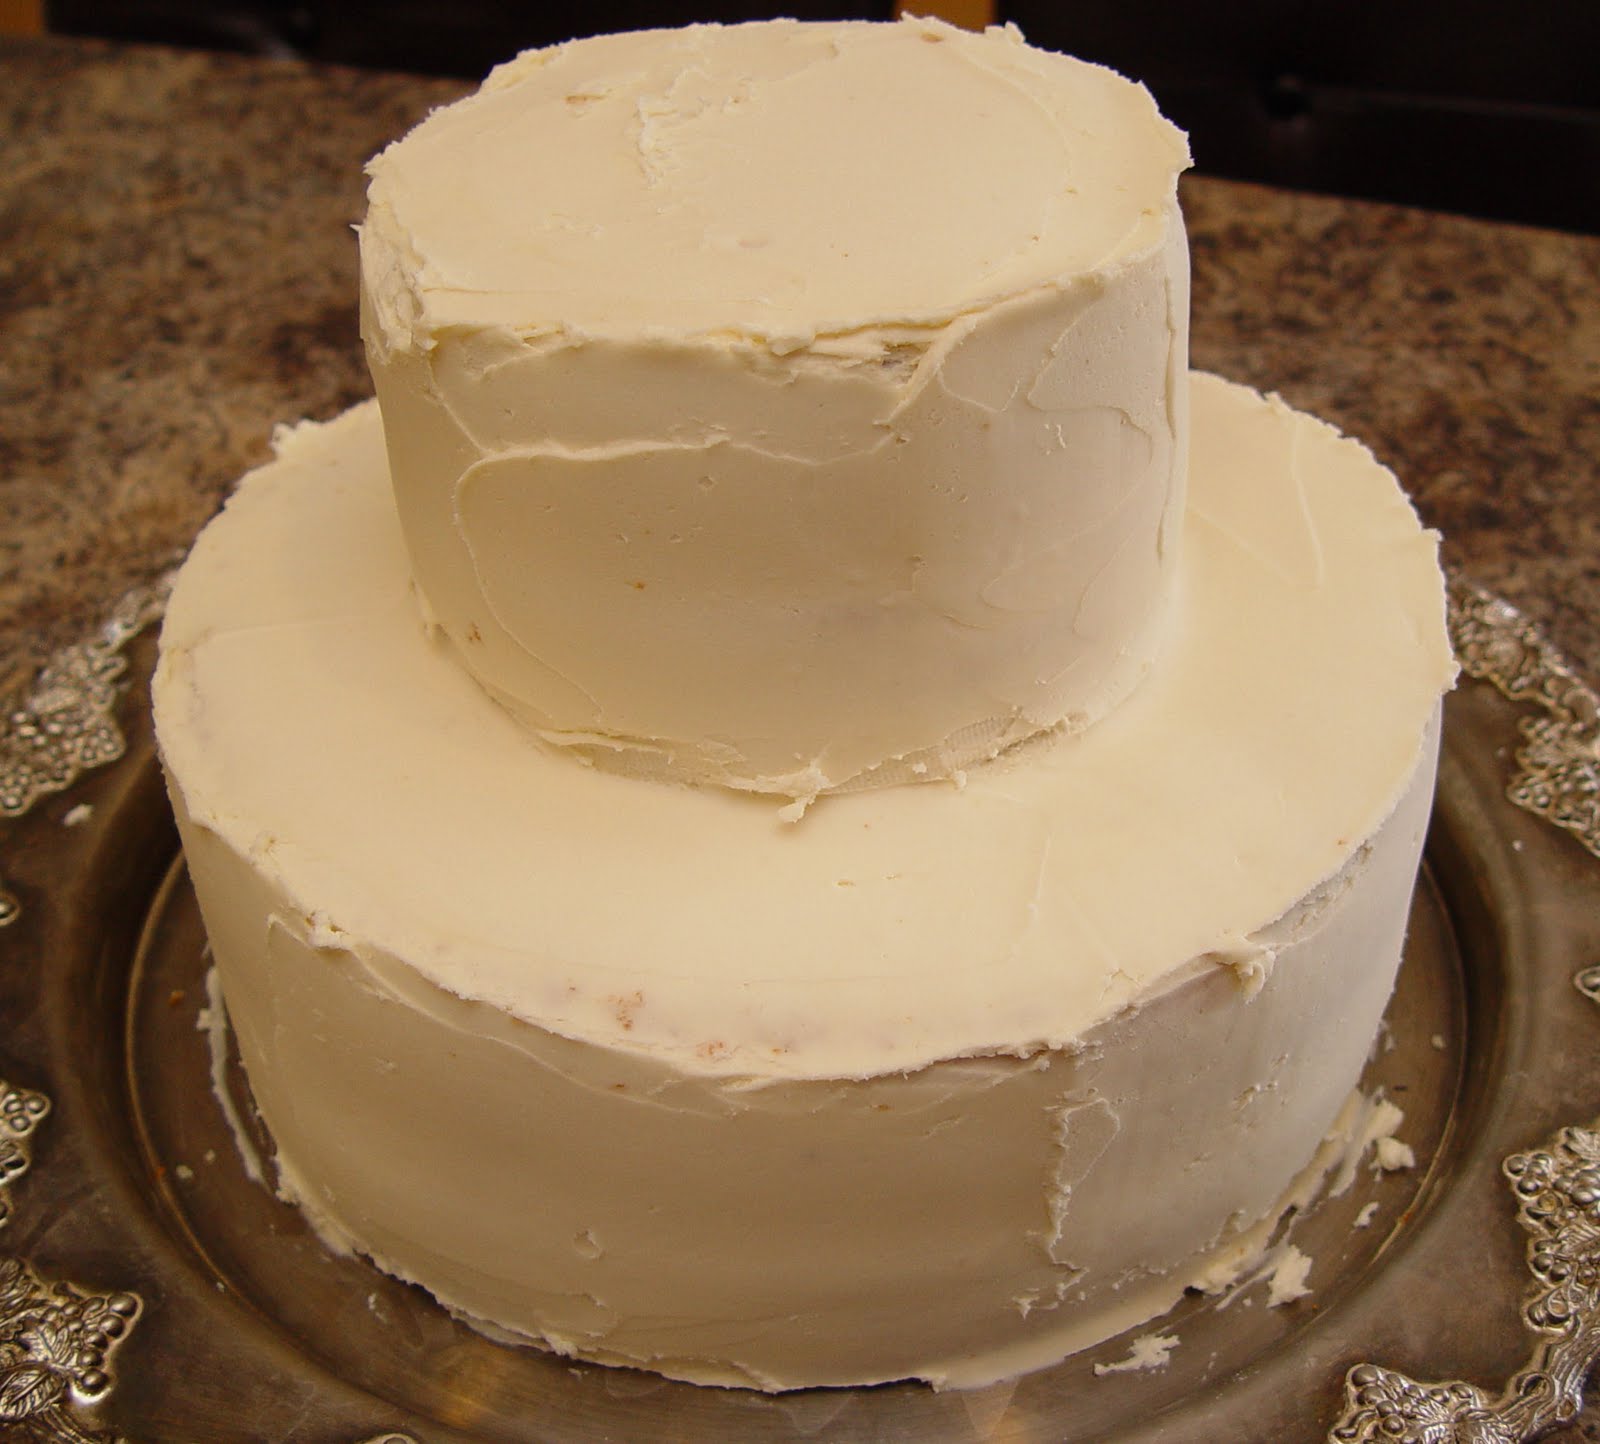
9. Take it out of the fridge and add another layer of frosting. This time you shouldn’t have any crumbs coming though. Try and get it as even as possible. (Perfectly even is not one of my possibilities….I just shoot for pretty good!)

10. I got this bunch of flowers at Walmart for $4. That is a good deal! I pulled them off of this garland and used them for the cake. I put some pretty ribbon around the bottom of each cake layer, piped some frosting around the edges and added the flowers. See! You don’t have to make your frosting perfectly even….just put some pretty flowers on it, and no one will be able to tell. Happy Baking!


Wow, you did a beautiful job!
That is an amazingly beautiful cake that also sounds fabulous to eat. Something I won't ever be tackling. We had a baptism on Saturday too. Thank goodness my boys are content with simpler things like cupcakes and cookies. They don't have much of a choice, though.
This cake is……simply gorgeous! What a lucky young lady to have such a special Birthday Cake! Thank you for sharing it with us.
ps….your cute sister-in-law, Erin, told me about your blog. She's my next door neighbor!
You are amazing! You made it look so easy-now if I only had an occasion to make such a beautiful cake! 🙂 We are trying the Beach Street Lemon Chicken with some dipped Oreos tonight. Can't wait!
PS-you did FANTASTIC today!! 🙂
Sooooo pretty! Fun ideas for frosting too. Love it!
My goodness Jamie! You are so talented! That is beautiful!
All I have to say is….. Wow!
Your cake looks great! An FYI, you can mix up multiple cake mixes at a time. My secret is to mix flavors, like 1 golden vanilla, 1 white, and 1 french vanilla. It gives the cake an even better flavor and many people can't guess that it is a box cake!
Your cake is amazing! So pretty! My daughter is being baptized in a couple of weeks, but I don't think I could make enough beautiful cakes for the crowd that is coming! How many cakes do you need for 75 people?!?
That is one pretty cake! A trick I learned in Wilton decorating classes: wait for the outer layer of frosting to harden up a little bit, then gently lay a piece of wax paper on the surface. Smooth it over with your hands, and then move the wax paper to another area until…. voila! a perfectly iced smooth cake! I love your idea with the flowers, have you tried the edible flowers they sell at Harris Teeter? I bet those would be fantastic!