This post may contain affiliate links. Please read our disclosure policy.

We are nearing the annual celebration day of
LUV.
Sweet Luv.
Beautiful Lu-hu-huv.
Mr. SpellCheck is having a hayday with that one!
It will be Valentines Day before you know it!
The good old day of Love just calls out Sugar Cookies, doesn’t it?
Maybe just to those of us with a serious baking addiction.
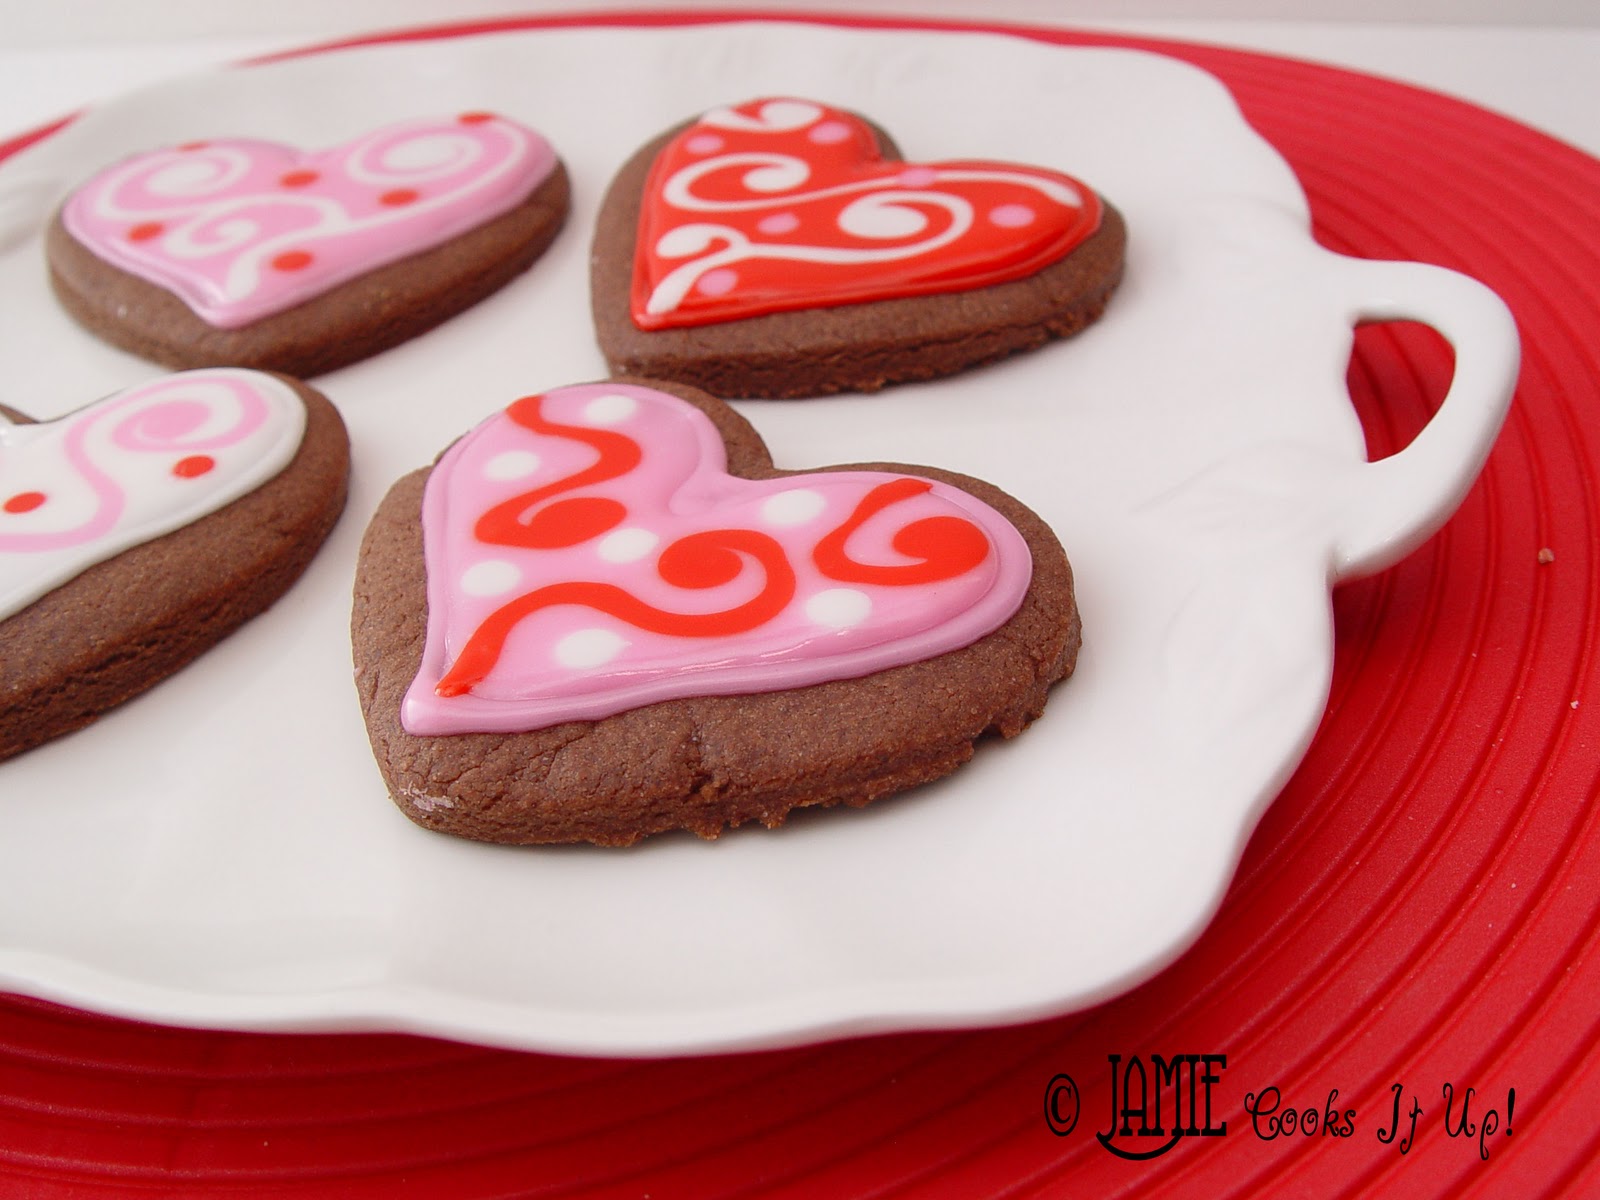
These Chocolate Cut Out Cookies are a fun way to switch up the traditional cut out Sugar Cookie.
They are soft, chocolaty and melt in your mouth delicious.
However….
If you would like to make some traditional
or
You just go right ahead and do it!
Click on the links above,
and there the recipes will be,
in all of their glory.
Both wonderful and amazing.
If you would like to spend less time in the kitchen,
but still want a
fabulous sugar-cookie-like-valentines-treat-experience
then check out these
They come together very quickly and are exceptionally tasty.
If you would like to make these
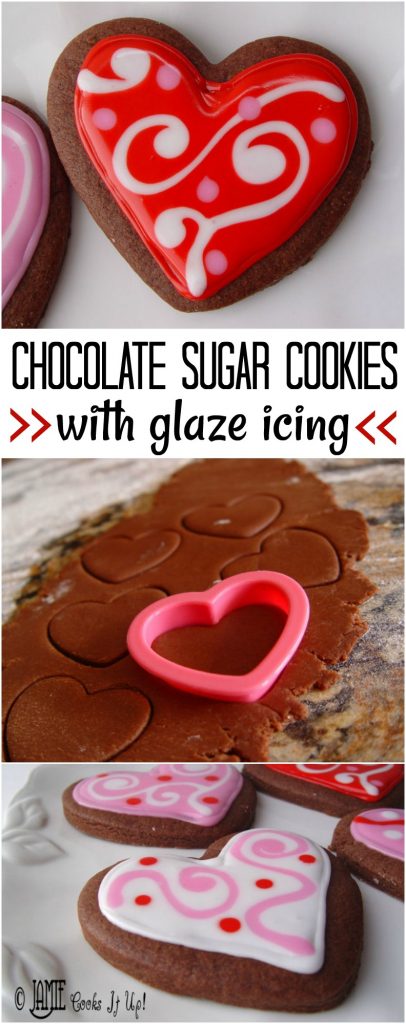
Chocolate Cut Out Cookies with the Glaze Icing
keep on a scrollin’ down!
They are sure to bring smiles all around…
If you would like that sort of thing.
I know I would.
Somebody sign me up for smiles all around!

Chocolate Cut Out Cookies
Time: 90 minutes + time to decorate
Yield: 36-48 cookies depending on the size you cut them
Recipe adapted from Glorious Treats
1
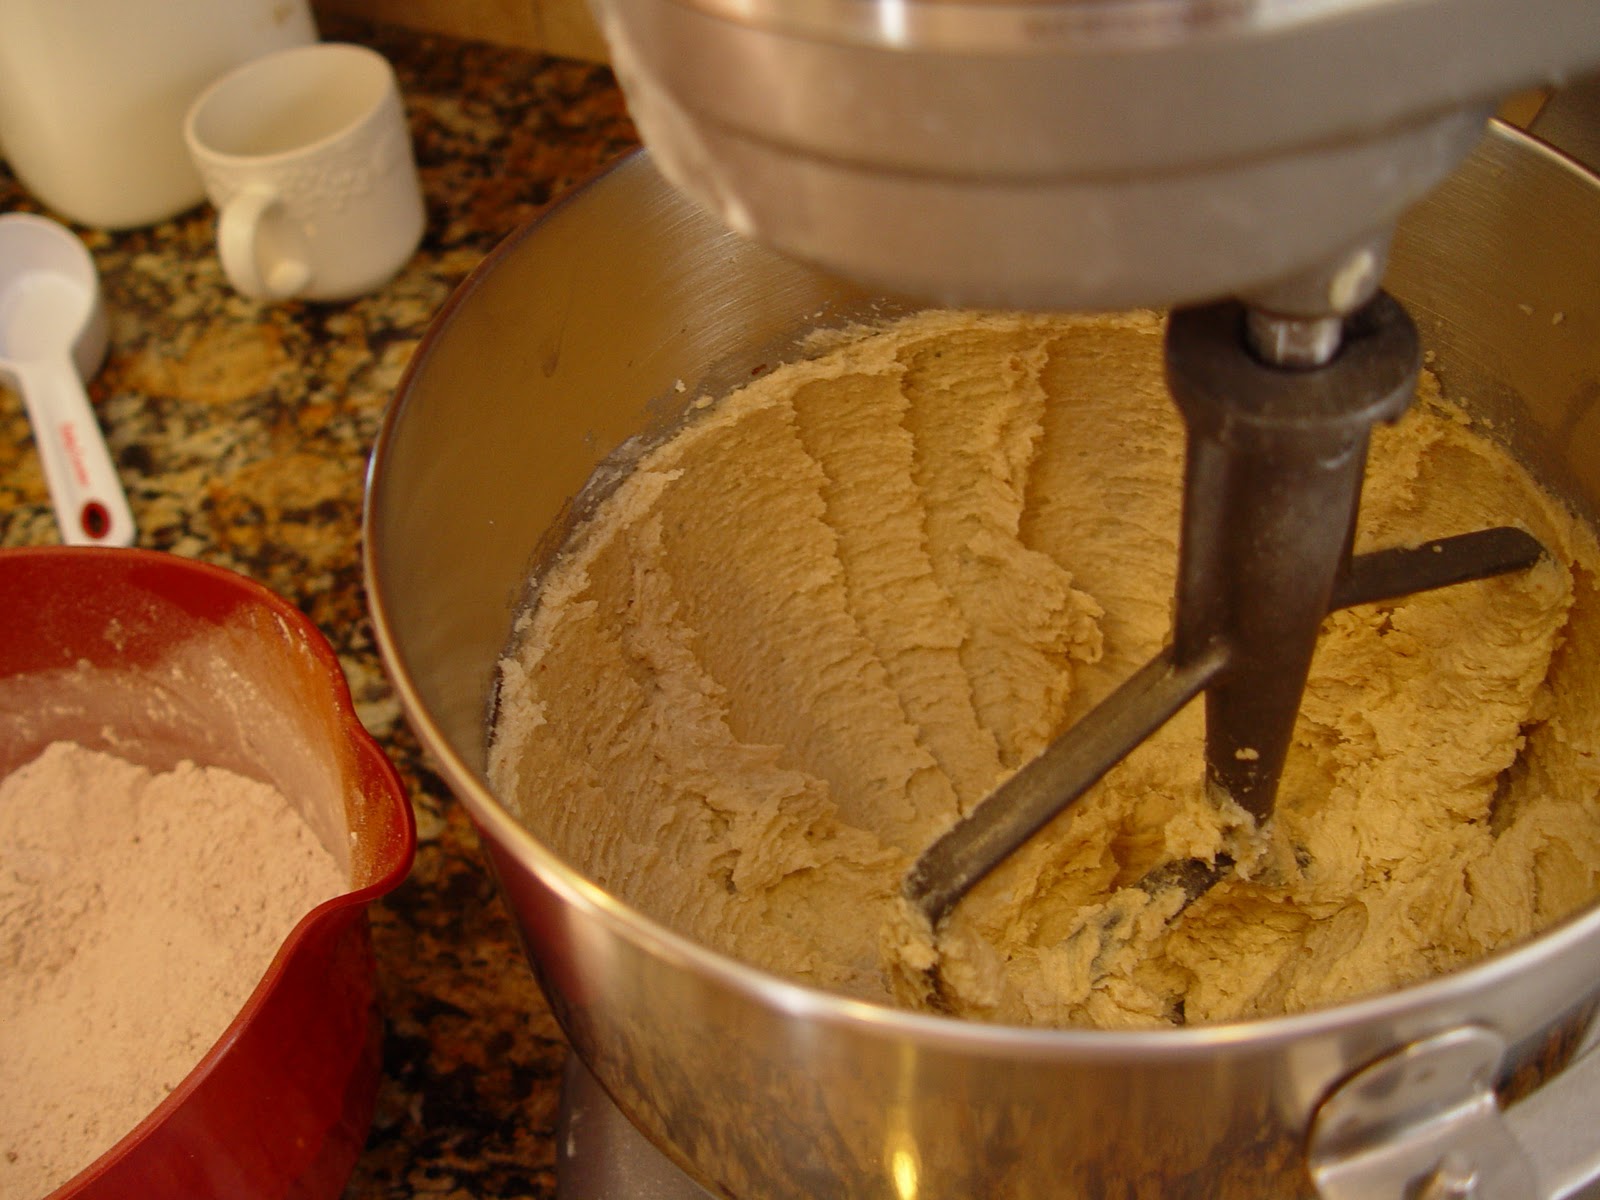
1. Cream together the butter, sugar and brown sugar until light and fluffy.
2. Add the egg, water, almond extract and vanilla. Mix for about 1 minute, or until well combined.
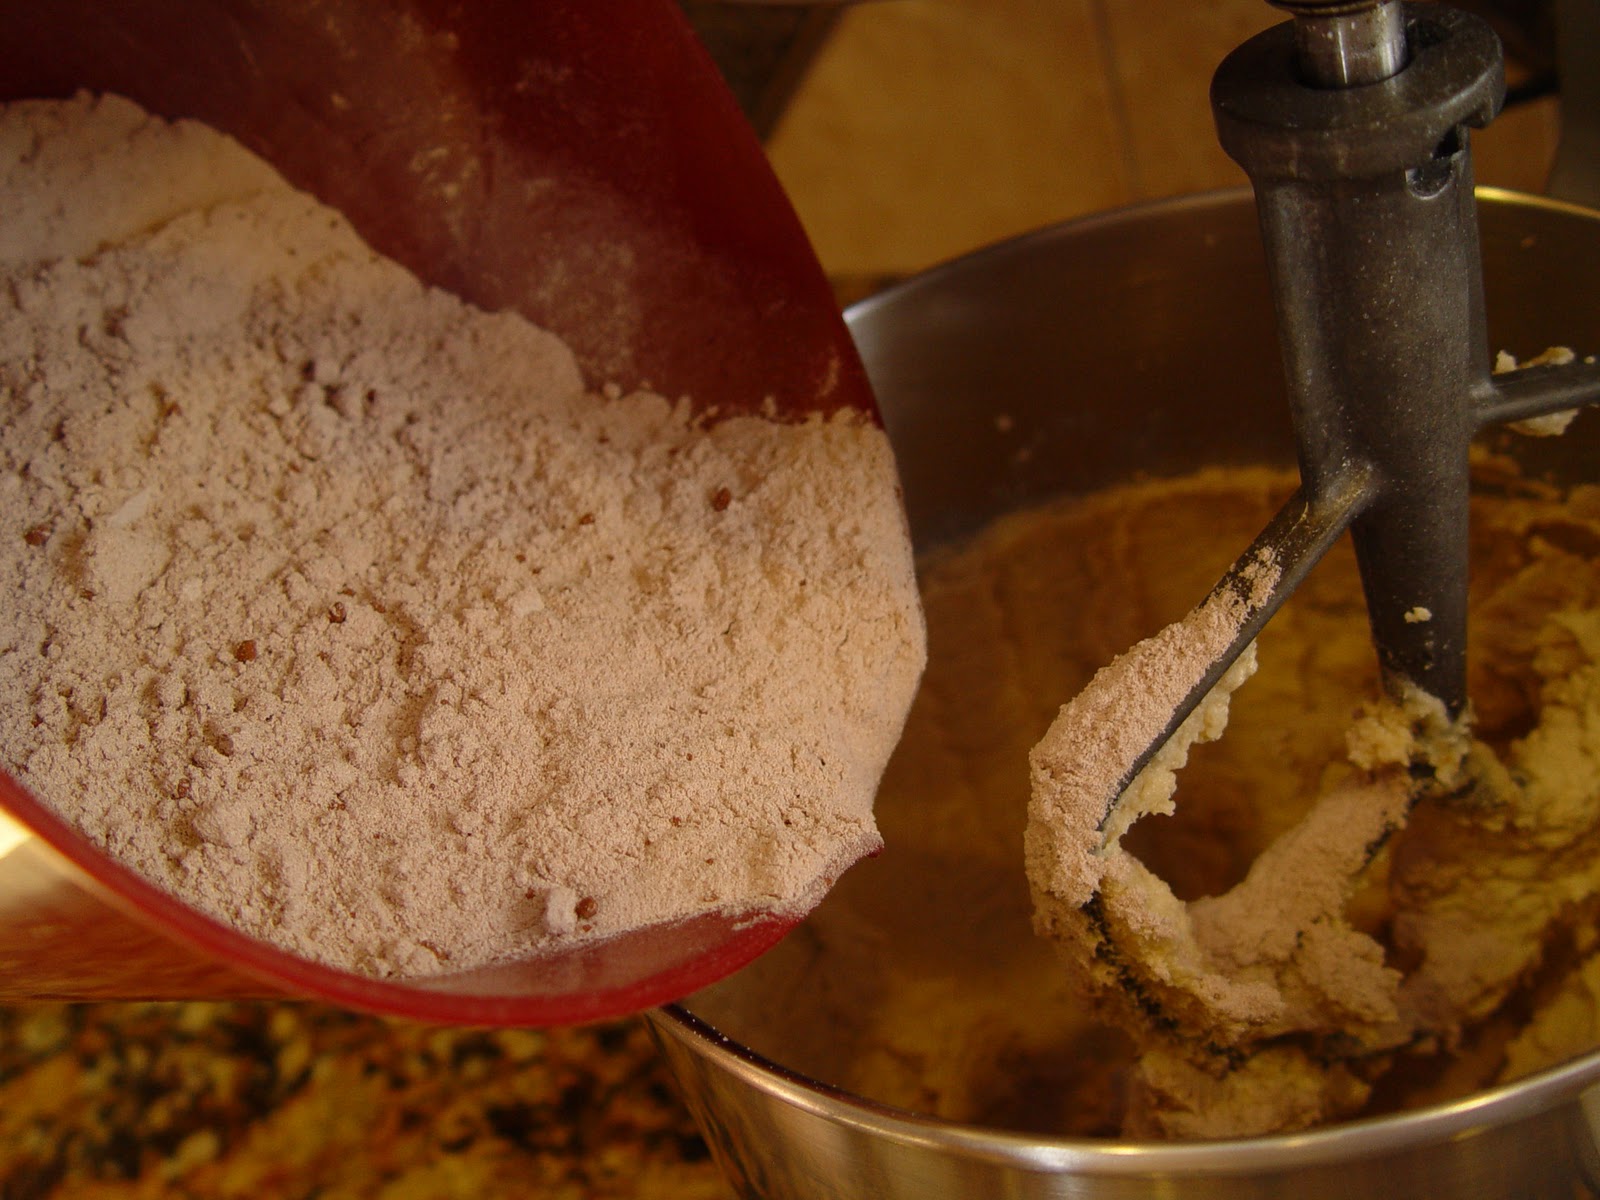
3. In a separate bowl combine the cocoa powder, flour, baking soda and salt. Mix it together with a wooden spoon, or whisk to be sure all the dry ingredients are combined. You don’t want any clumps of salt hanging out there solo, waiting to ruin someones bite of cookie.
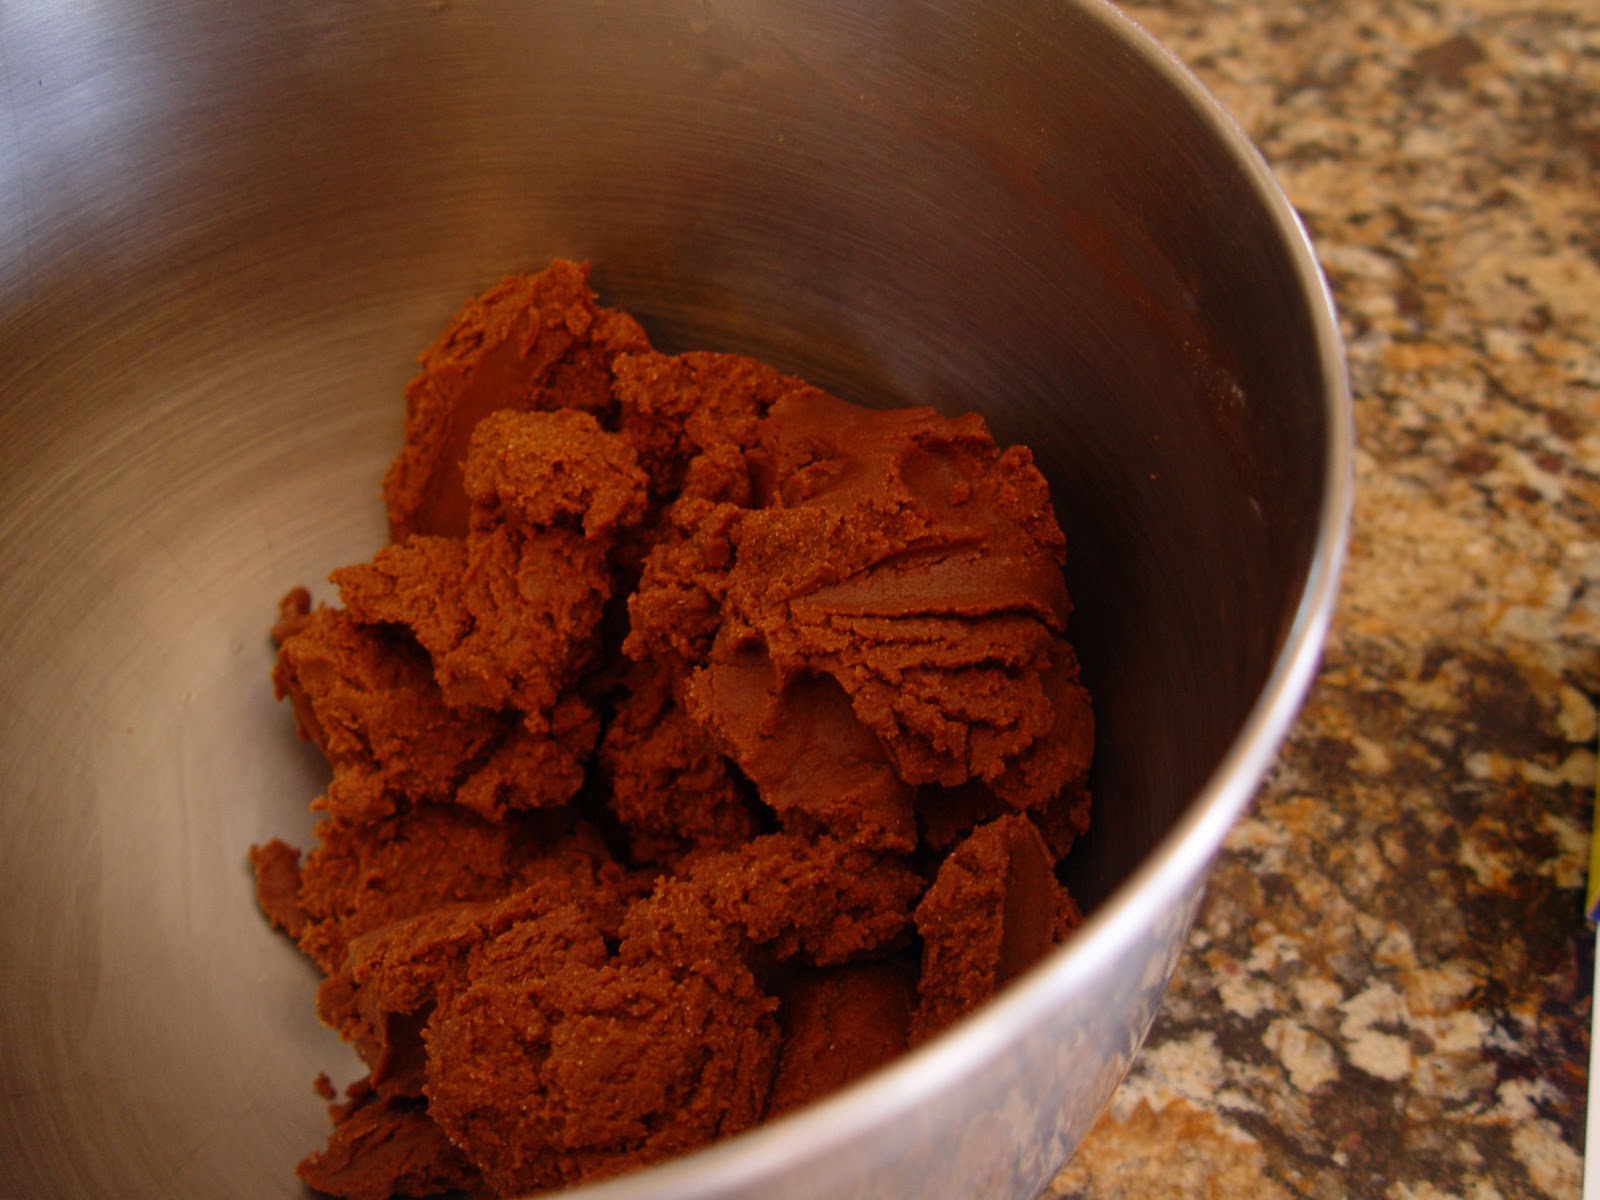
4. Add the dry ingredients to the creamed mixture. Beat until all ingredients are mixed well.
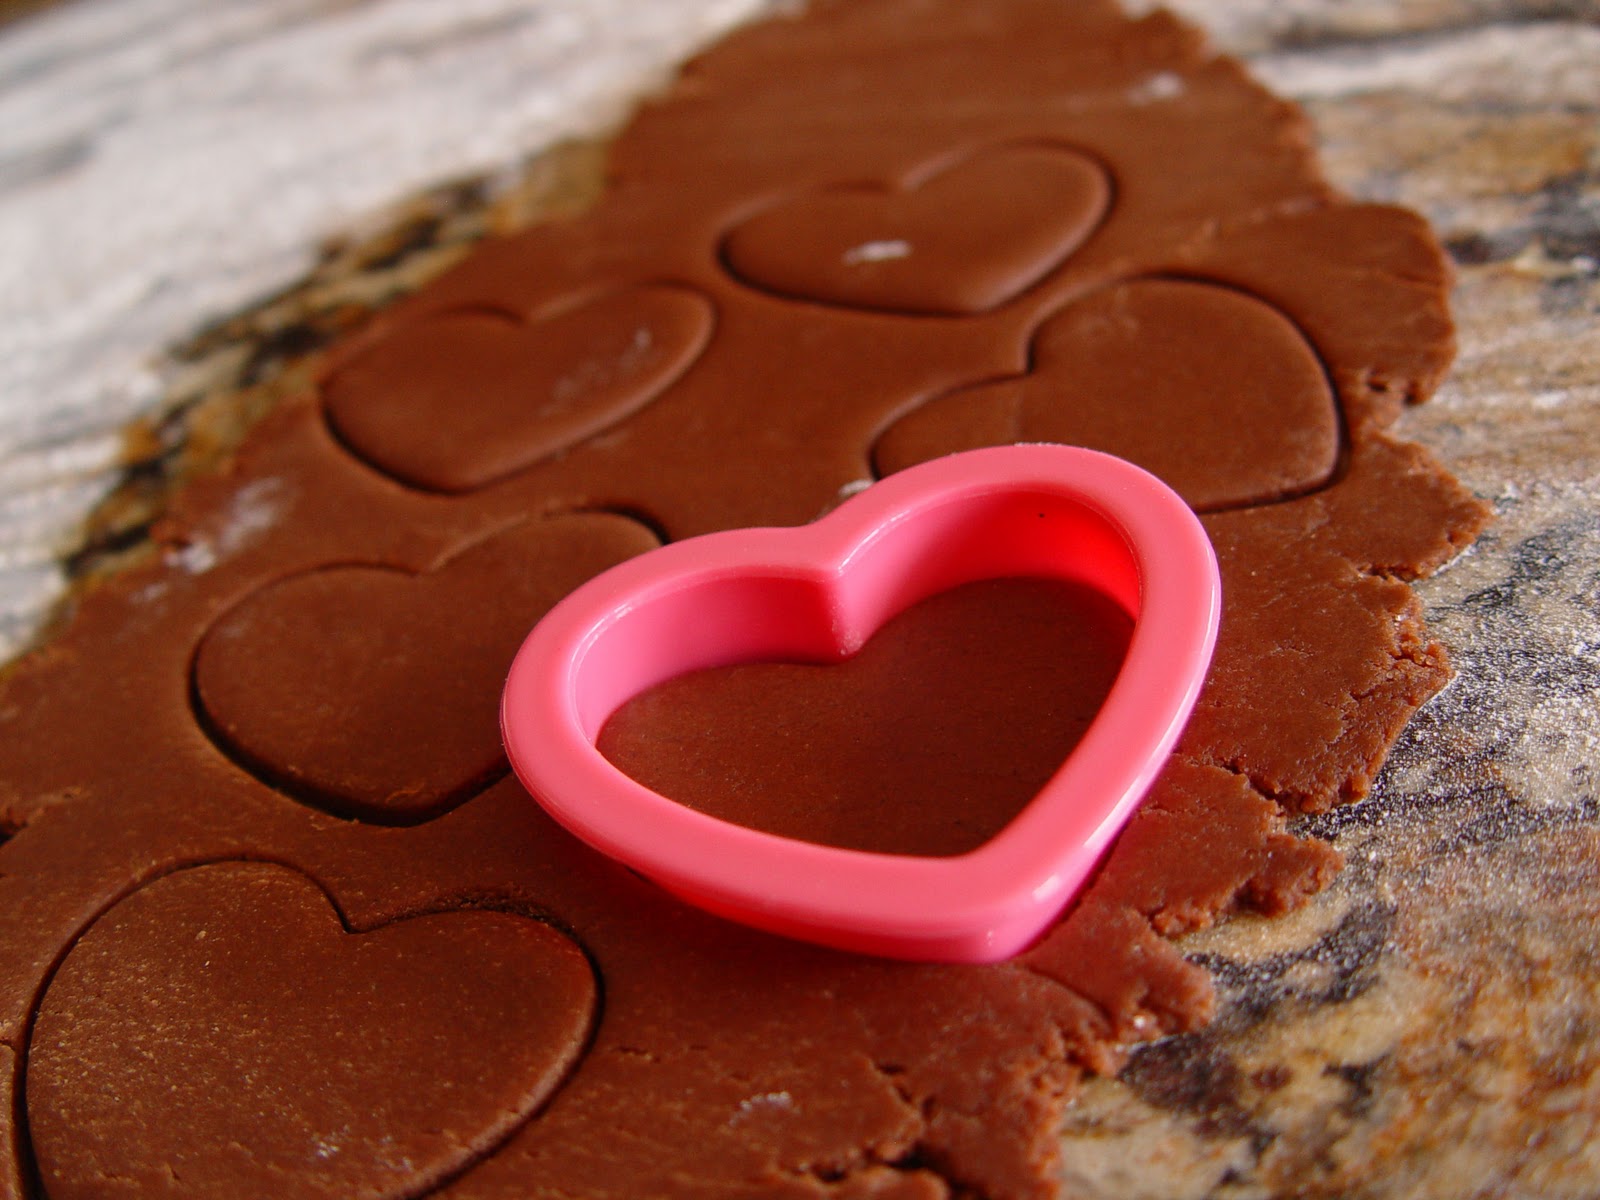
5. Roll the dough out onto a lightly floured surface. Cut it into desired shapes.
6. Bake at 350 degrees for 7-10 minutes. Do not over bake here folks. These cookies are so good when they are soft….not nearly as heavenly when they crunch like a cracker. It’s a little bit difficult to tell when they are done, due to their dark color. I like to take them out of the oven when they are still soft in the middle. Then continue to let them cook on the cookie sheet for a couple of minutes. Then cool completely on a wire rack.
***Note: Some of you may remember me posting this same Glaze Icing back in December. In that post I advised readers to make each icing color twice, one as thin as syrup and the other thicker like toothpaste. After decorating a whole grundle of cookies using this technique I decided it was really time consuming, and I might be able to get a similar result with only one consistency per color.
(Is this making any sense?)
For these cookies I made the icing the consistency of a thick syrup. It did indeed speed things up! That’s something I love. However it does limit the decorative possibilities. Really precise, thin, delicate lines are not really an option using this consistency. But if you don’t mind thicker lines for a quicker time in the kitchen…then one consistency might be right up your alley.***
These measurements are approximate.
1. Put all ingredients, but the food coloring, into a medium sized bowl. Whisk it around to combine. You want to work for the consistency of a thick syrup. Add more powdered sugar to thicken, and more milk to thin.
2. Add the food coloring, whisk it and be sure it is all combined.
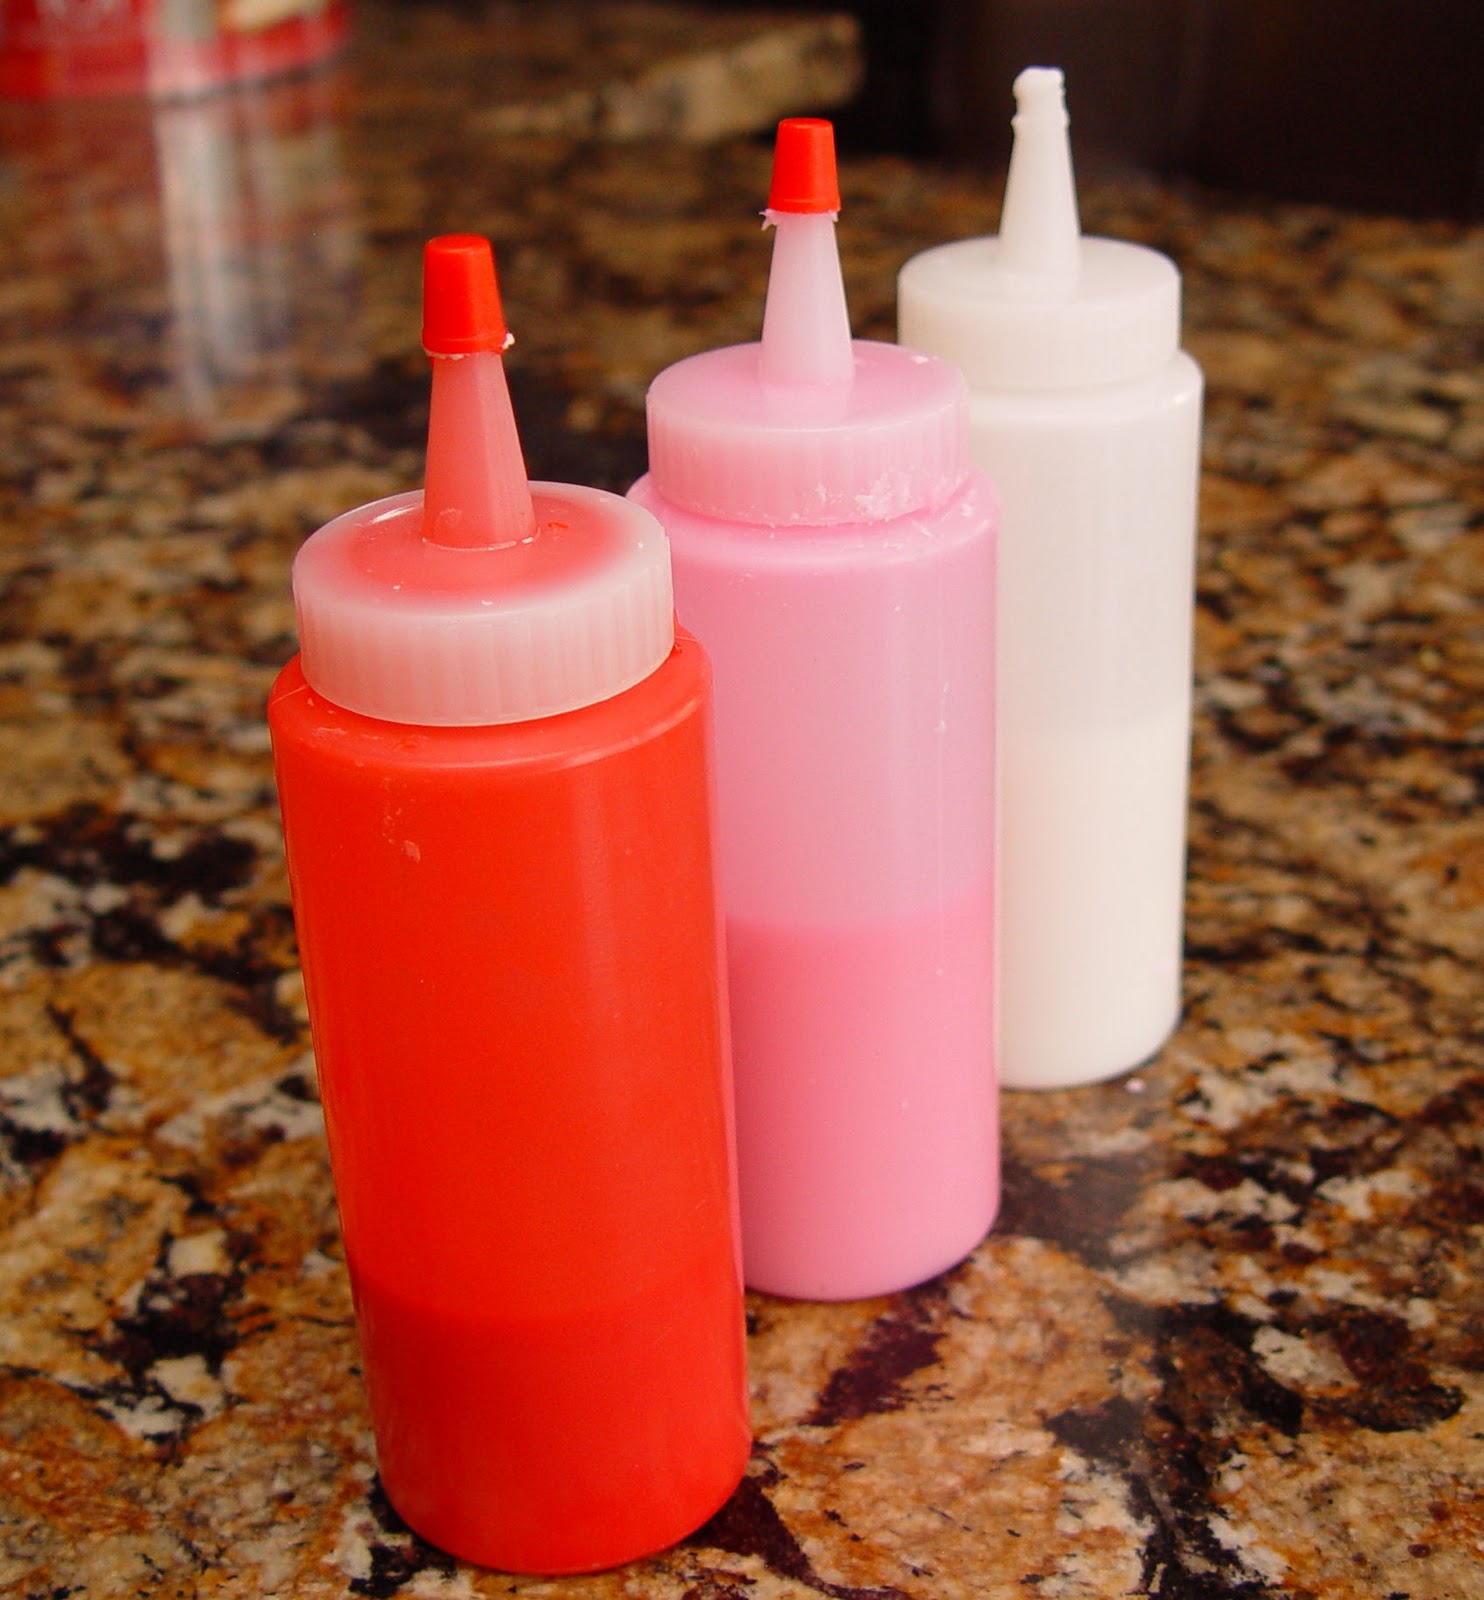
3. Pour the icing into a condiment bottle. Be sure to put the cap on! It can dry out rather quickly.
4. Make additional colors as desired.
5. To decorate with the icing, pipe a border around the edge of you cookie. Let this border sit for about 5 minutes. Once it has dried then fill in the cookie with icing. To make fun patterns and designs you can pipe a different color onto the cookie while it is still wet, or pipe another color on, after it has dried. Just depends what kind of look you like. All of the cookies you see here used the wet on wet technique.
6. Once the cookies are dry you may stack them without ruining your beautiful decorating. However, I would advise you to let them dry overnight.
Enjoy! Have fun!


Ingredients
- CHOCOLATE SUGAR COOKIES:
- 1 C butter, softened
- 2/3 C sugar
- 1/2 C brown sugar
- 1 egg
- 2 T water
- 1 t almond extract
- 1 t vanilla
- 1/2 C cocoa powder (Girardelli or Hershey's, use good quality cocoa)
- 3 C flour
- 1/2 t baking soda
- 1/2 t salt
- GLAZE ICING:
- 1 C powdered sugar
- 1 T corn syrup
- 1 t milk
- 1/4 t almond extract
- Americolor Food Coloring (available at Hobby Lobby)
- condiment bottles (got mine in the cake decorating section at Wal Mart)
Instructions
CHOCOLATE SUGAR COOKIES:
1. Cream together the butter, sugar and brown sugar until light and fluffy.
1. Cream together the butter, sugar and brown sugar until light and fluffy.
2. Add the egg, water, almond extract and vanilla. Mix for about 1 minute, or until well combined.
3. In a separate bowl combine the cocoa powder, flour, baking soda and salt. Mix it together with a wooden spoon, or whisk to be sure all the dry ingredients are combined. You don't want any clumps of salt hanging out there solo, waiting to ruin someone's bite of cookie.
4. Add the dry ingredients to the creamed mixture. Beat until all ingredients are mixed well.
5. Roll the dough out onto a lightly floured surface. Cut it into desired shapes.
6. Bake at 350 degrees for 7-10 minutes. Do not over bake here folks. These cookies are so good when they are soft....not nearly as heavenly when they crunch like a cracker. It's a little bit difficult to tell when they are done, due to their dark color. I like to take them out of the oven when they are still soft in the middle. Then continue to let them cook on the cookie sheet for a couple of minutes. Then cool completely on a wire rack.
GLAZE ICING:
1. Put all ingredients, but the food coloring, into a medium sized bowl. Whisk it around to combine. You want to work for the consistency of a thick syrup. Add more powdered sugar to thicken, and more milk to thin.
2. Add the food coloring, whisk it and be sure it is all combined.
3. Pour the icing into a condiment bottle. Be sure to put the cap on! It can dry out rather quickly.
4. Make additional colors as desired.
5. To decorate with the icing, pipe a border around the edge of you cookie. Let this border sit for about 5 minutes. Once it has dried then fill in the cookie with icing. To make fun patterns and designs you can pipe a different color onto the cookie while it is still wet, or pipe another color on, after it has dried. Just depends what kind of look you like. All of the cookies you see here used the wet on wet technique.
6. Once the cookies are dry you may stack them without ruining your beautiful decorating. However, I would advise you to let them dry overnight.
Enjoy! Have fun!

Could I still use royal icing. Could add almond. Sending in mail for grandchildren to decorate