This post may contain affiliate links. Please read our disclosure policy.
Do you sometimes feel as though your life is just one stack of dirty dishes after another. I know some of you love to cook while others of you just HAVE to cook because you are the mother or father of small people who happen to get hungry daily. Like, three times a daily. 🙂 Weather you love to cook, or you cook because you love your family, you no doubt share my stack-of-dirty-dishes-blues, don’t you? There they are, day after day…A person in this circumstance could never get lonely! There are always dirty dishes to keep he or she company, am I right! Good glory, they never end.
Last week one of my dear children (who will remain nameless) was assigned to do the dinner dishes four nights in a row. This was her sad assignment because she had repeatedly washed the dishes only party clean and then put greasy, grimy dishes away in my cupboard.
Sigh.
Double Sigh.
MyClever(and Handsome)Husband wisely told her “It appears you need a lot of practice doing the dishes, you will do them the next four nights so you can get it right.”
Sigh.
Double Sigh.
The first and second night of her dish doing assignment went well. The dishes sparkled like jewels and went neatly stacked into my cupboard, all in about 30 minutes per night. Isn’t that amazing! The girl became a dish washing diva, overnight. However, she did mention no less than 50 times that her feet had never hurt as severely and would probably fall off sometime in the night while she was sleeping. I asked her if she had ever noticed my feet falling off after I did the dishes for a solid 30 minutes. She confessed she hadn’t. 🙂
As the third night of her dish doing sentence approached she came home from school and said…
“Hey, Mom. Could we eat on paper plates tonight?”
“I feel your pain, man…but I am fresh out of paper plates.” Is what I told her.
“Oh, well how about if we just set the table with our regular plates and then put some plastic wrap on top of them. Then I won’t have to wash them.”
HAHAHHAHAHAHAHAHAHAHAHAHHAHAHAHAHAHAHA!!!!!! Why haven’t I ever thought of that!!!!! Is what I said to myself in my heart. But what I said outloud was…
“No luck, sugar. You just have to plow through a couple more nights of dirty dishes and then job will be mine once again.”
Which she wasn’t thrilled about, but she persevered none the less…she is a dish washing diva, as I mentioned previously.
PS…please don’t serve your dinner tonight on plates covered in plastic wrap. Pretty sure it would be hazardous to your health.

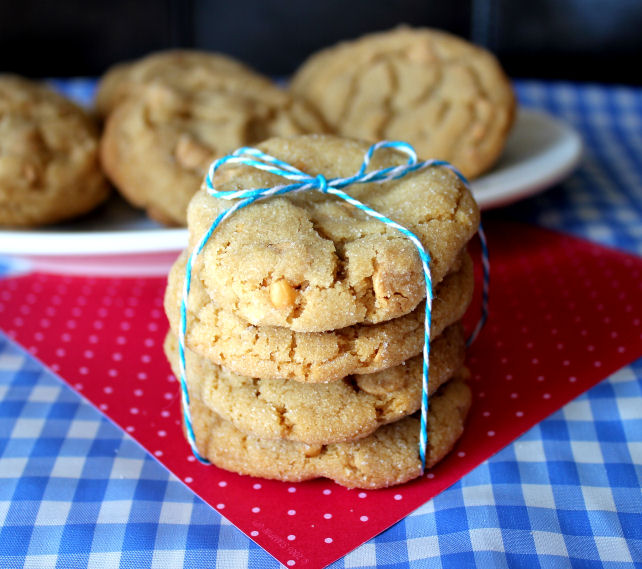
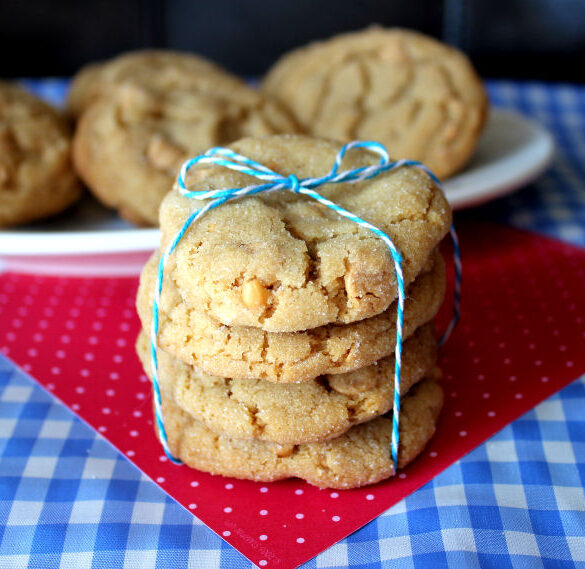
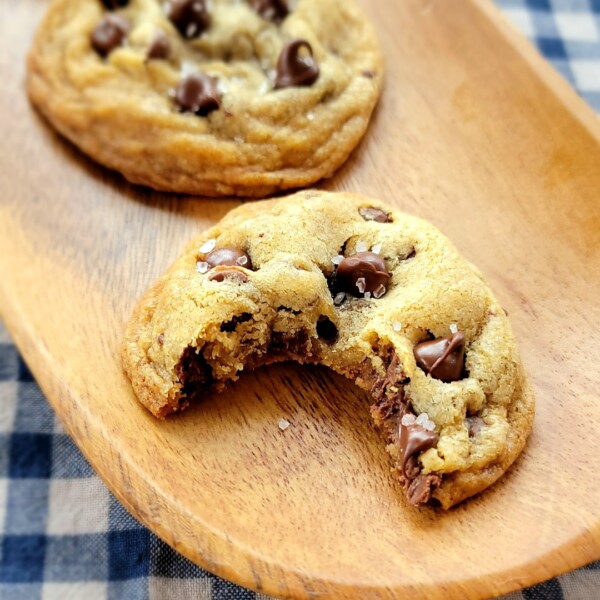
These Peanut Butter Cookies are soft on the inside, chewy, dreamy, peanut buttery and divine. Hope you make them and love them. They are worth every dirty dish they create. 🙂 Let’s make some together, shall we?
1. Preheat your oven to 350 degrees.
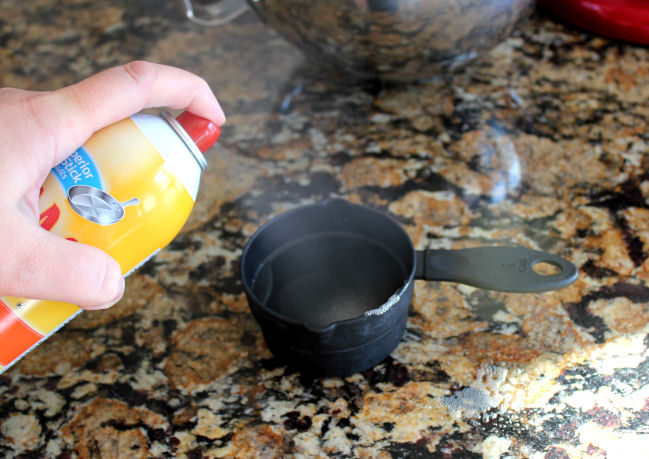
2. Grab a 1 cup sized measuring cup. Spray it with cooking spray. This will make your peanut butter so much easier to get out of the cup, which will make it a delight to wash. 🙂
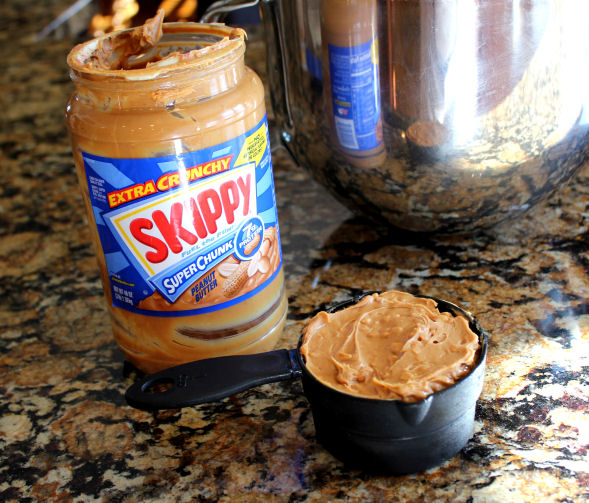
3. Place 1 cup of peanut butter into your measuring cup and then place it out into your stand mixer or large mixing bowl.
4. Add 1 cup of softened butter and mix well. About 2-3 minutes should do it. Mixing these two “fats” together for a long time (2-3 minutes) really helps the cookies to stay soft and moist.
5. Scrape the side of the bowl down with a rubber spatula and add 1 cup sugar, 1 cup brown sugar and 2 eggs. Mix for an additional 2 minutes.
6. Add 1 teaspoon vanilla and mix just until combined.

7. In a separate bowl combine 2 1/2 cups flour, 1 teaspoon baking soda, 1 teaspoon baking powder and an 1/8 teaspoon salt. Pour these dry ingredient into your stand mixer until combined.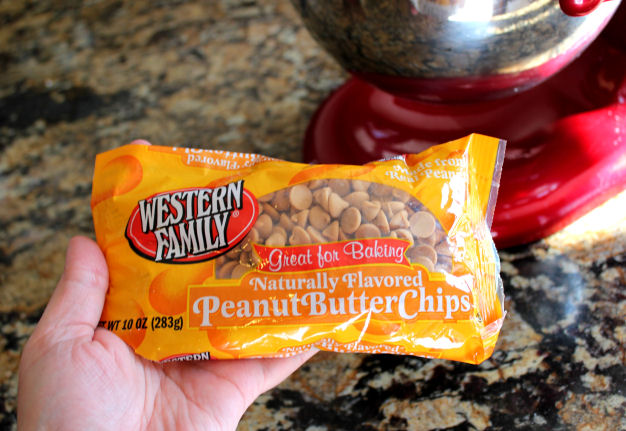
8. Throw in a whole package of Peanut Butter Chips and mix just until combined.
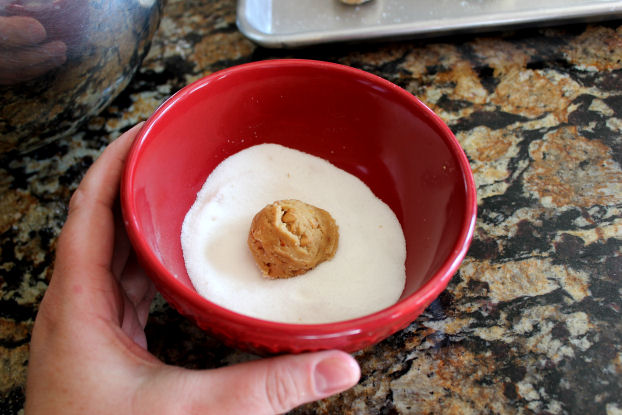
9. Pour 1/2 cup of sugar into a small bowl. Roll the cookie dough into 1 1/2 inch balls and roll each one in the sugar.
10. Place the cookie dough balls out evenly onto a cookie sheet. Bake for 7-9 minutes…
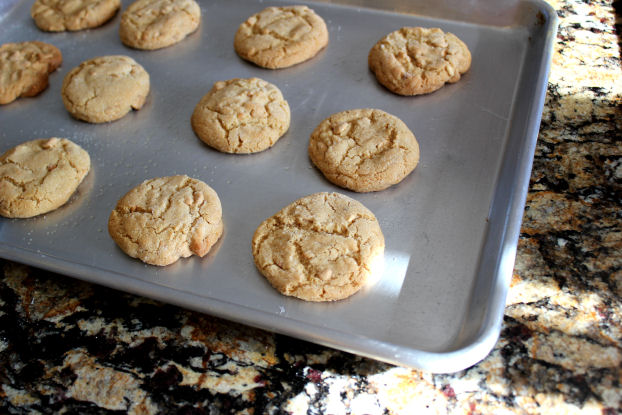
or until the tops of the cookies start to crack along the tops. Please be aware that you want them to look a bit “underbaked” when you take them out of the oven. Allow them to sit on the hot cookie sheet for a couple of minutes once you take the pan out of the oven. This will allow them to cook completely in the center while letting them remain nice and chewy.
Serve and enjoy!

Ingredients
- 1 C butter, softened
- 1 C peanut butter (I used crunchy)
- 1 C sugar
- 1 C brown sugar, packed
- 2 eggs
- 1 t vanilla
- 2 1/2 C flour
- 1 t baking soda
- 1 t baking powder
- 1/8 teaspoon salt
- 1 (10-12 ounce) package peanut butter chips
- 1/2 C sugar
Instructions
1. Preheat your oven to 350 degrees.
2. Grab a 1 cup sized measuring cup. Spray it with cooking spray. This will make your peanut butter so much easier to get out of the cup, which will make it a delight to wash. 🙂
3. Place 1 cup of peanut butter into your measuring cup and then place it out into your stand mixer or large mixing bowl.
4. Add 1 cup of softened butter and mix well. About 2-3 minutes should do it. Mixing these two "fats" together for a long time (2-3 minutes) really helps the cookies to stay soft and moist.
5. Scrape the side of the bowl down with a rubber spatula and add 1 cup sugar, 1 cup brown sugar and 2 eggs. Mix for an additional 2 minutes.
6. Add 1 teaspoon vanilla and mix just until combined.
7. In a separate bowl combine 2 1/2 cups flour, 1 teaspoon baking soda, 1 teaspoon baking powder and an 1/8 teaspoon salt. Pour these dry ingredient into your stand mixer until combined.
8. Throw in a whole package of Peanut Butter Chips and mix just until combined.
9. Pour 1/2 cup of sugar into a small bowl. Roll the cookie dough into 1 1/2 inch balls and roll each one in the sugar.
10. Place the cookie dough balls out evenly onto a cookie sheet. Bake for 7-9 minutes or until the tops of the cookies start to crack along the tops. Please be aware that you want them to look a bit "underbaked" when you take them out of the oven. Allow them to sit on the hot cookie sheet for a couple of minutes once you take the pan out of the oven. This will allow them to cook completely in the center while letting them remain nice and chewy.
Serve and enjoy!
Recipe adapted from cooks.com

A – Yummy cookies.
B – Smart hubby.
C – Smart diva (love how she tried to think of ways to minimize her work load)
Have a great weekend!
Such a cute post! Made me smile, and also say why didn’t I think of that.
Love your site, want more!!!
found it !! starting on them now , they look perfect. Thanks Cindyb
I truly enjoyed that one, as it’s full of fascinating facts and it’s a sort of easygoing article.
I spent just a couple of minutes reading, and due to well-structured text, then I
know it entirely. Thanks!
Great post.