This post may contain affiliate links. Please read our disclosure policy.
I have been on a hunt for a great Strawberry Syrup recipe, my friends. Something that would be great over pancakes, waffles or as an ice cream topping. A recipe that I could make and preserve in nice little jars to use throughout the summer, fall and winter. ‘Tis the season for strawberries, after all. 🙂 I’m embarrassed to admit to you all today that I have worked my way through no less than 4 trial batches…all flops. It’s true. Earlier this spring strawberries and I weren’t speaking to each other. I had to take a break from them, as 4 flops is about all this girl can take.
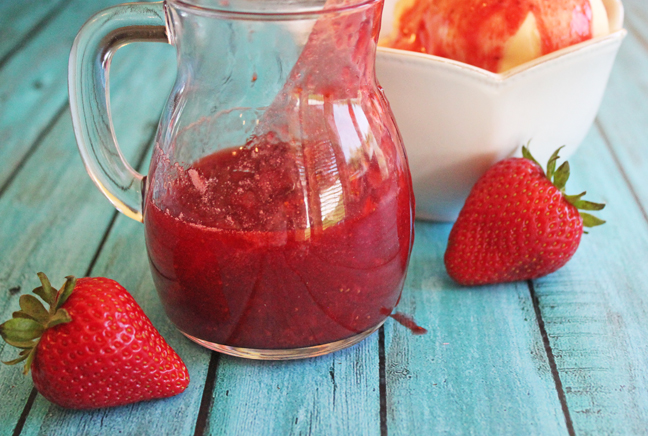
However, I am pleased to report that strawberries and I are happy with each other once again, we spent the afternoon together yesterday and good things happened. Thank goodness! This Strawberry Syrup I brought to share with you today is delightful and just what I have been looking for and wouldn’t you know it…it was much easier than some of my trial batches. Go figure! It’s made with just a few ingredients, has a great sticky-syrup like texture and the taste is wonderful.
Hope some of you get a chance to try it!
Let me show you how to make it happen!
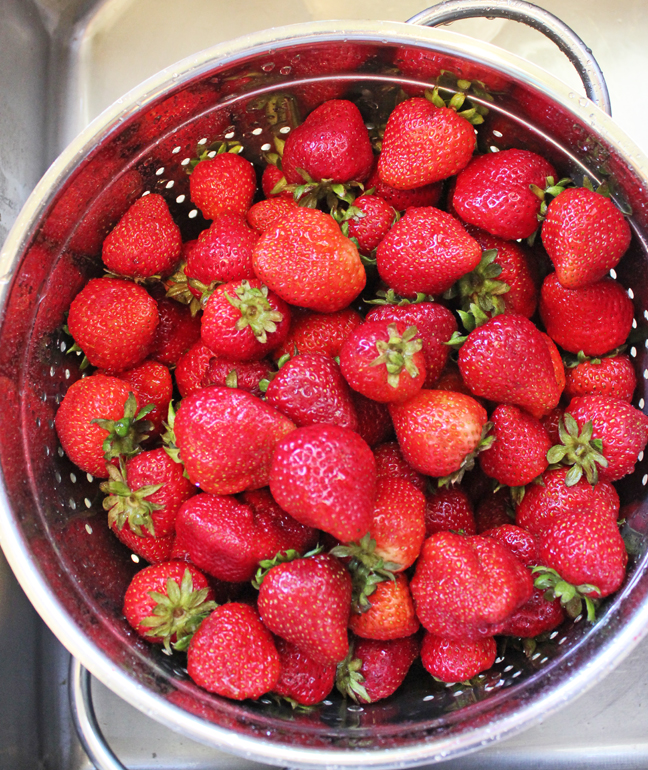
1. Grab some beautiful fresh strawberries. I found these at Sprouts this week for 88 cents a pound. They were super sweet and juicy. You need 6 pounds. Wash them, then cut the green tops of and cut them in half.
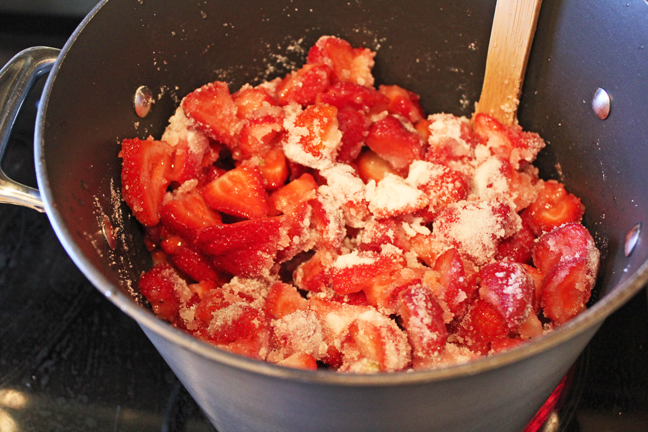
2. Place them in a large pot and pour 3 cups of sugar and 1/4 C lemon juice over the top. Stir to combine.
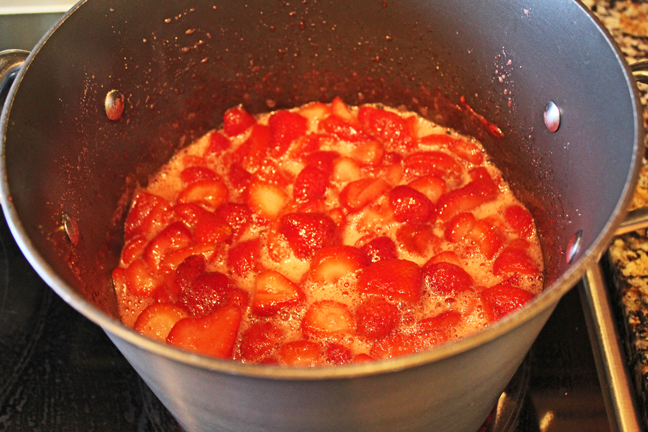
3. Turn the heat to medium high (closer to high than to medium) and bring the mixture to a boil, stirring occasionally.

4. The sauce will bubble up a lot. Make sure you use a big pan. 🙂 Keep it at a rolling boil for 25-30 minutes, stirring occasionally until the syrup has reduced by about half.
5. Remove from the heat and skim off any foam. Add 1 Tb butter, 1 tsp vanilla and a dash of salt. Stir to combine.
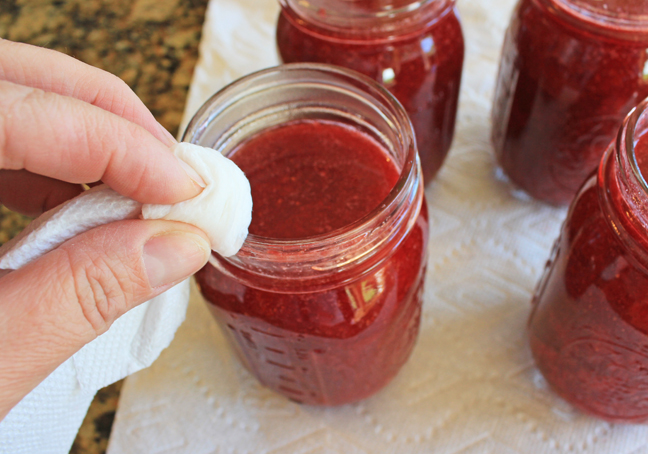
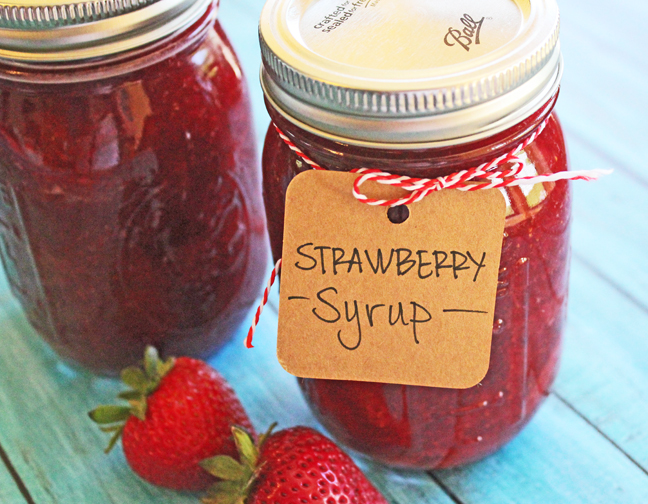
6. Pour the syrup into pint or half pint jars. Wipe the rim with wet paper towel, making sure to remove any syrup that might have splashed onto it. This will help the lids seal properly. Add a lid and a ring to each jar. (Make sure you are using new lids. You can recycle the rings, but the lids need to be new.)
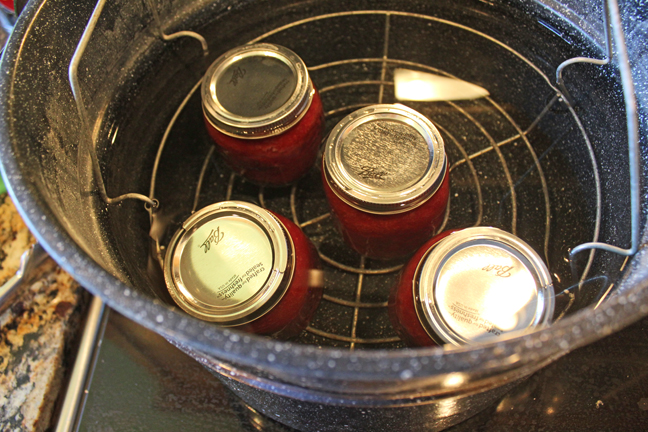
7. Place the jars in a water bath canner, fill with hot water, cover and bring to a boil. Allow the water to boil hard for 15 minutes. Carefully remove the jars from the canner and allow them to cool on your counter. The lids make a popping sound when they have sealed properly. You can test them by pressing your finger into the center of each lid and pressing. If the lid gives at all it hasn’t sealed. If it is firm, then you are good to go. Jars that haven’t sealed should be stored in the fridge and eaten within a week or two.
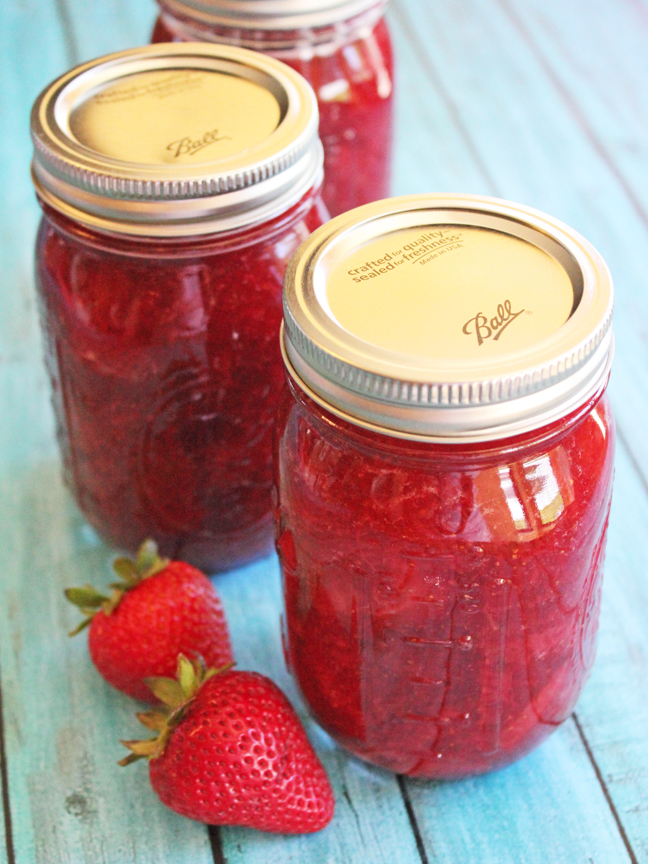
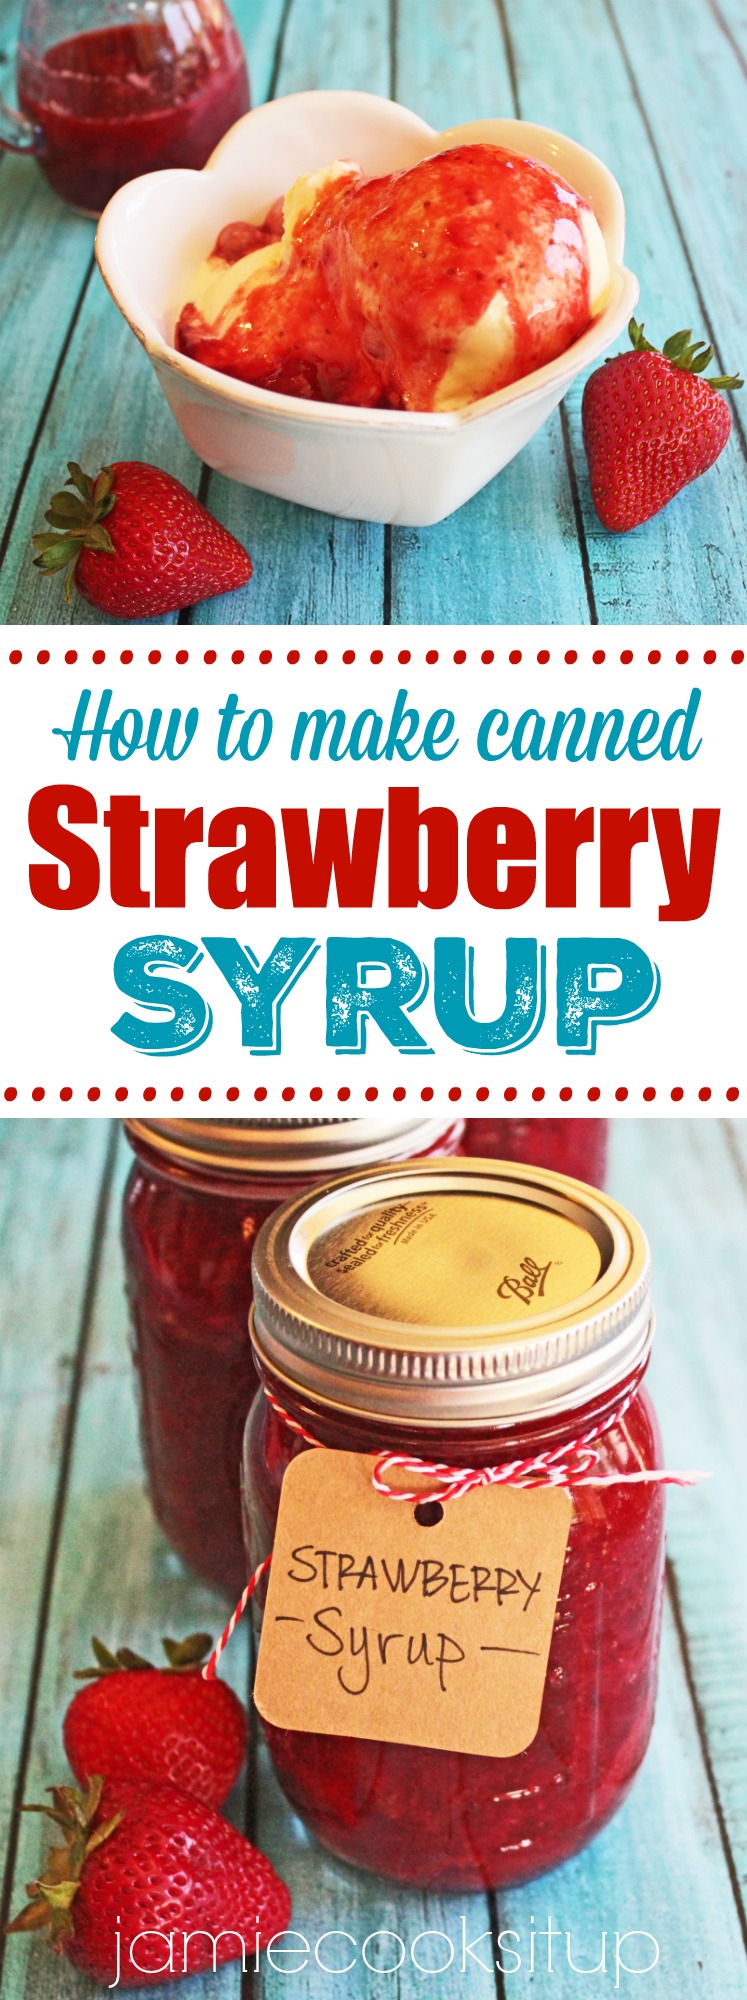
It’s killer fabulous on pancakes, waffles or on vanilla ice cream. It would make a fun addition to an ice cream sundae bar.
Here’s the handy printable…
Ingredients
Instructions
Recipe adapted from Simplify, Live, Love


Thanks for the recipe, I have been looking for a good fruit syrup. Have you by chance experimented with raspberries? I am going to have lots of raspberries ready in the next month or so and would love to bottle some syrup.
Andrea,
Thanks for your question. I have a great Raspberry Syrup recipe you can see here…https://jamiecooksitup.net/2013/07/homemade-raspberry-syrup/
However, I haven’t ever tried to bottle it. I’m not sure how that would work out.
Best,
~Jamie
If I chose not to can this and instead keep it in the frig or freezer…any idea how long it should last?
Jamie,
Thanks for your question. I would imagine it will last in the fridge for at least a week. I haven’t tried freezing it, but my best guess is that it would work out well. Hope you give it a try!
All the best,
~Jamie
Thanks! Love the blog…keep it coming!
Could you use frozen strawberries? How long are the sealed jars shelf life? and do you have a blueberry sauce recipe? Thanks
Do you need to crush the strawberries first or do they end up getting fully “disintegrated” (for lack of a better term) through the long cooking process? Also, would this work mixed in iced tea for a strawberry iced tea? 🙂
can you use frozen strawberry
I really like strawberry syrup recipie
If sealed correctly what would be the anticipated shelf life Of the syrup?
I used frozen strawberries and bananas. I would suggest after you cook the fruit, let it run through a very fine mesh strainer. Otherwise, it comes out cloudy. Do not push it through just let it run through on its own. Very good recipe.