This post may contain affiliate links. Please read our disclosure policy.

I’m also glad, you only want to learn a little bit. Because I’m going to be strait with you here my friends. A little bit is all this girl knows. I am not a professional, the Cake Boss, the Ace of Cakes, or the winner of The Cupcake Wars. I’m just a girl with a love for frosting and a little need for creativity in her life.
My friend Melanie knows a lot about this yummy, decorating friendly frosting. She is my go-to gal whenever I have questions about cake decorating. People actually pay her to make cakes for them! Isn’t that fancy. If you live in my area (Herriman, Utah) and would like her to make a creative cake for you, you can leave her a message on her Creative Cakes by Melanie Facebook Page.


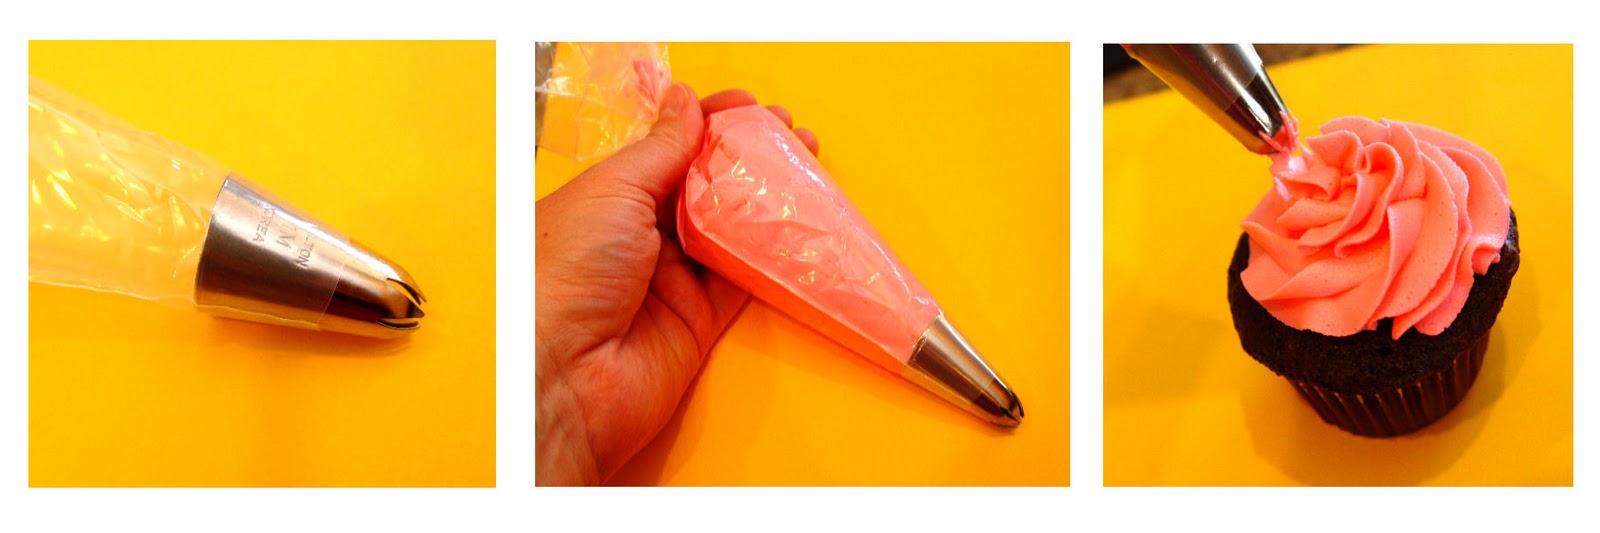
The tips you see here are the only tips I own. I purchased the three on the right in a beginners decorating kit about 15 years ago. You can buy these little kits everywhere! Walmart has them, as well as online at Amazon and Wilton. The kits usually come with a few basic tips, some decorating bags and some couplers. The big daddy tip you see on the left I purchased a few weeks ago at Hobby Lobby. I couldn’t find him at Walmart.
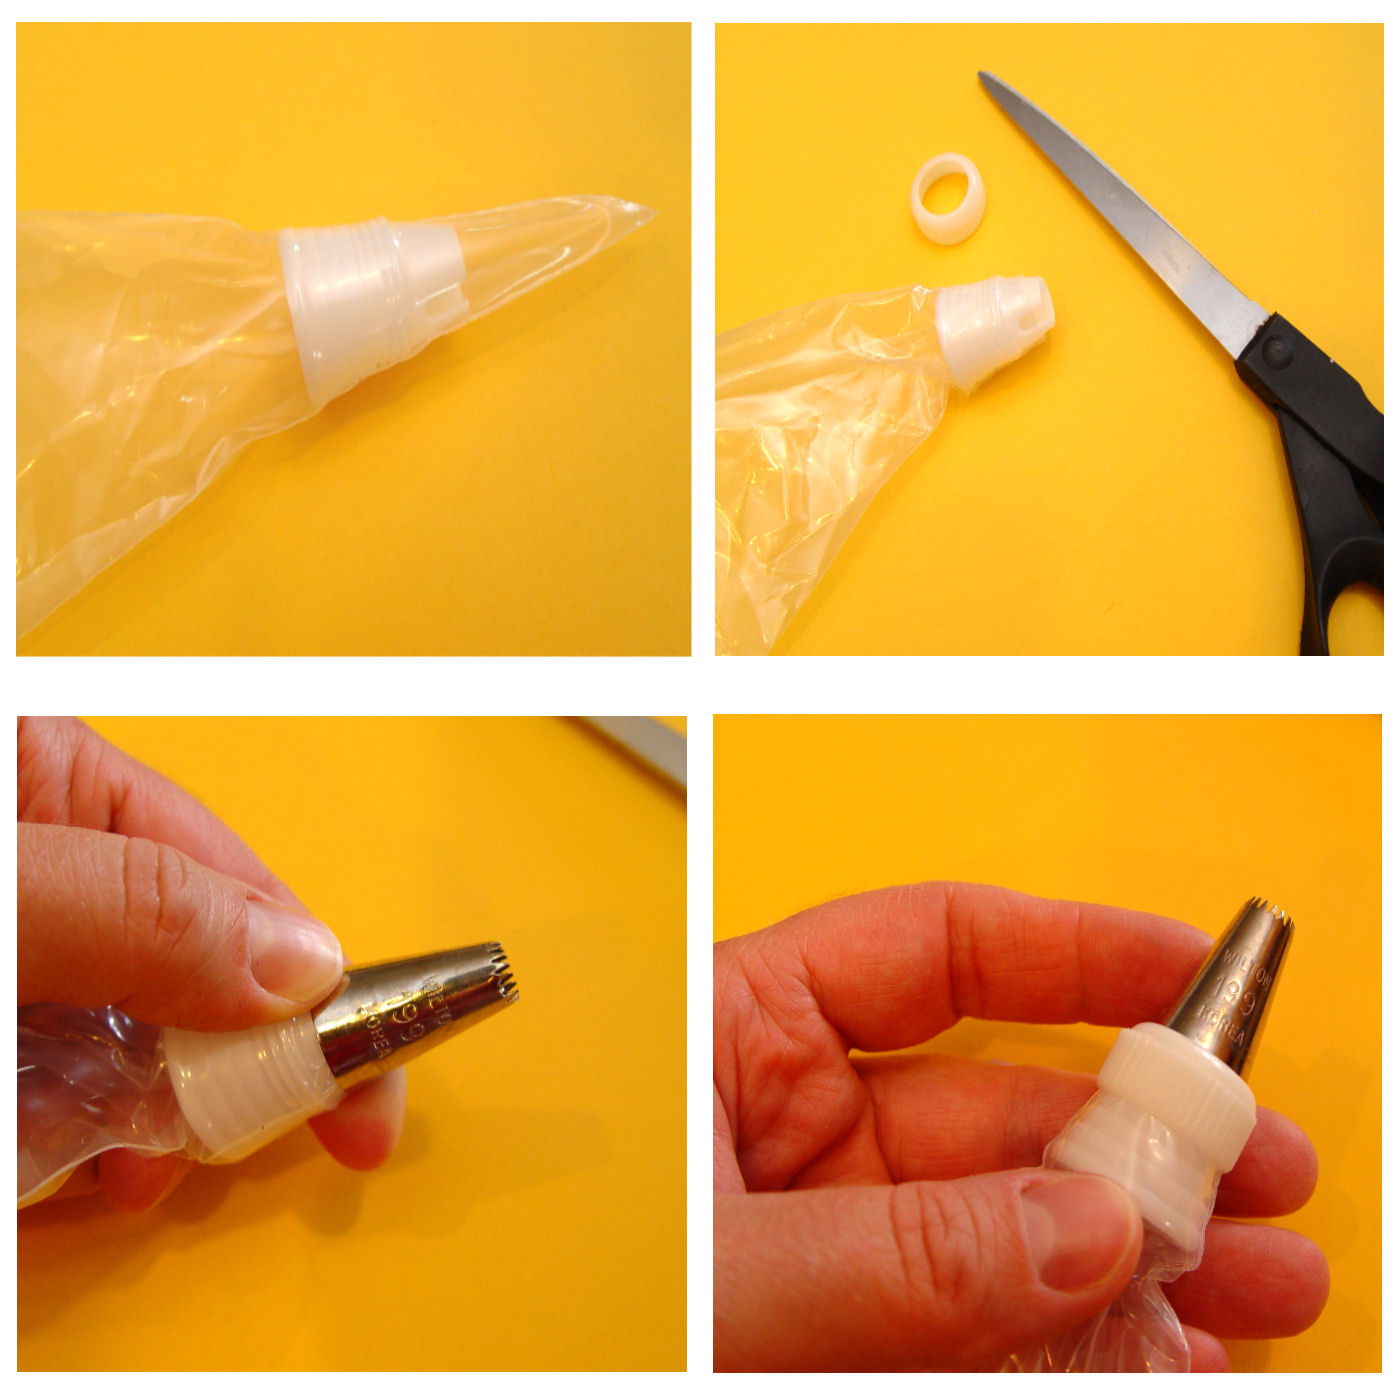
To assemble a decorating bag place one of the couplers inside the bag. Snip the end off with some scissors. Add the tip of your choice and then tighten the coupler ring around the tip. Roll down the top of the bag and carefully spoon some frosting into it.

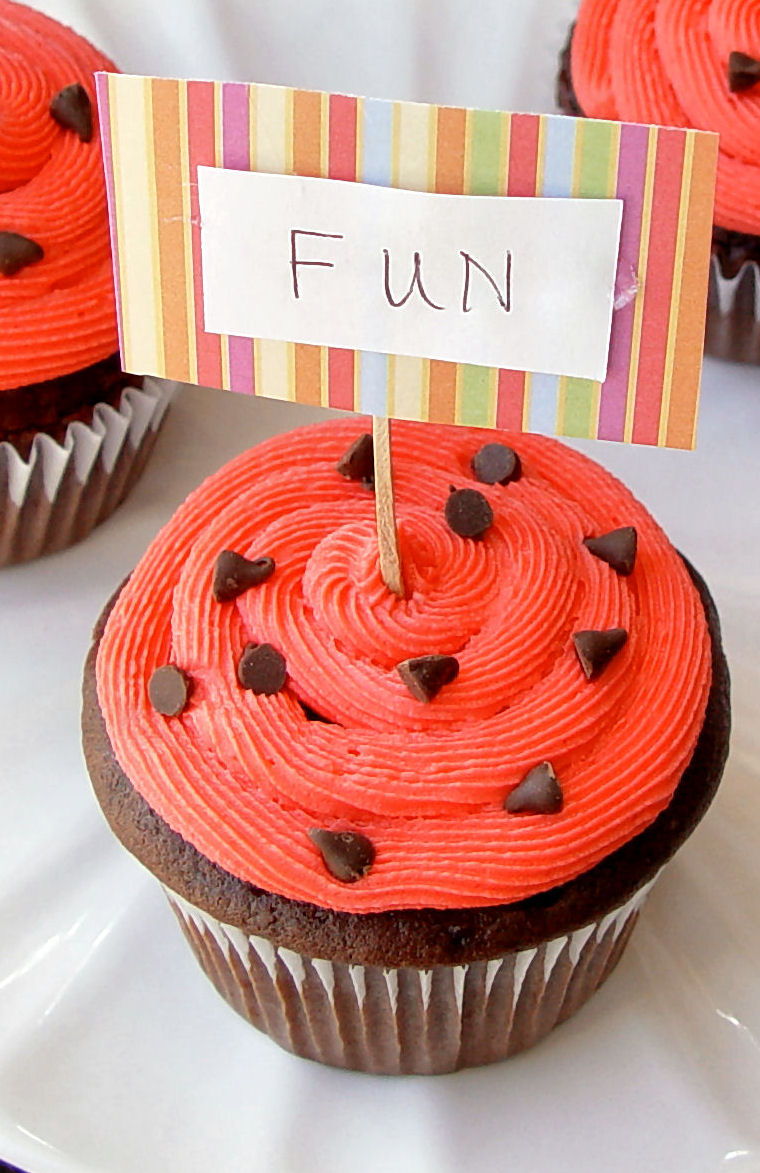
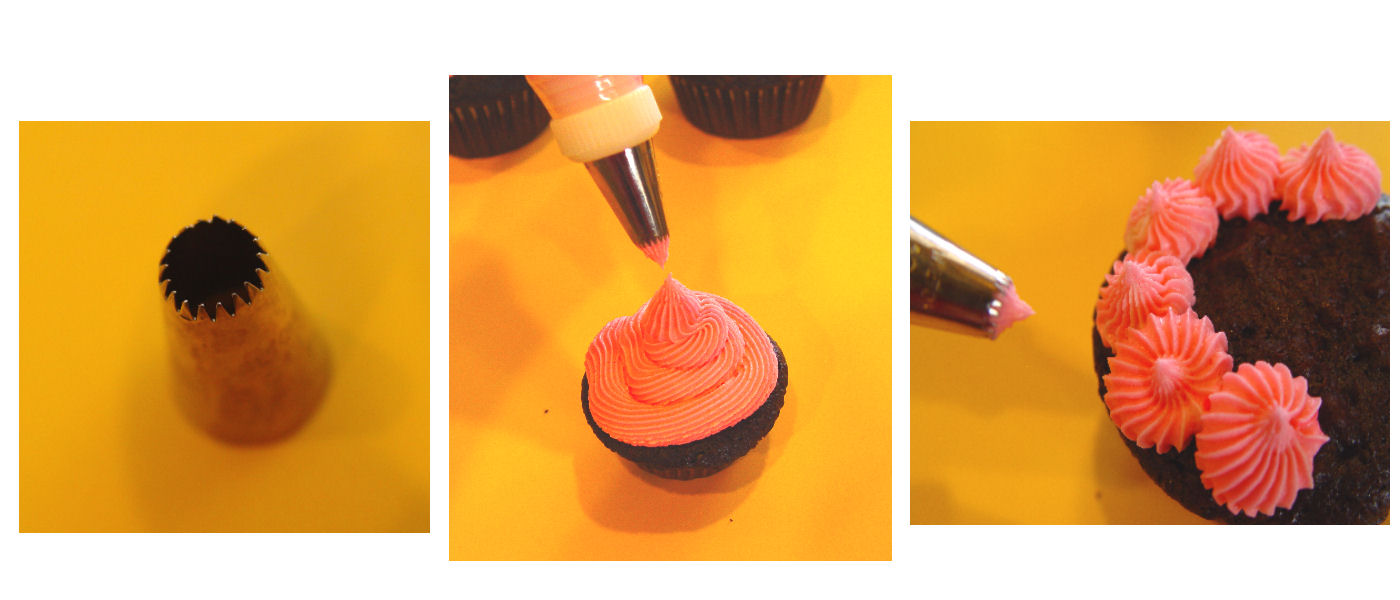
This fun open star tip (#199) is great for making swirls on top of cupcakes, or little stars.
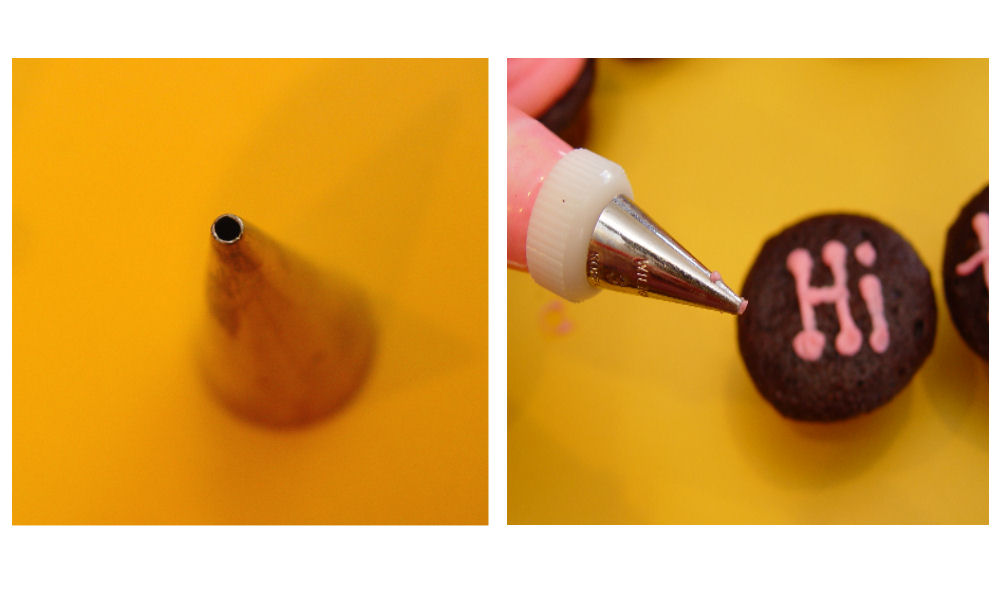
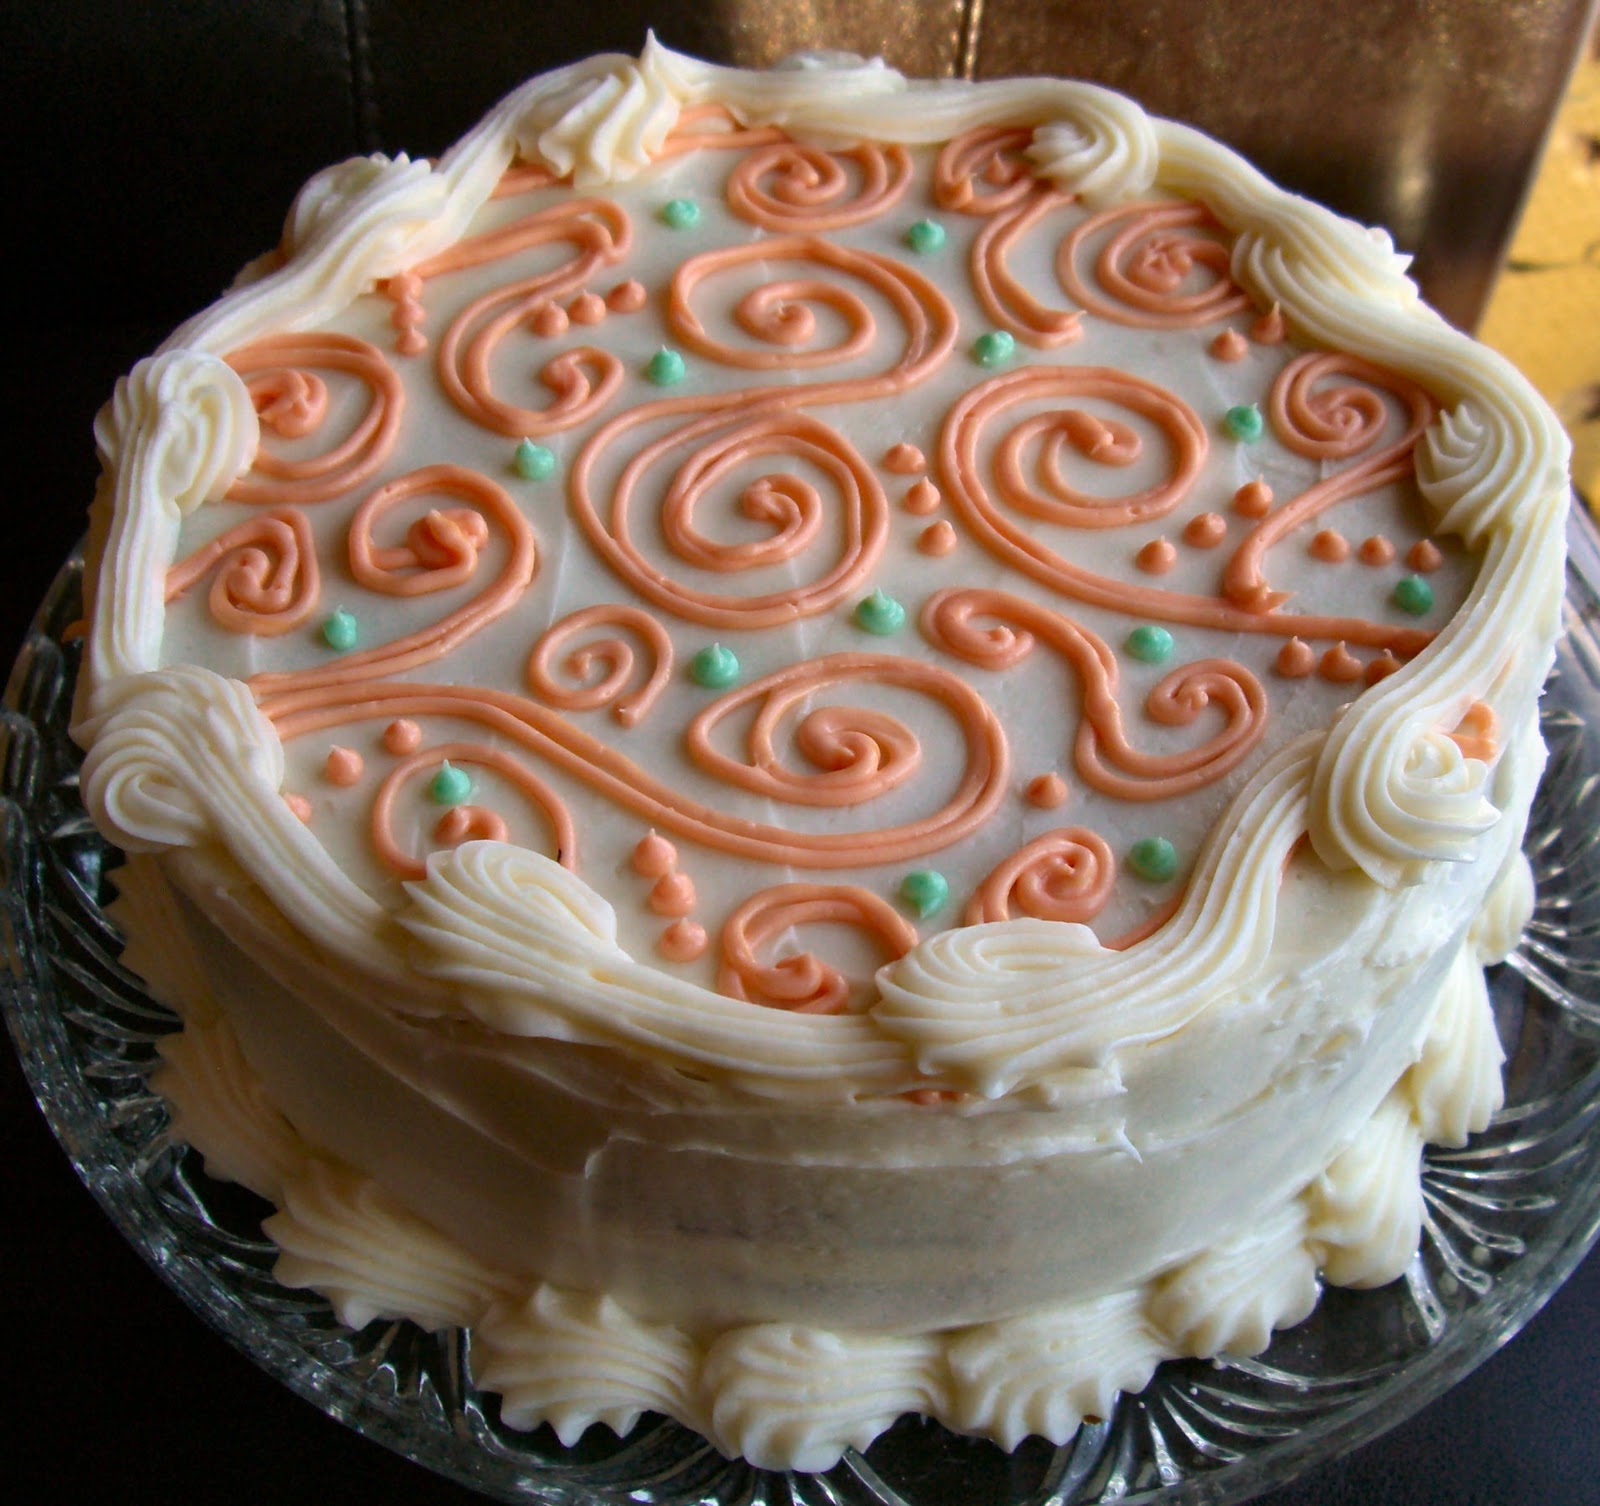
Round tips (this is a #3) are great for lettering and other piping. If I want a tip that will lend itself to larger lines, I just put my frosting into a ziploc bag, and then cut the corner of it to be the size I want. Easy. Super Easy.
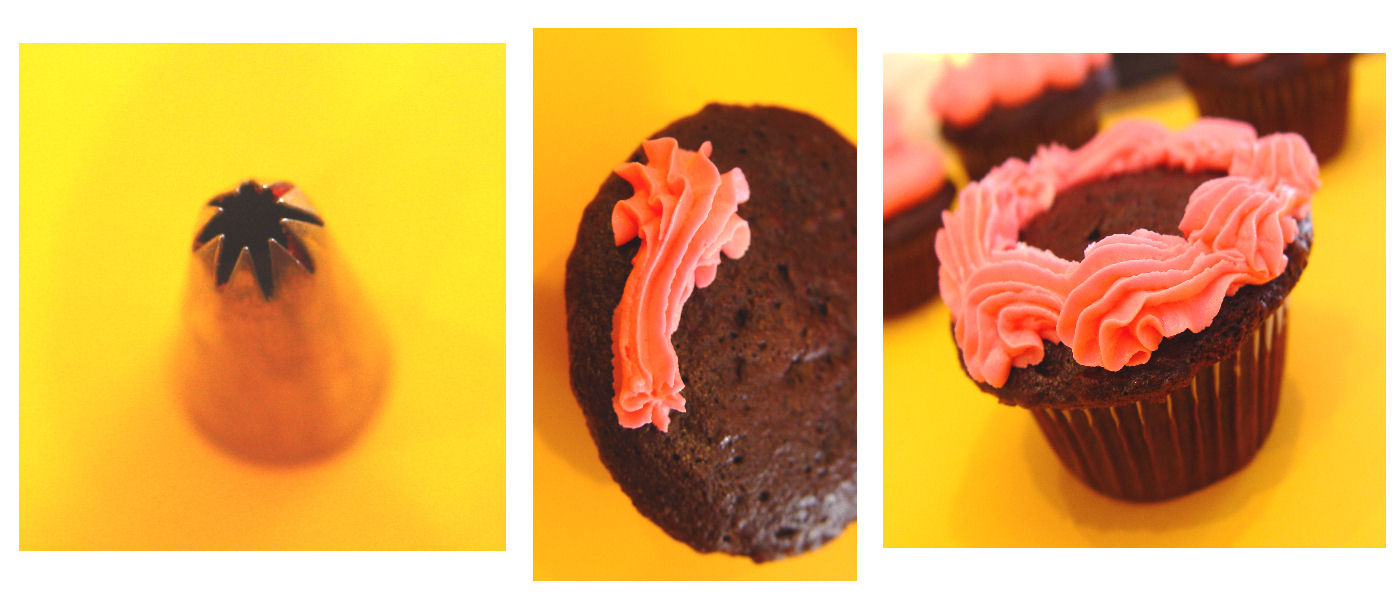
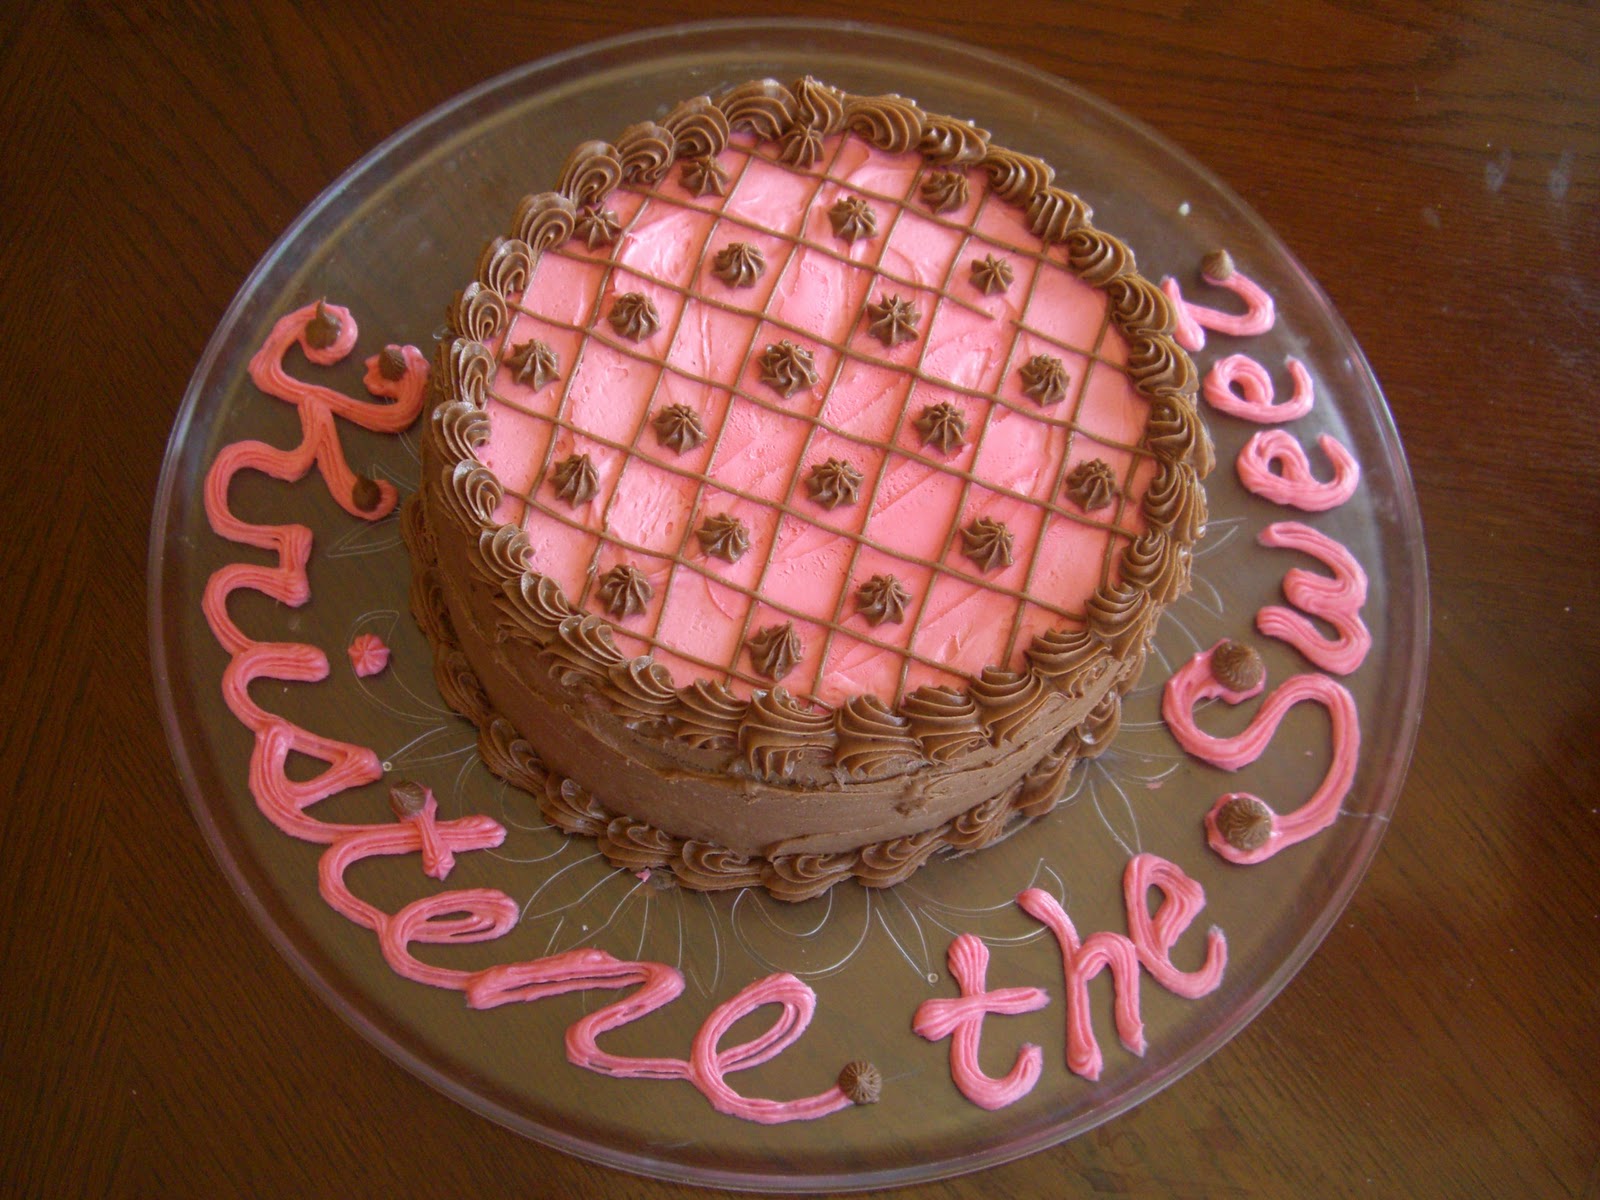
Here we have another open star tip (#21). It makes a pretty border pattern, and fun little stars as well. The options are really limitless. Just use your imagination.
I actually don’t have a coupler that will fit this big tip. I just put him in the decorating bag, and fill it with frosting.
Now….you know what I know. Just a few small things about decorating with Buttercream Frosting. I’m not sure I even got all of the technical terms correct. If you see a mistake I have made, or have some great input for the rest of us on cake decorating, please leave a comment! Fill us in! We are all trying to learn here. I would love any tips you would like to share.


Thanks for the tutorial. I'll have to give that recipe a try, as I've never found a buttercream recipe that I like. I would have did the same thing if one of my kids had given me that face. Ha! Speaking of cakes – Cake Boss Buddy has a book coming out next month……yum
Yummmm…I love buttercream. I LOVE Cake Boss too 😉 I'm still trying to perfect my cake decorating abilities…lol. Soooo not the best when it comes to that…lol. Love this post 🙂
You have some darling ideas for decorating cakes here. I love the cake with the swirls– so cute! I'll be back 🙂
I would love to learn to make those kinds of design on the top of the cake. That would really be nice. I always shake when I draw something.
I would love to learn to make those kinds of design on the top of the cake. That would really be nice. I always shake when I draw something.
the frosting worked really well for me, and I picked my tips and decorating bags from a store called bakers cash and carry. It's a nice store with pretty much anything you can think of baking wise. Which is why I love going there.
Lizzy
I had a question…I made this for my little girls birthday cake, but I couldn't get the grittiness out at all, even after beating it to death. Any suggestions?
Hi Brooke,
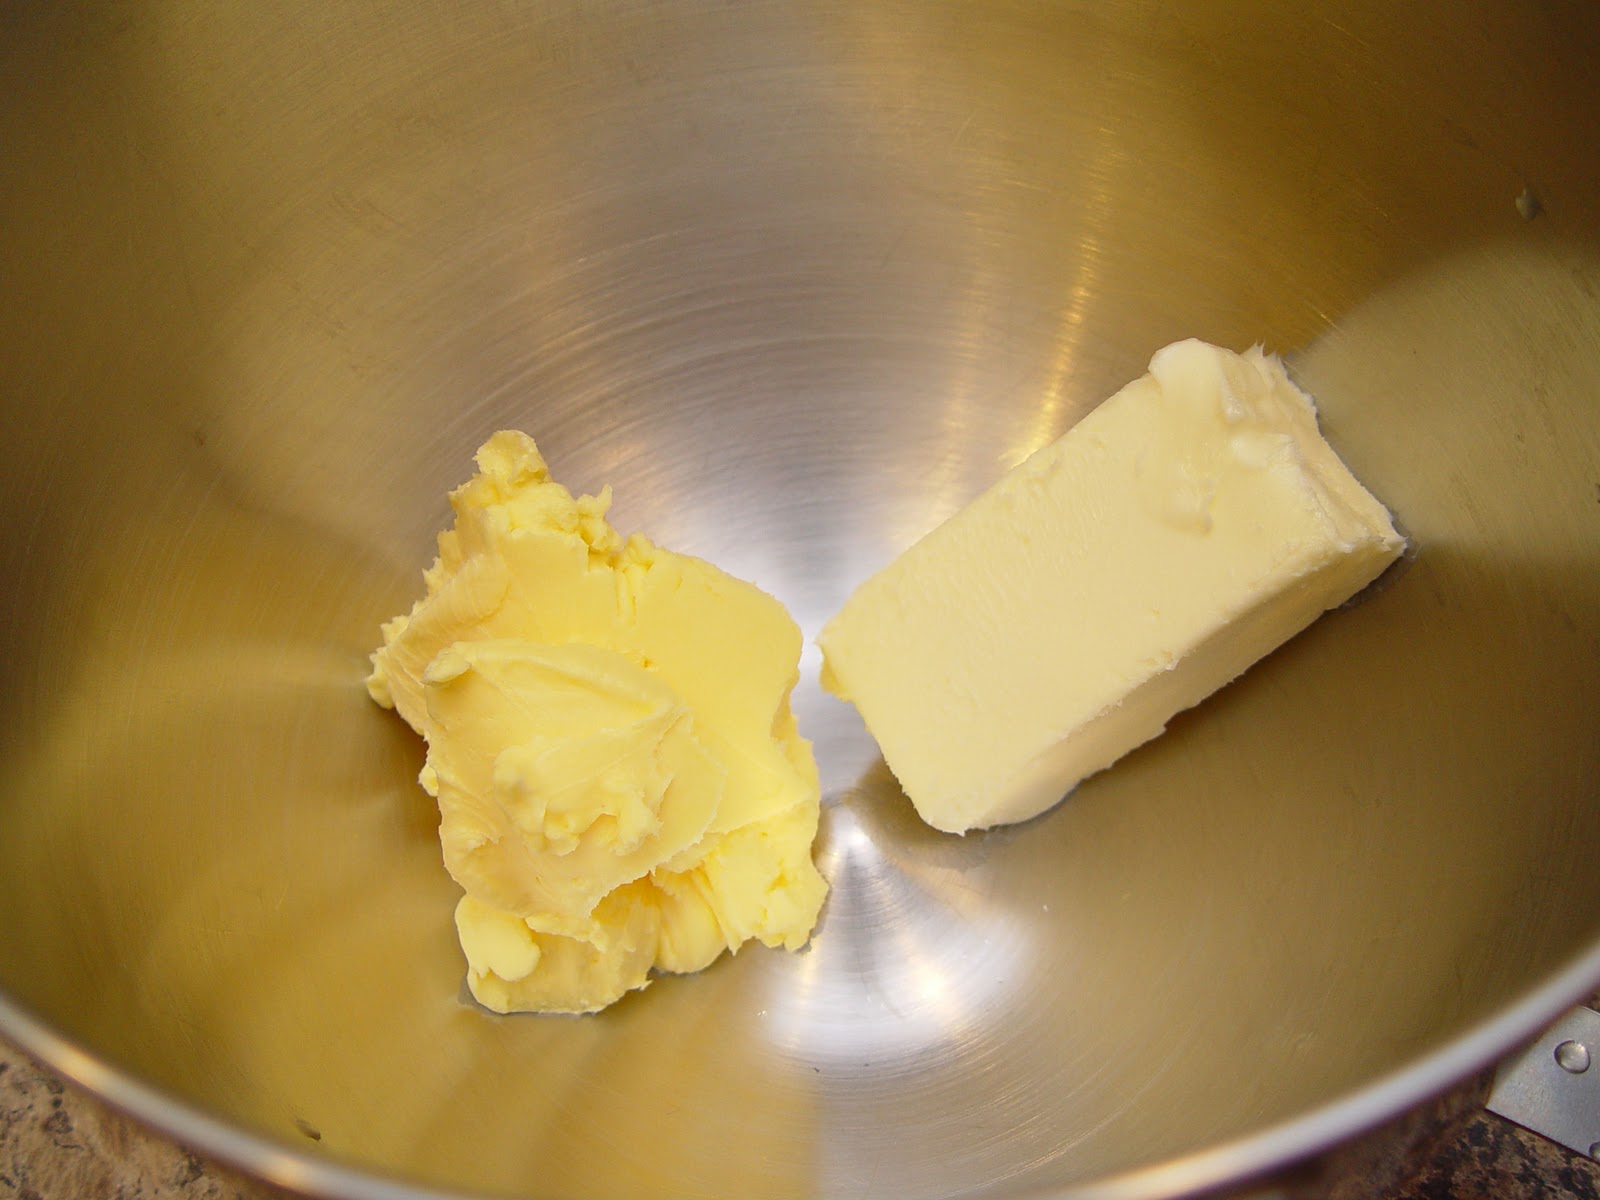
My first thought is that your powdered sugar may have been a bit old. Sometimes it can dry out if it's not stored in a ziploc bag or other air tight container. Also, if your butter isn't soft when you start you can have a few buttery clumps here and there that are hard to get smooth.
Hope this helps, Brooke.
Best of luck,
~Jamie
I know this comment is for an older post but I just had to answer Brooke’s question about grittiness. If you will sift your powdered sugar it will help with the grittiness.