This post may contain affiliate links. Please read our disclosure policy.

Pie Crust.
Oh sure.
Make one?
From scratch?
Suuuuuuure!
Um, it couldn’t be too hard could it?
Ok, so to be truthful I have made a lot of tough and ugly,
teeth breaking pie crusts in my day.
It’s true. I wouldn’t lie to you now.
But I have been practicing and practicing.
And asking a lot of questions and reading a lot of recipes and watching a lot of shows and basically soaking up all of the info I could find about making a beautiful, flaky pie crust.
Because….well, I can’t stand not knowing how to make one.
And, I thought you might want to know how too!
And that’s the truth of it.
Be sure to come back tomorrow to see what we are going to put in this super fabulous
flaky…
beautiful pie crust.
I think you are going to love it.
Just a hunch.
Pie Crust
Time: 45 minutes total
Yield: 3 single crusts
Recipe from Julie Thomson and Julie Thomson
3 C flour
1 t salt
1 1/3 C butter flavored shortening
1 T sugar
5 T ice cold water
1 egg
1 t vinegar
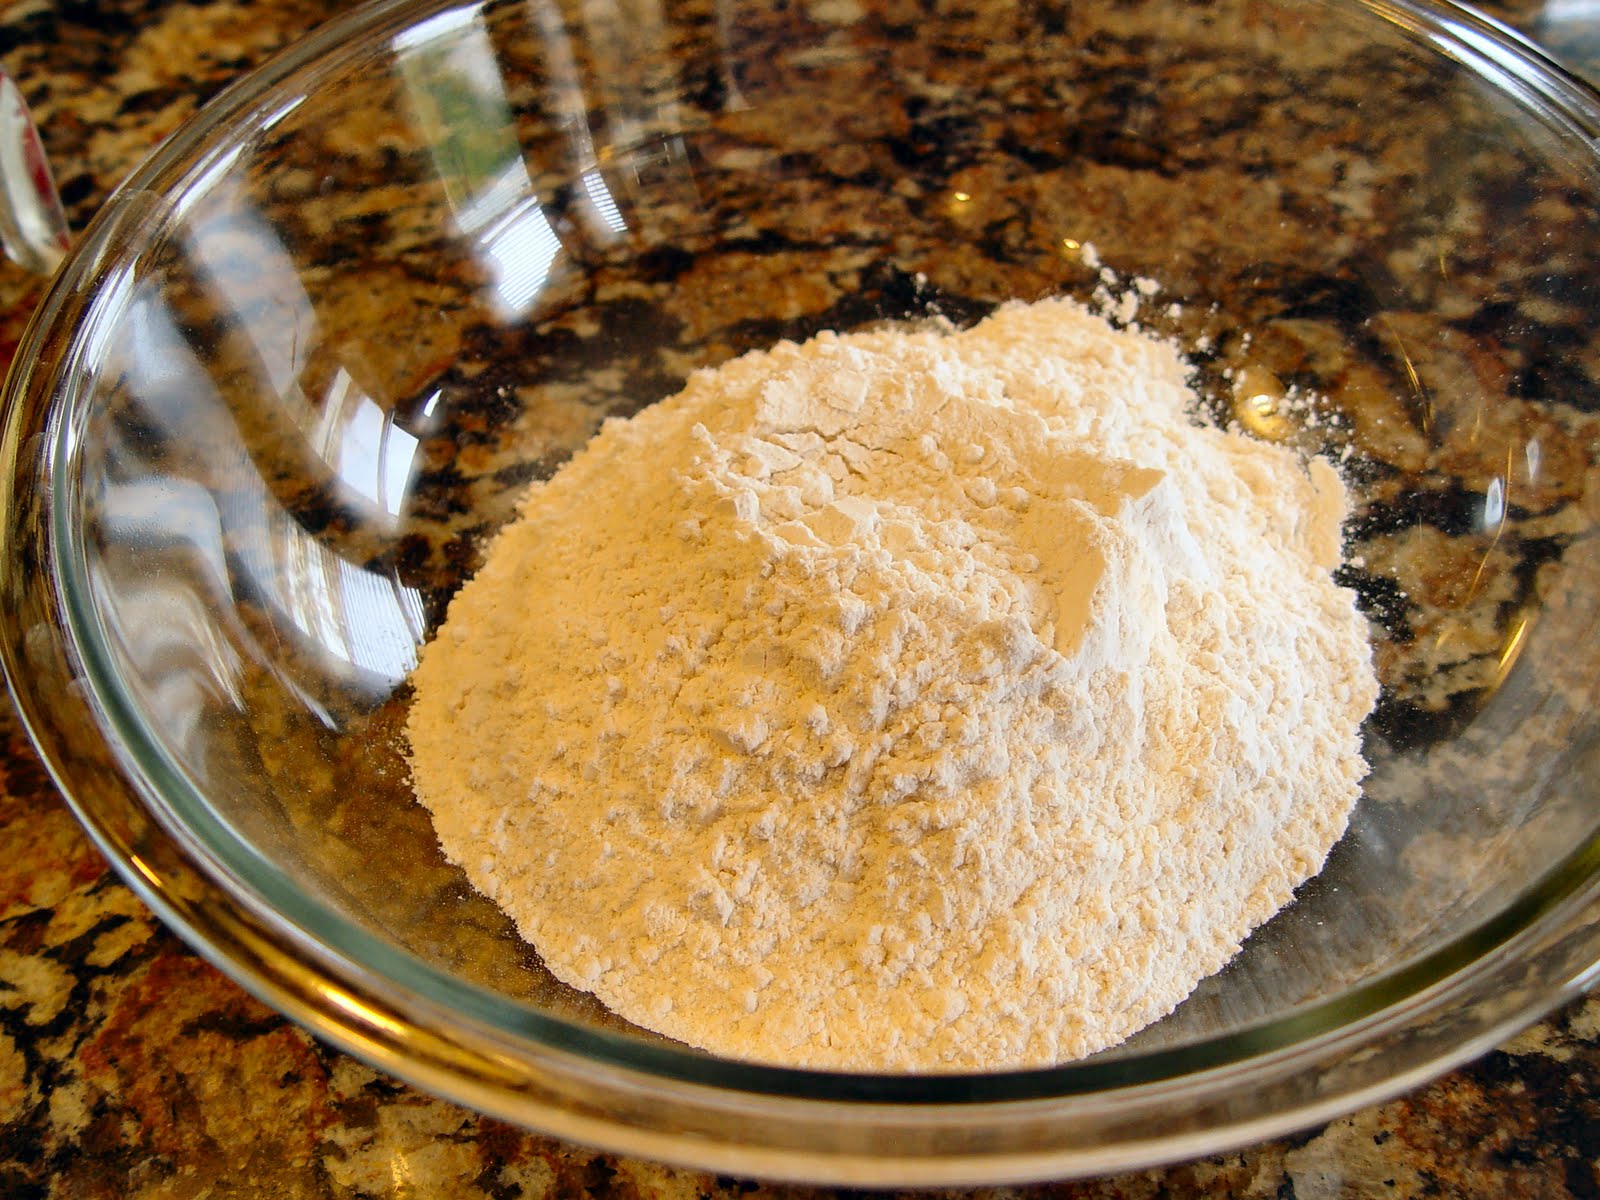
1. Throw your flour into a large bowl.
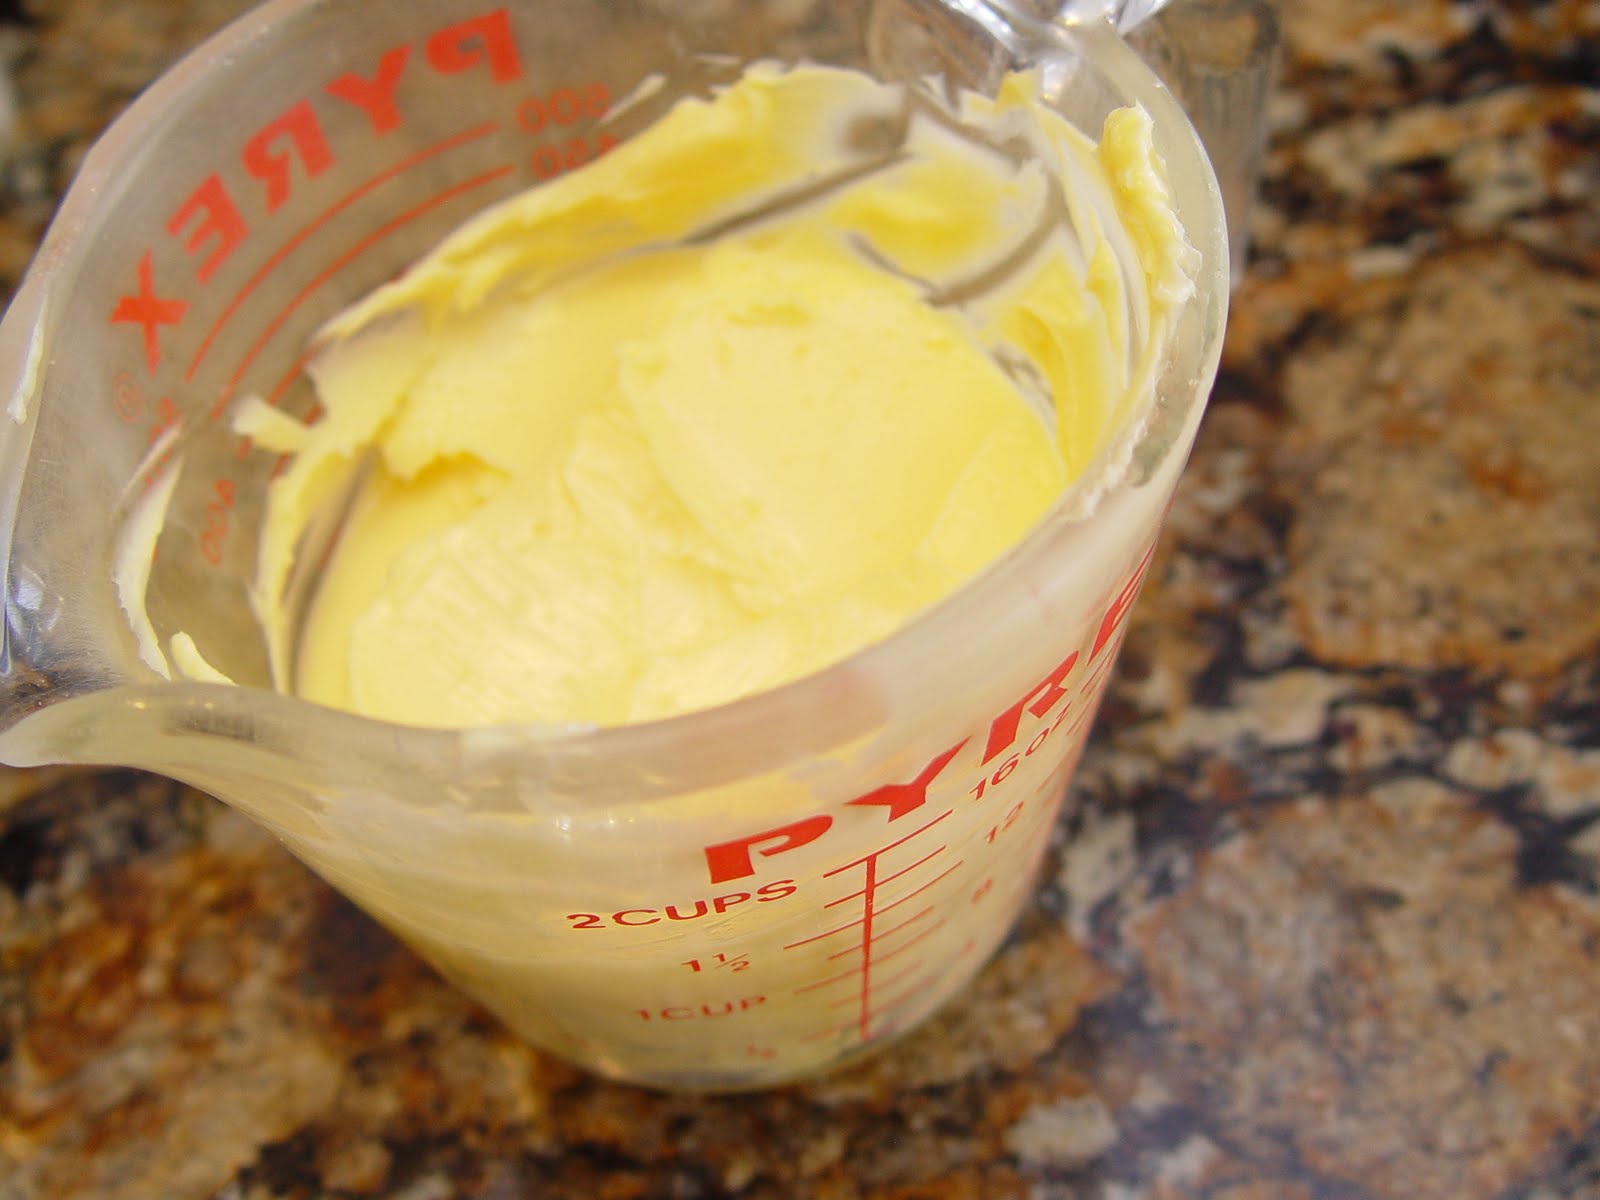
Add your shortening…
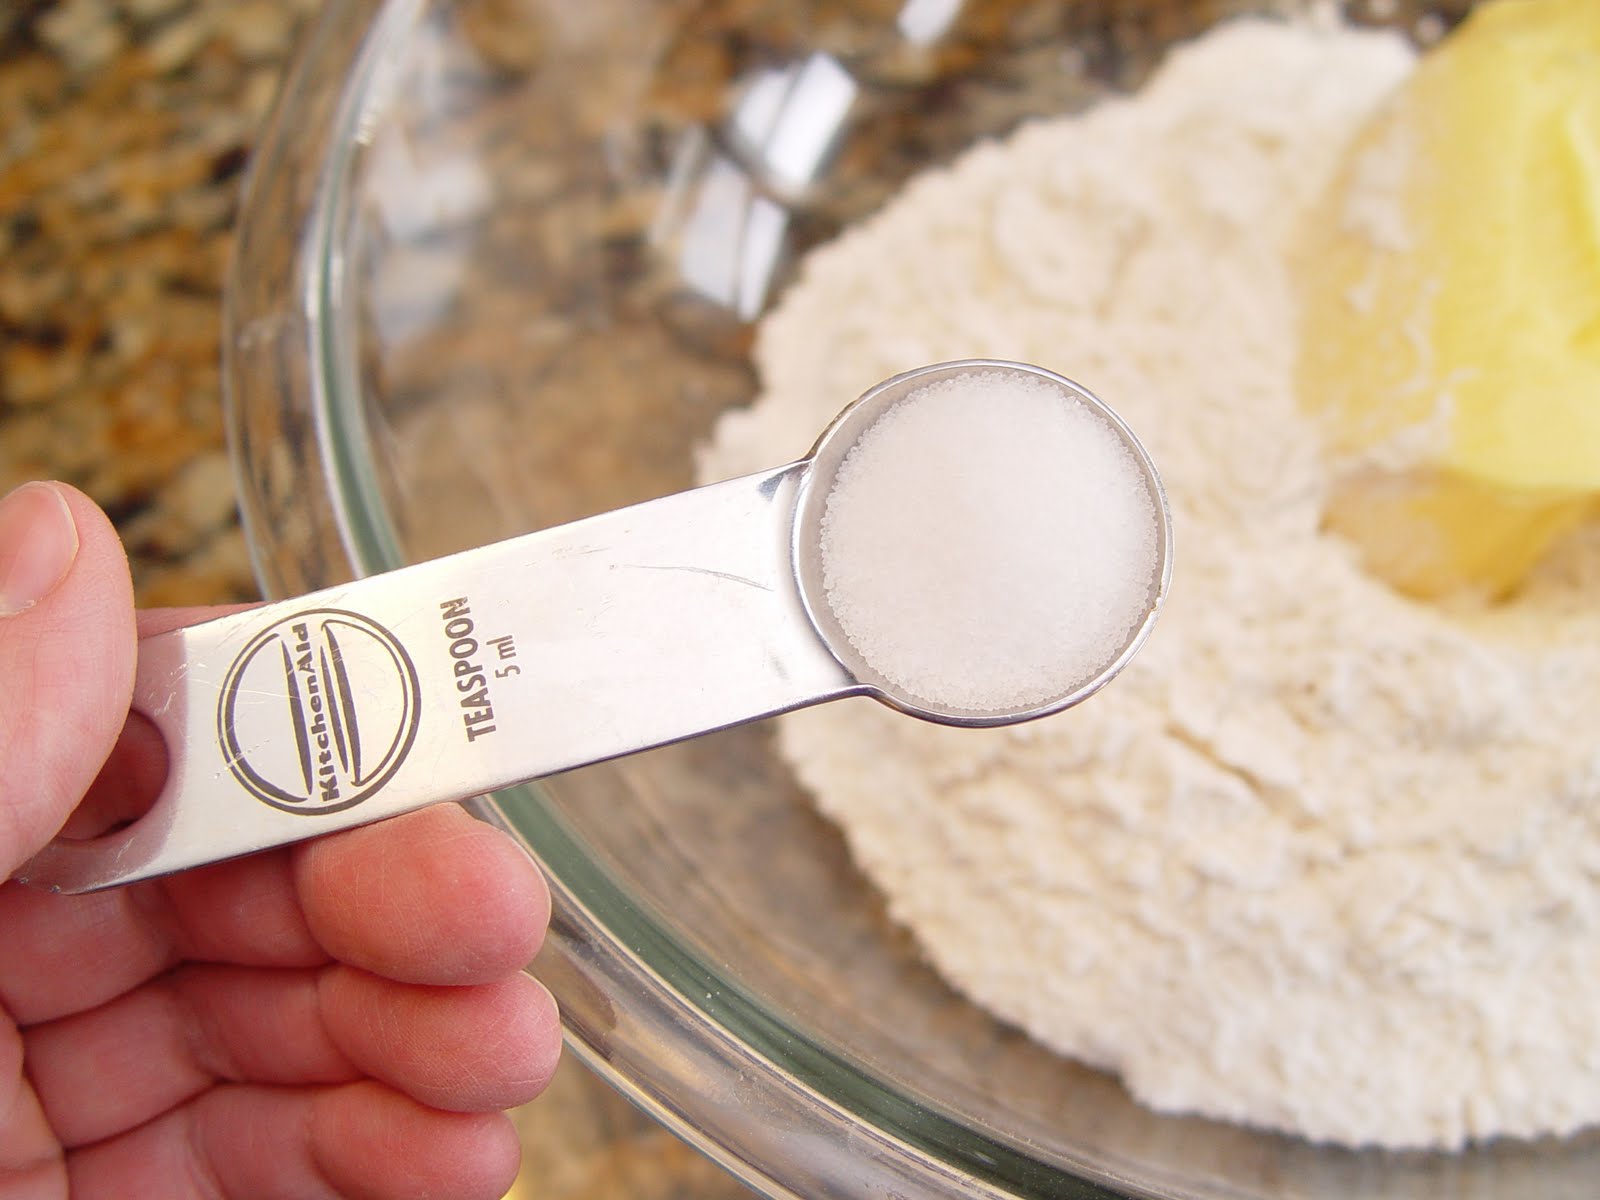
……salt,
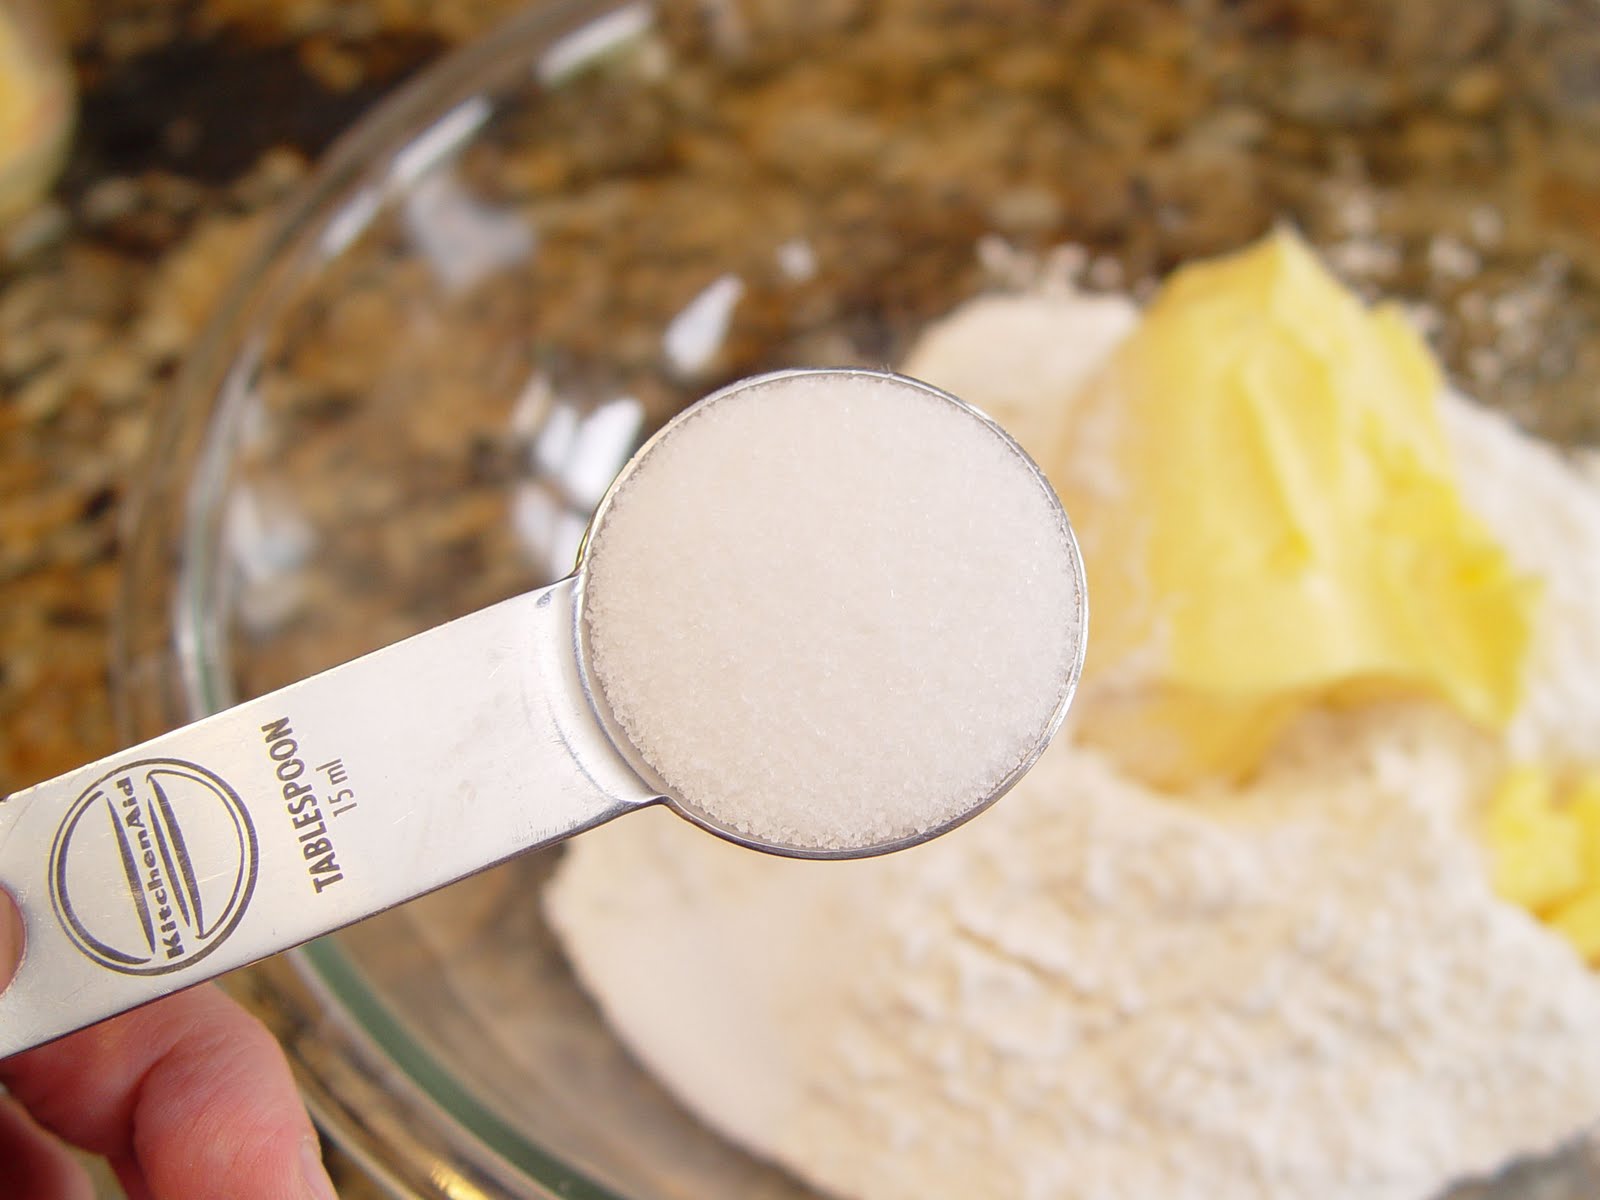
…..and sugar.
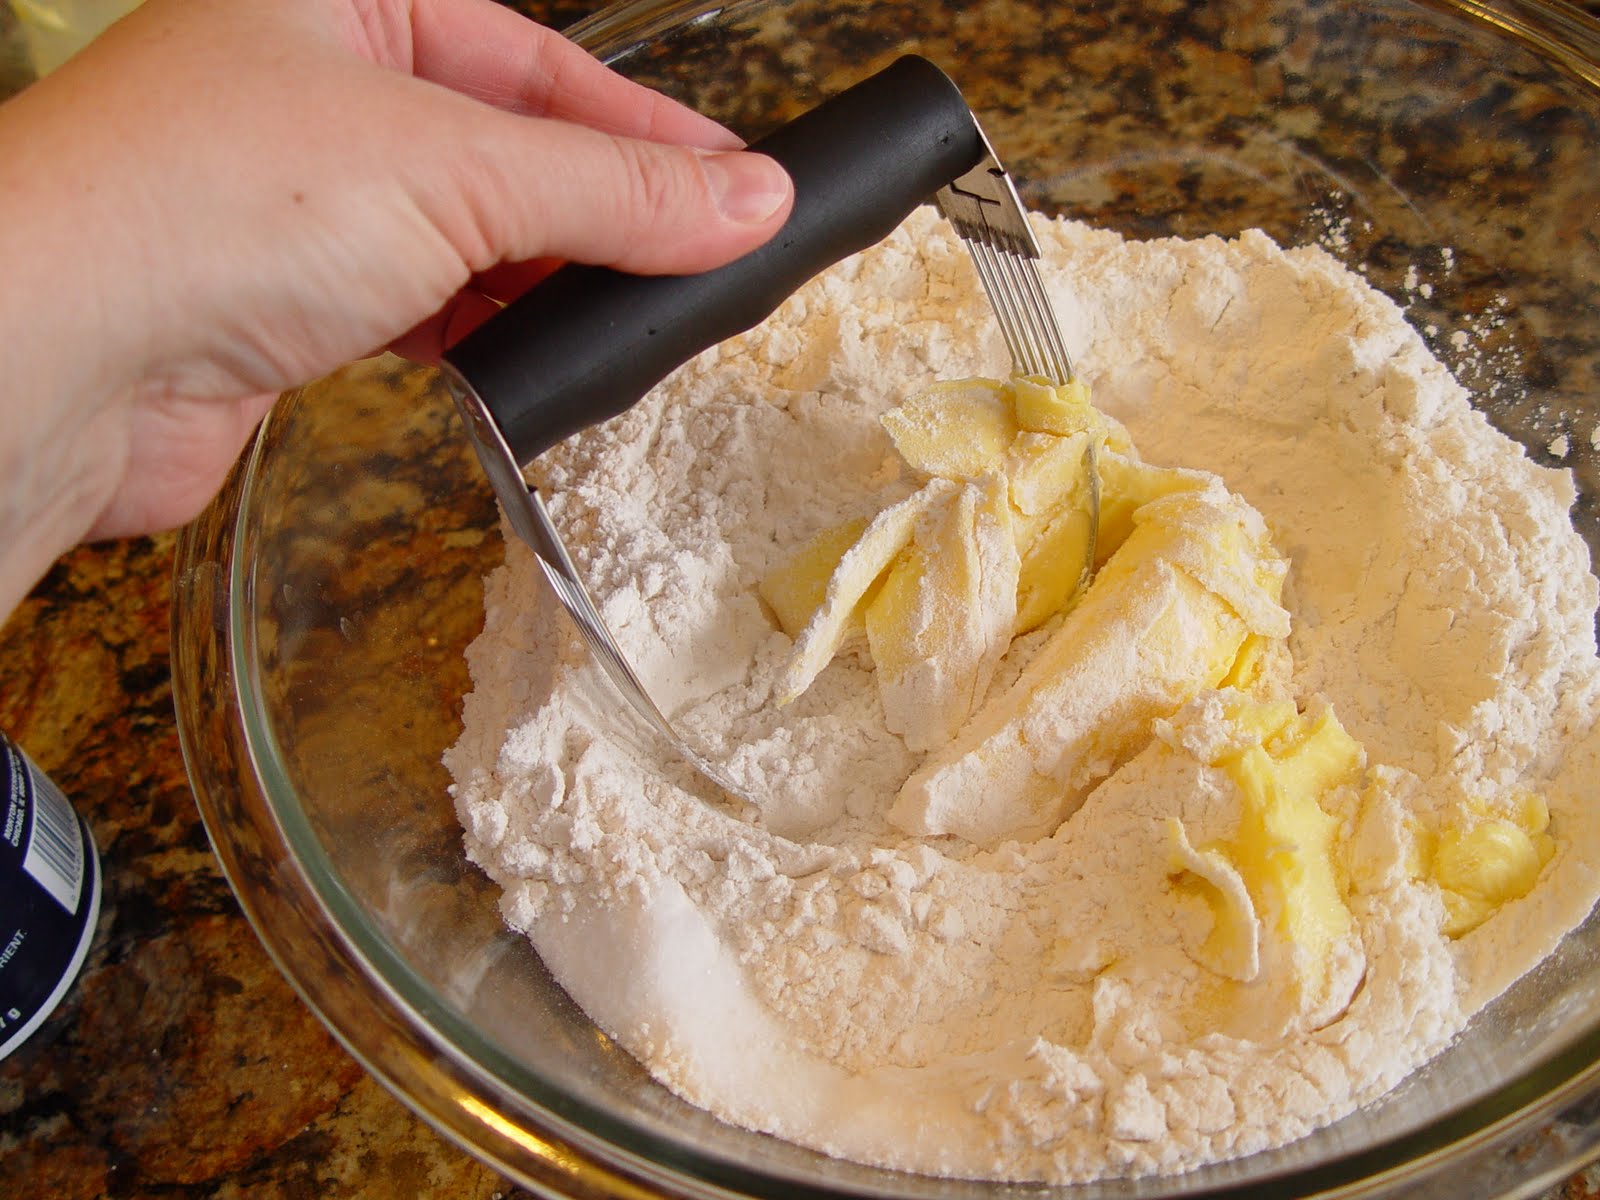
2. Using a pastry blender cut the shortening into the flour mixture,
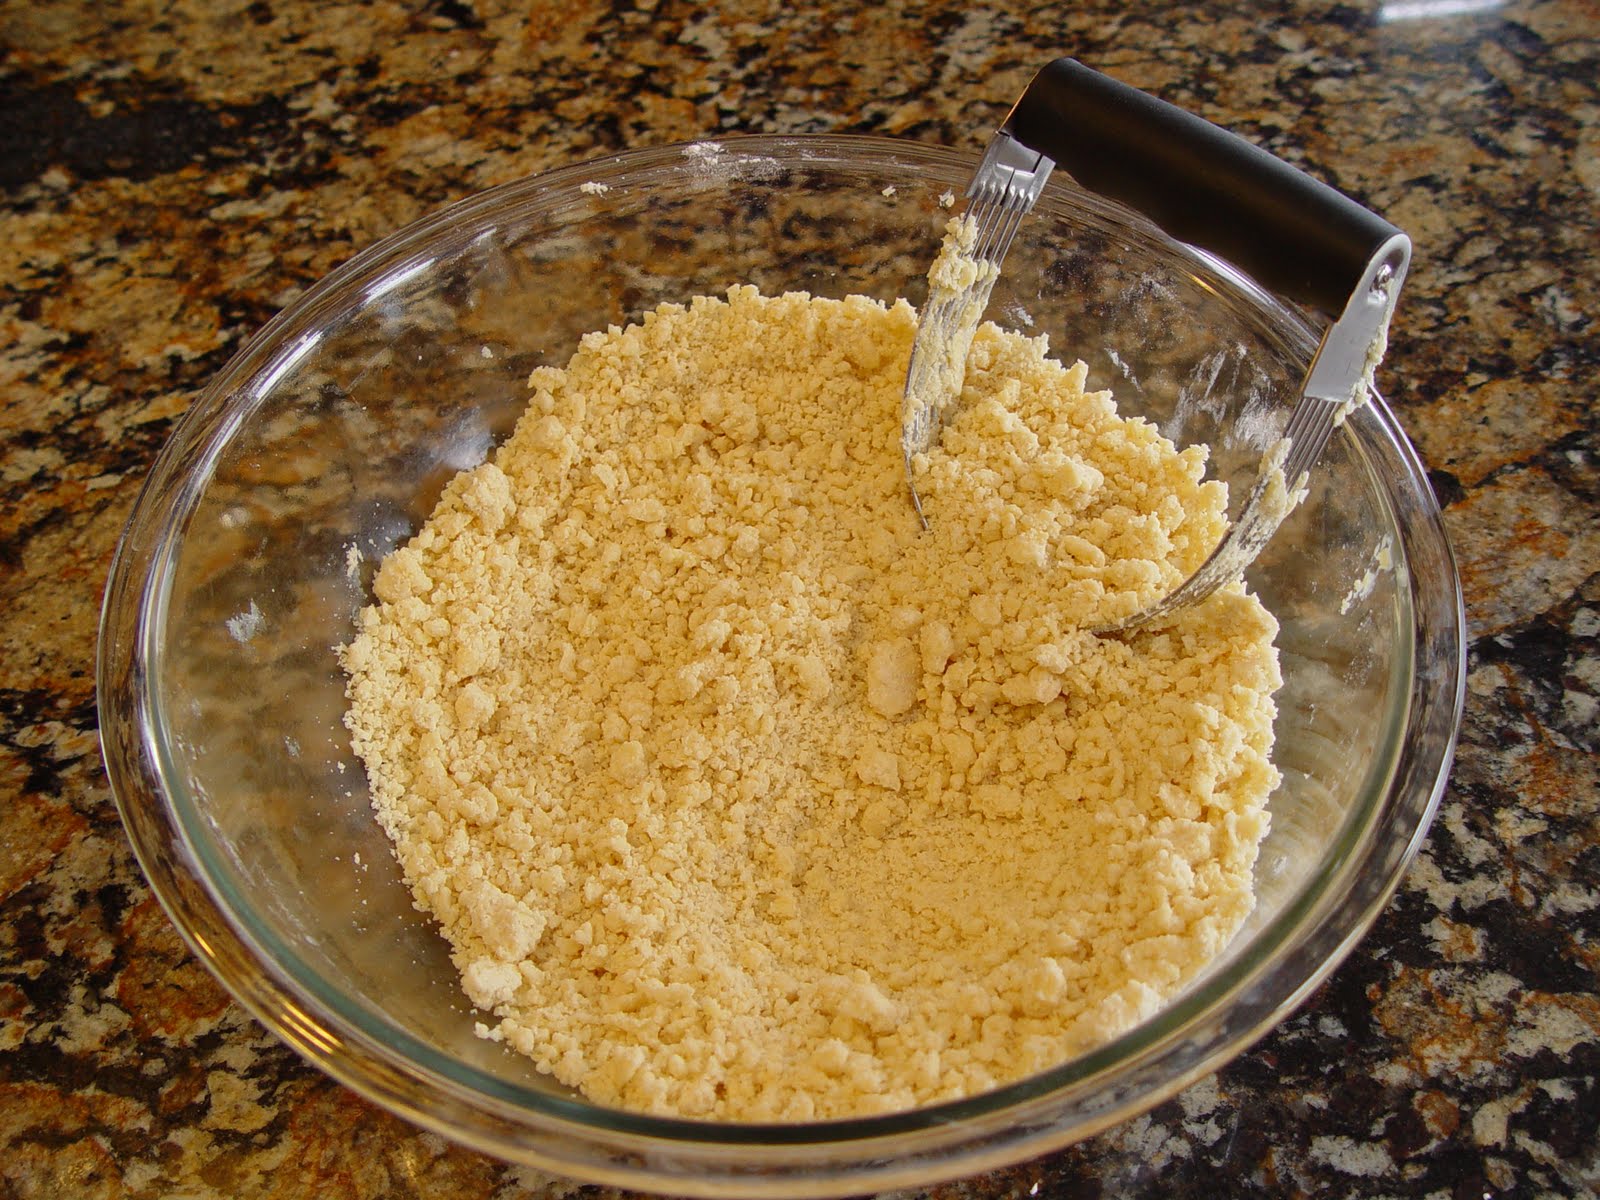
until it resembles coarse crumbs.
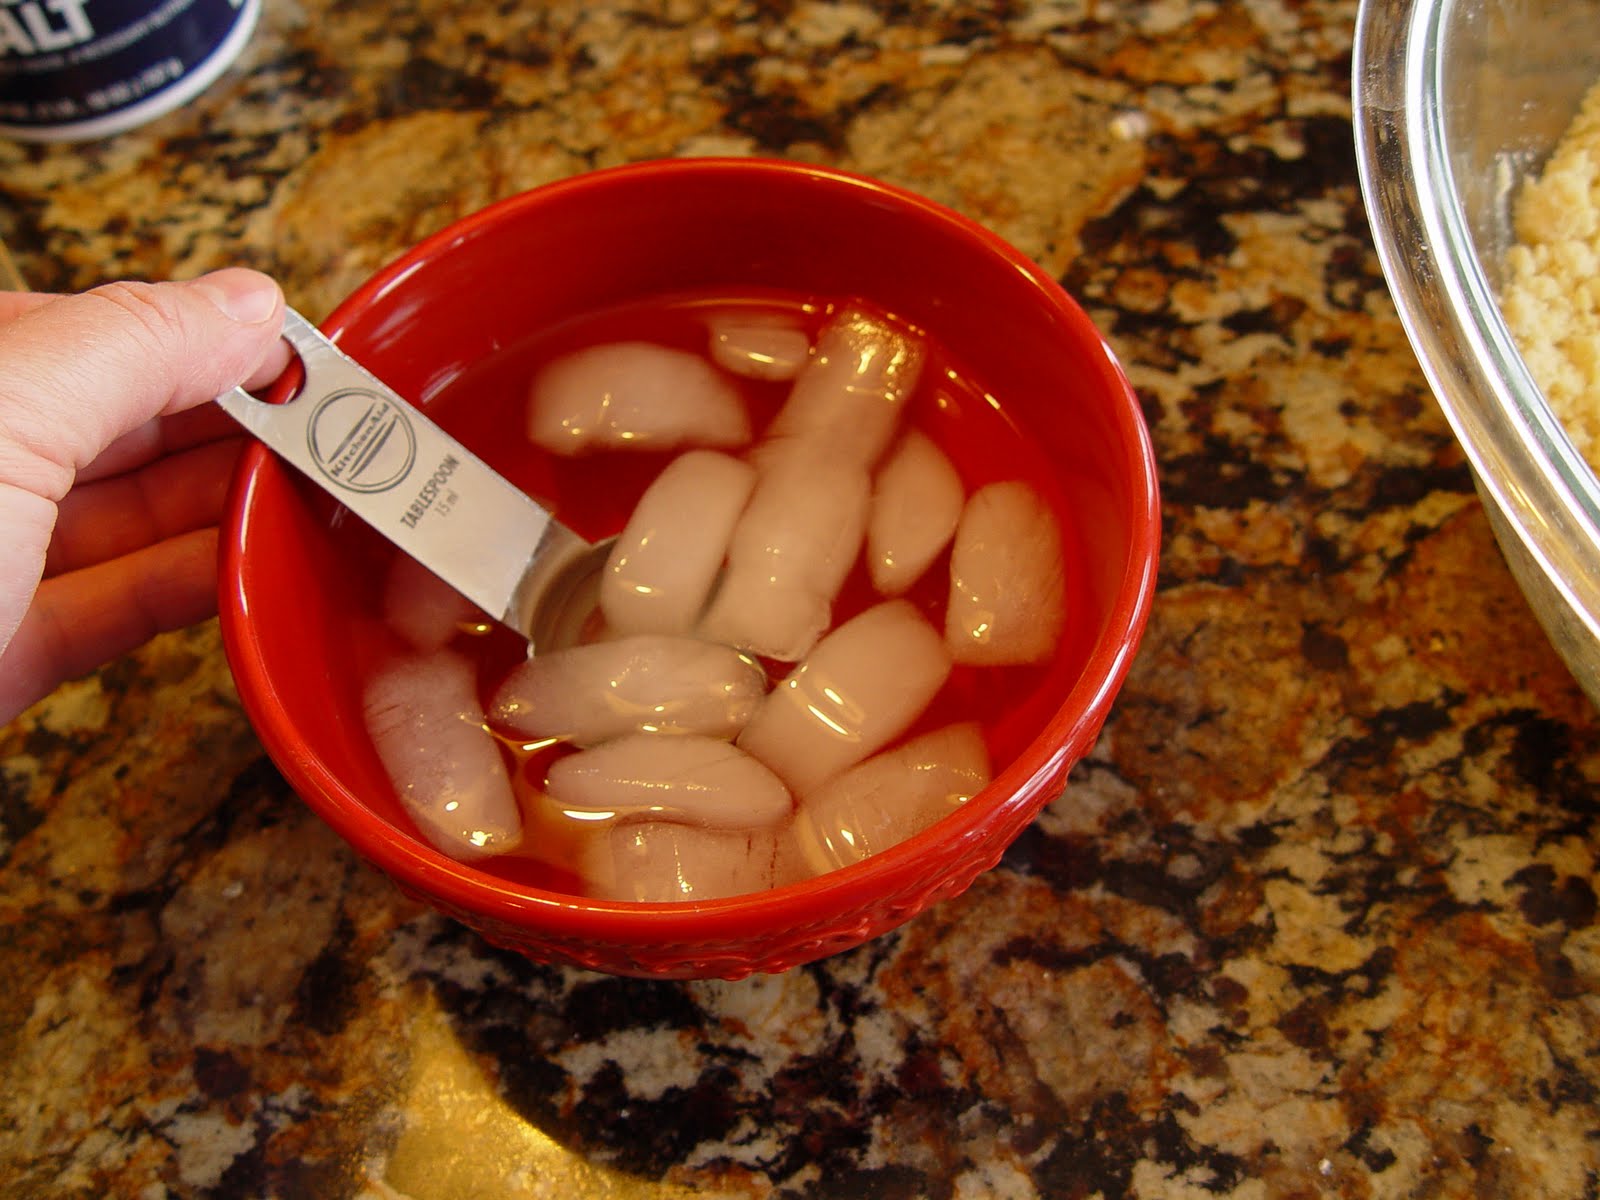
3. Pour some ice water into a bowl.

Measure out 5 T and add it to your dough. Mix the liquid into the dough with your pastry cutter.
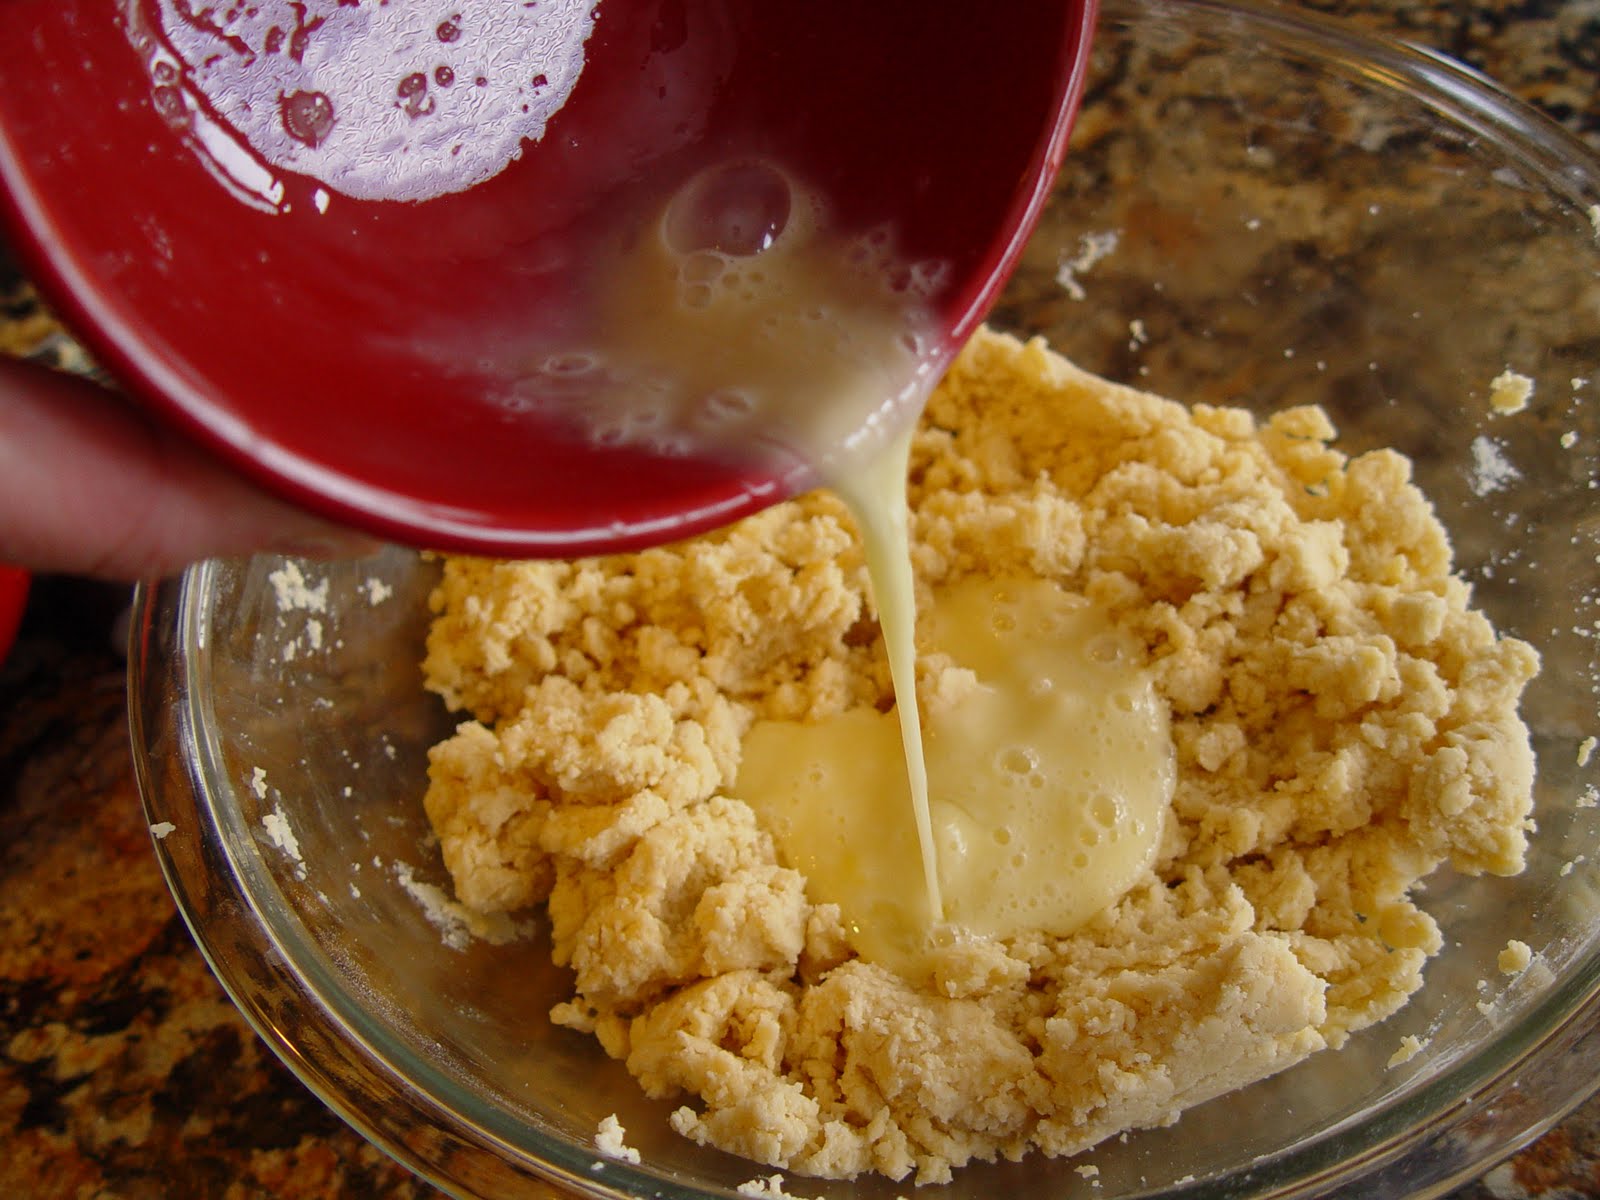
4. Crack your egg into a separate bowl. Whip it up with a fork until it’s nice and frothy. Pour it into the dough.
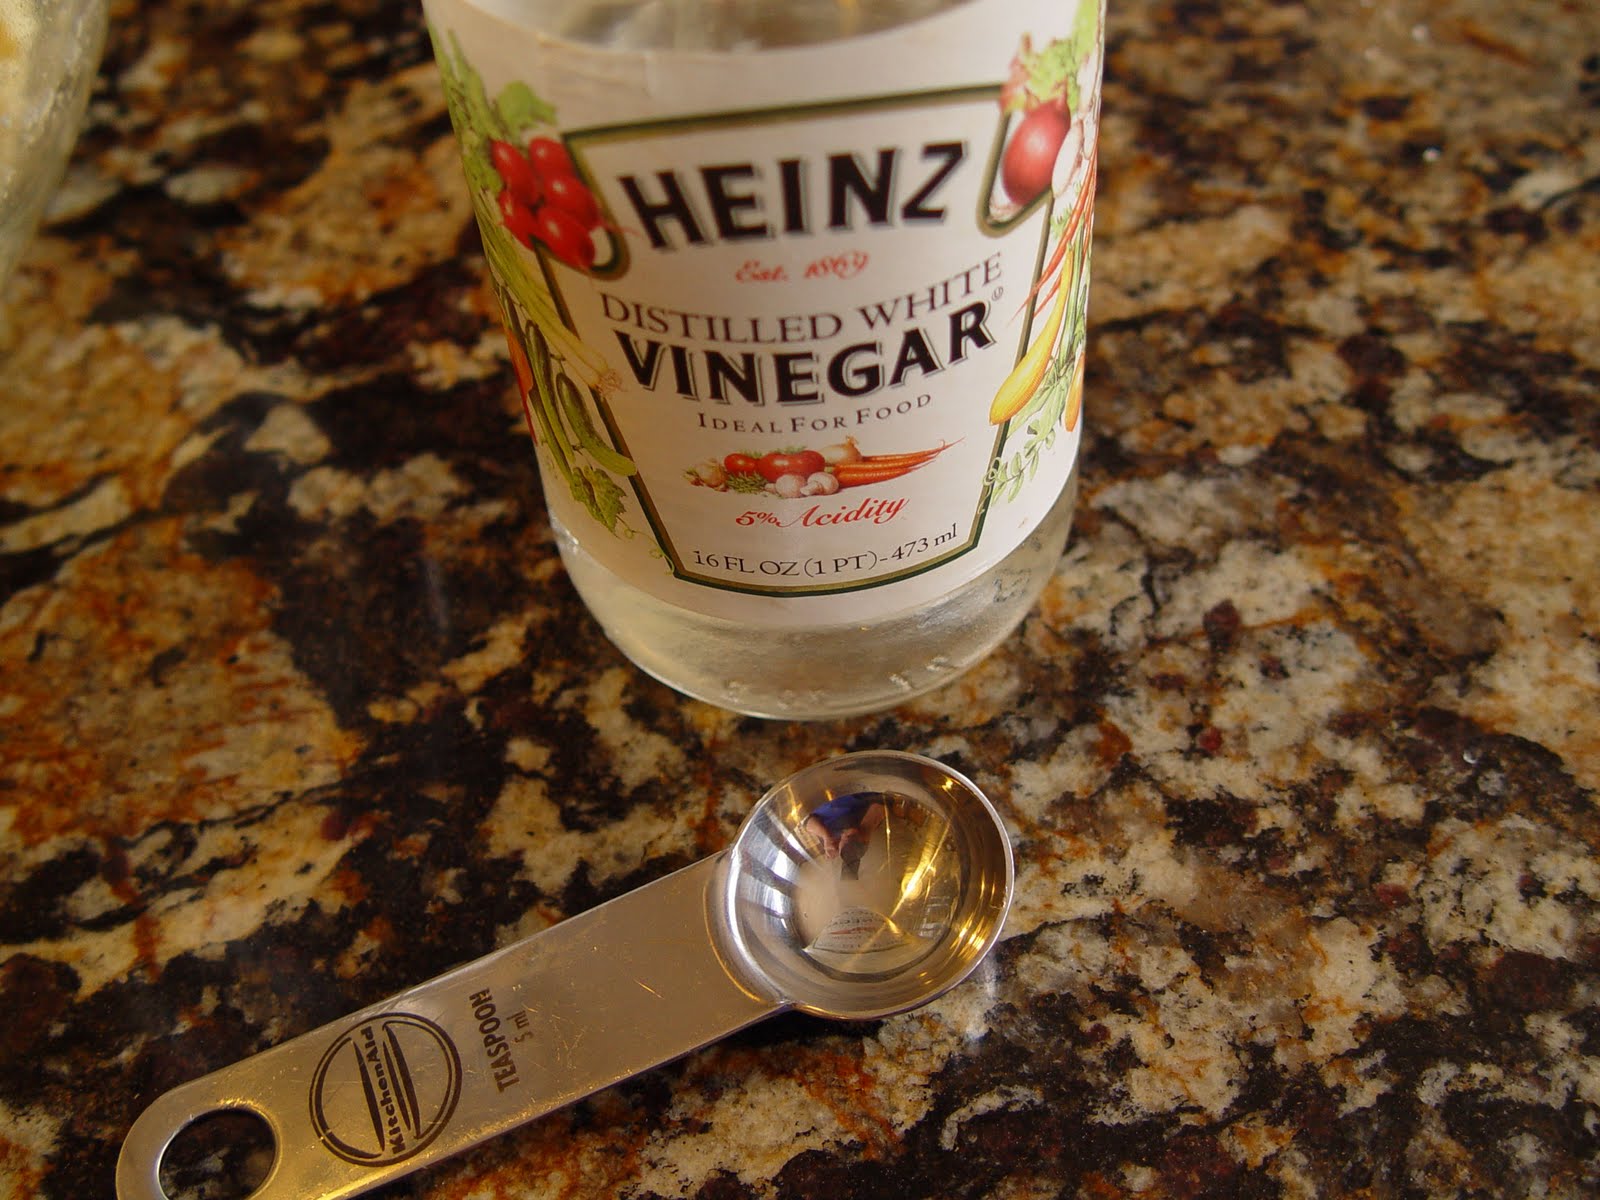
5. Pour the vinegar into the dough.

Mix the beaten and egg and vinegar into the dough with a wooden spoon just until combined.
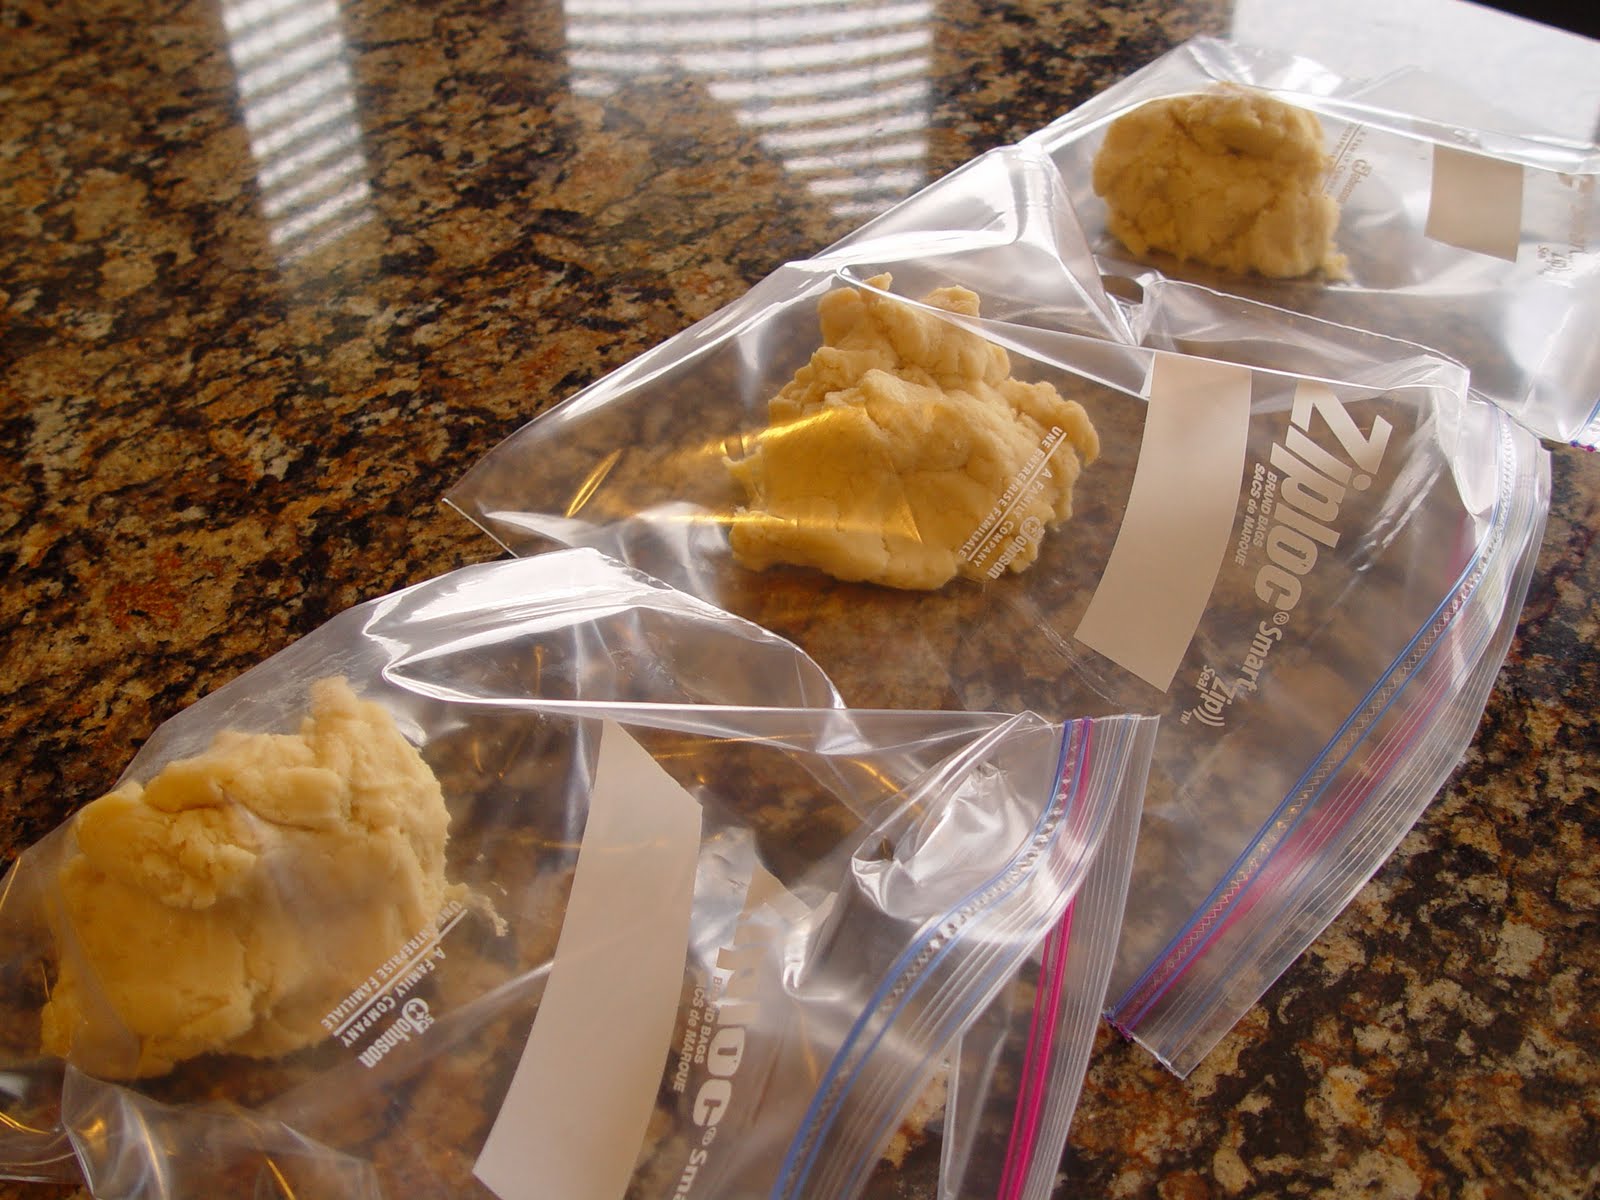
6. Divide the dough into three parts. Form each part into a ball and place it in a gallon sized zip loc bag.
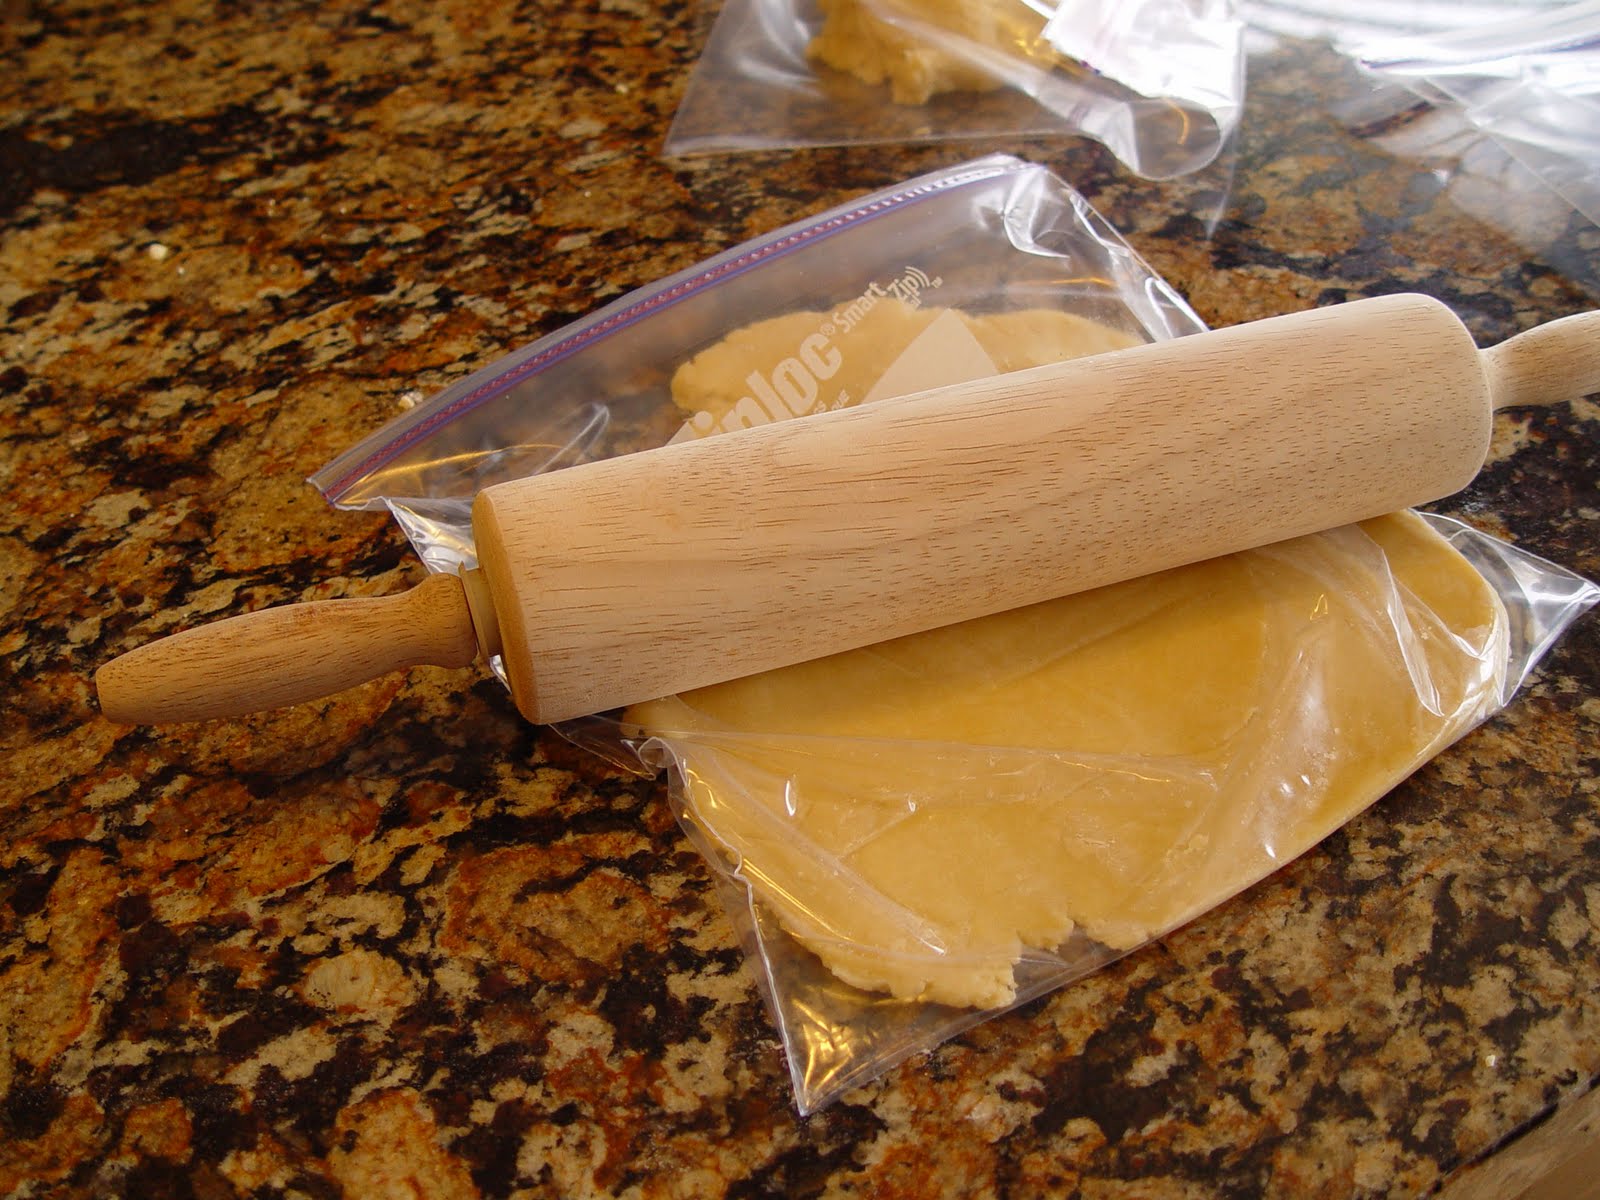
7. Roll the dough out flat with your rolling pin. Seal the bags up and stack them in your freezer. Let them chill out there for about 20 minutes.
***NOTE***This dough can be stored in the freezer for up to one month. When you are ready to use them just take them out of the freezer about 15 minutes before you are ready to roll them out and bake.
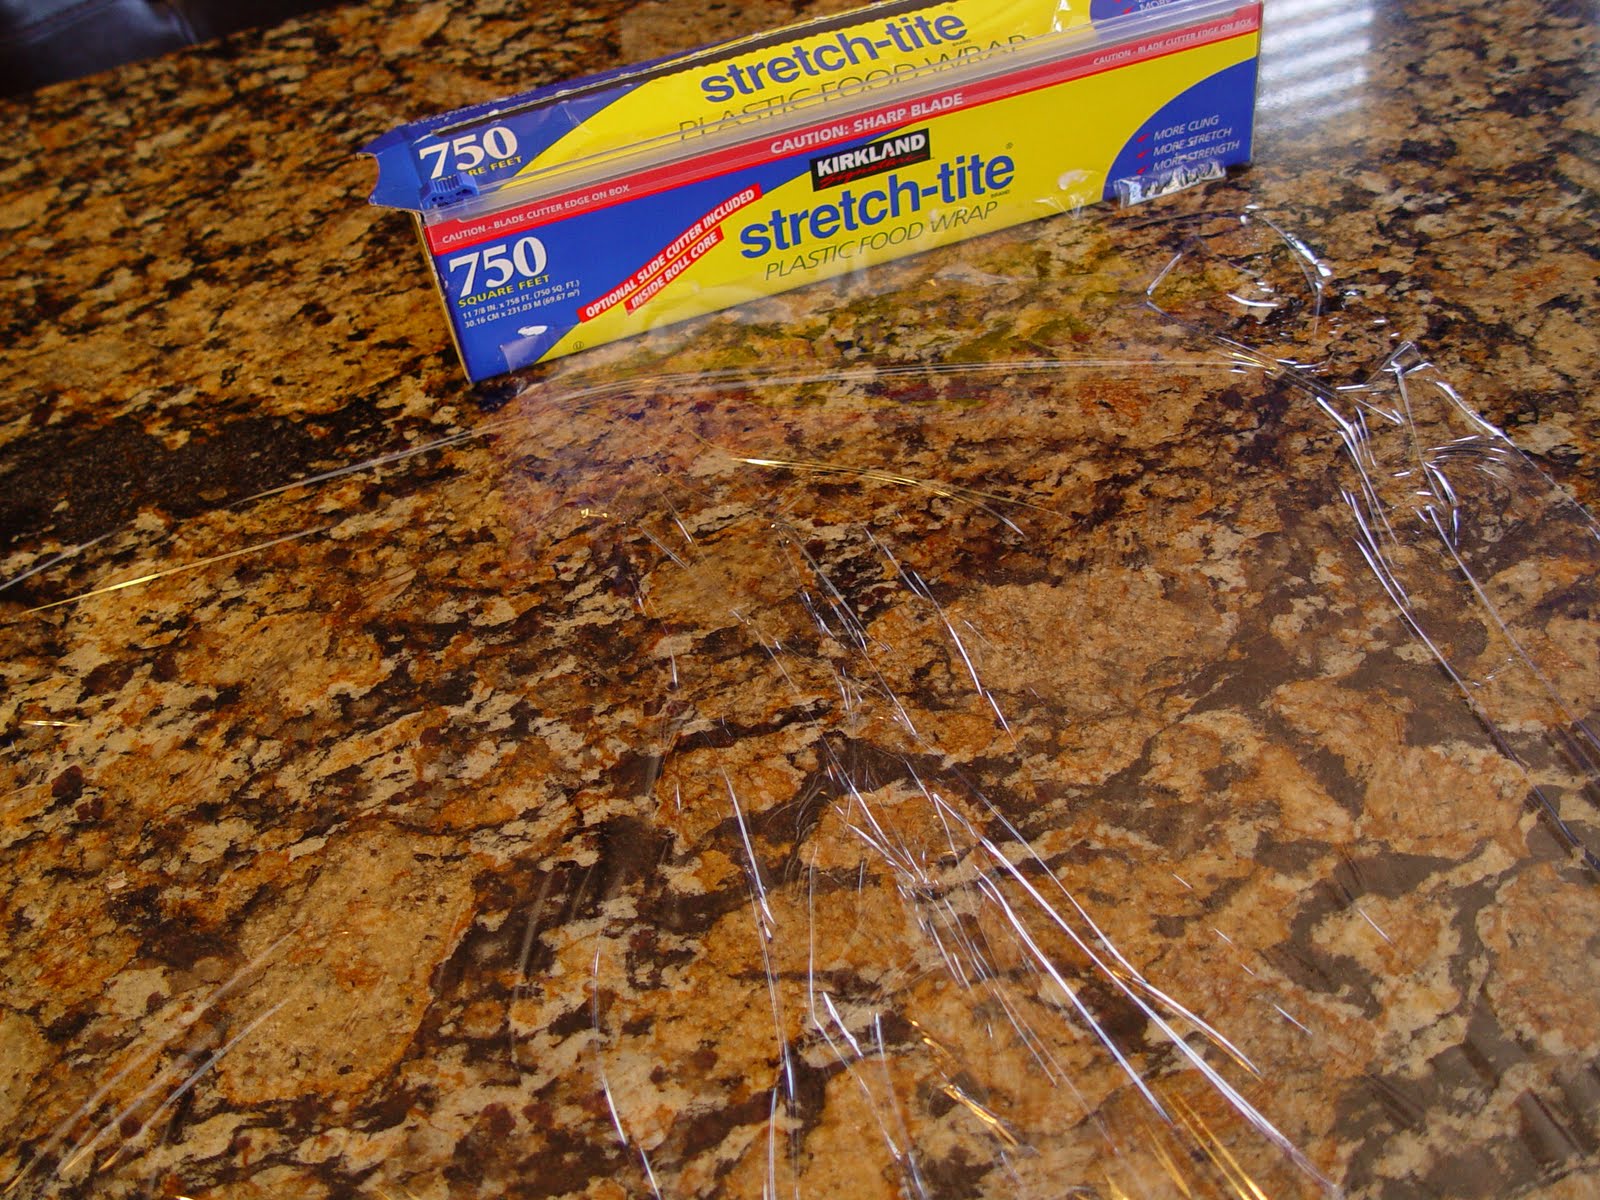
8. When your crusts are chilled nicely take some plastic wrap and line a section of your counter top with it.

9. Take your dough out of it’s zip loc bag and place it on the plastic wrap. Cover it with a separate piece of plastic wrap.
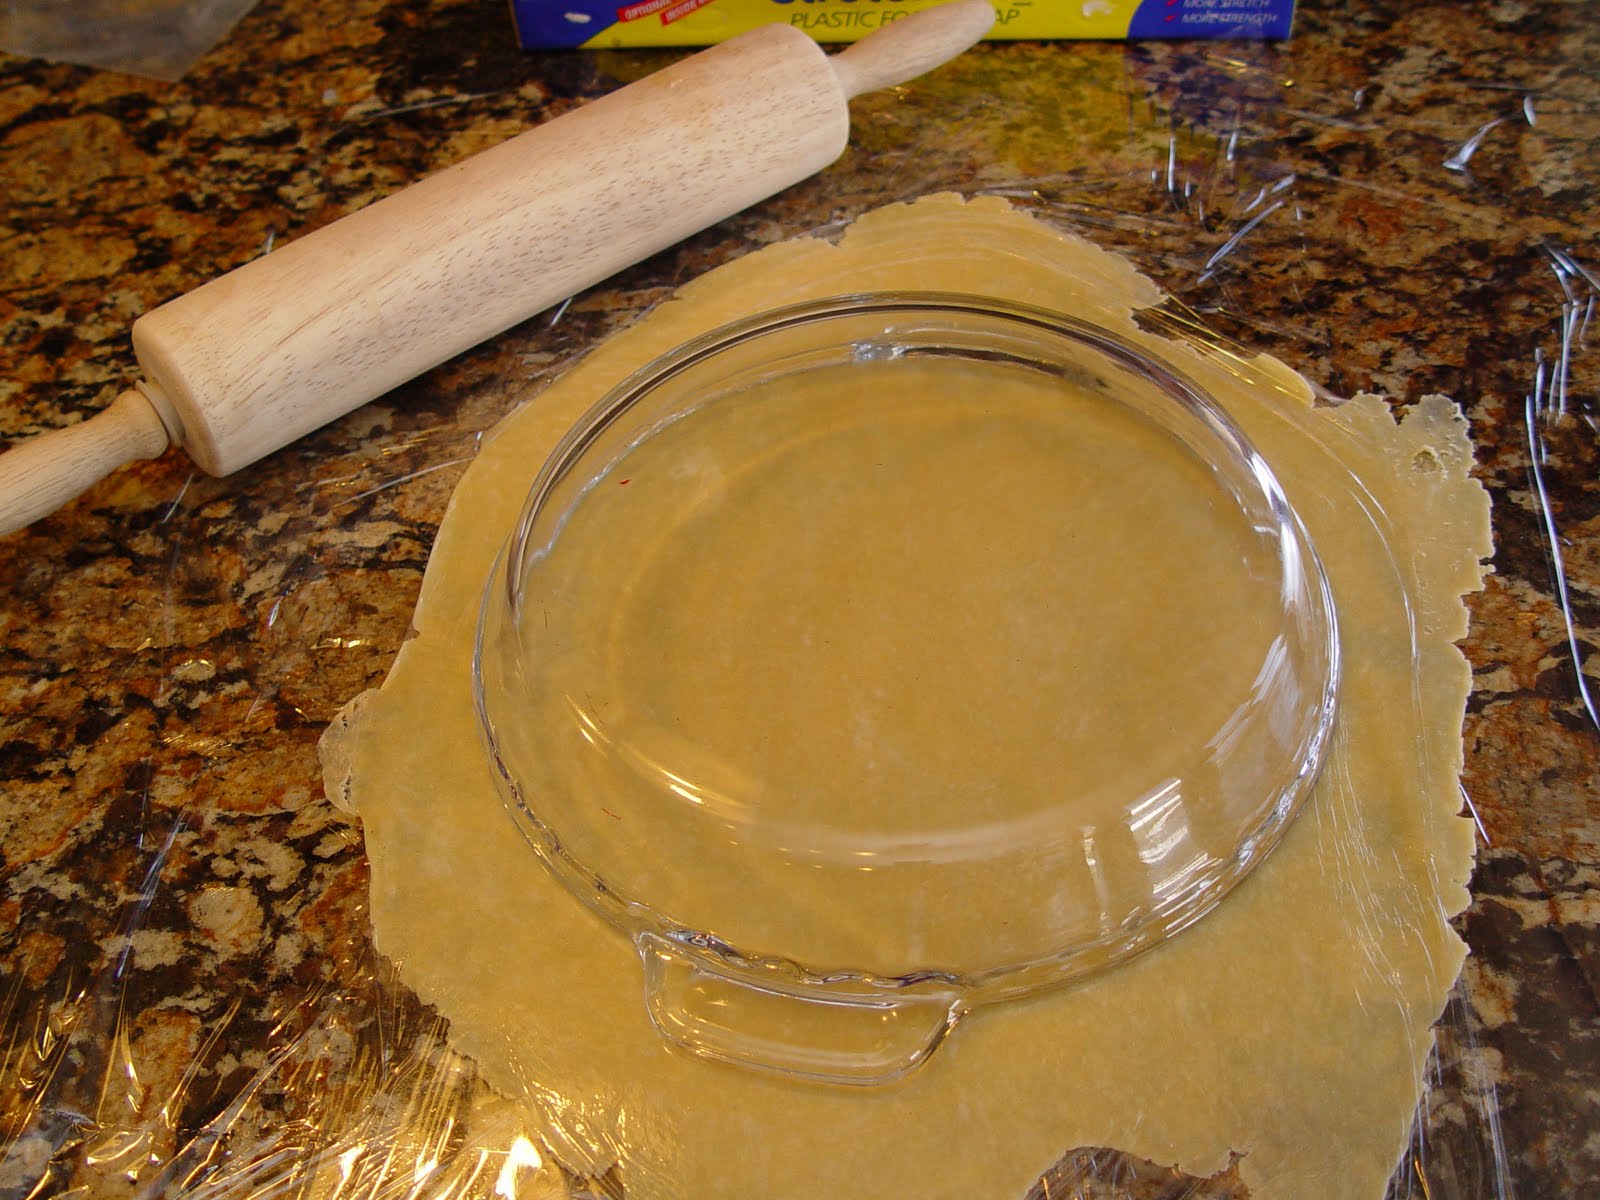
10. Roll the dough out flat into a large circle. To be sure that your crust has been rolled wide enough, turn your pie dish over onto the dough. If it’s about 2 inches wider than your pie dish you are good to go.
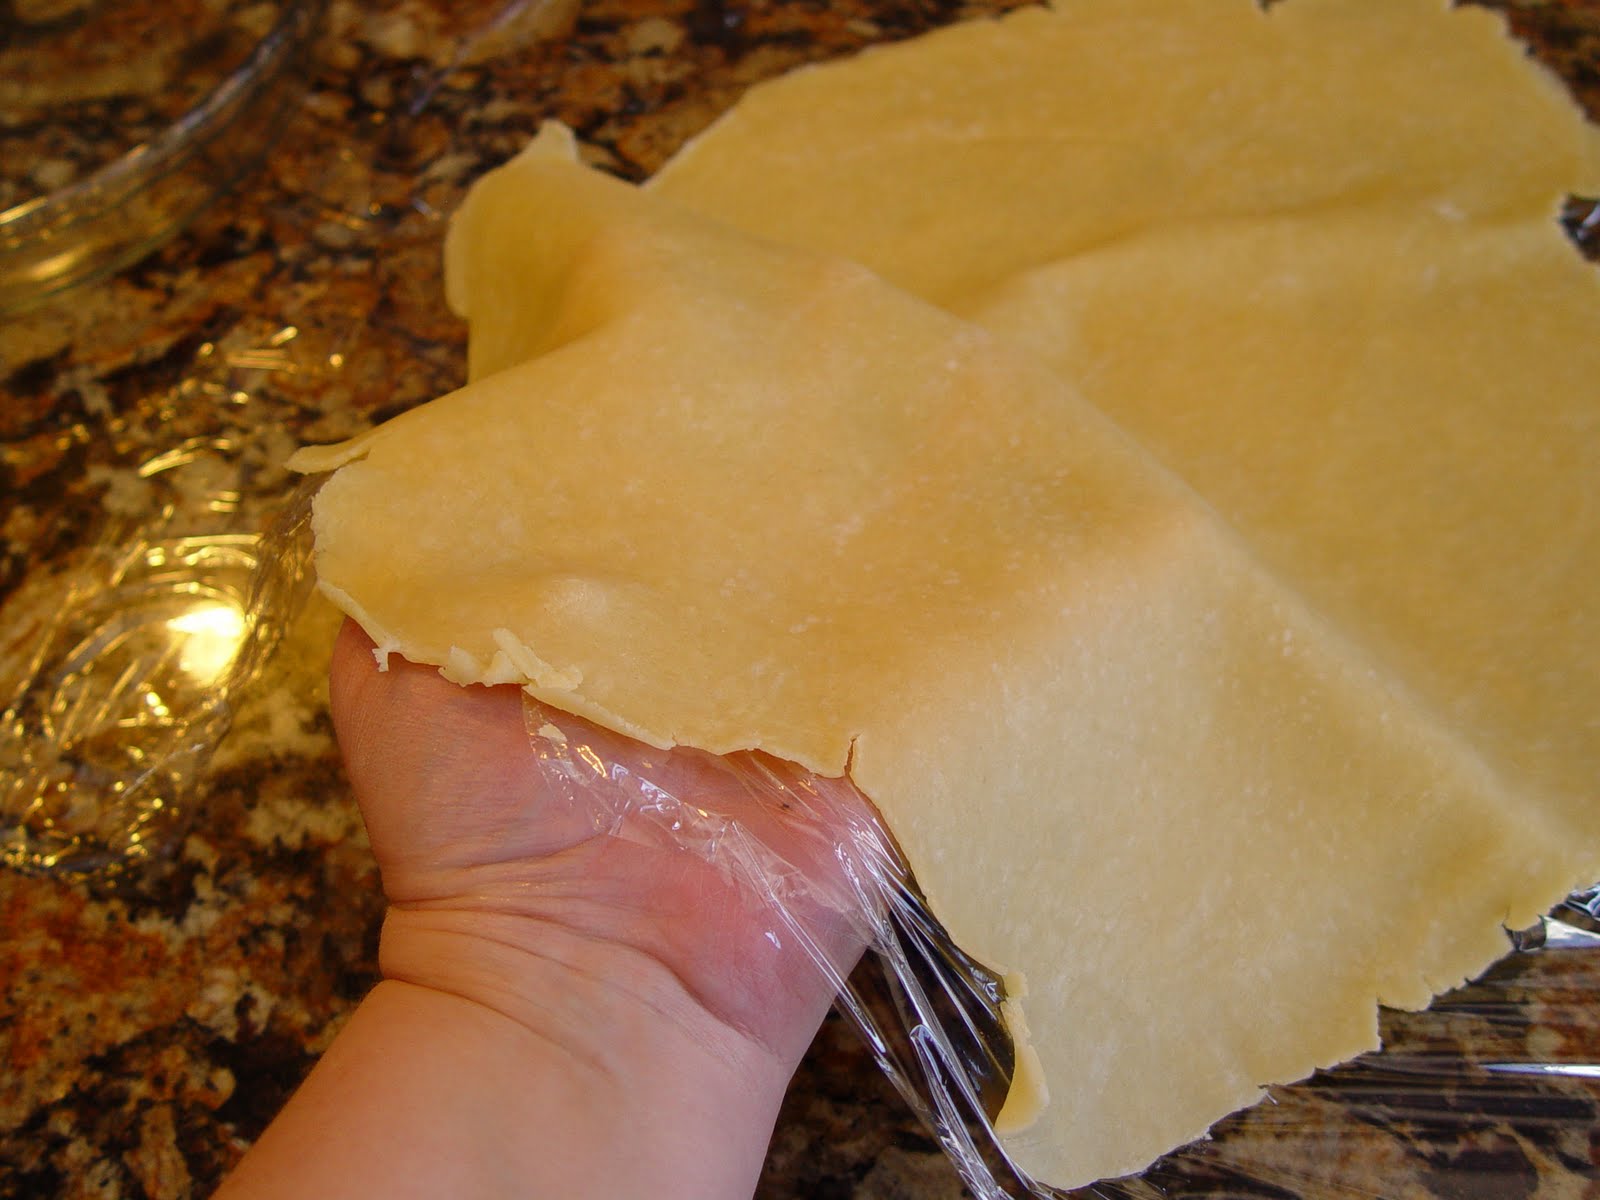
11. Carefully peel off the top layer of plastic wrap. Using the bottom layer of plastic wrap gently pick up your pie crust….
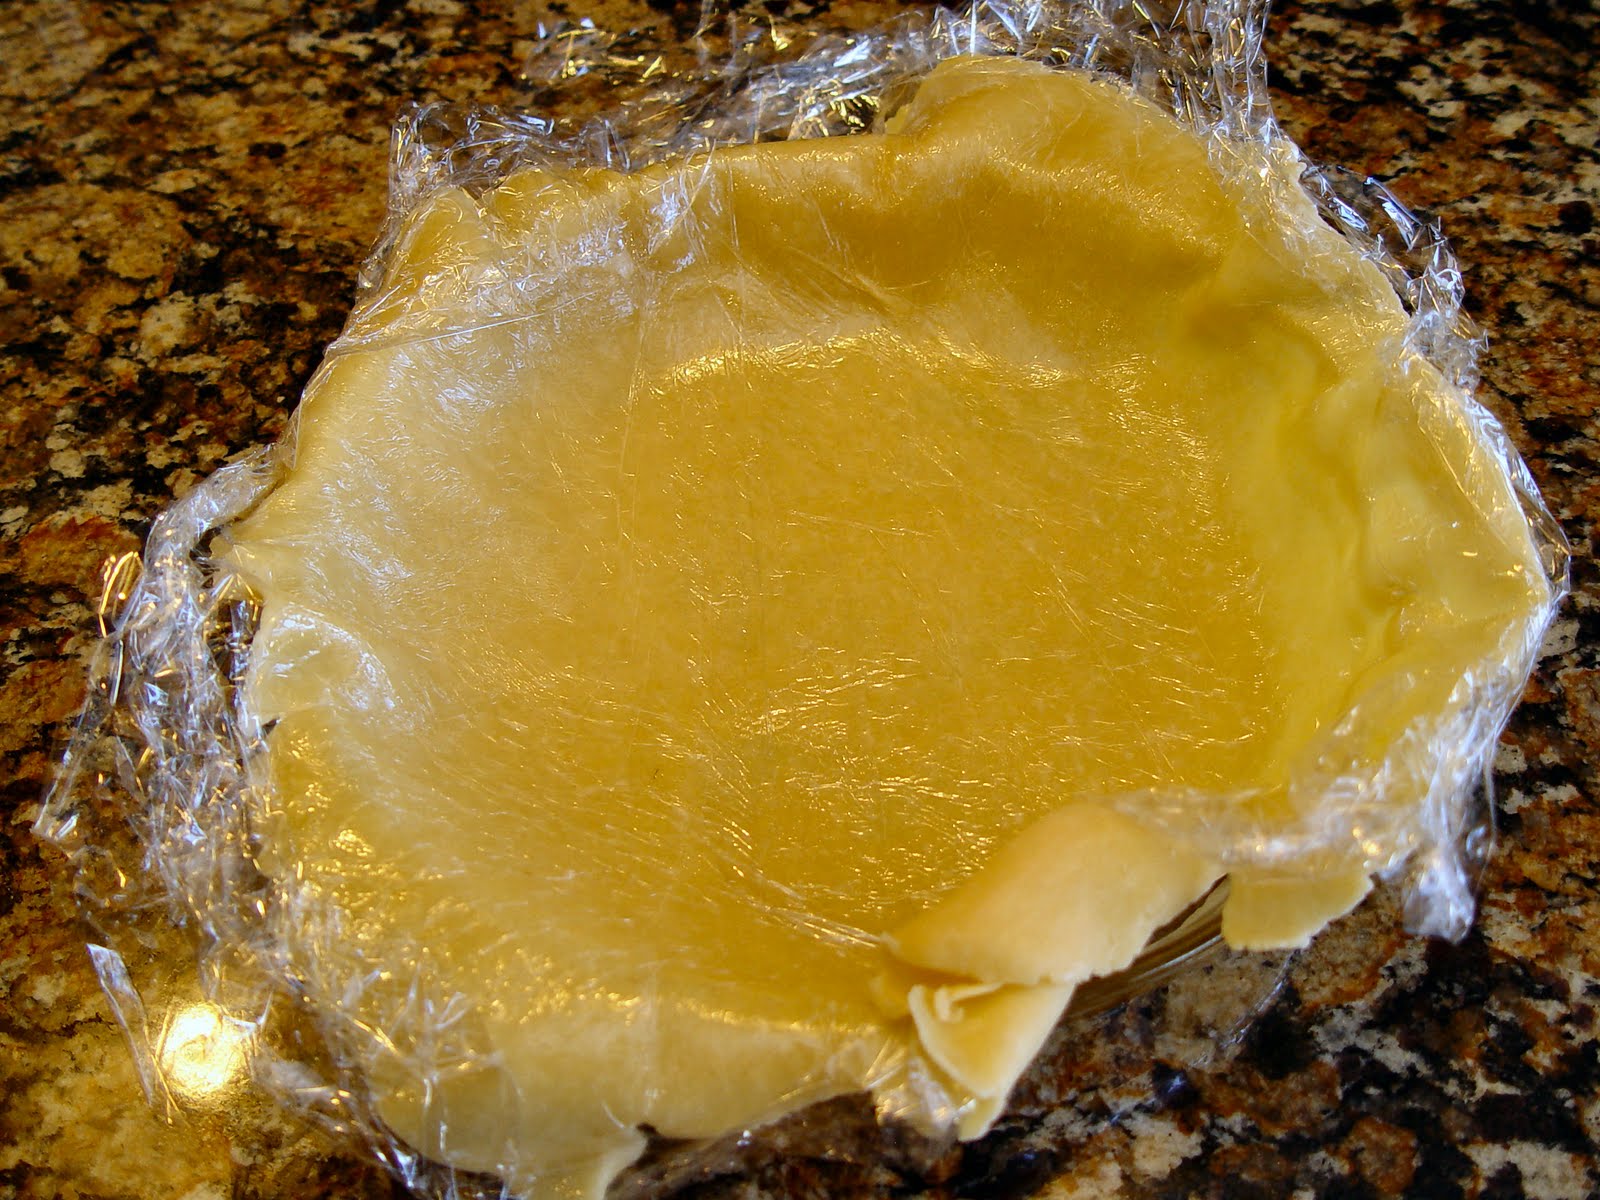
and place it into your pie dish. Gently peel the plastic wrap off. Press the crust into the plate.
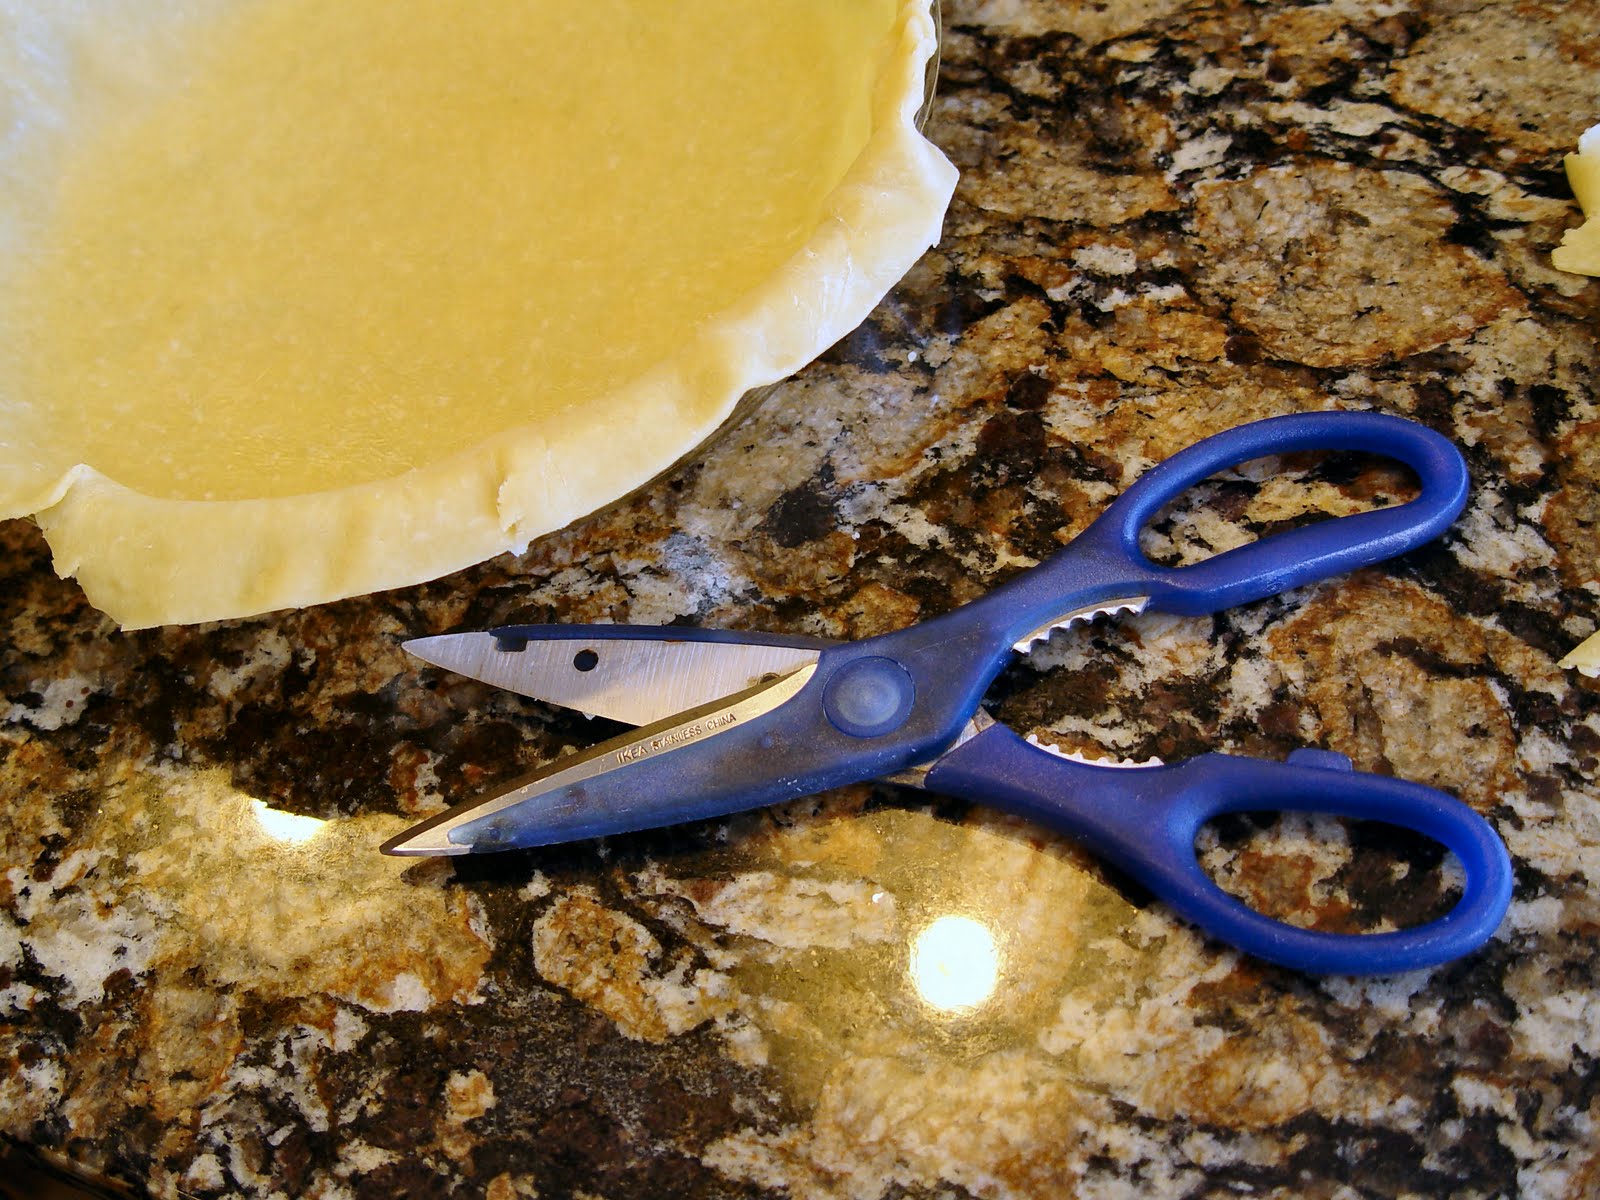
12. Take some sharp kitchen scissors and cut the crust around the edges of the pie plate, being sure to leave at least and inch of dough hanging over the side.
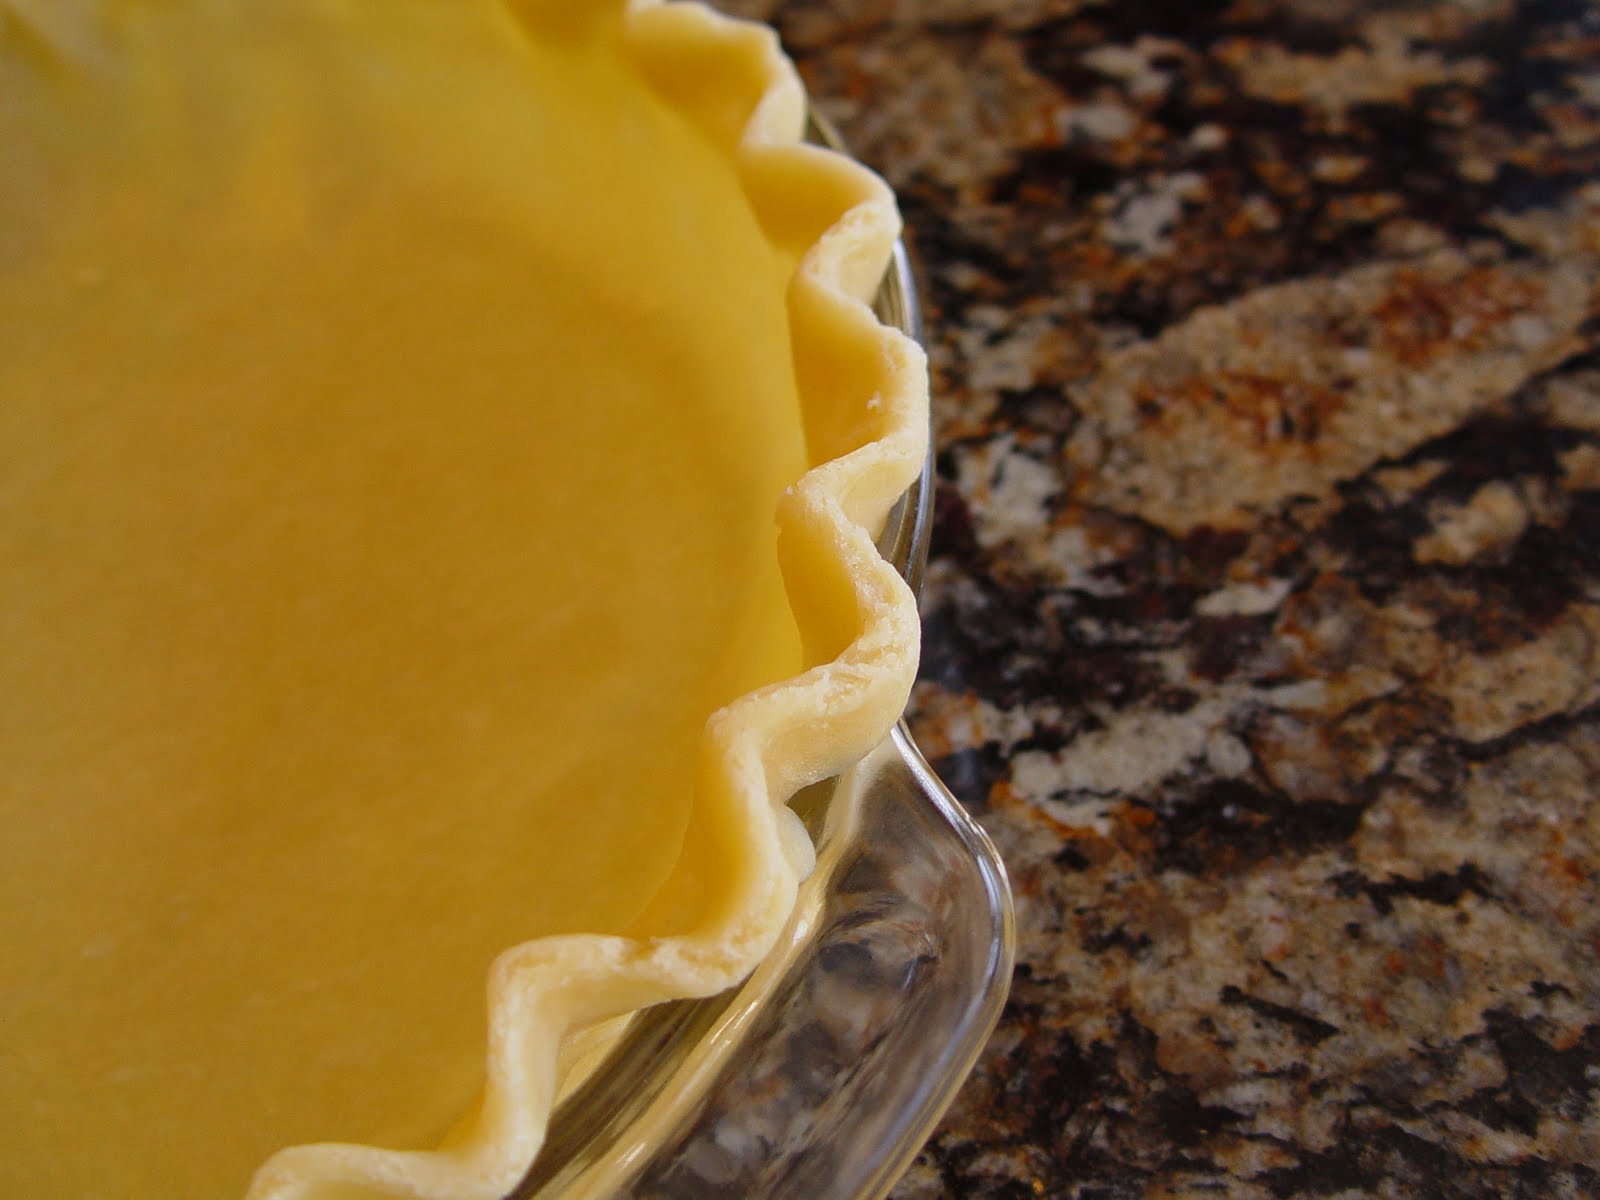
13. Tuck the hanging over dough under…
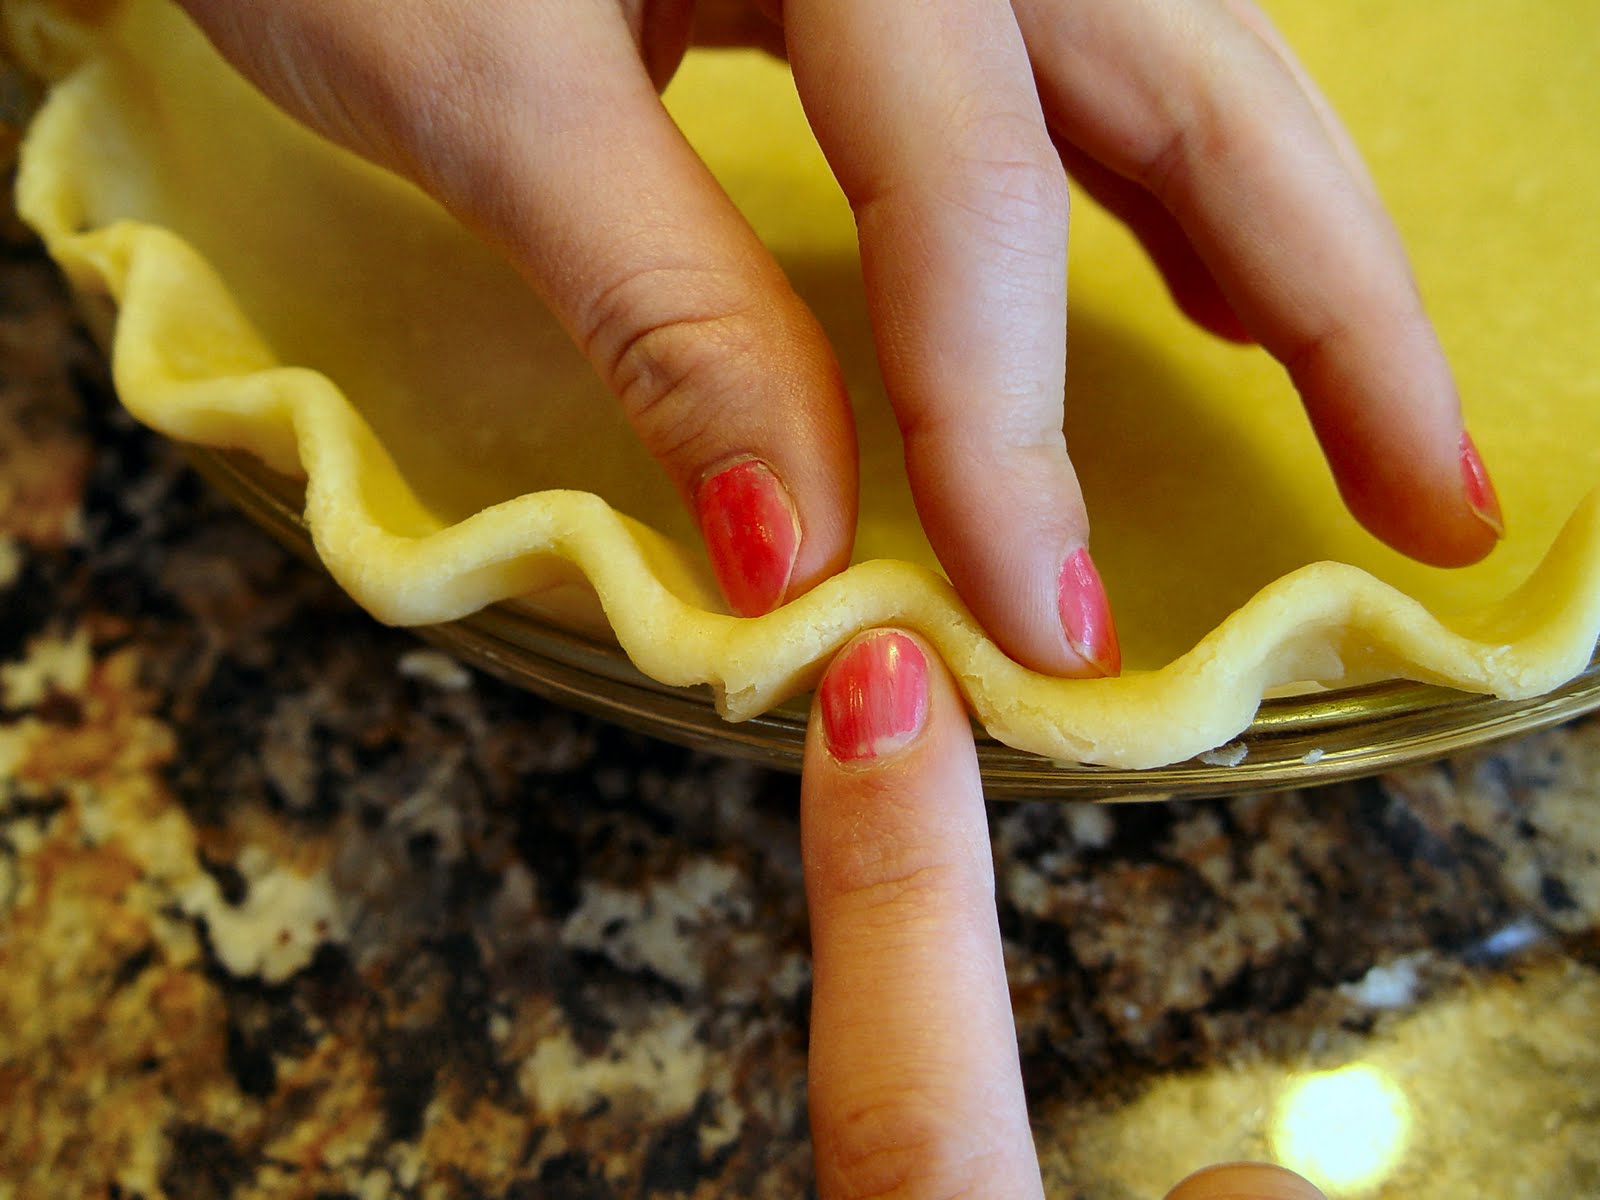
and shape the crust carefully with your fingers like so.
If you are planning to fill this pie before baking…now is the time to do so. If you need to bake the crust separate from the filling then you will need to…..
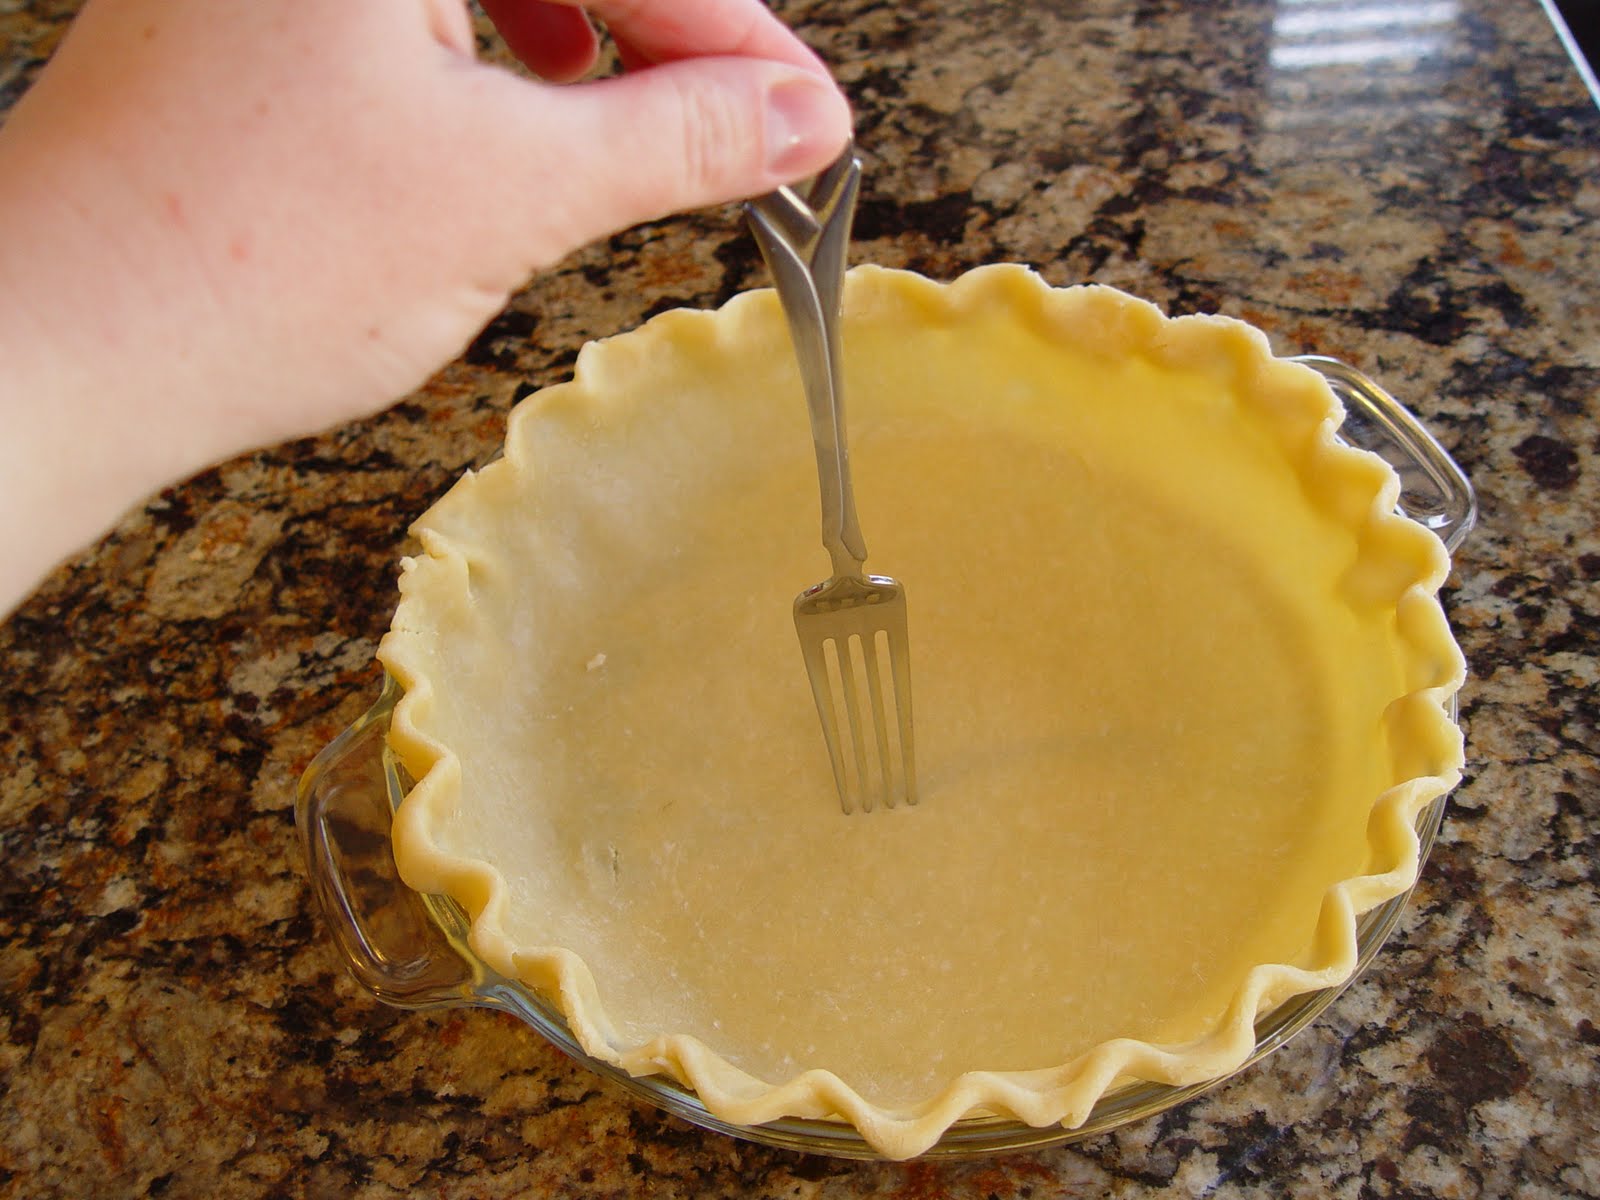
14. Take a fork and stick it into the crust several times.
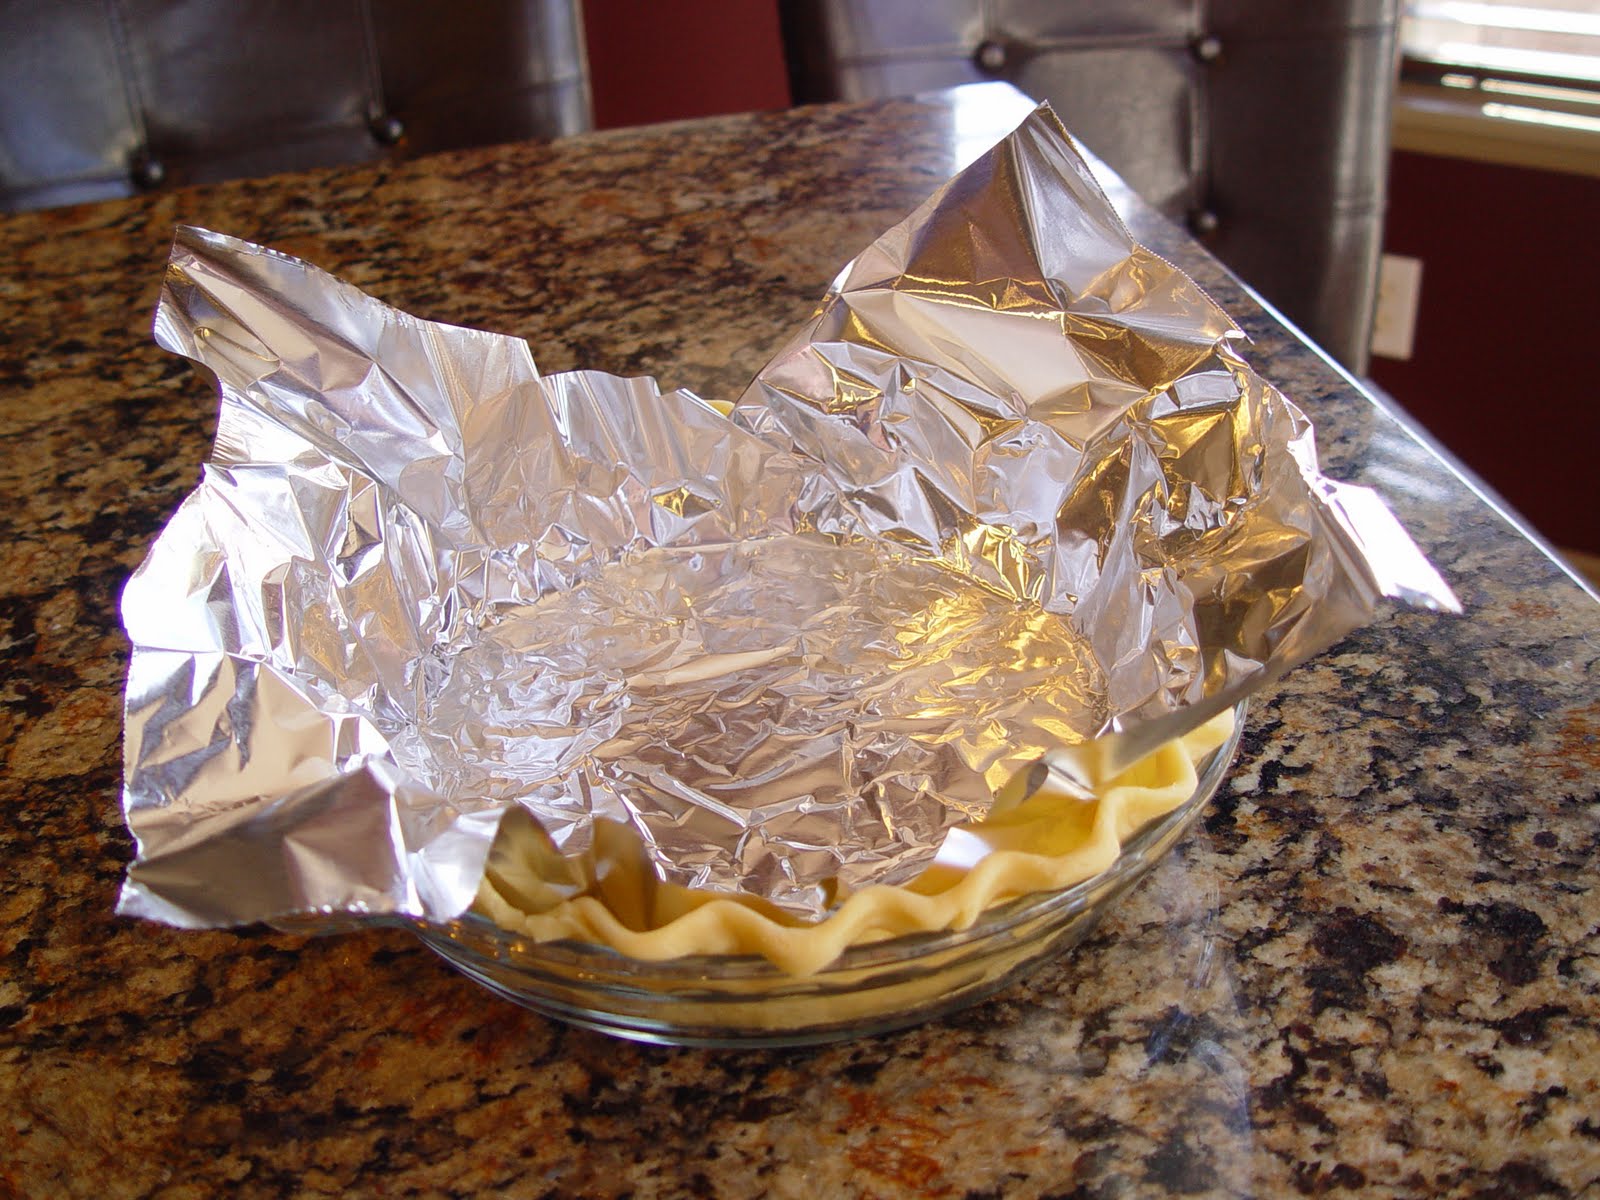
Line the inside of your dough with tin foil.
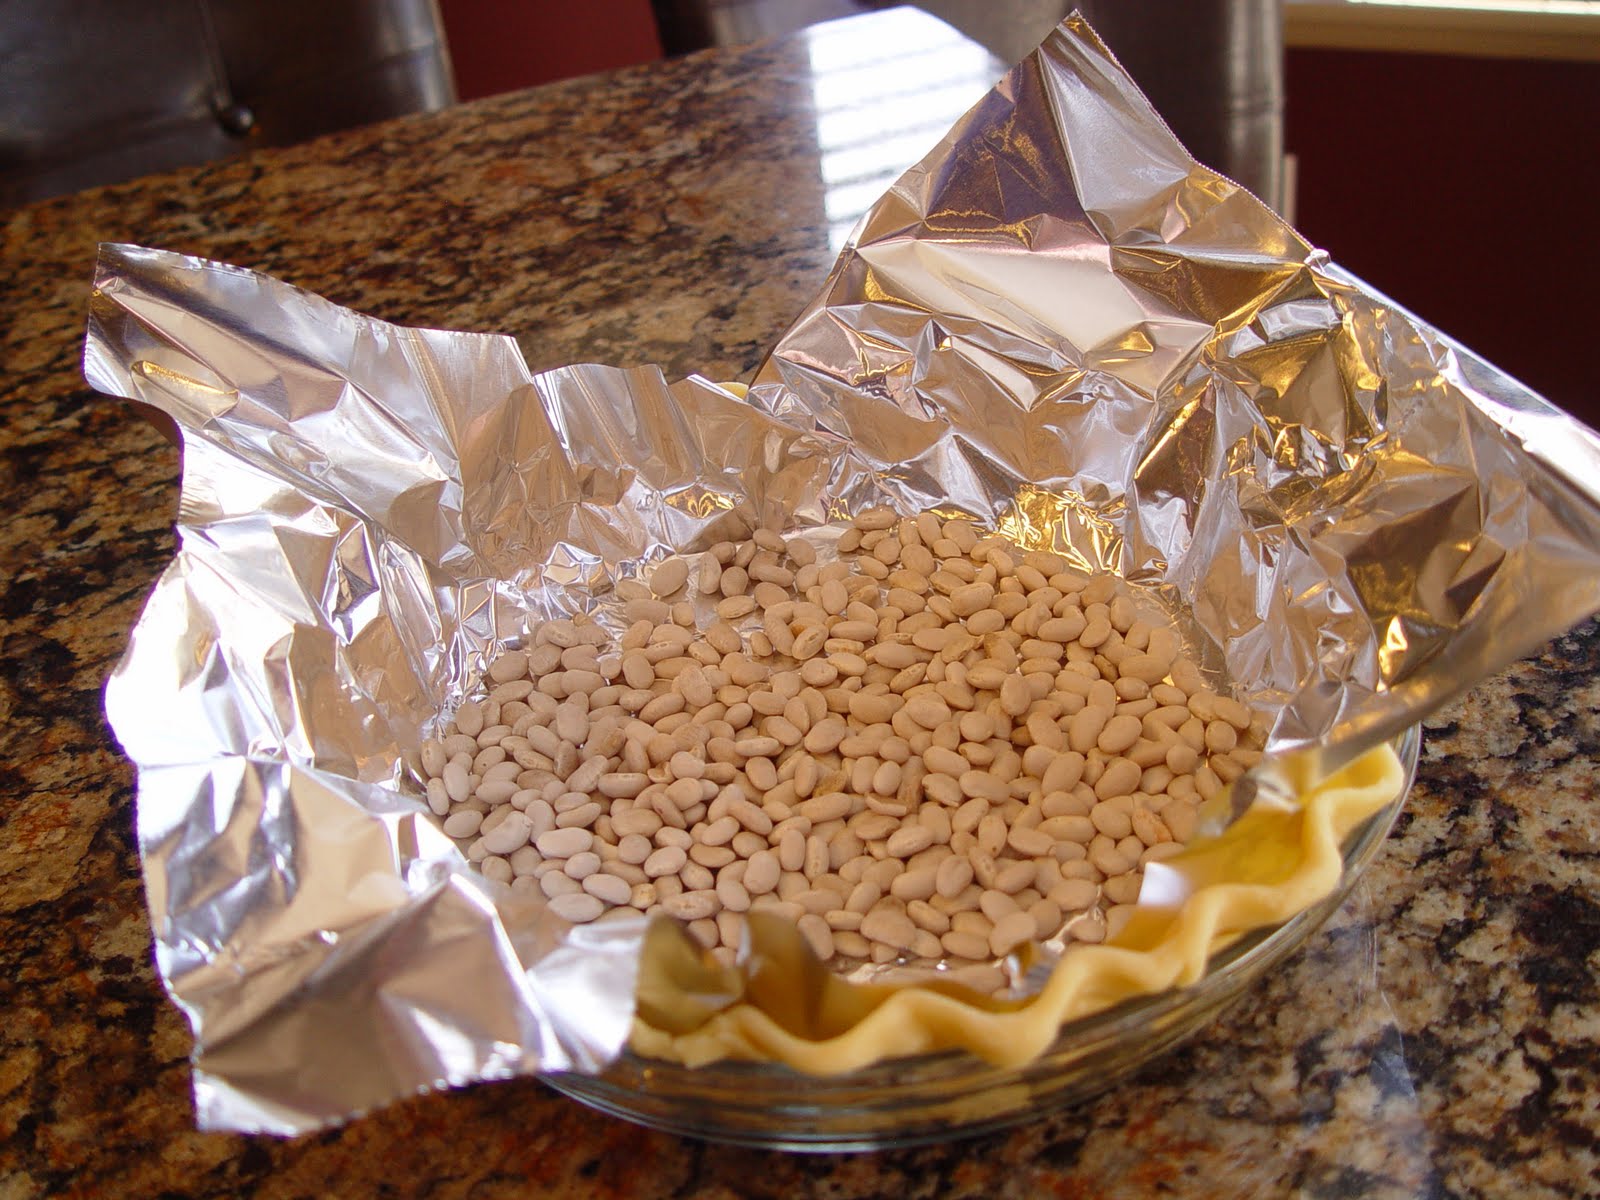
Pour about one cup of dried beans into the center of the crust. Now…you may be thinking. “What in the world is she doing!!?”
This step really helps the dough stay put. Otherwise when you bake the crust the dough will start to shrink and the sides will end up all wadded up on the bottom of the pie plate. That is something we don’t want.
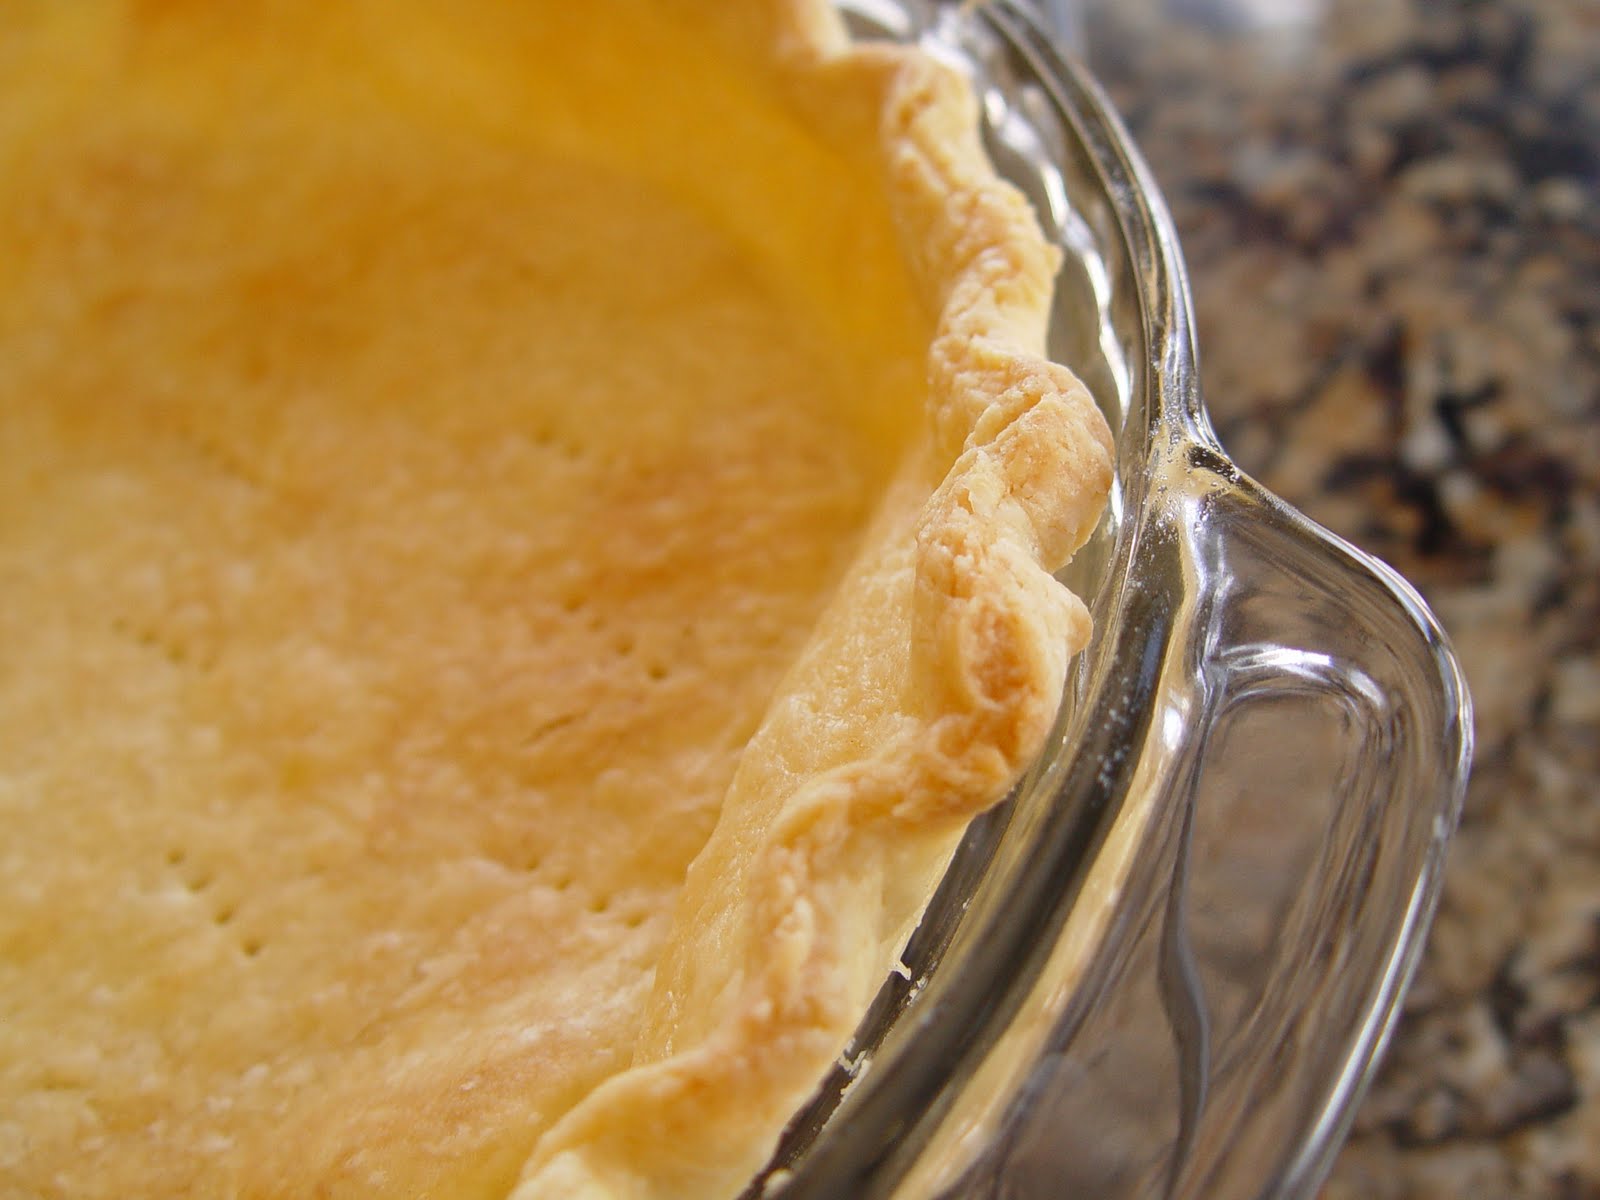
15. Bake the crust at 400 degrees for approximately 12 minutes or until the crust is golden brown.
Let the crust cool completely and then fill as desired….
like with this heavenly Blueberry Sour Cream Pie Filling.
Enjoy!


thanks for the recipe. pie crusts are such a pain to me, mine are never terrible, they just aren't that great either. I hope this one does the trick.
Jamie,
I just made perfect pie crust for the first time! I think our family will be having pie a lot more regularly now! Thanks so much! YUMMM!
Emily
Yea. Now I can finally make pie crust. Thank you for this recipe. I love to keep a supply frozen so I can make a pie any time and in a short time . Love your recipes and pictures. Keep baking and sharing please.