This post may contain affiliate links. Please read our disclosure policy.
It’s Wednesday, my blog reading pals…
and you know what that means.
A kid friendly…
Put some little hands to work…
Gird up your loins for a small kitchen mess…
See your kids smile and have fun….
kind of recipe.
It’s true.
That is what Wednesday is about around here this summer.
Click here to see the previous
posts.
Today, for your kid pleasing enjoyment I have a fun recipe for…
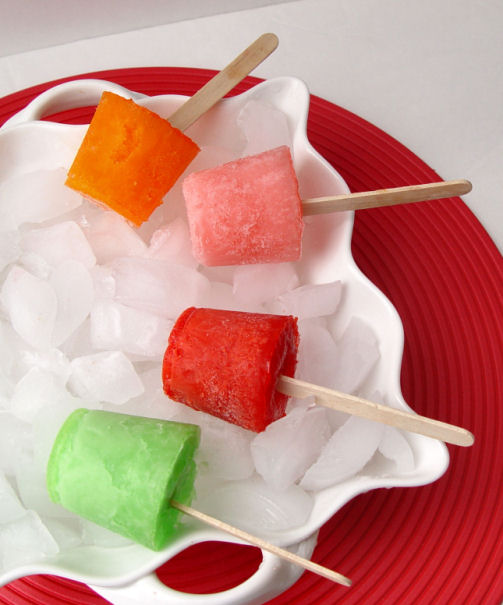
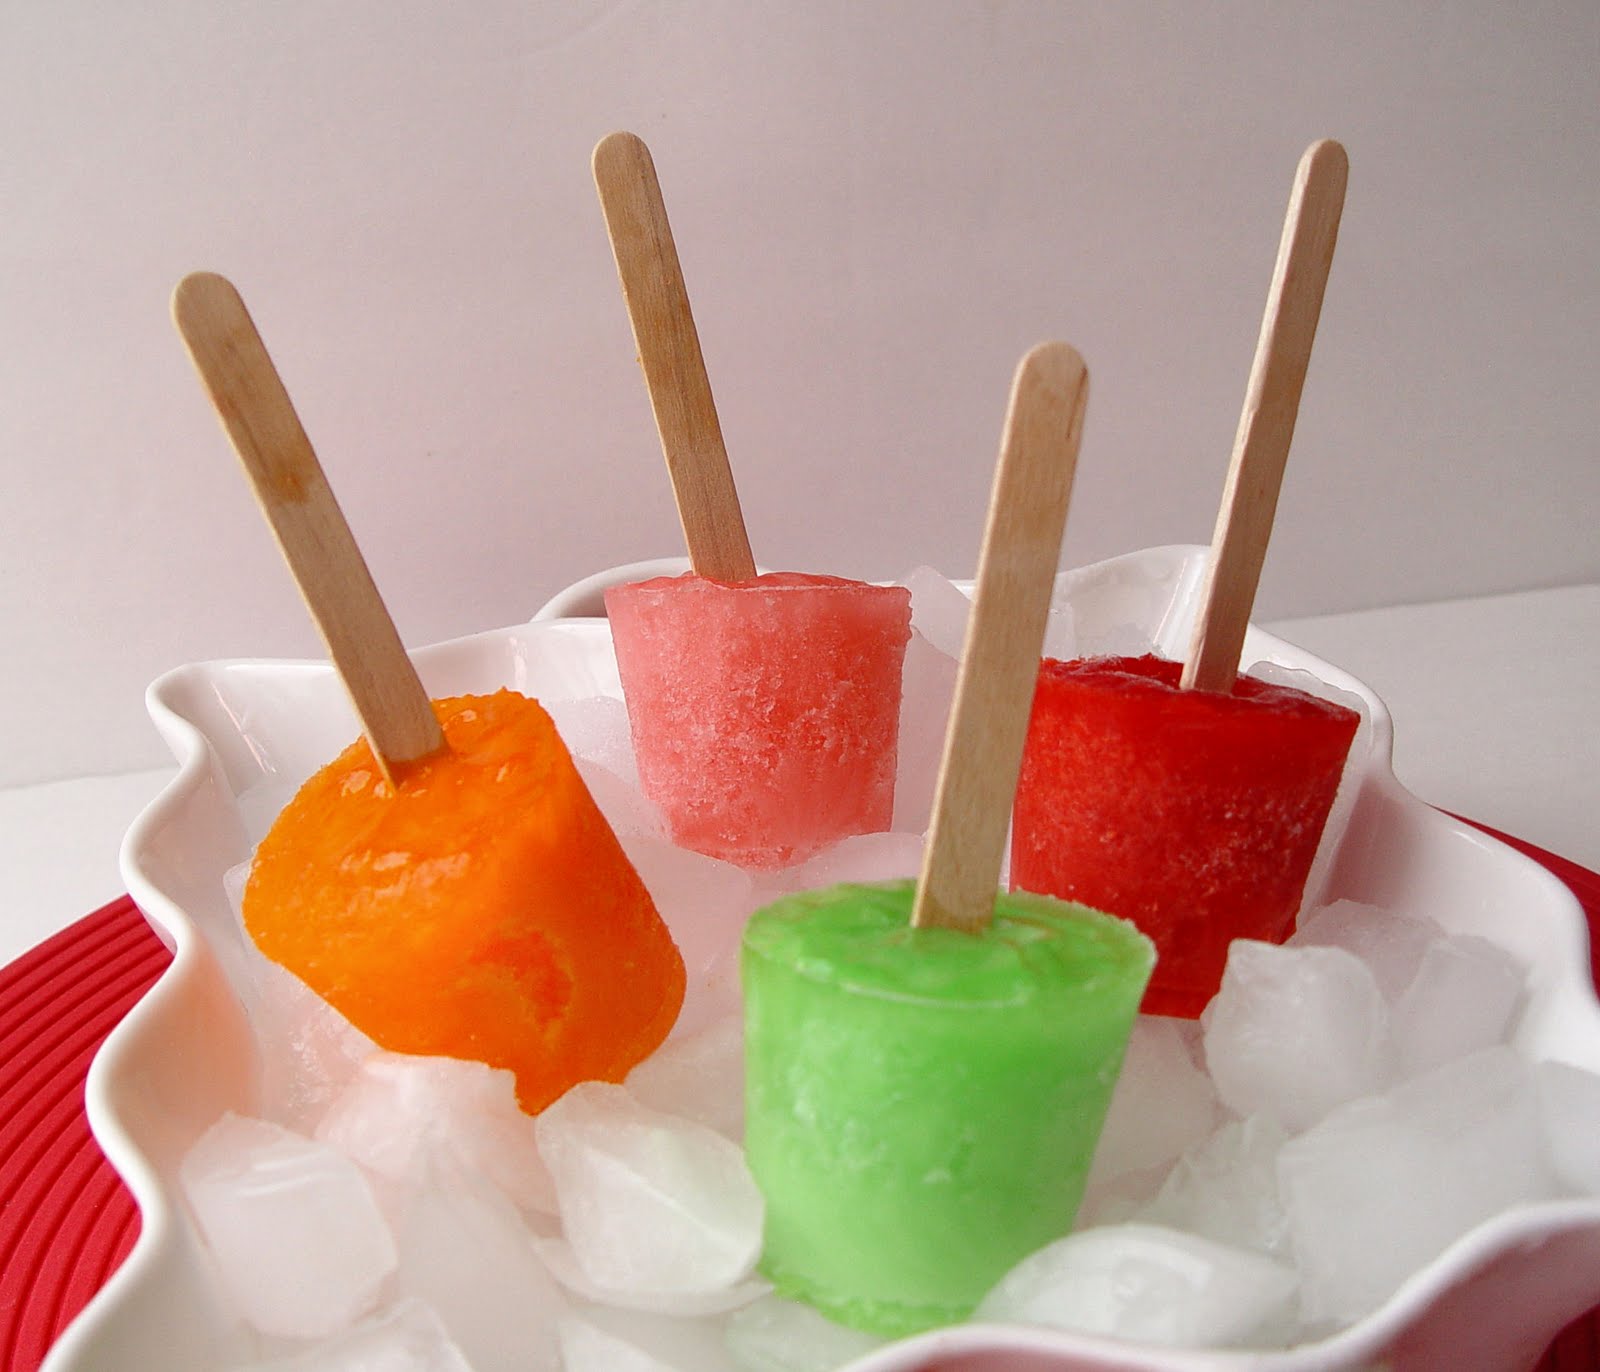
Frozen Jello Pops
The colors are fun!
The flavors are fun!
The cost is minimal!
That translates into FUN for the pocket book.
I bet your kids will love them.
You may find your self nibbling on one as well…
I know I have been!
You may find your self nibbling on one as well…
I know I have been!
Frozen Jello Pops
Time: 10 min. hands on + 5 hours to chill
Yield: 24 little pops
Recipe adapted from Real Women Of Philadelphia
1 3 oz box cherry jello
1 3 oz box lime jello
1 3 oz box watermelon jello
1 3 oz box orange jello
1 1/3 C sugar
4 C boiling water
3 C crushed ice
24 small cups (3 ounces each)
24 popsicle sticks
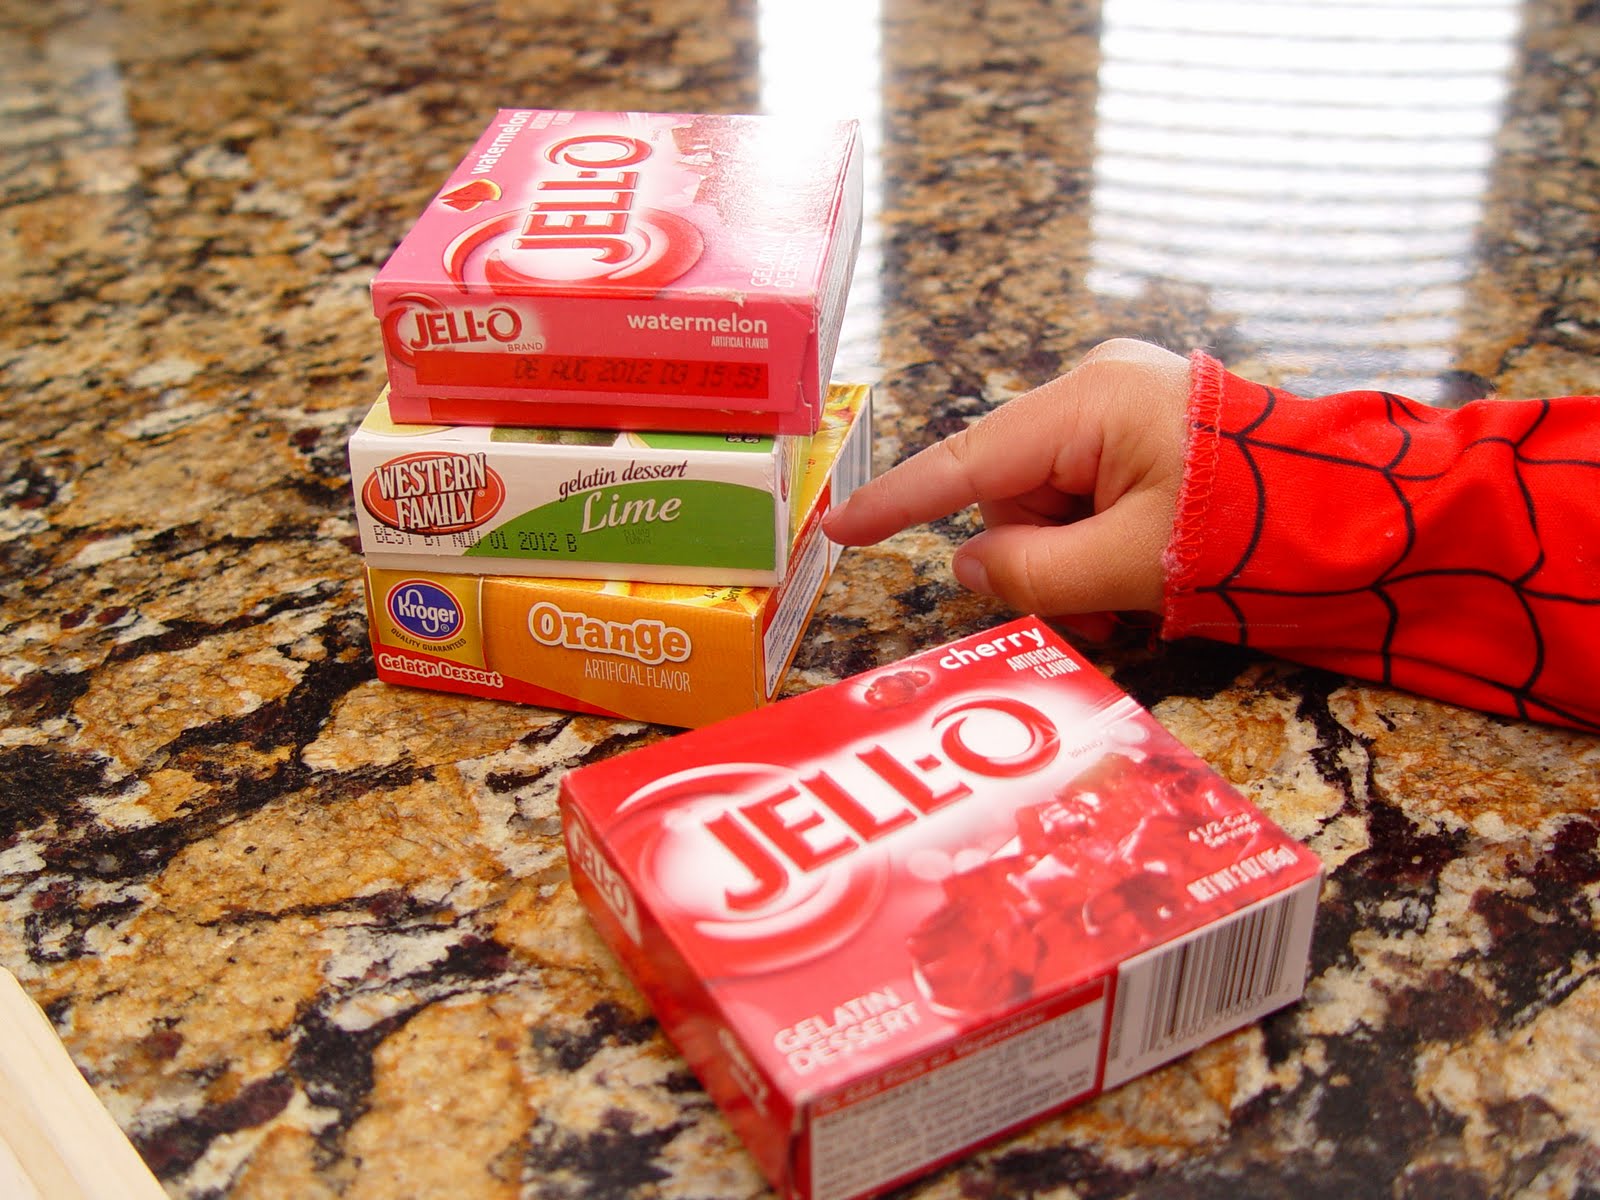
You can, of course use what ever kind of jello suits your fancy. There are so many different flavors these days. Berry Blue, Black Cherry and Peach would all be yummy and very colorful.

This is what you are going to need. Pretty simple!
Let’s do it…
Let’s do it…
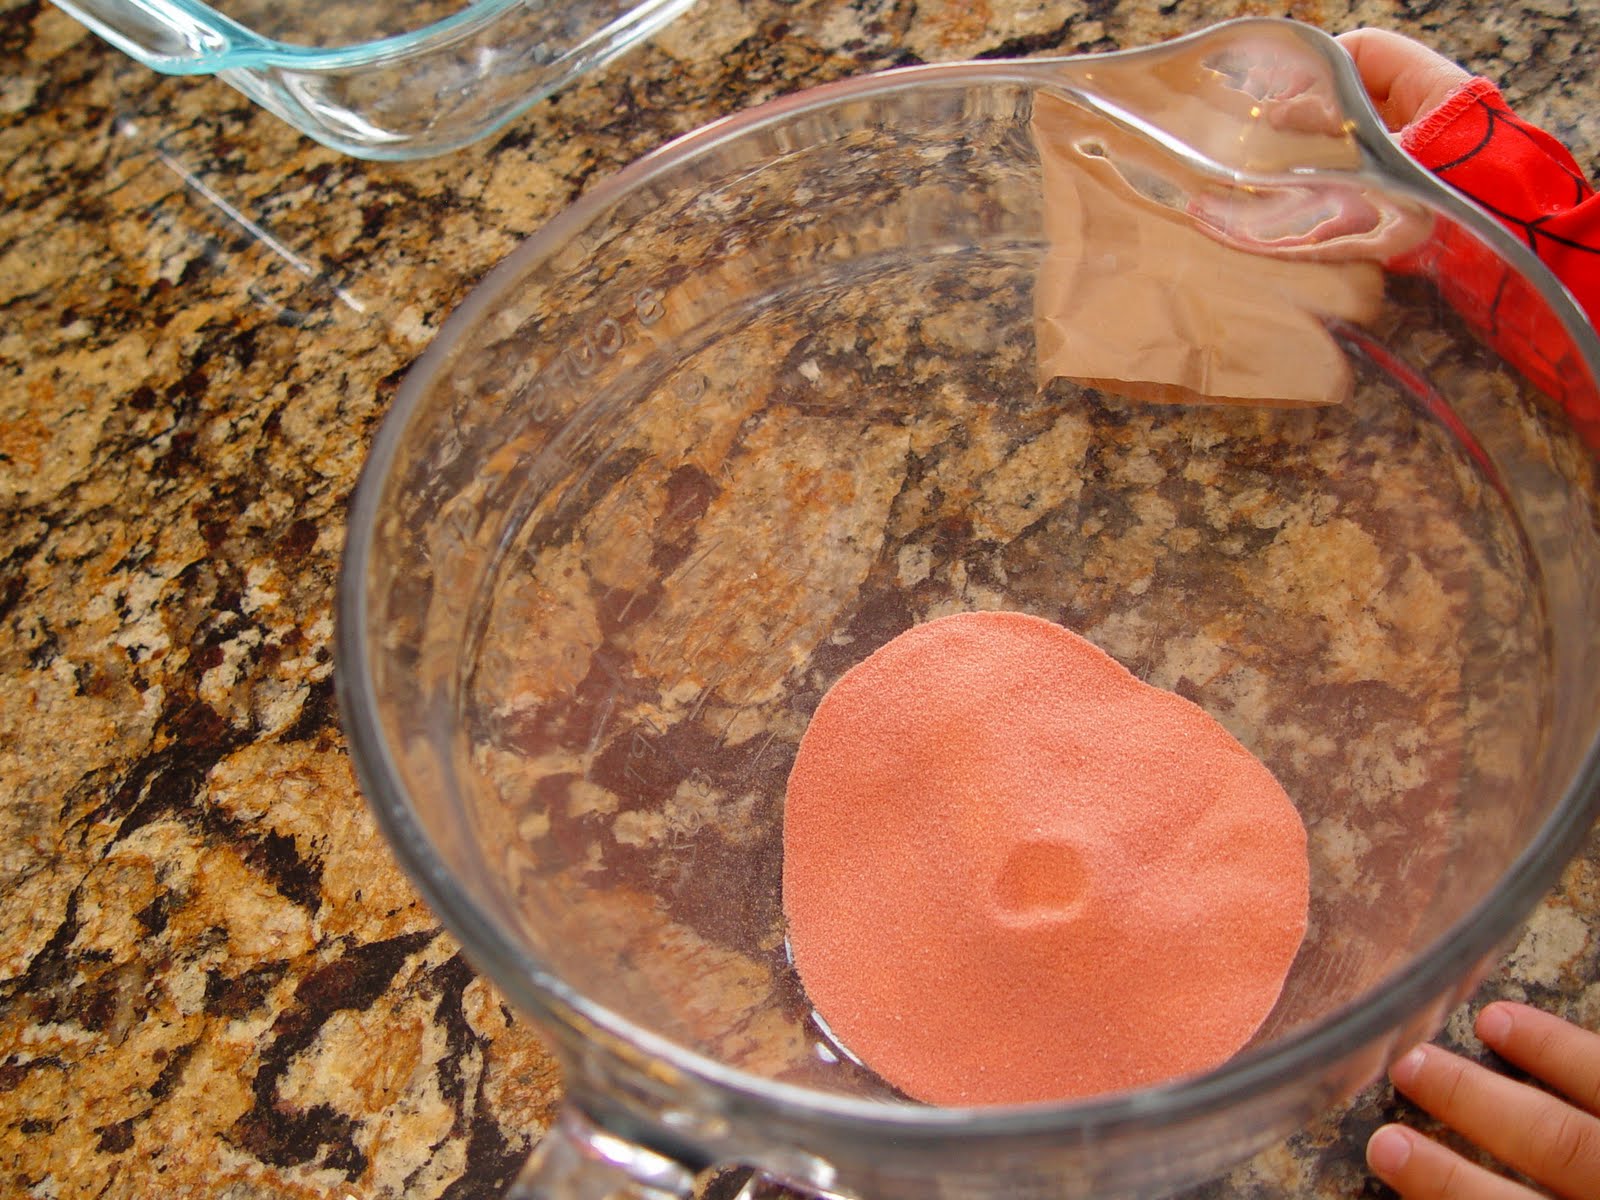
1. Pour one package of your jello into a medium sized bowl. It works best if you have a bowl that has a handle and a spout.
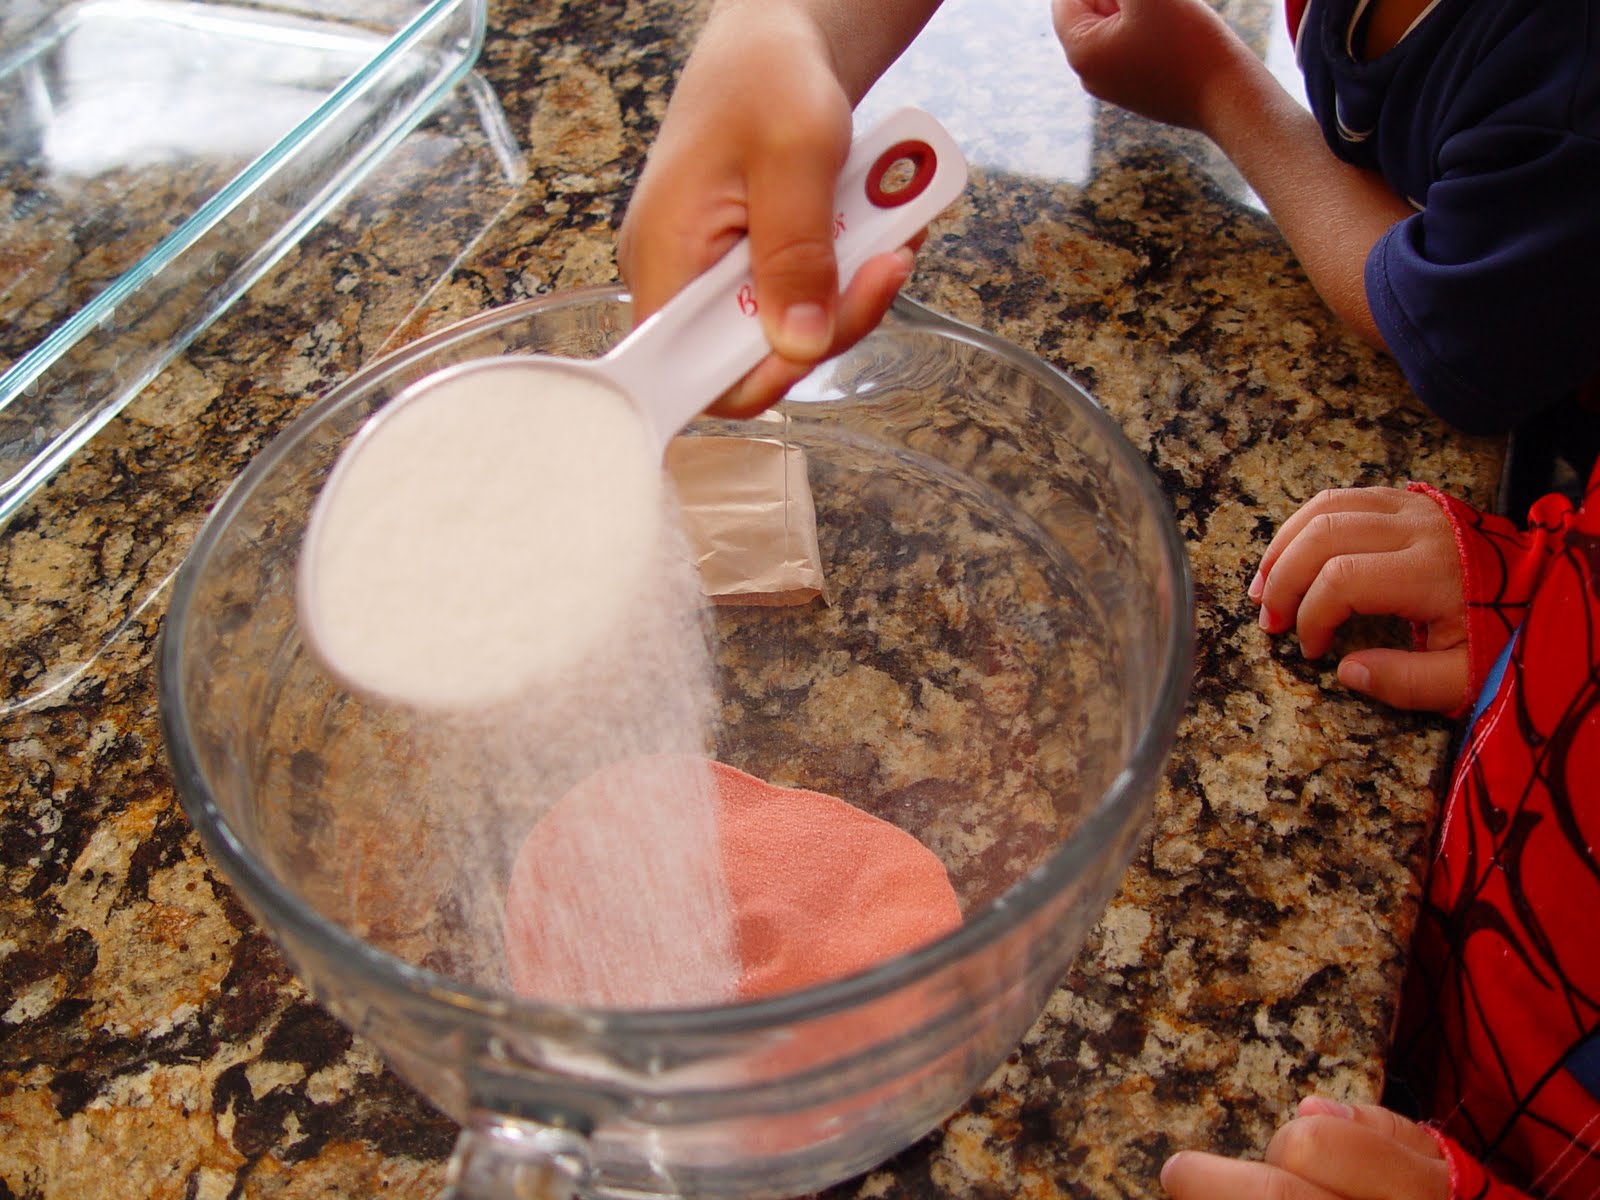
2. Add 1/3 C of sugar to your jello, stir to combine.

3. Pour 1 C of hot water into a glass measuring cup, pop it into the microwave for 2 minutes or until the water boils. Pour the boiling water over the top of the sugar/jello mixture.
4. Stir it well, with a spoon. Be sure all of the sugar and jello are dissolved in the boiling water.

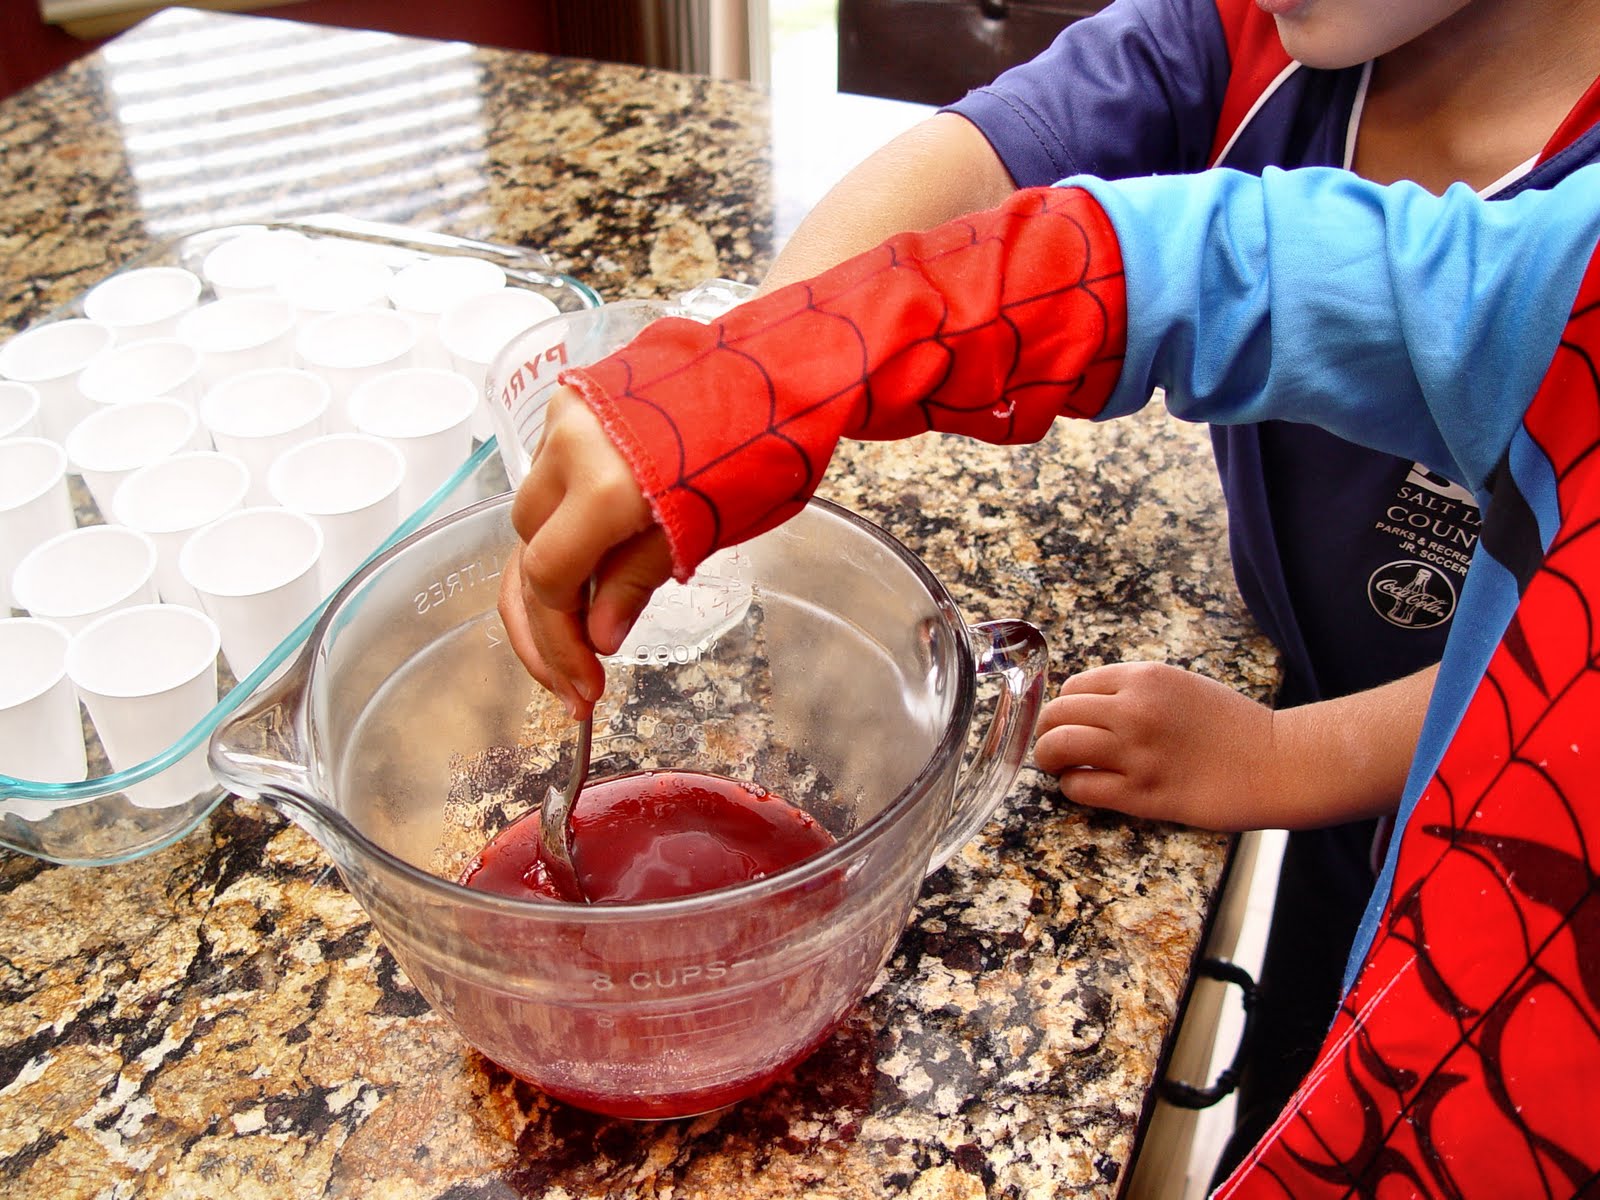
5. Pour 3/4 C crushed ice into your jello mixture. Stir it until all of the ice has melted and is incorporated.
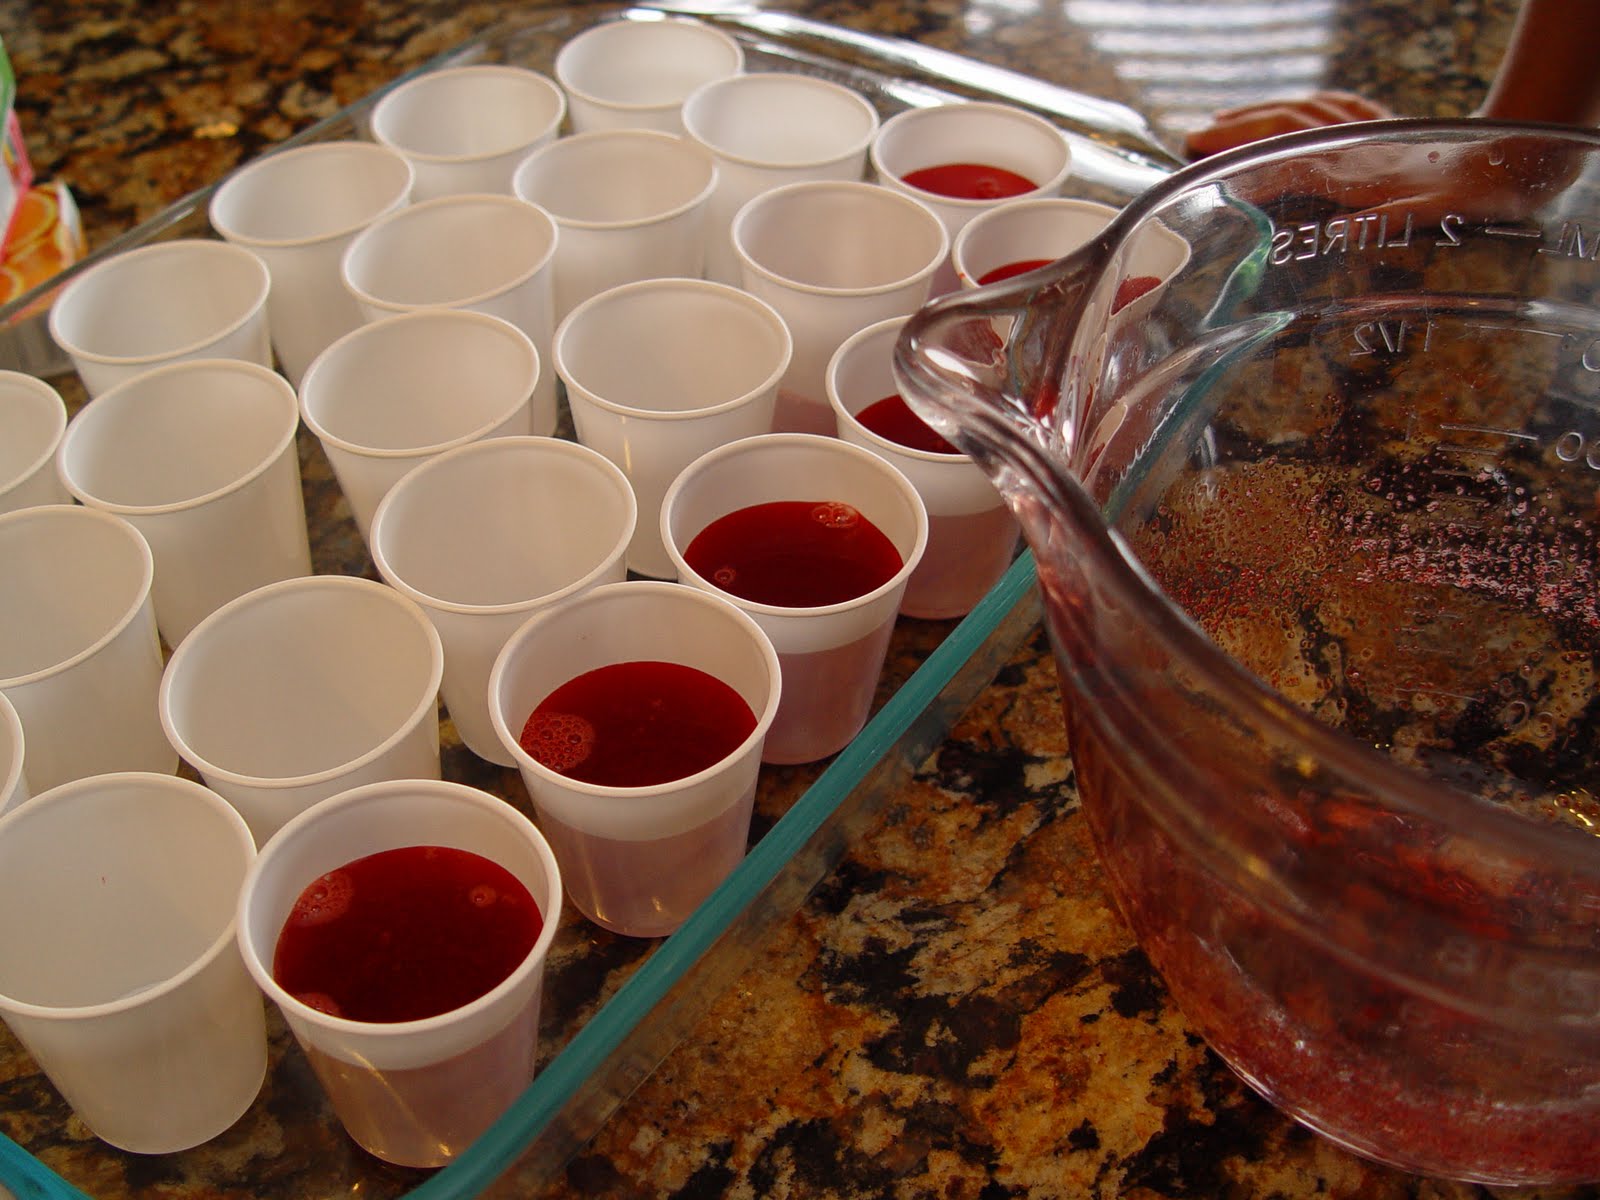
6. Place your little cups in a large pan. Pour the jello into the cups.
7. Repeat steps 1-6 with the other 3 flavors of jello.

8. Put your pan full of jello cups into the freezer for 20 minutes.
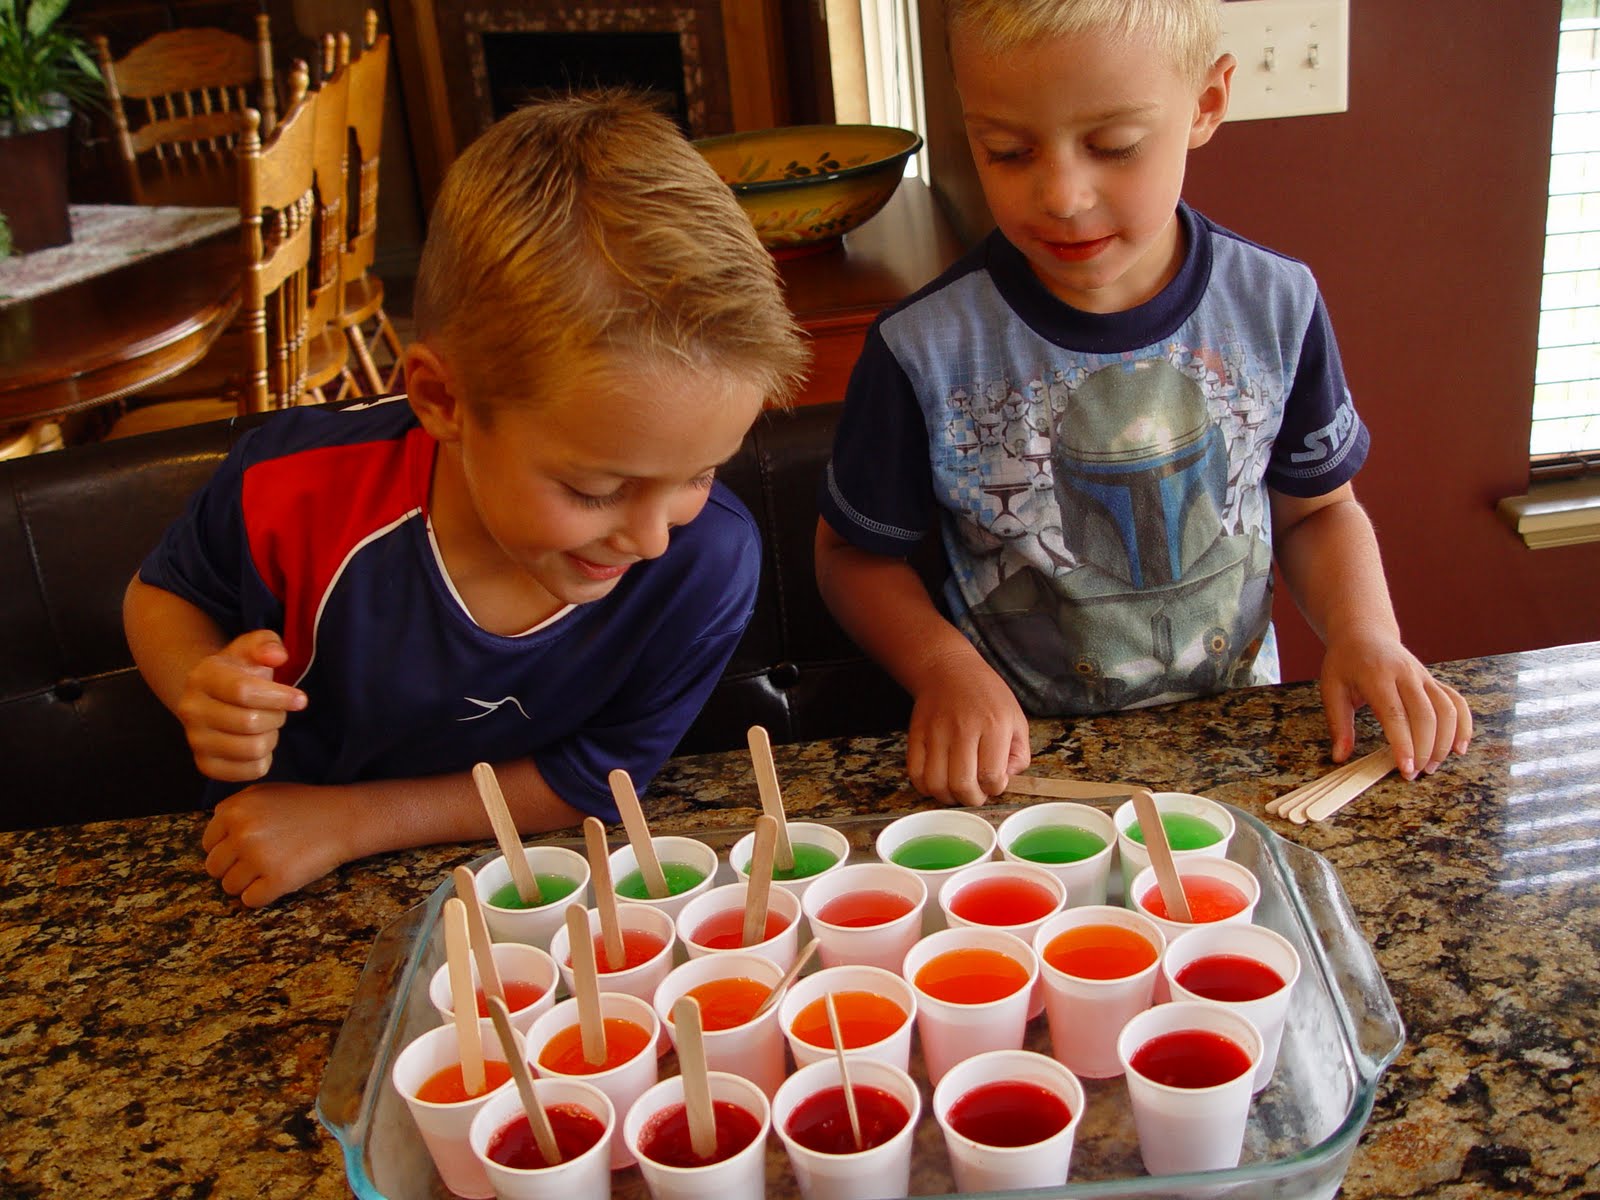
The jello pops will begin to set up. Once they are a little bit firm, remove them from the freezer and slide the sticks into the center of each pop.

9. Return the pan to the freezer and leave it there for at least 5 hours.
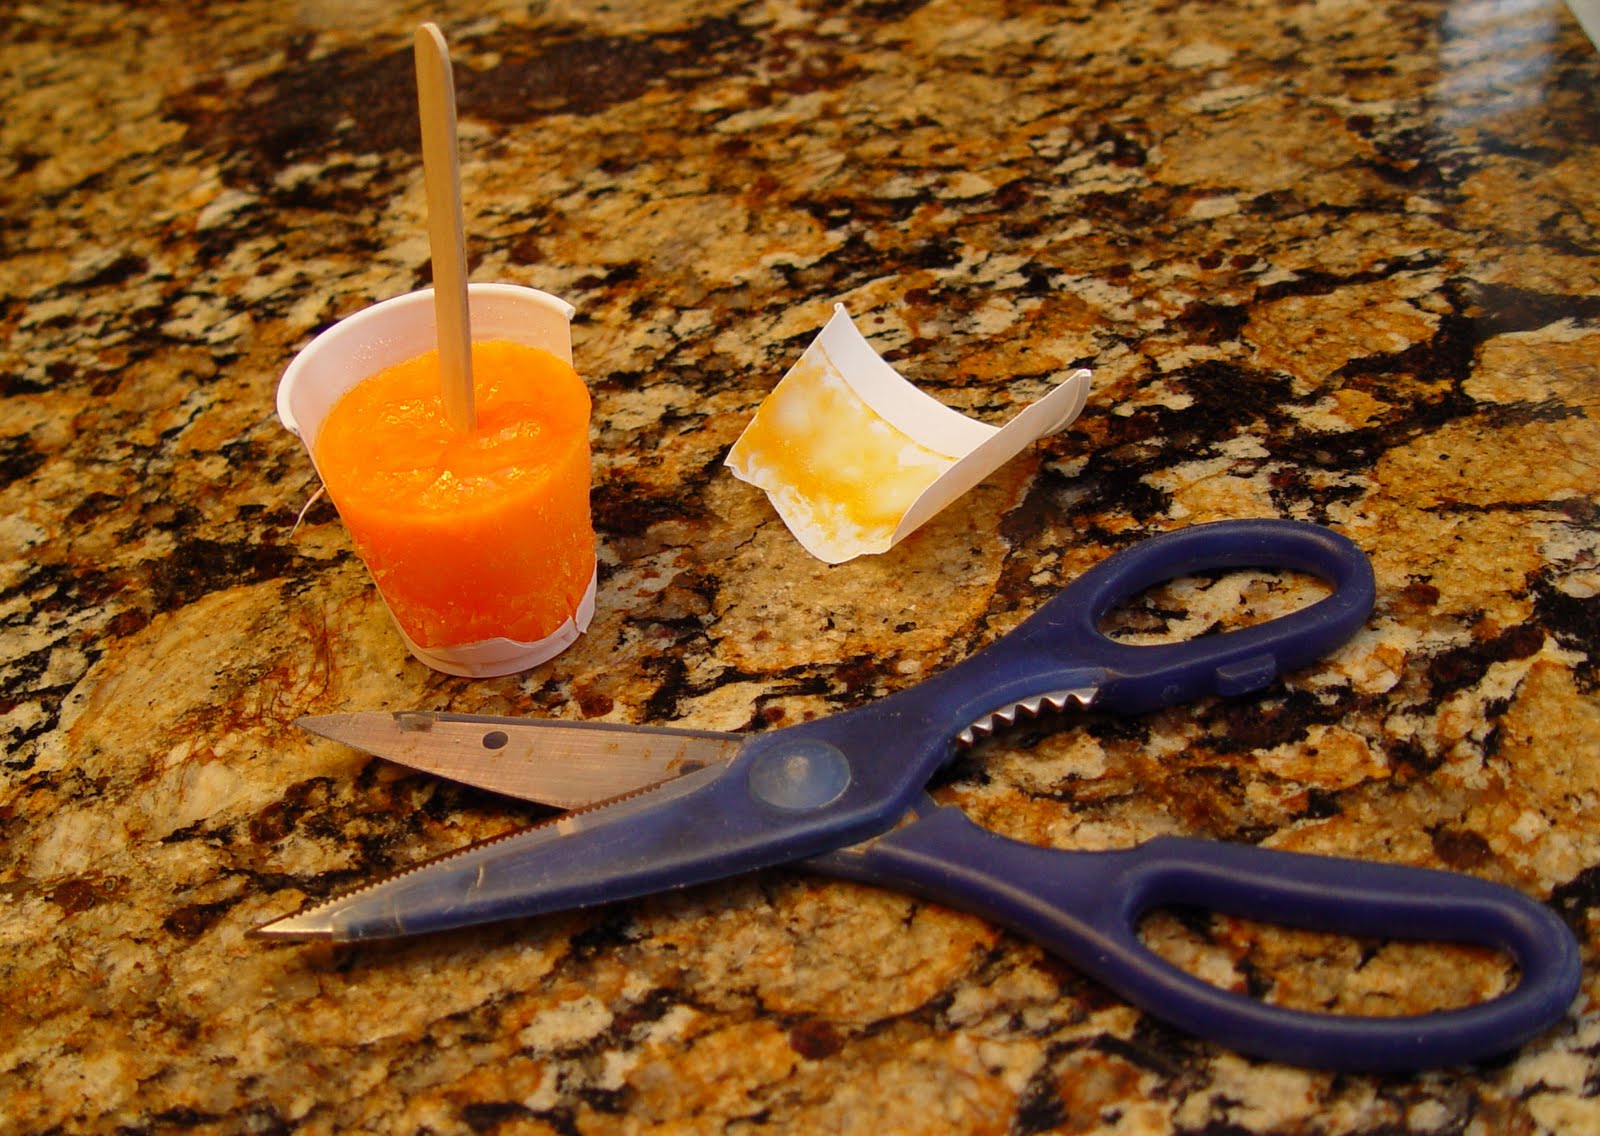
10. When you are ready to eat these pretty little pops, cut a slit in the side of each cup with a pair of scissors. Pull the pop out…

and eat it up. 🙂
Enjoy!


My kids love these but I haven't made them in a while. Thanks for the reminder. 🙂
Oh, and little tip, if you use plastic spoons instead of popsicle sticks, the popsicles won't slice down the stick when they start melting a little.
Have a great Wednesday!
Jamie, thx so much for this post. What a fun, inexpensive & tasty cool treat! And Patti, great tip about that spoons! That worked GREAT!
Could this also be done with sugar free jello?
Can I just say…. I love you! We just made your Taffy last night….happened to be the night before school starts! It was so fun, now it will be our yearly tradtition…A taffy pull – the night before shcool begins! These jello pops will make a great after school snack! Thanks for making the indiviual recipes for each carton of jello, makes it so much easier!
Can I just say…. I love you! We just made your Taffy last night….happened to be the night before school starts! It was so fun, now it will be our yearly tradtition…A taffy pull – the night before shcool begins! These jello pops will make a great after school snack! Thanks for making the indiviual recipes for each carton of jello, makes it so much easier!
I love this recipe and how you staged the last few photos! Making these today!!
I made these and they tasted great but it didn’t really turn into popsicles… just very firm jello
Maybe I did something wrong ?