This post may contain affiliate links. Please read our disclosure policy.
Hey there, fine reader.
It’s Valentines Day, you know. I sure hope you have a little (or big) someone you like to kiss and hug. Because hugging and kissing is pretty nice to do on Valentines Day, don’t you think? A long kiss on the lips of your sweetheart, a gentle kiss on the forehead of your scraggly haired 5 year old, a sweet kiss on the cheek for dear old mom, or how about a nice big bear hug for your teenage daughter or son. All good. All great in fact.
I hope you get to have all (or at least one) of the above. 🙂 And if not…don’t sweat it. Tomorrow the day of love will have passed and there will be a lot of cheap Valentines Day candy on clearance at Walmart. Happy days are here again, right?
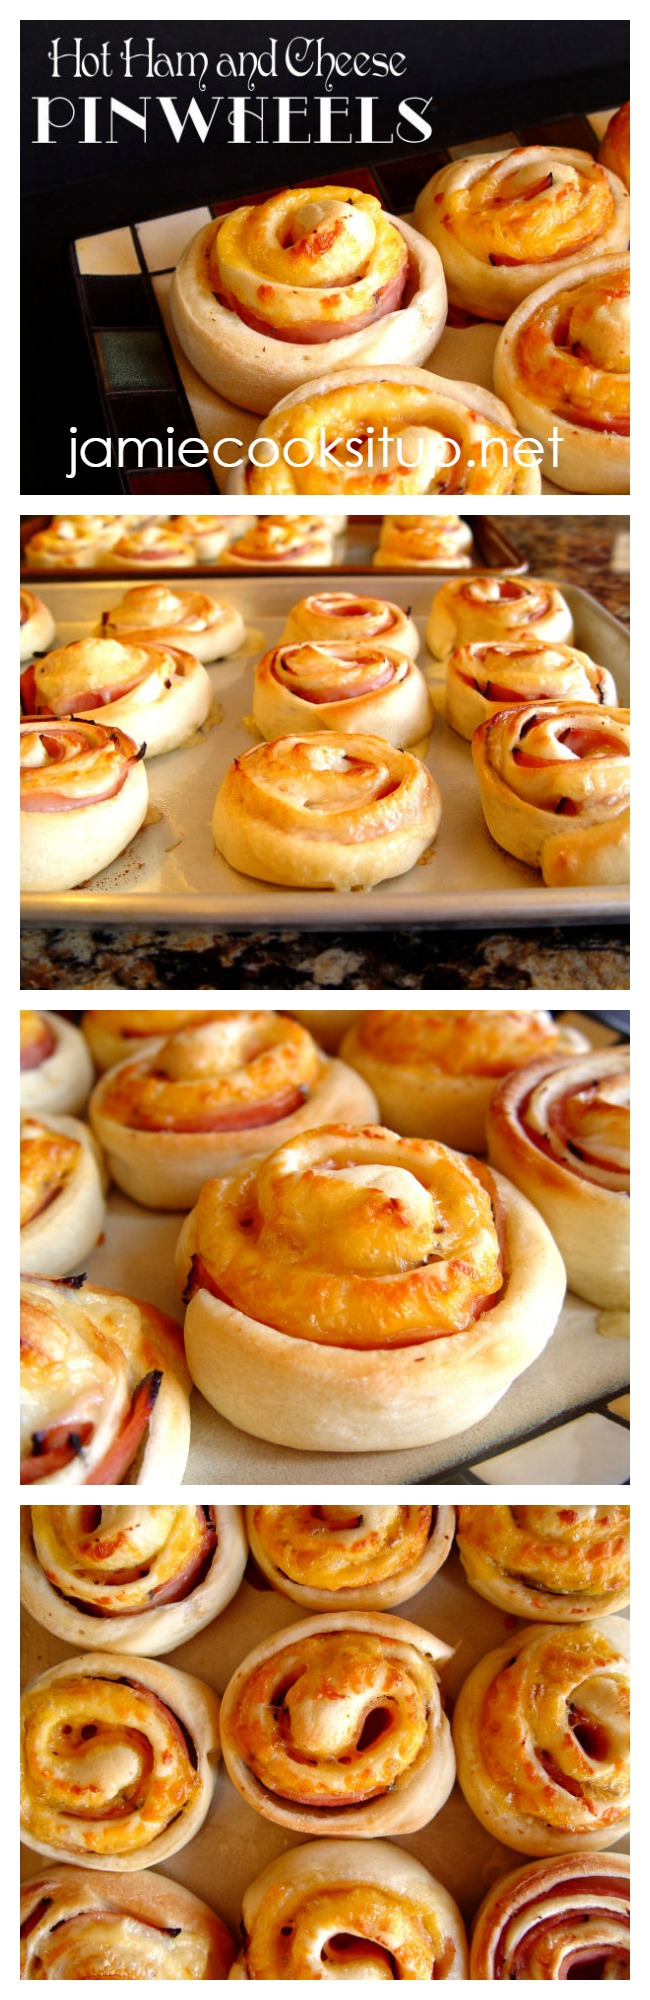
These Hot Ham and Cheese Pinwheels are absolutely scrumptious, come together in less than and hour and will put a lovely smile on the face of all the folks you love. They are wonderful served warm from the oven. They are also pretty great cold from the fridge. I tucked them into my kids’ lunches for a few days last week. They seemed to think that was pretty cool.
Let’s make them, shall we?
1. Pour 1 1/2 C warm water into your stand mixer and preheat your oven to 170 degrees. (You read it right…170 degrees is all you need.)
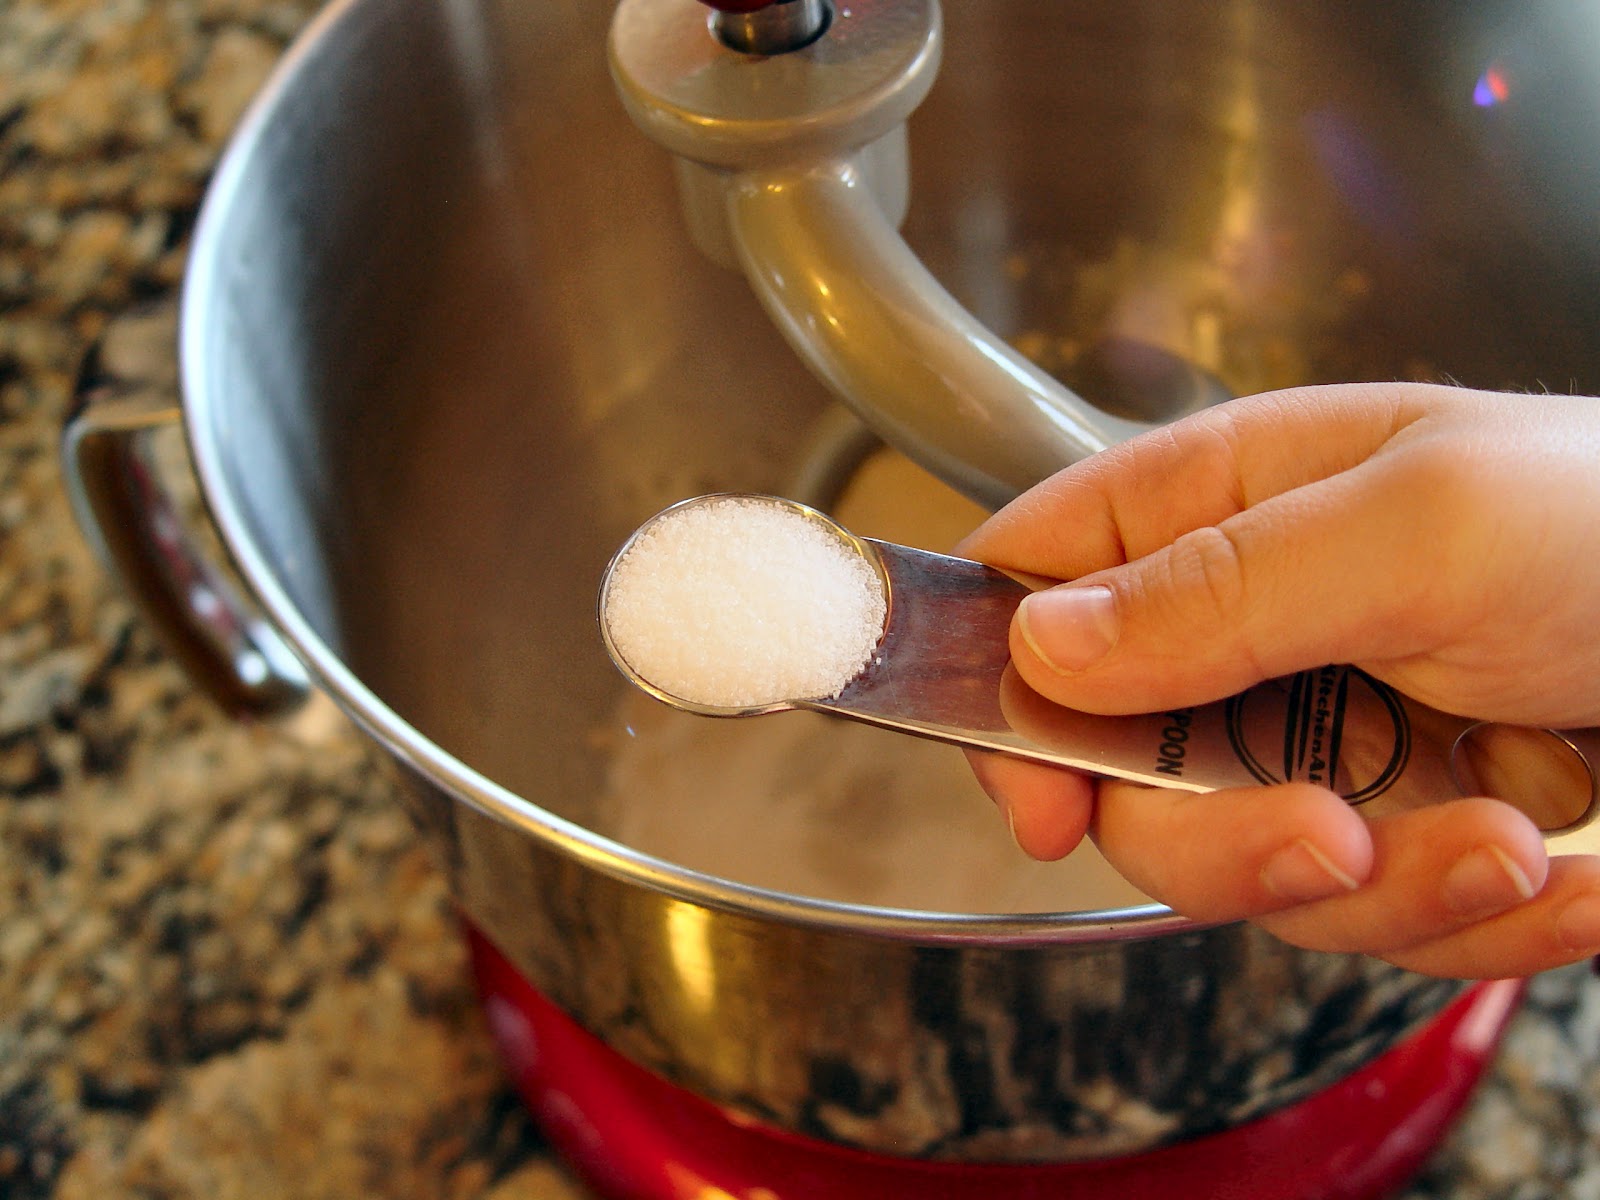
2. Add 2 tablespoons sugar
and 1 tablespoon yeast. Turn the mixer on low for about 30 seconds allowing the ingredients to combine. Let it rest for 5 minutes, or until it gets all bubbly.
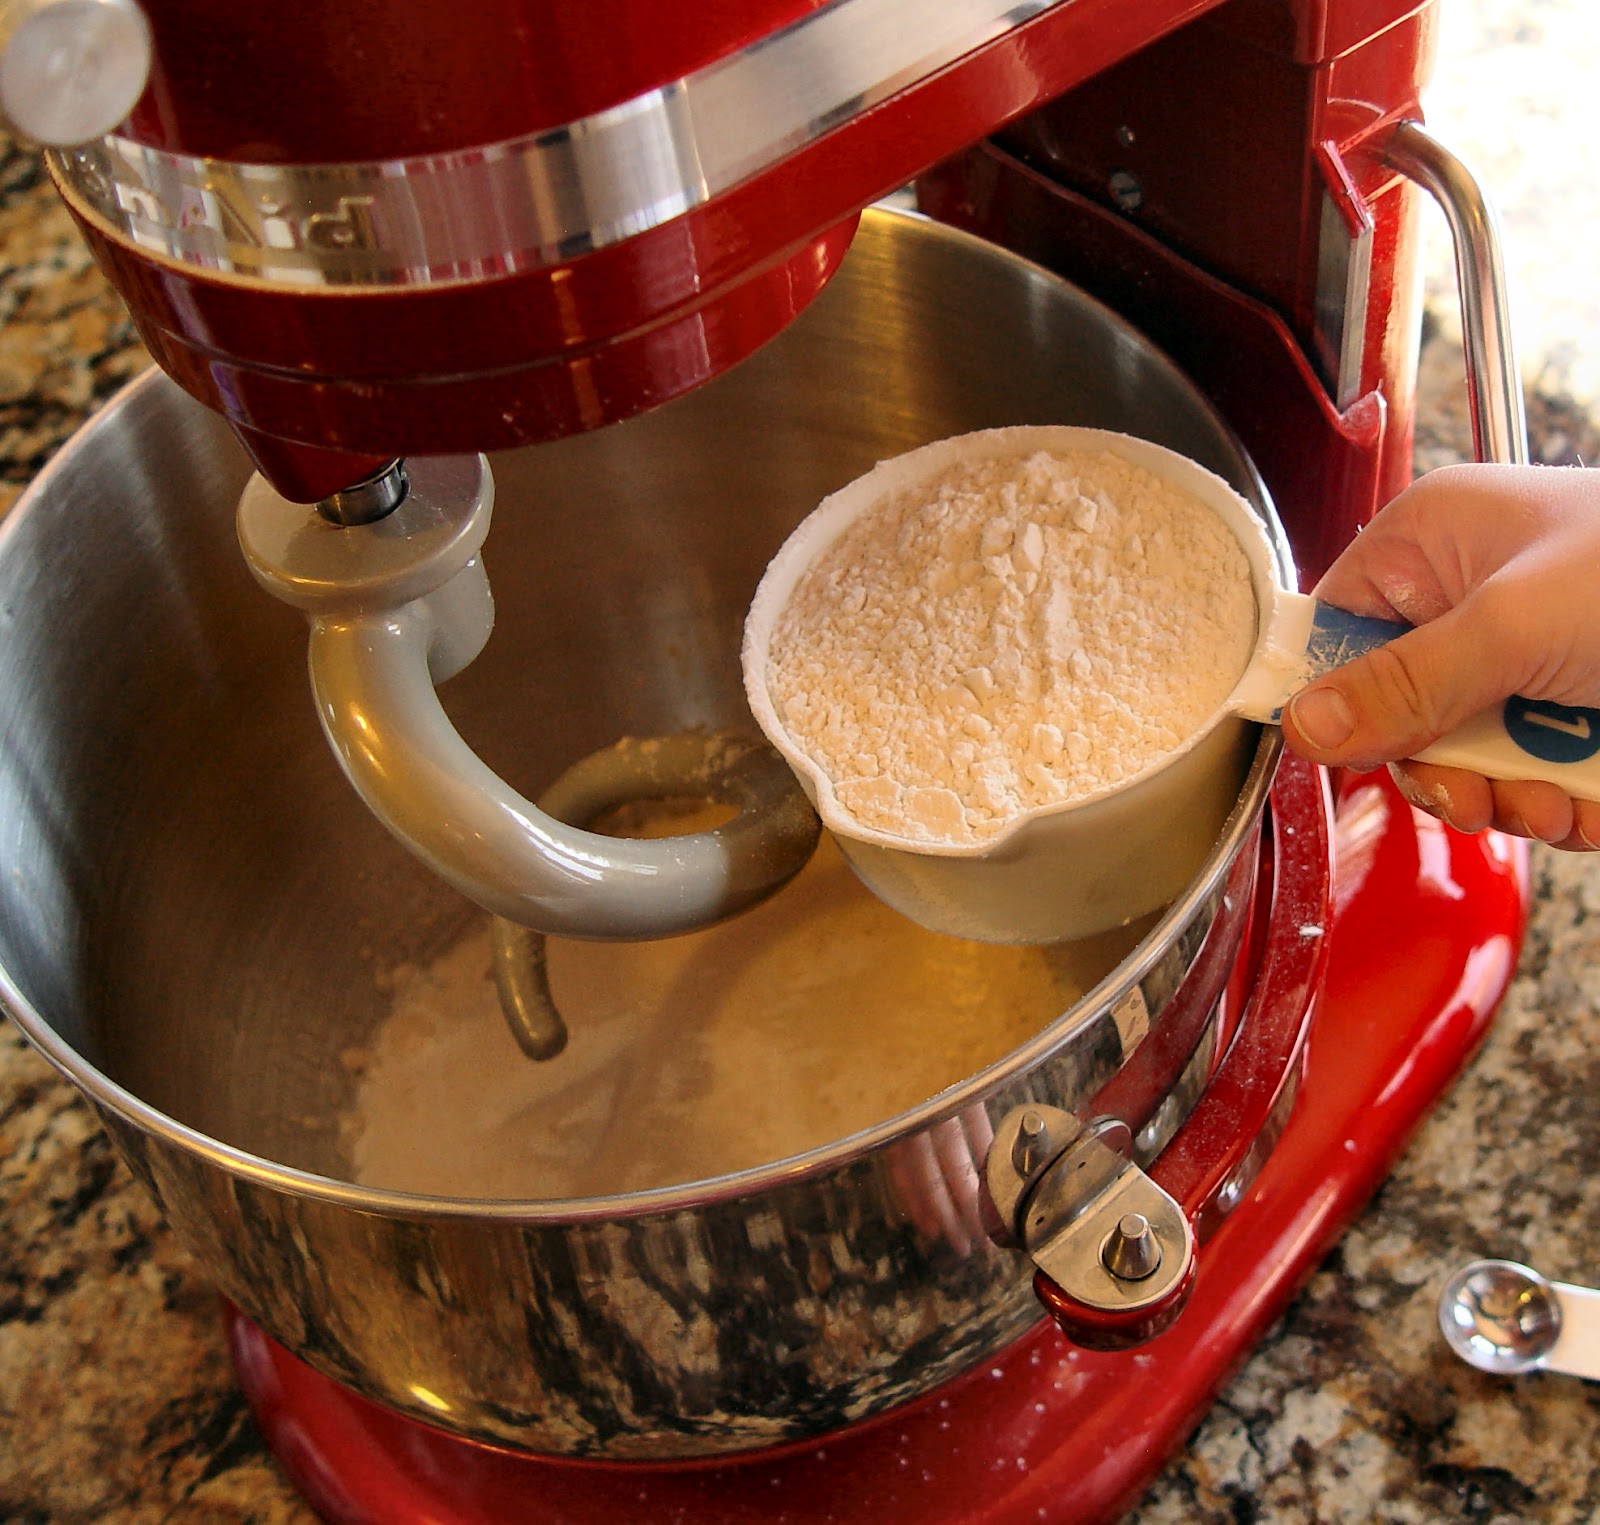
3. Add 1/2 teaspoon salt
and 2 cups flour. Turn the mixer on to low and let the flour mix in. Add the rest of the flour (2 1/2 cups worth) one cup at a time. When the dough pulls itself away from the side of the bowl, you have enough flour.
4. Turn the mixer to medium speed and allow it to mix for 5 minutes.
5. Spray your counter with cooking spray, divide the dough into two equal parts and allow them to rest on the counter for 5 minutes. Don’t skip this step, ok? If you don’t let the dough rest it won’t roll out nicely and then you might start to cry and then your kids would think you have lost you mind. Thanks for your cooperation.
6. After the dough has rested roll the old girl out into a large rectangle.
7. Cover it with half of the ham
and sprinkle it with 1 cup of cheddar cheese.
8. Roll the dough up starting at the longer end.
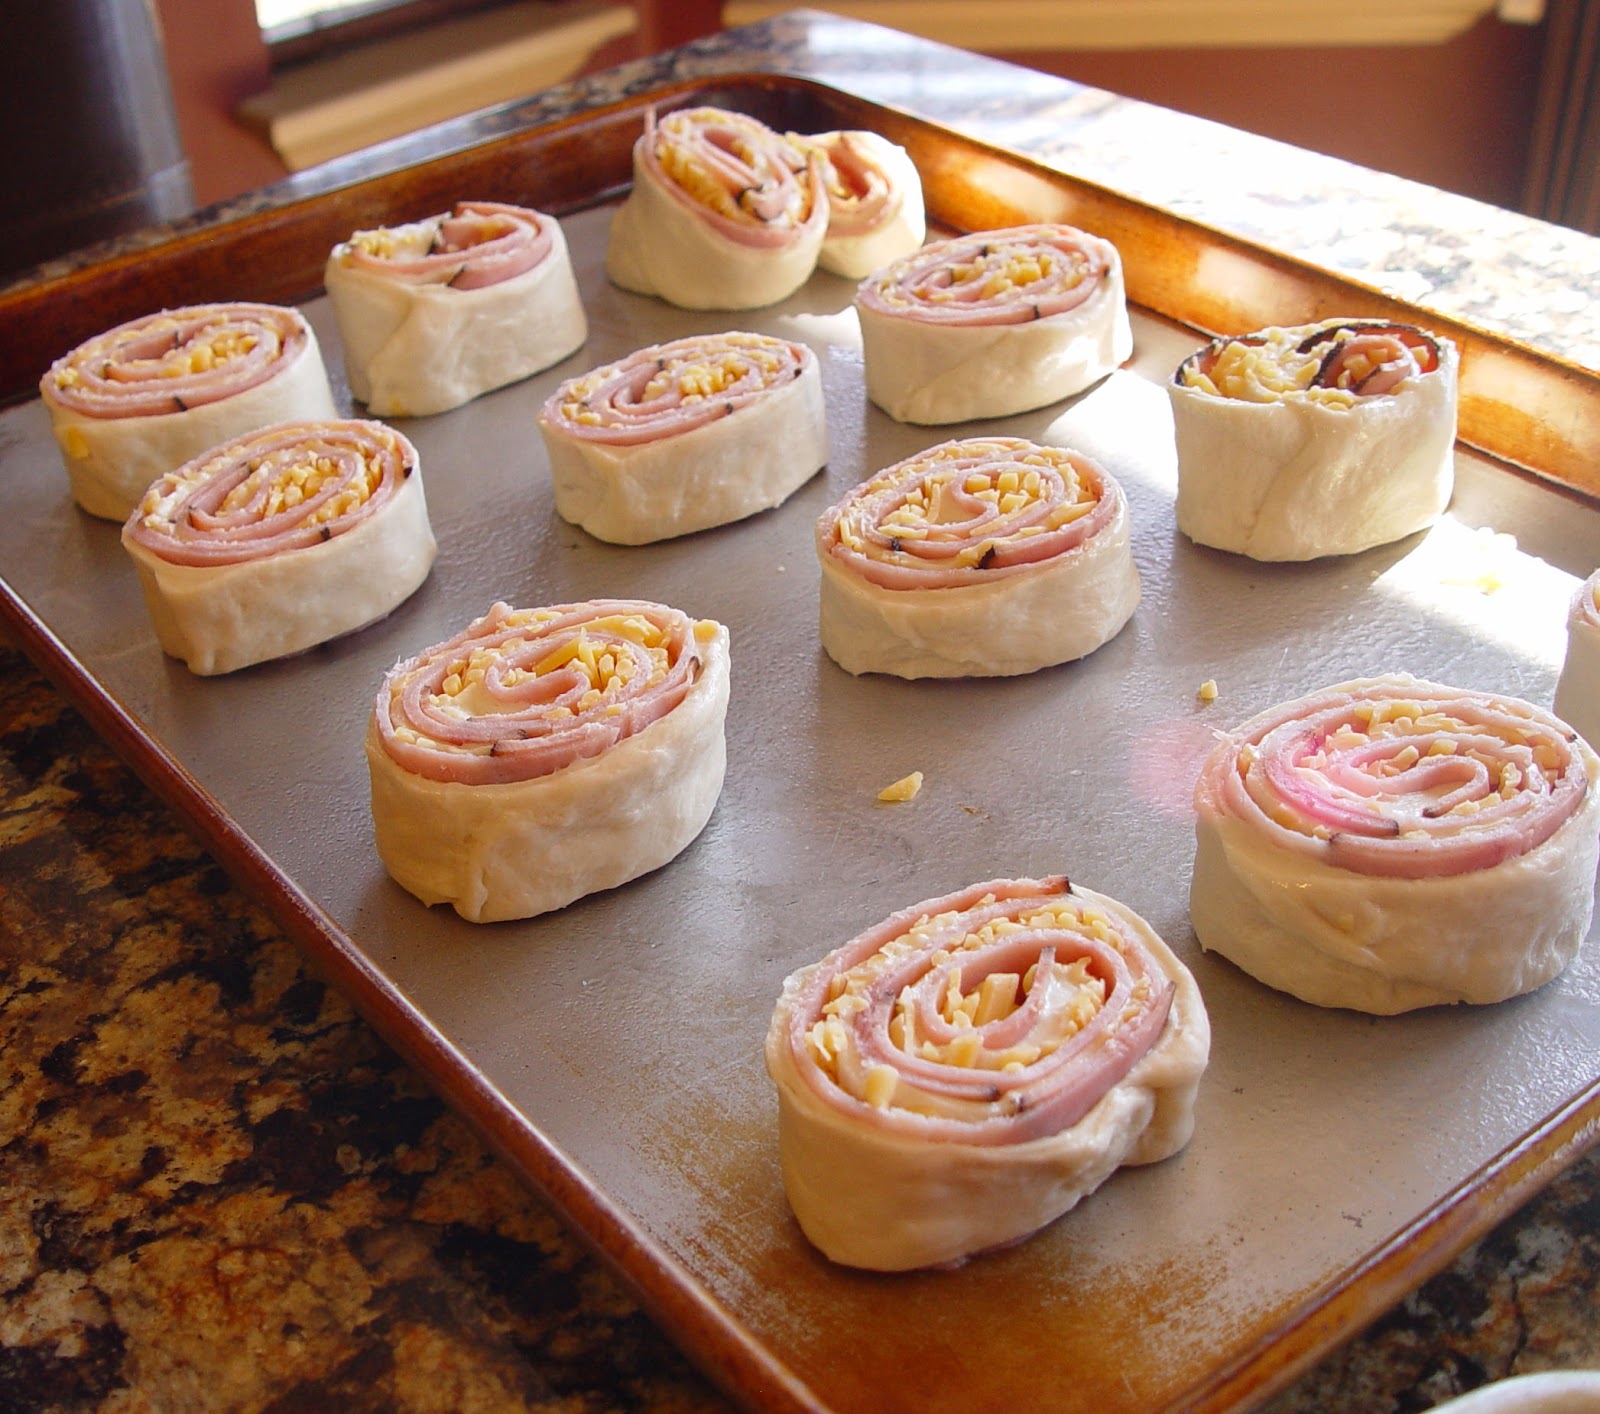
9. Spray a large knife with cooking spray and slice the roll into 12 rounds.
10. Place each pinwheel onto a large cookie sheet that has been sprayed with cooking spray.
11. Repeat steps 6-10 with the other half of the dough.
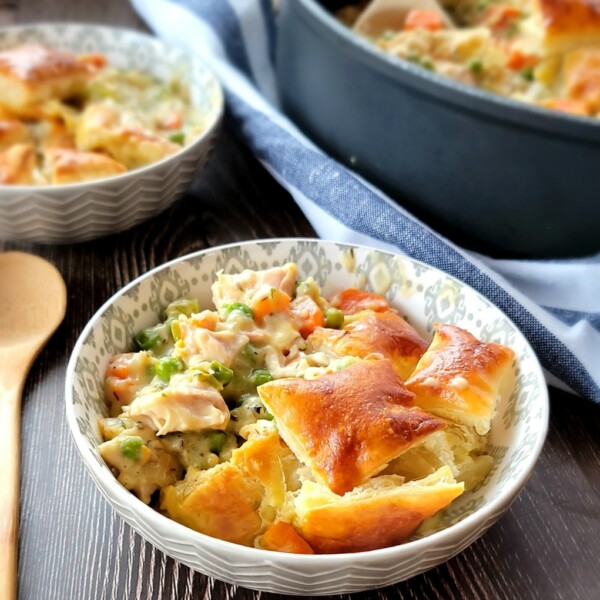
12. Place both pans into your warm 170 degree oven for about 10 minutes, or until they start to rise just a bit. You don’t want them to get super puffy, you just want the dough to have the chance to expand a little, like you see in the picture above.
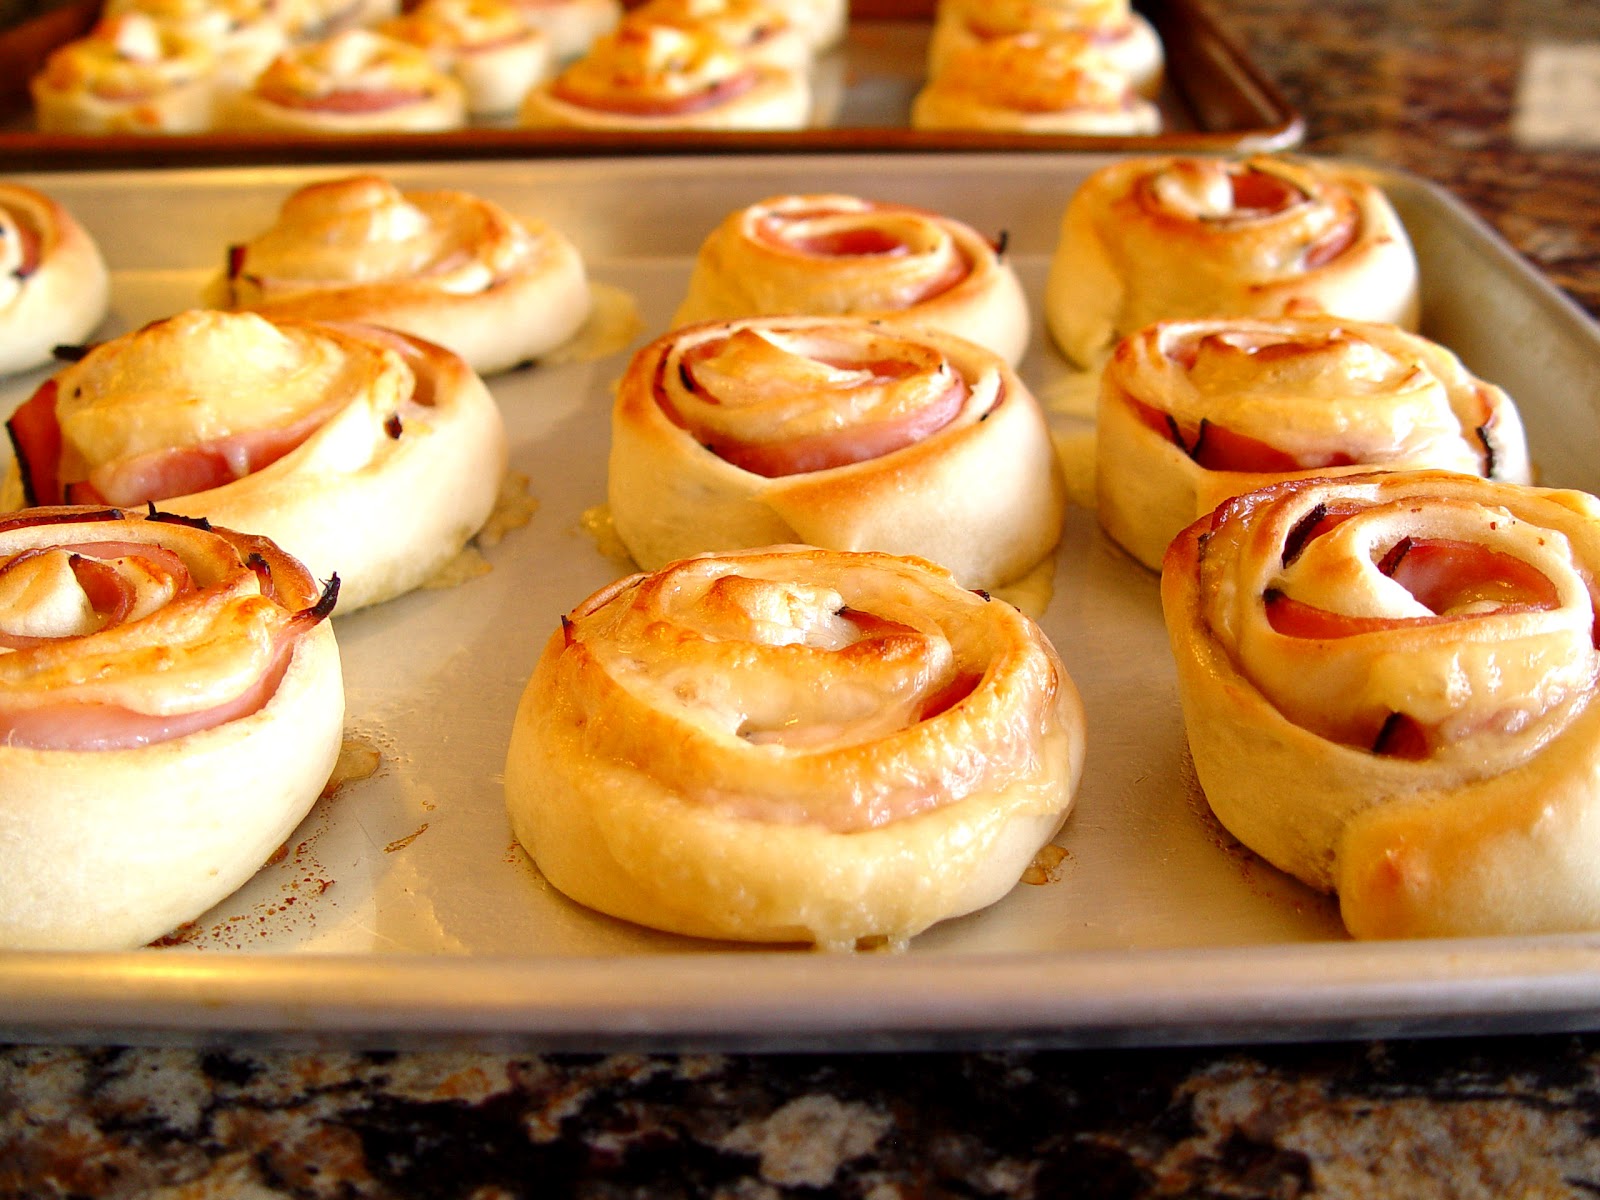
13. Turn the oven up to 350 degrees (don’t take the pans out of the oven) and let the pinwheels bake for about 15 minutes or until golden brown along the top and bottom.
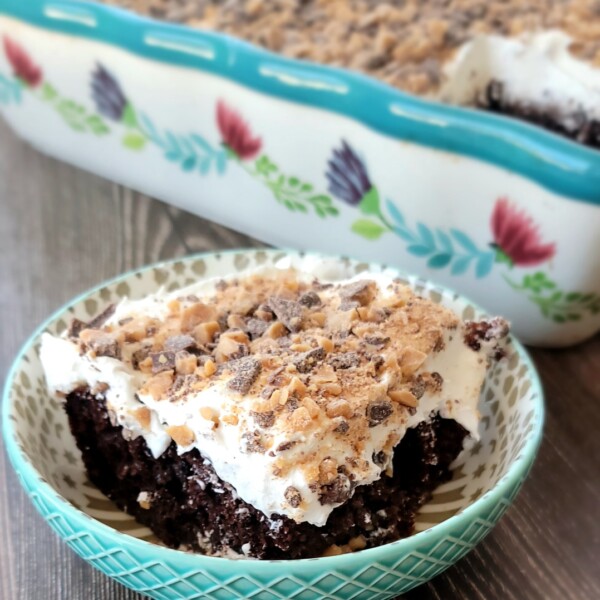
14. Take the pans out of the oven and let the pinwheels rest for about 5 minutes…then gobble them up.
1. Pour 1 1/2 C warm water into your stand mixer and preheat your oven to 170 degrees. (You read it right...170 degrees is all you need.)
2. Add 2 tablespoons sugar and 1 tablespoon yeast. Turn the mixer on low for about 30 seconds allowing the ingredients to combine. Let it rest for 5 minutes, or until it gets all bubbly.
3. Add 1/2 teaspoon salt and 2 cups flour. Turn the mixer on to low and let the flour mix in. Add the rest of the flour (2 1/2 cups worth) one cup at a time. When the dough pulls itself away from the side of the bowl, you have enough flour.
4. Turn the mixer to medium speed and allow it to mix for 5 minutes.
5. Spray your counter with cooking spray, divide the dough into two equal parts and allow them to rest on the counter for 5 minutes. Don't skip this step, ok? If you don't let the dough rest it won't roll out nicely and then you might start to cry and then your kids would think you have lost you mind. Thanks for your cooperation.
6. After the dough has rested roll the old girl out into a large rectangle.
7. Cover it with half of the ham and sprinkle it with 1 cup of cheddar cheese.
8. Roll the dough up starting at the longer end.
9. Spray a large knife with cooking spray and slice the roll into 12 rounds.
10. Place each pinwheel onto a large cookie sheet that has been sprayed with cooking spray.
11. Repeat steps 6-10 with the other half of the dough.
12. Place both pans into your warm 170 degree oven for about 10 minutes, or until they start to rise just a bit. You don't want them to get super puffy, you just want the dough to have the chance to expand a little, like you see in the picture above.
13. Turn the oven up to 350 degrees (don't take the pans out of the oven) and let the pinwheels bake for about 15 minutes or until golden brown along the top and bottom.
14. Take the pans out of the oven and let the pinwheels rest for about 5 minutes...then gobble them up.
Jamie, I just wanted to pop in again to thank you for this recipe. My daughter and I made these this last weekend before Spring Break trip. Anytime our family is taking a road trip we always make these to take with as a portable, good for us snack. Thanks so much for sharing this and so many other recipes that have become staples in our family menu.


Jamie, I just wanted to pop in again to thank you for this recipe. My daughter and I made these this last weekend before Spring Break trip. Anytime our family is taking a road trip we always make these to take with as a portable, good for us snack. Thanks so much for sharing this and so many other recipes that have become staples in our family menu.
What type of yeast? Active, rapid etc.