This post may contain affiliate links. Please read our disclosure policy.
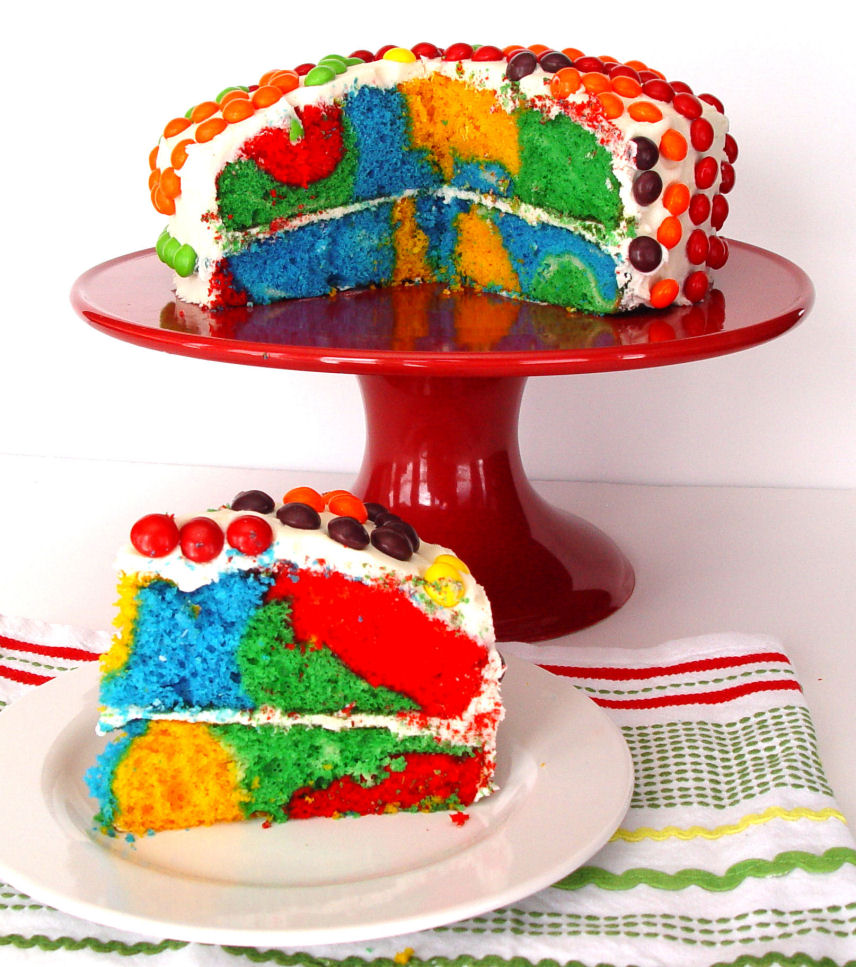
I made a little rainbow cake last week. It wasn’t for my birthday…or for your birthday…
or for the birthday of any other fine person!
It was a cake made out of desperation, my friends.
I was desperate for a little color and sunshine. And since the sky was gray and brooding and since my boys and I had seen Star Wars for the ump-teenth time in a week (I’m starting to speak Chewbaccan) and since I had attempted several new dinner recipes that tasted disgusting and looked ugly…I was in a desperate state, as you can well imagine! It’s one thing to look like Chewbacca (have I mentioned that I have really unruly hair? It’s true. Don’t hold it against me, okay?) but when a girl starts to speak like him, well then there is nothing to do but throw your hairy hands in the air and bake a cheerful cake. Nothing at all, but that.
And so my boys and I, we baked this cake. And I thought you might like to see how to make it all happen. Just in case you are planning to have a birthday this year. 🙂 And if not, maybe you KNOW someone who will be having a birthday this year. And if that person likes cheerful cakes, well then you will be all set, won’t you.
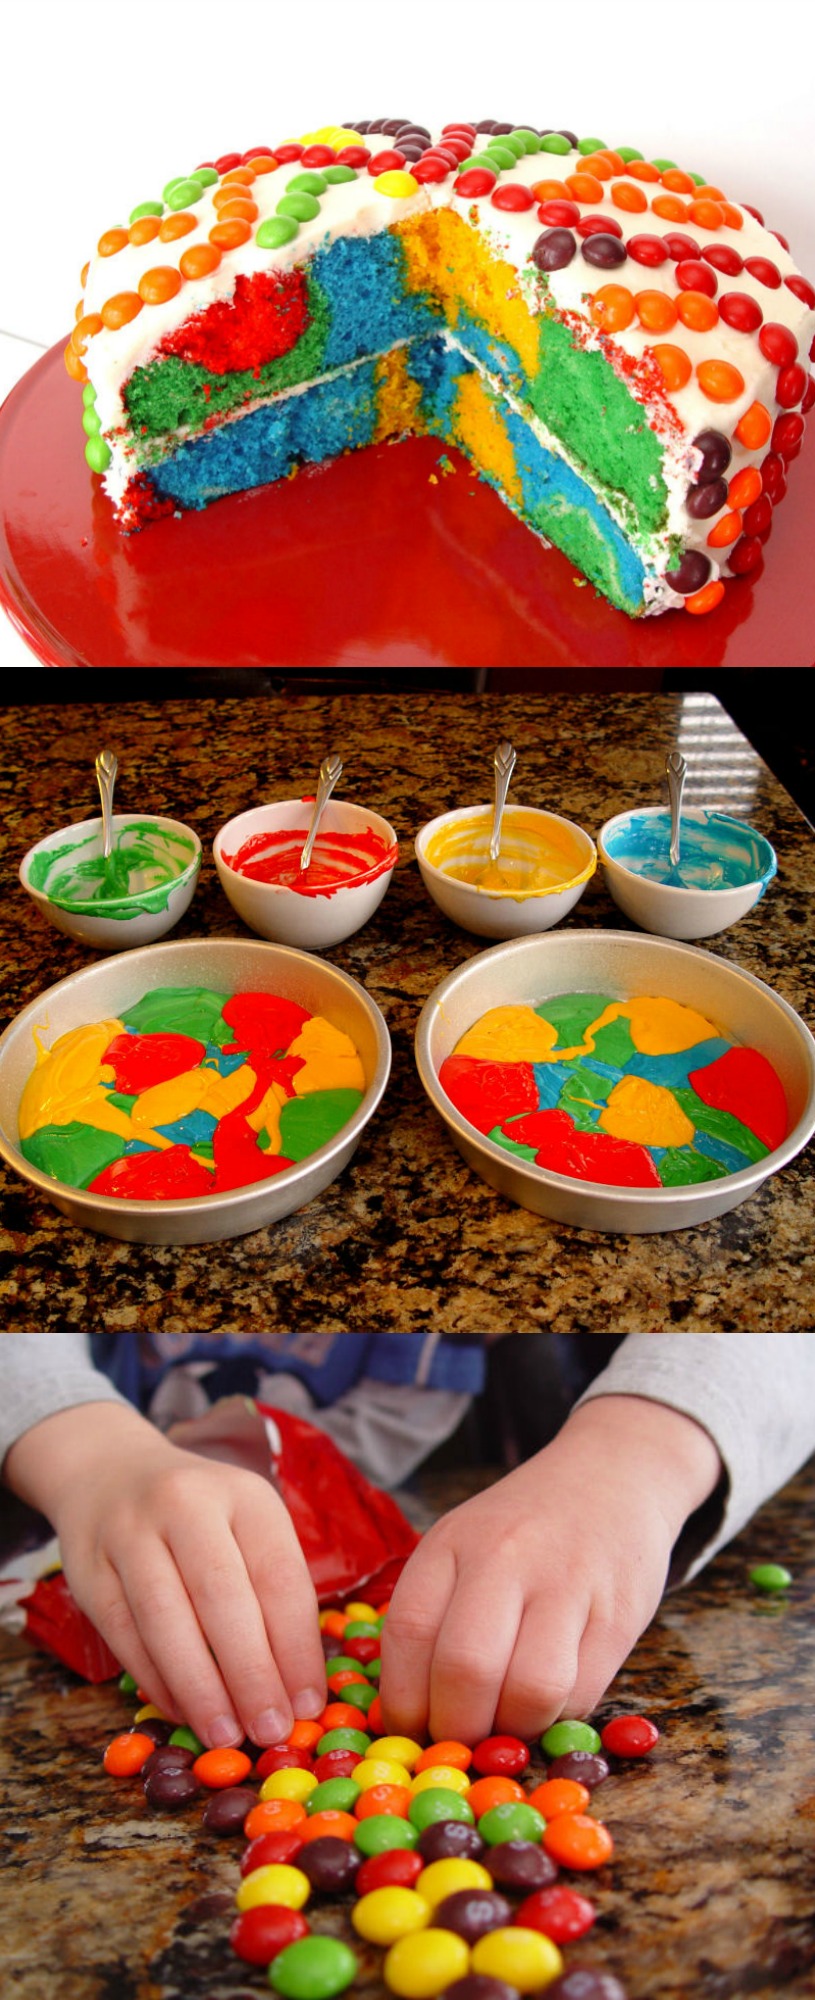
1. Mix the cake according to package directions. Pour equal parts of the batter into four bowls.
This food coloring gel paste can be found at Hobby Lobby and most craft stores,
or baking supply stores.
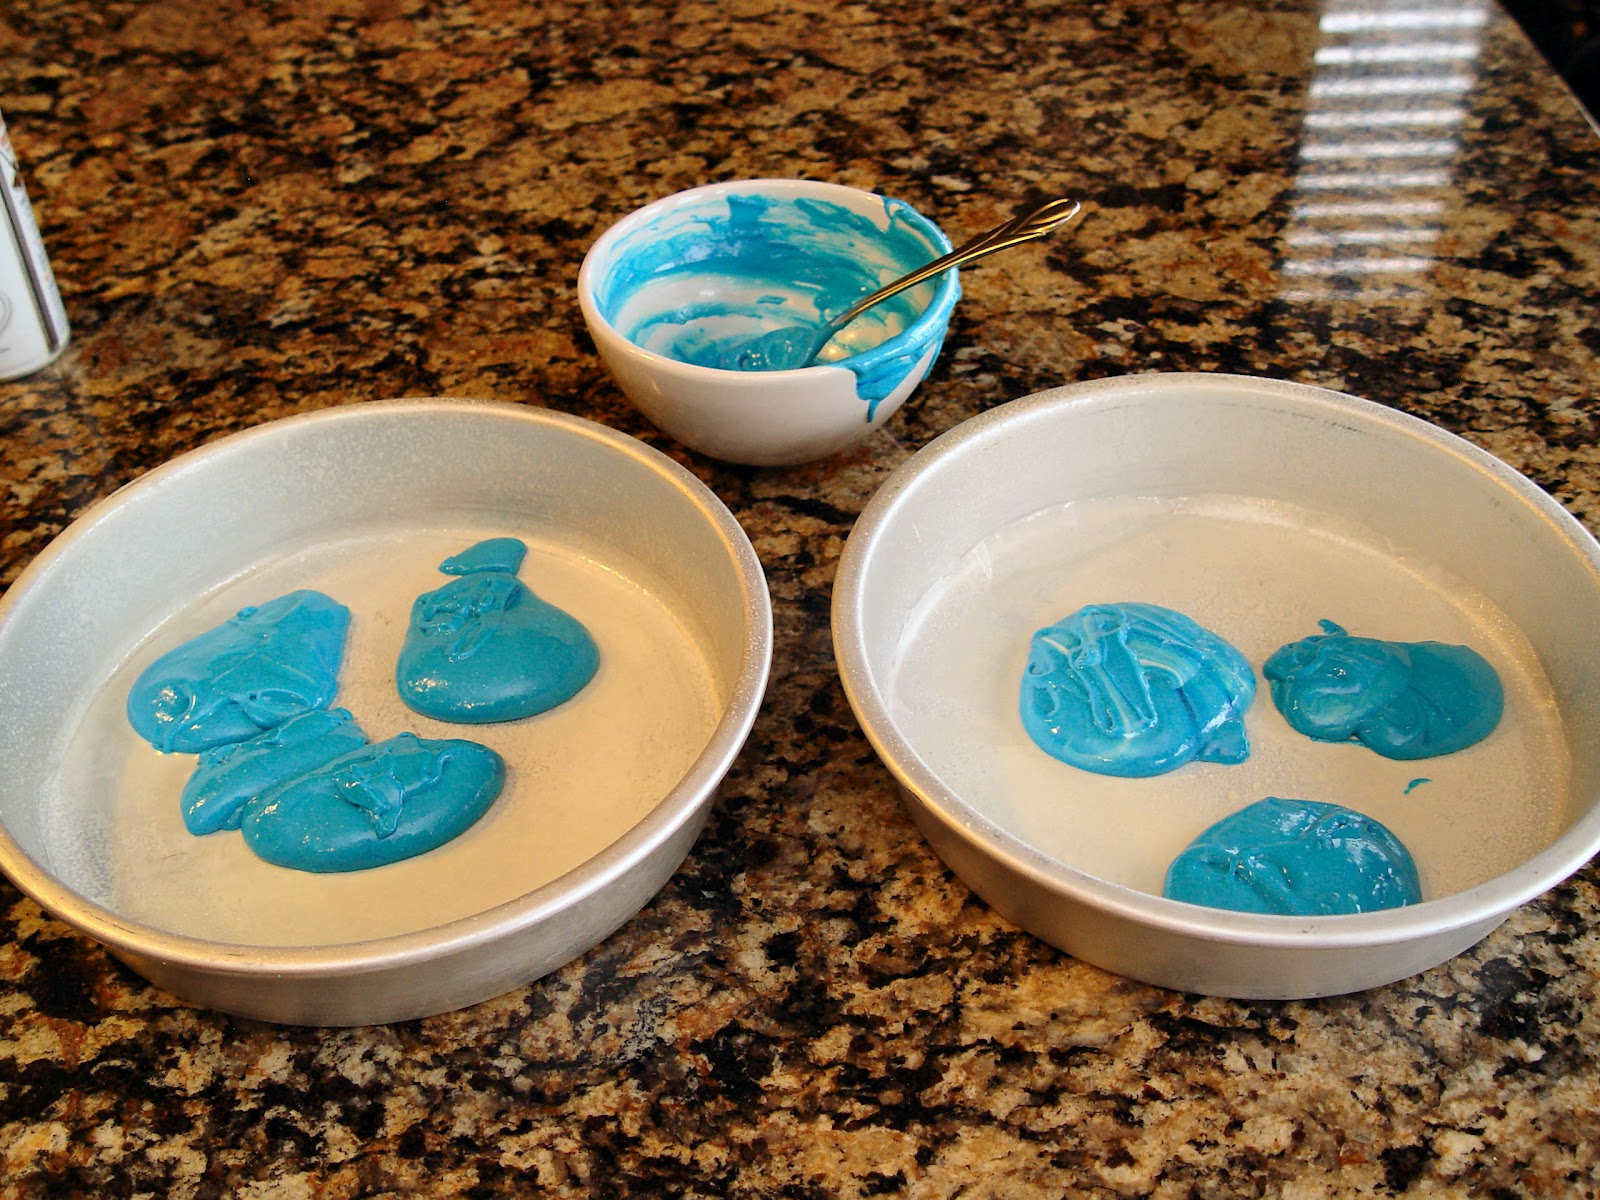
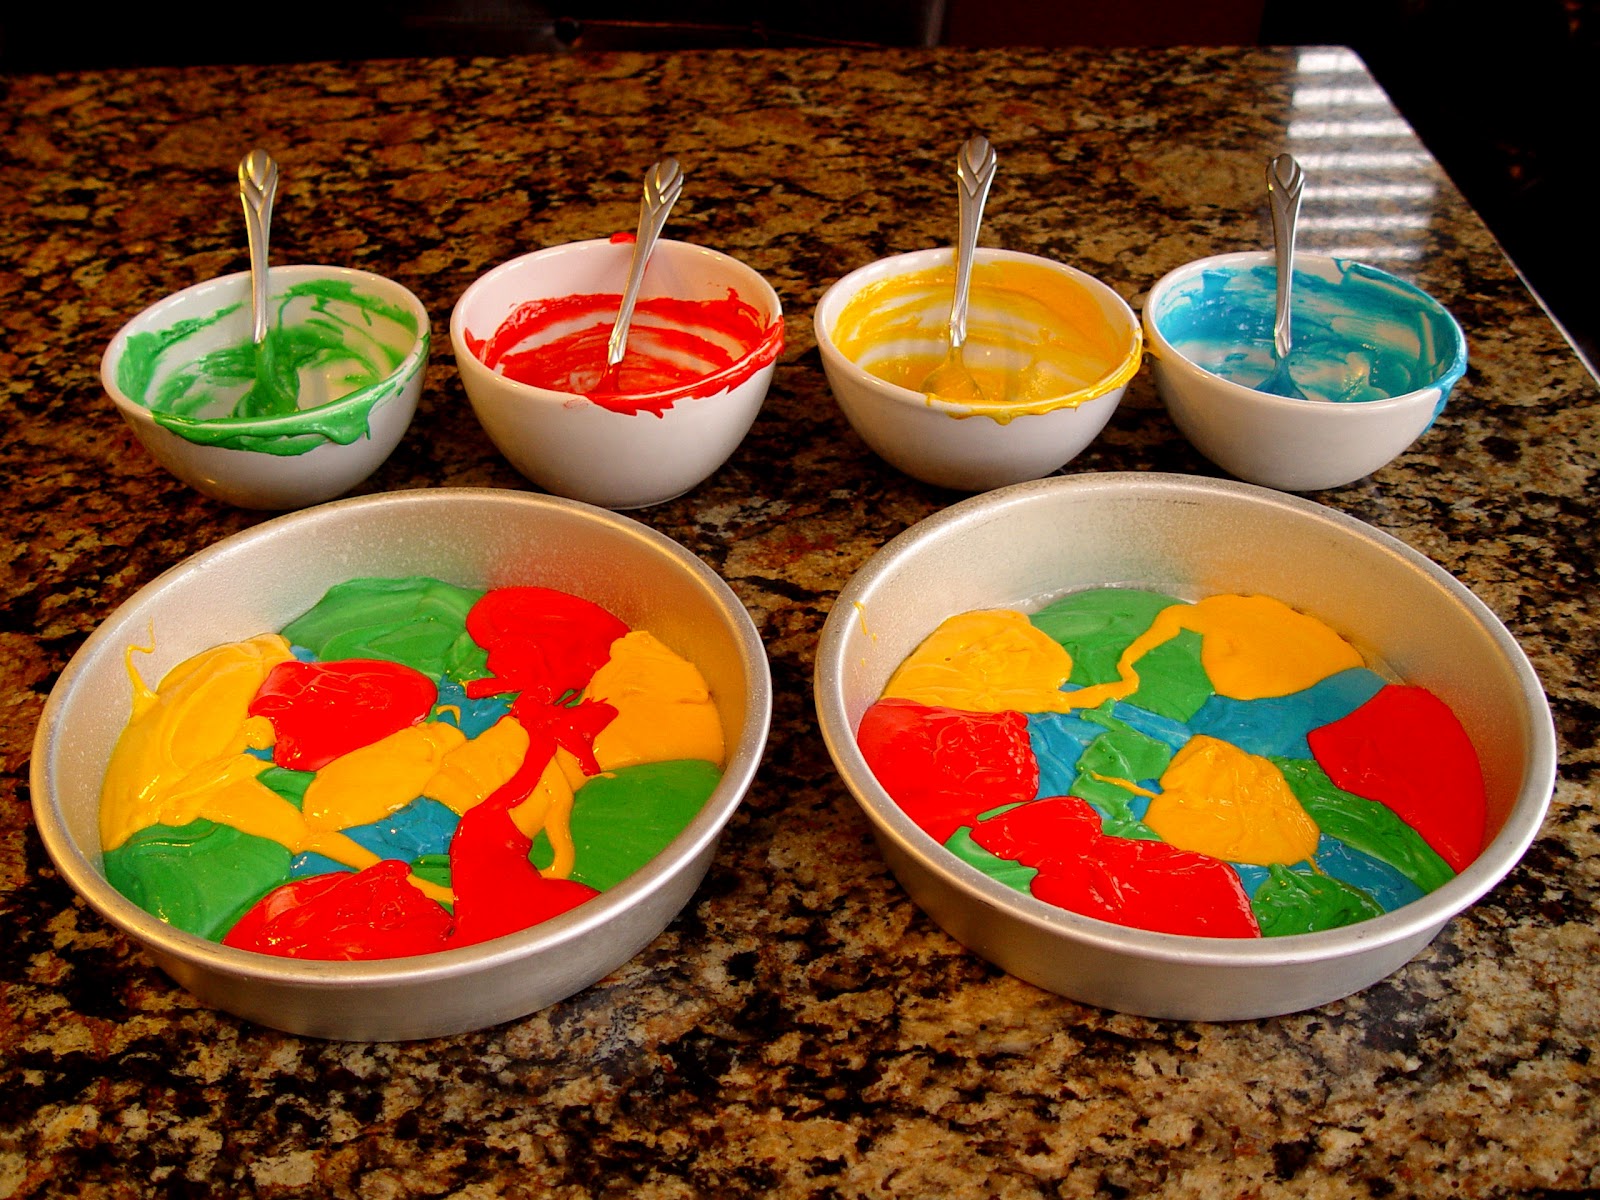
2. Pour a little food coloring into each bowl and stir it in with a spoon.
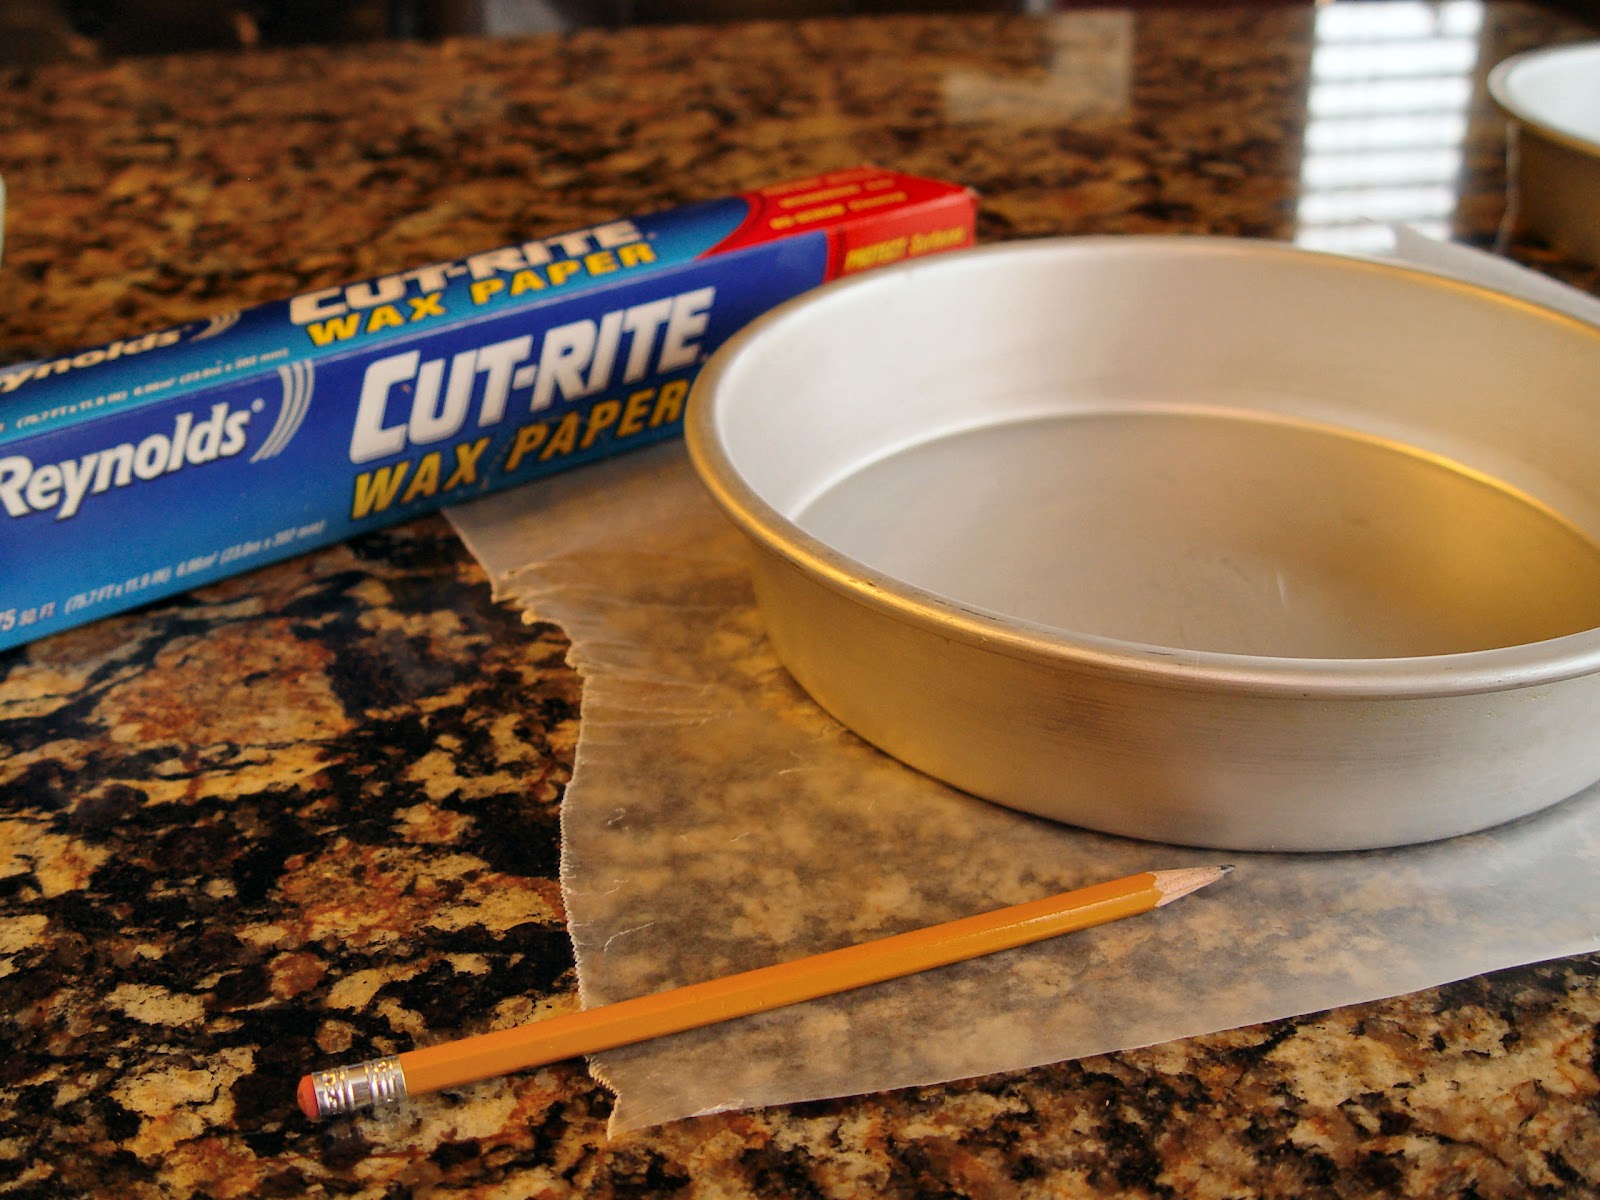
3. Lay the bottom of your round cake pan on top of two sheets of wax paper or plastic wrap. Draw a line around the pan with a pencil. Cut two circles out of the wax paper.
4. Spray each pan with cooking spray (cooking spray with flour works the best). Lay a piece of wax paper into the bottom of each pan and spray it with cooking spray.
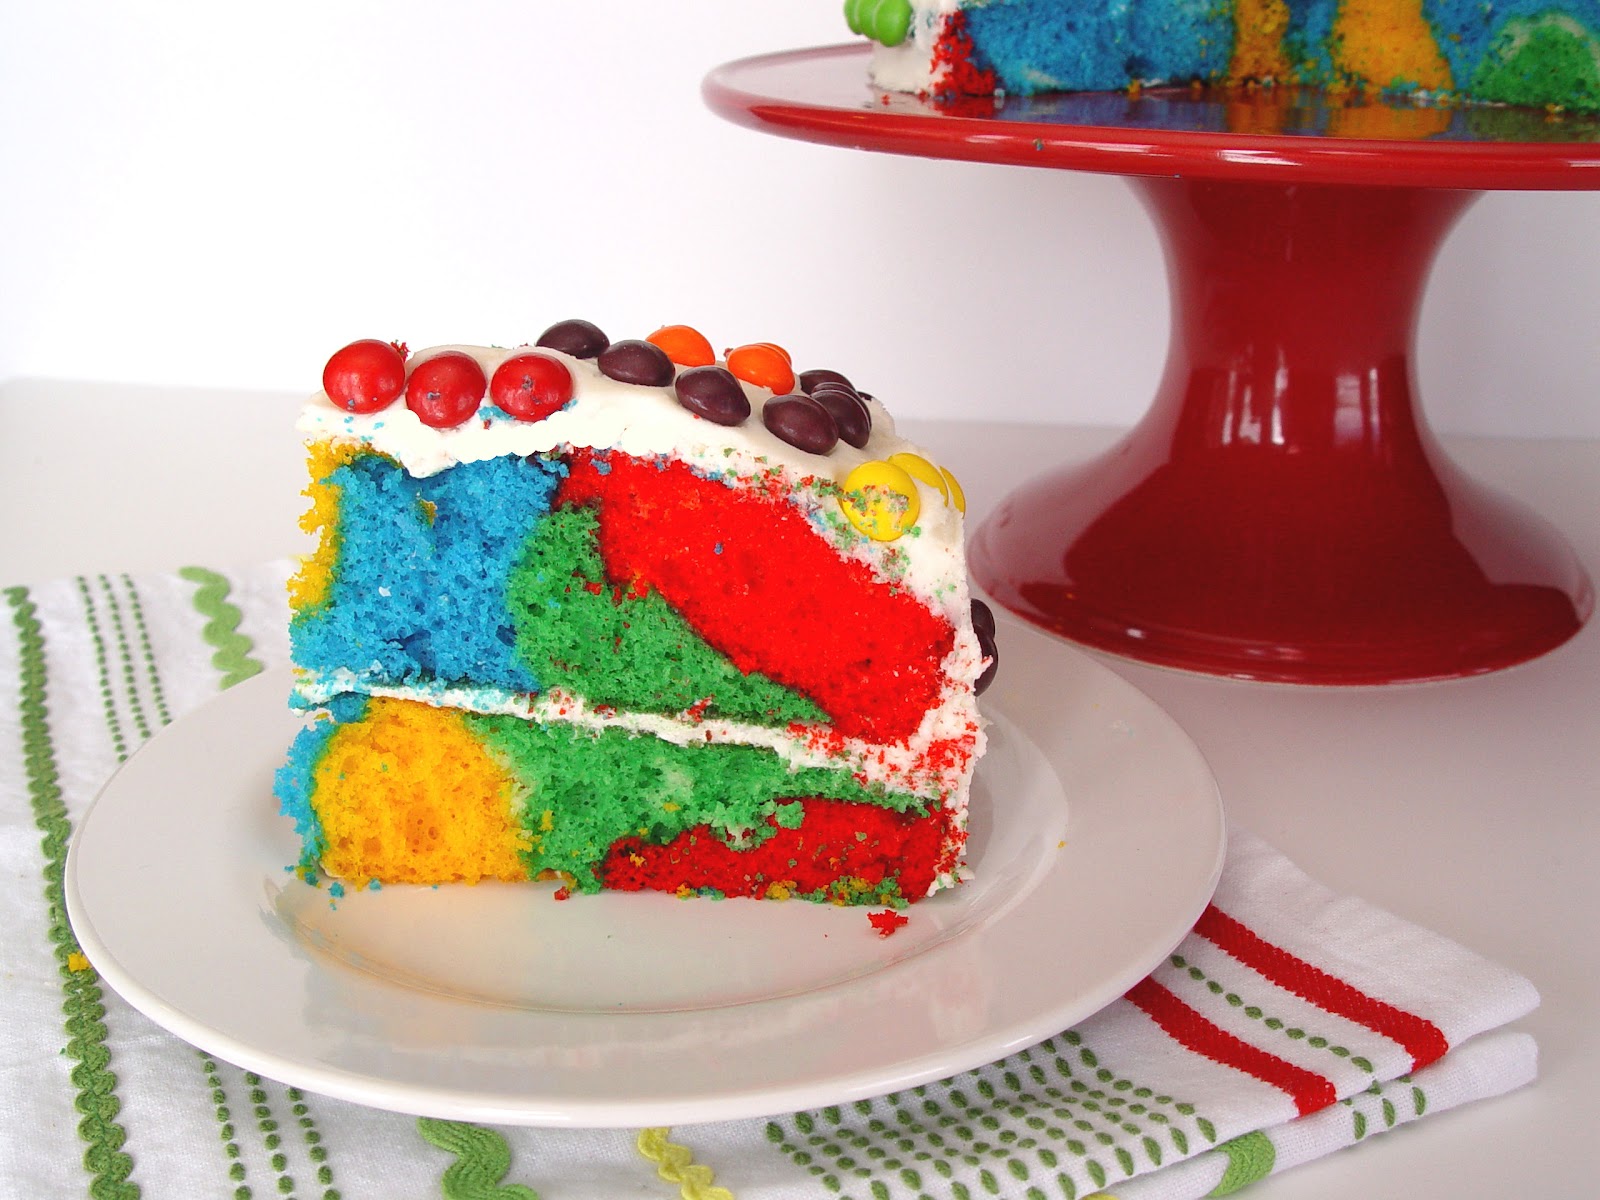
5. Take the blue batter and plop three or four dollops into each pan.
Then repeat with the other colors, making sure to distribute the batter randomly.
6. Bake the cake at 350 degrees for 25-35 minutes, or until a toothpick inserted into the center comes out clean.
7. Remove the cakes from the oven and let them rest in the pans for 10 minutes. Take them out of the pans and let them cool completely on a wire rack.
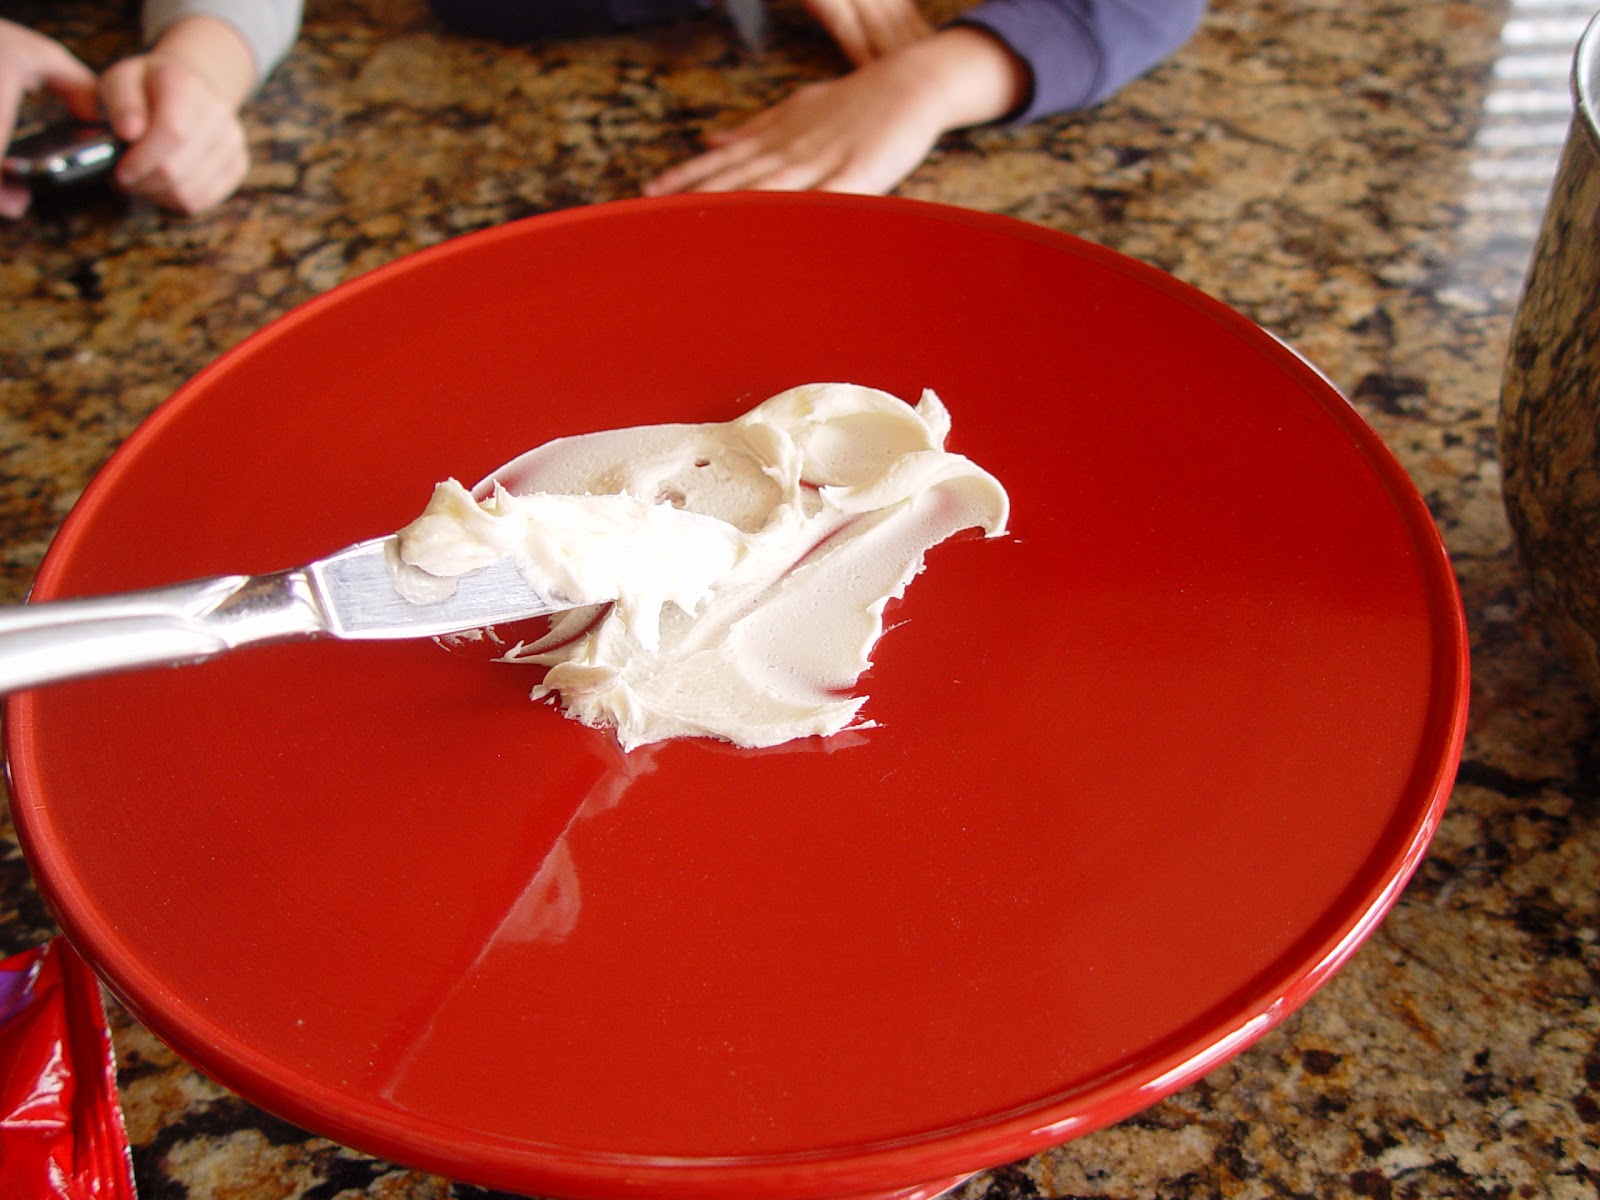
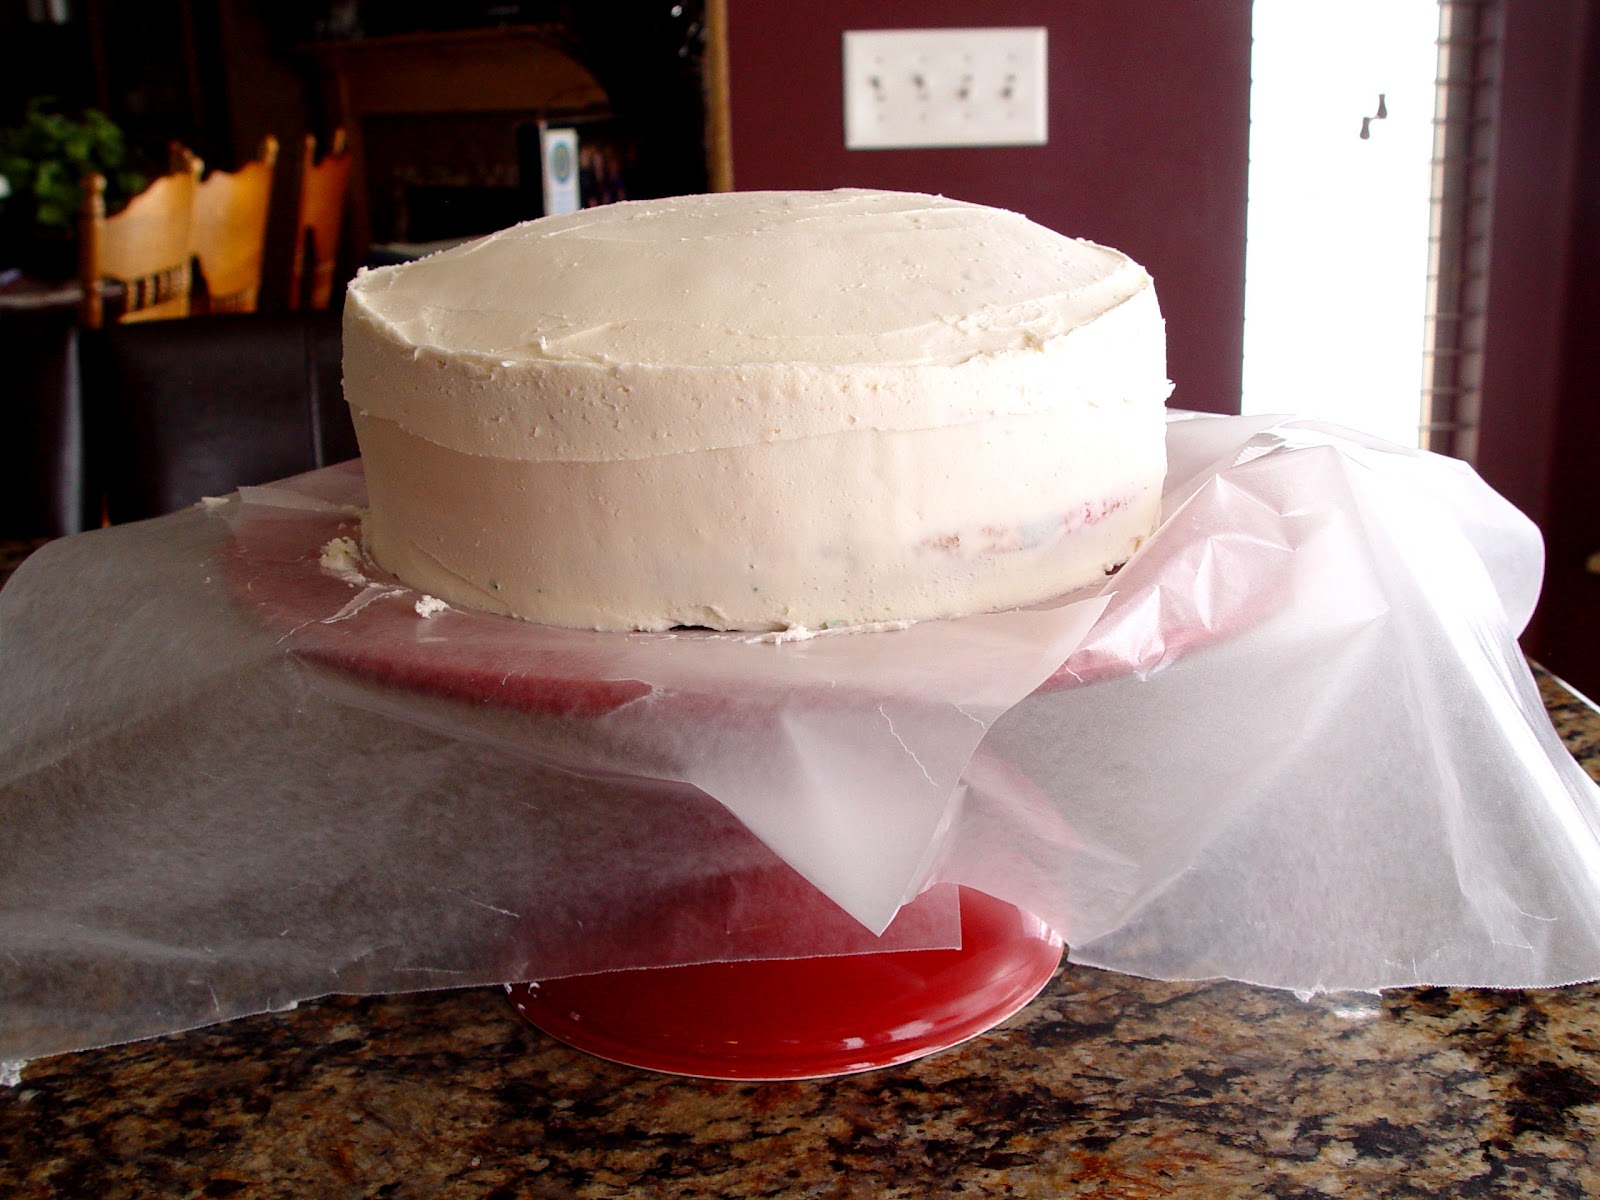
9. When your cakes have cooled spread about 3 tablespoons of frosting into the center of a cake plate or pedestal.
10. Carefully place one of the cake layers into the center of the plate. Slide a few sheets of wax paper underneath the cake. This is to help keep your cake plate nice and pretty. After you are done frosting the cake you will remove the wax paper and all will be lovely.
11. Spread some of the frosting over the top of the bottom layer.
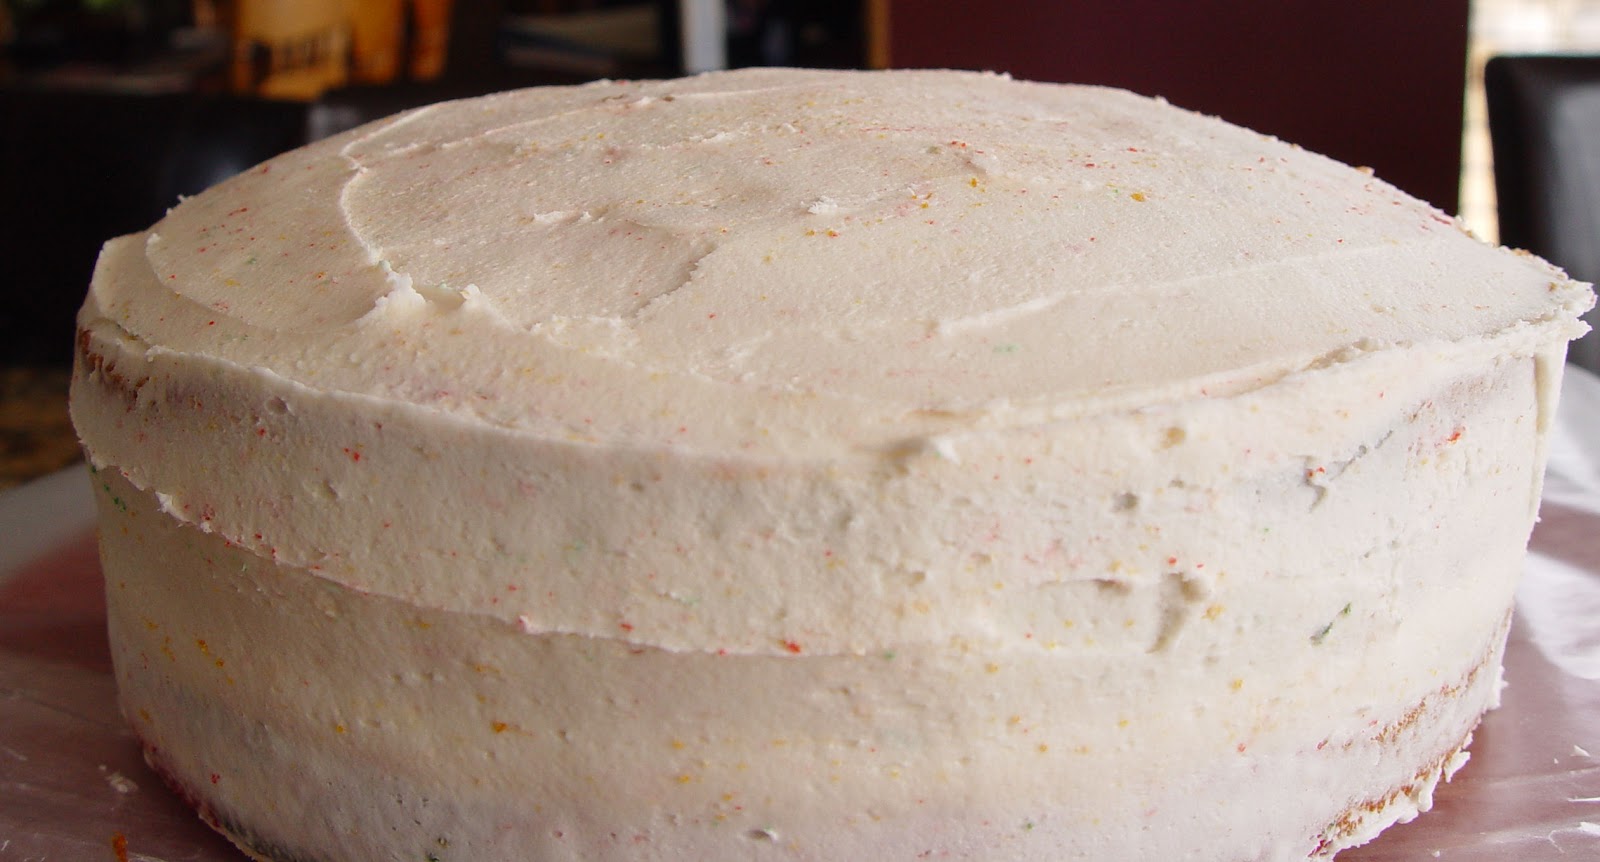
12. Place the second cake layer over the first and frost it lightly all around. Don’t be worried if there are a lot of colorful crumbs. Can you see the colorful crumbs on my cake? There are there trust me. This is called a “crumb layer”. After you have lightly frosted the cake like this, pop it into the fridge for about 20 minutes. This will cause the crumb layer to harden a bit and make it easier for you to frost the cake with a clean crumb free layer of frosting.
13. Take the cake out of the fridge and frost it so that none of the cake (or its crumbs!) are showing.
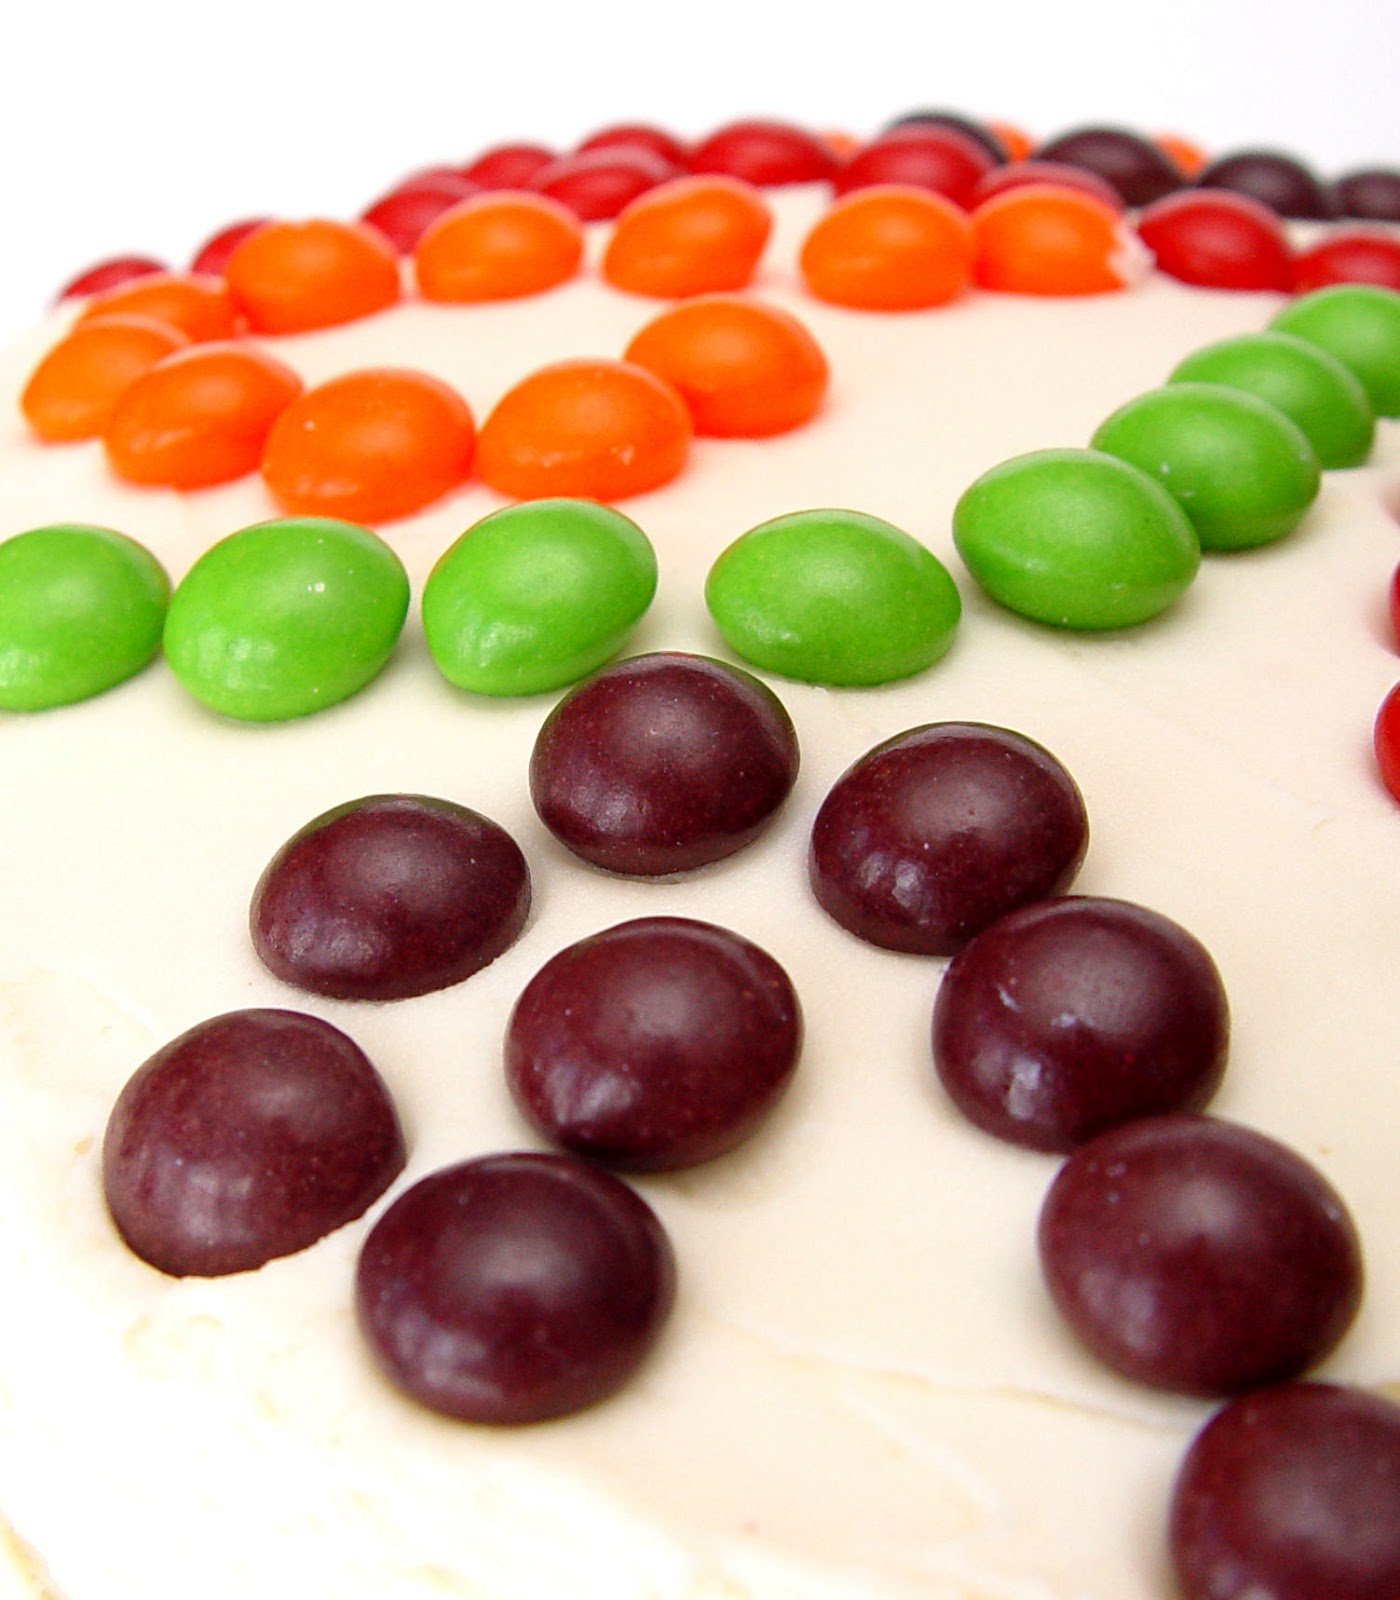
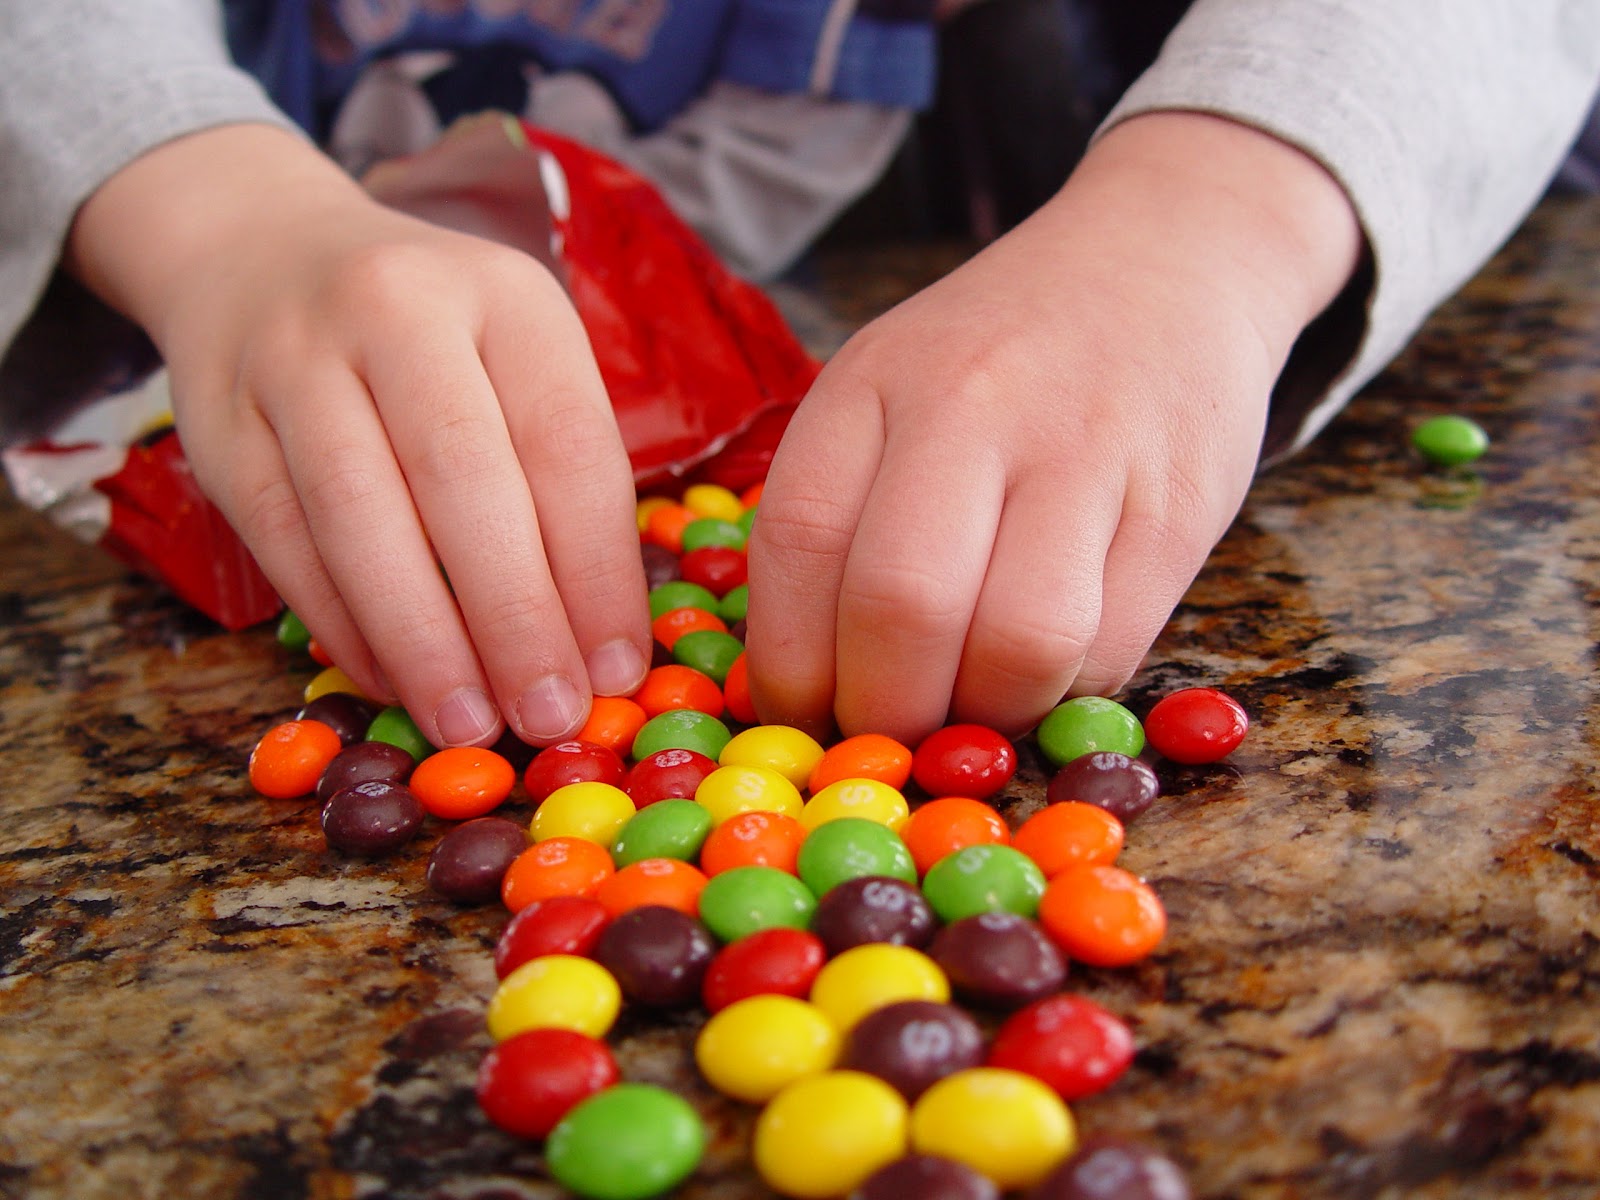
14. Get yourself some skittles
and press them all over the cake. You’ll want to be sure to work quickly. Once the frosting has set up it won’t hold the skittles very well.
As I have found one of wonderful tutorial to make this beautiful cake. It's exclusively looking one of epic featured source for me. The rocking contents really makes me crazy about it. It's truly looking one of delicious and tasteful cake. Thanks for sharing.


Your recipes make me look good. I really enjoy them. They are easy to follow and delicious. Thank you!
As I have found one of wonderful tutorial to make this beautiful cake. It's exclusively looking one of epic featured source for me. The rocking contents really makes me crazy about it. It's truly looking one of delicious and tasteful cake. Thanks for sharing.