This post may contain affiliate links. Please read our disclosure policy.
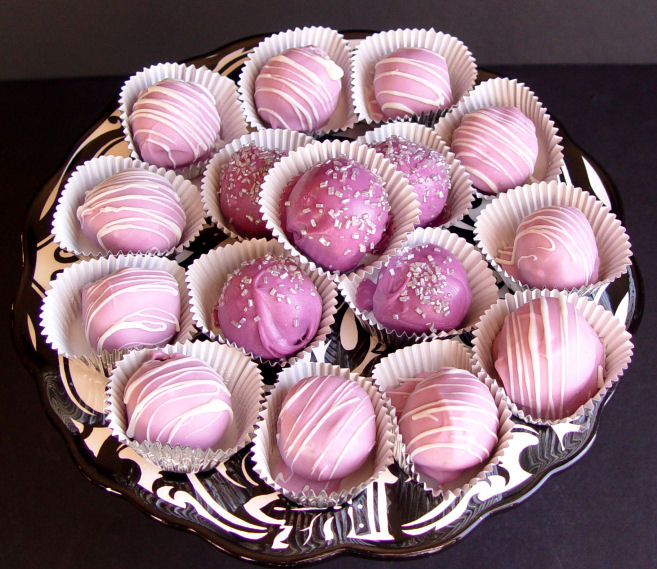
Let me tell you what I know about these Pretty Oreo Bon Bons, my friends. I think you are going to like it. 🙂
The filling has two ingredients.
You don’t have to temper anything or cook anything on the stove top or soak and simmer something or slice and dice or bless this lovely project with a curse word or anything like that.
No sir. No ma’am.
The filling is made by crushing Oreo cookies and mixing them up with cream cheese. Is that brilliant, or what? (I wish I could say I dreamed that one up.) The filling hangs out for a while in the freezer, then you roll it into balls, let them freeze some more and then dip them in some tasty candy melts. That’s it!
Besides being super easy to make, they can be made up to a week in advance and kept in the freezer until you need them. Another bonus, wouldn’t you say?
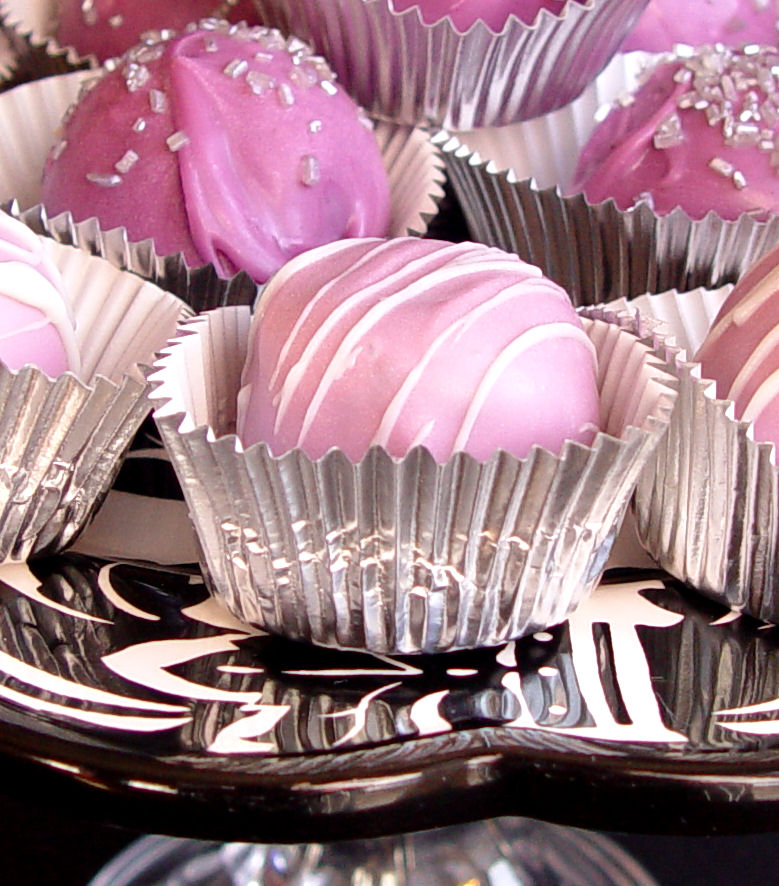
Make them. Love them. Dip them in any color you wish. Purple, pink, blue, yellow, green…(isn’t St. Patrick’s Day coming up or something?) Enjoy them, dear reader. They are a both fun and oh-so tasty.
Pretty Oreo Bon Bons
Time: 45 minutes hands on + 2-3 hours freezing time
***NOTE: These Oreo Bon Bons freeze very well and can be made up to a week in advance.
1 (15.5 ounce) package Oreo cookies (about 45 oreos)
1 (8 ounce) package cream cheese
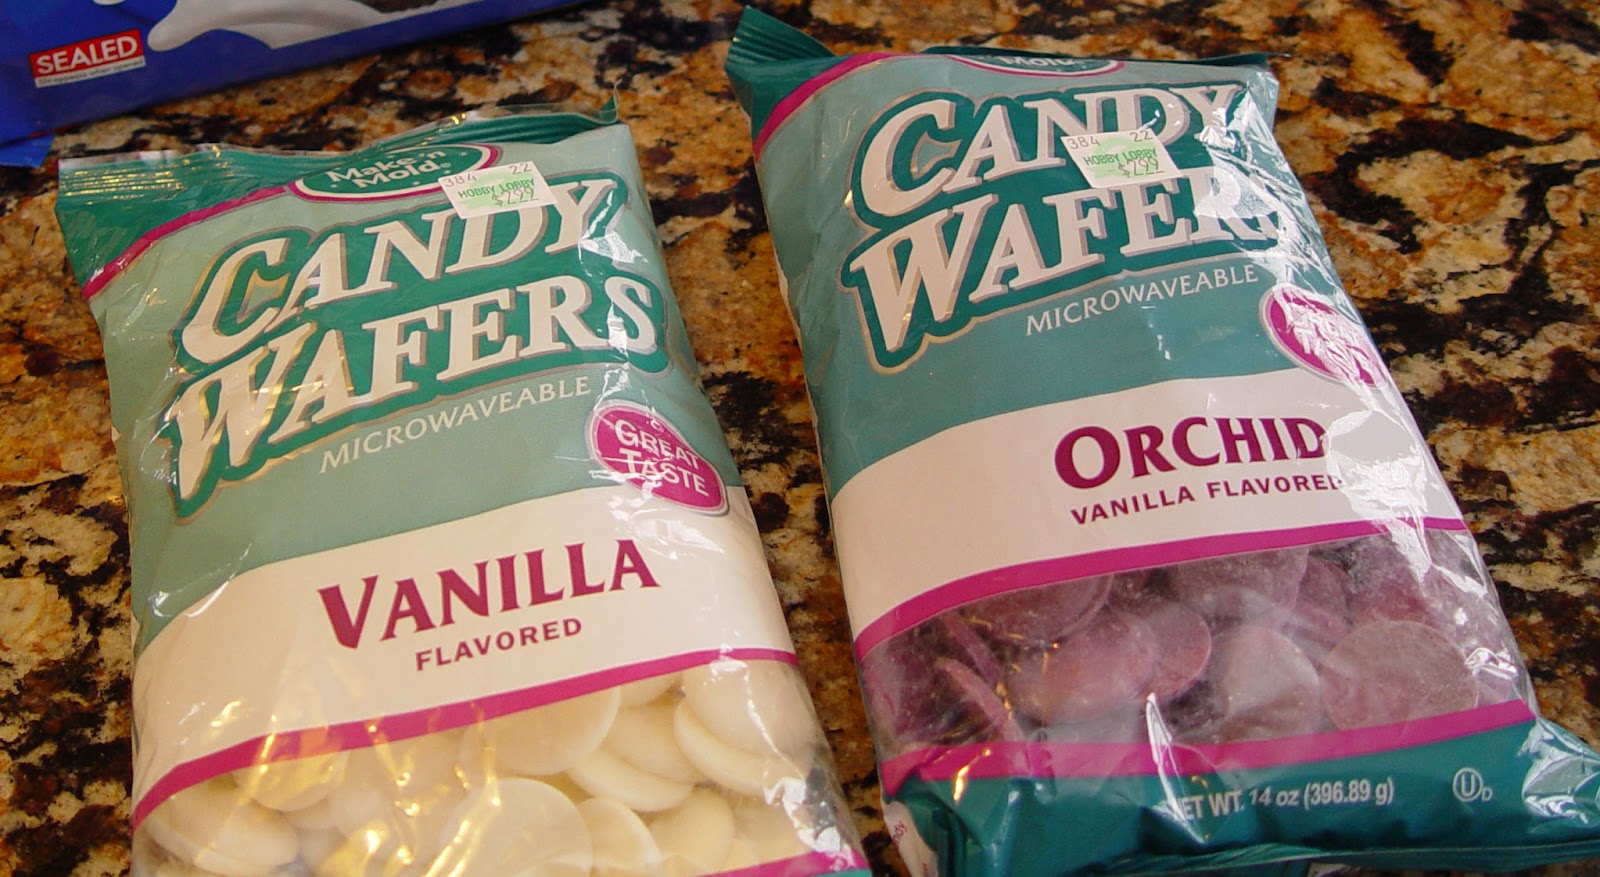
2 (14 ounce) packages candy wafers, or candy melts
candy sprinkles (optional)
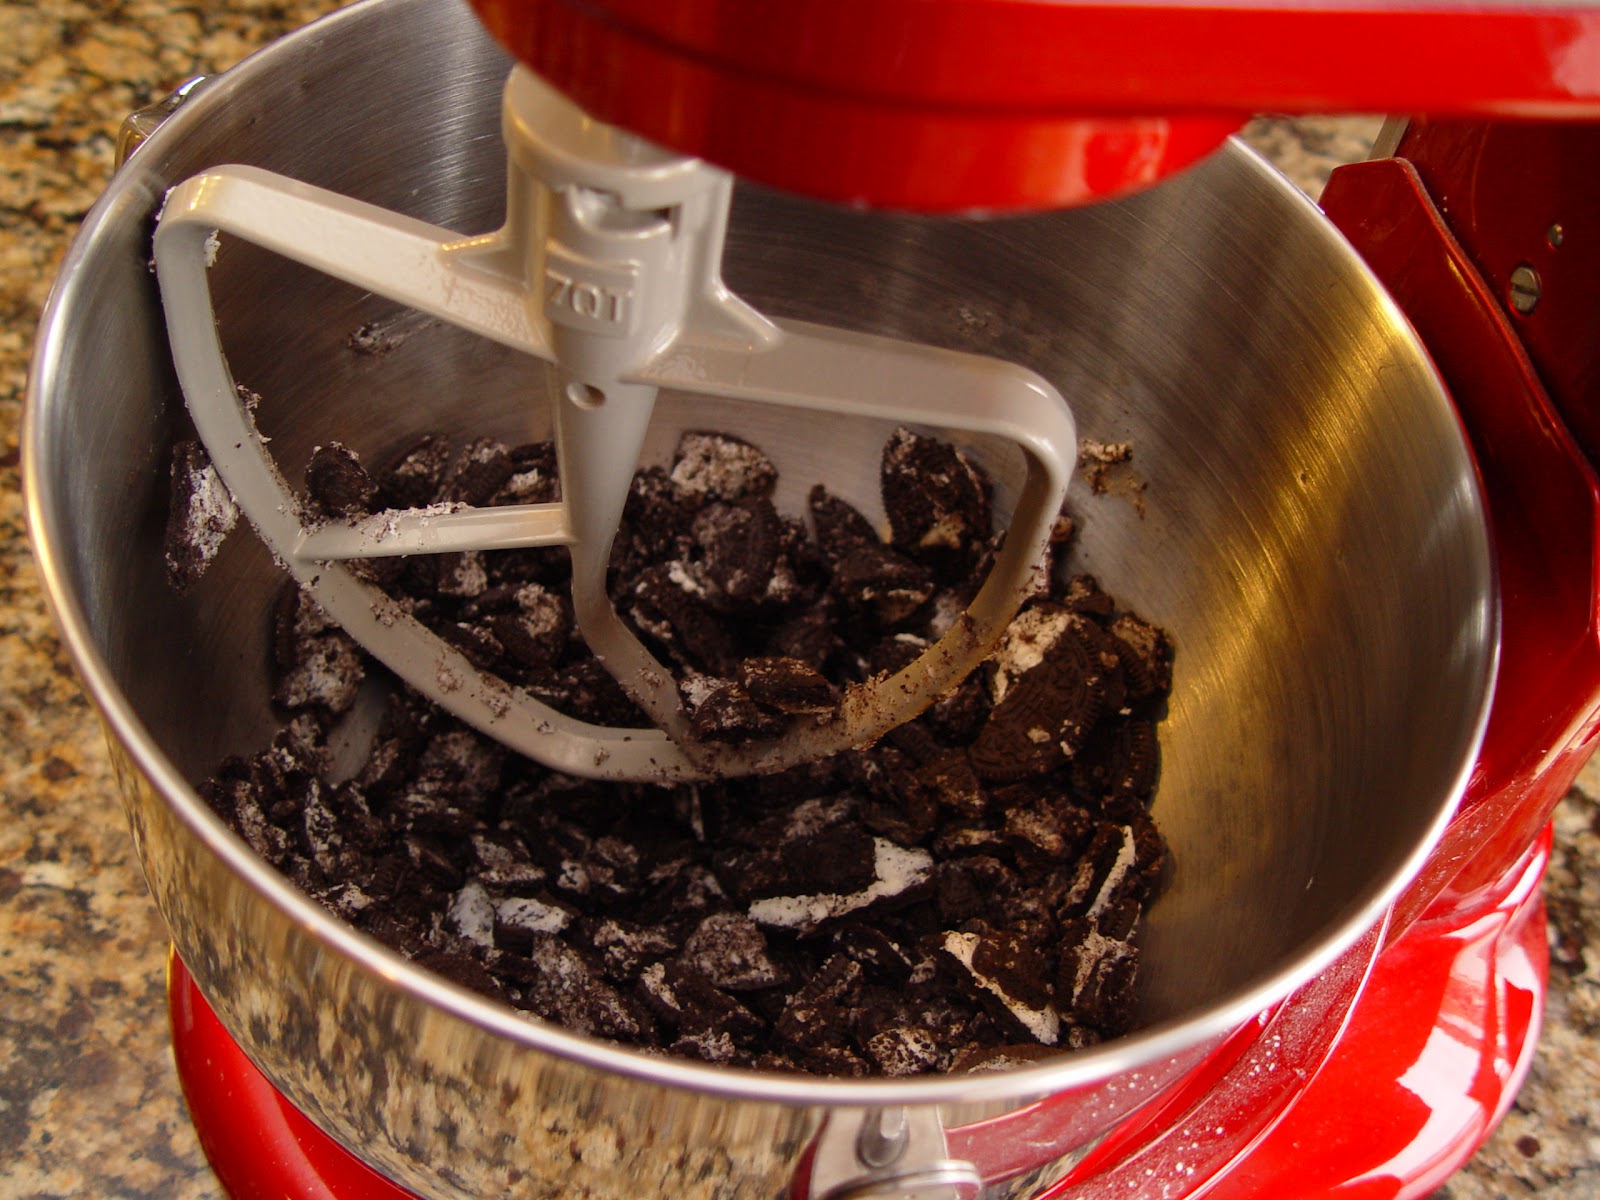
1. Toss all of the oreos into your stand mixer. Turn the mixer onto low speed and watch those oreos get crushed.
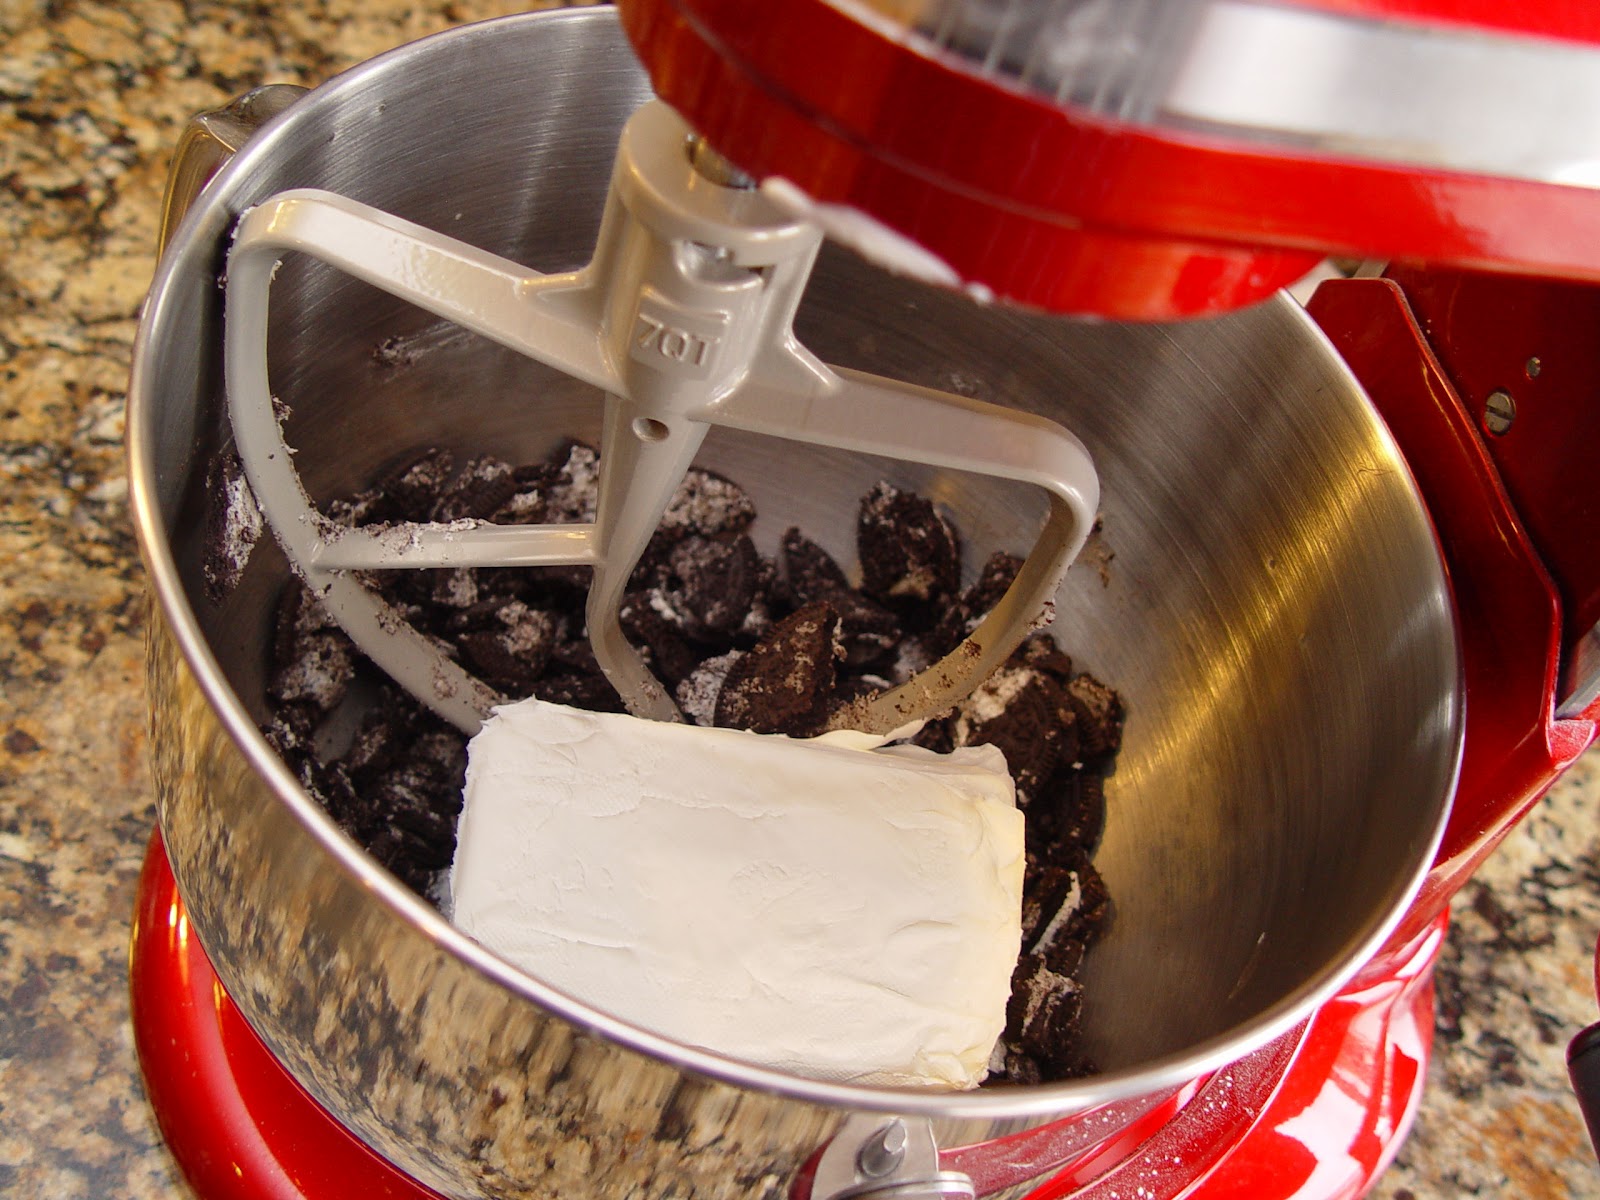
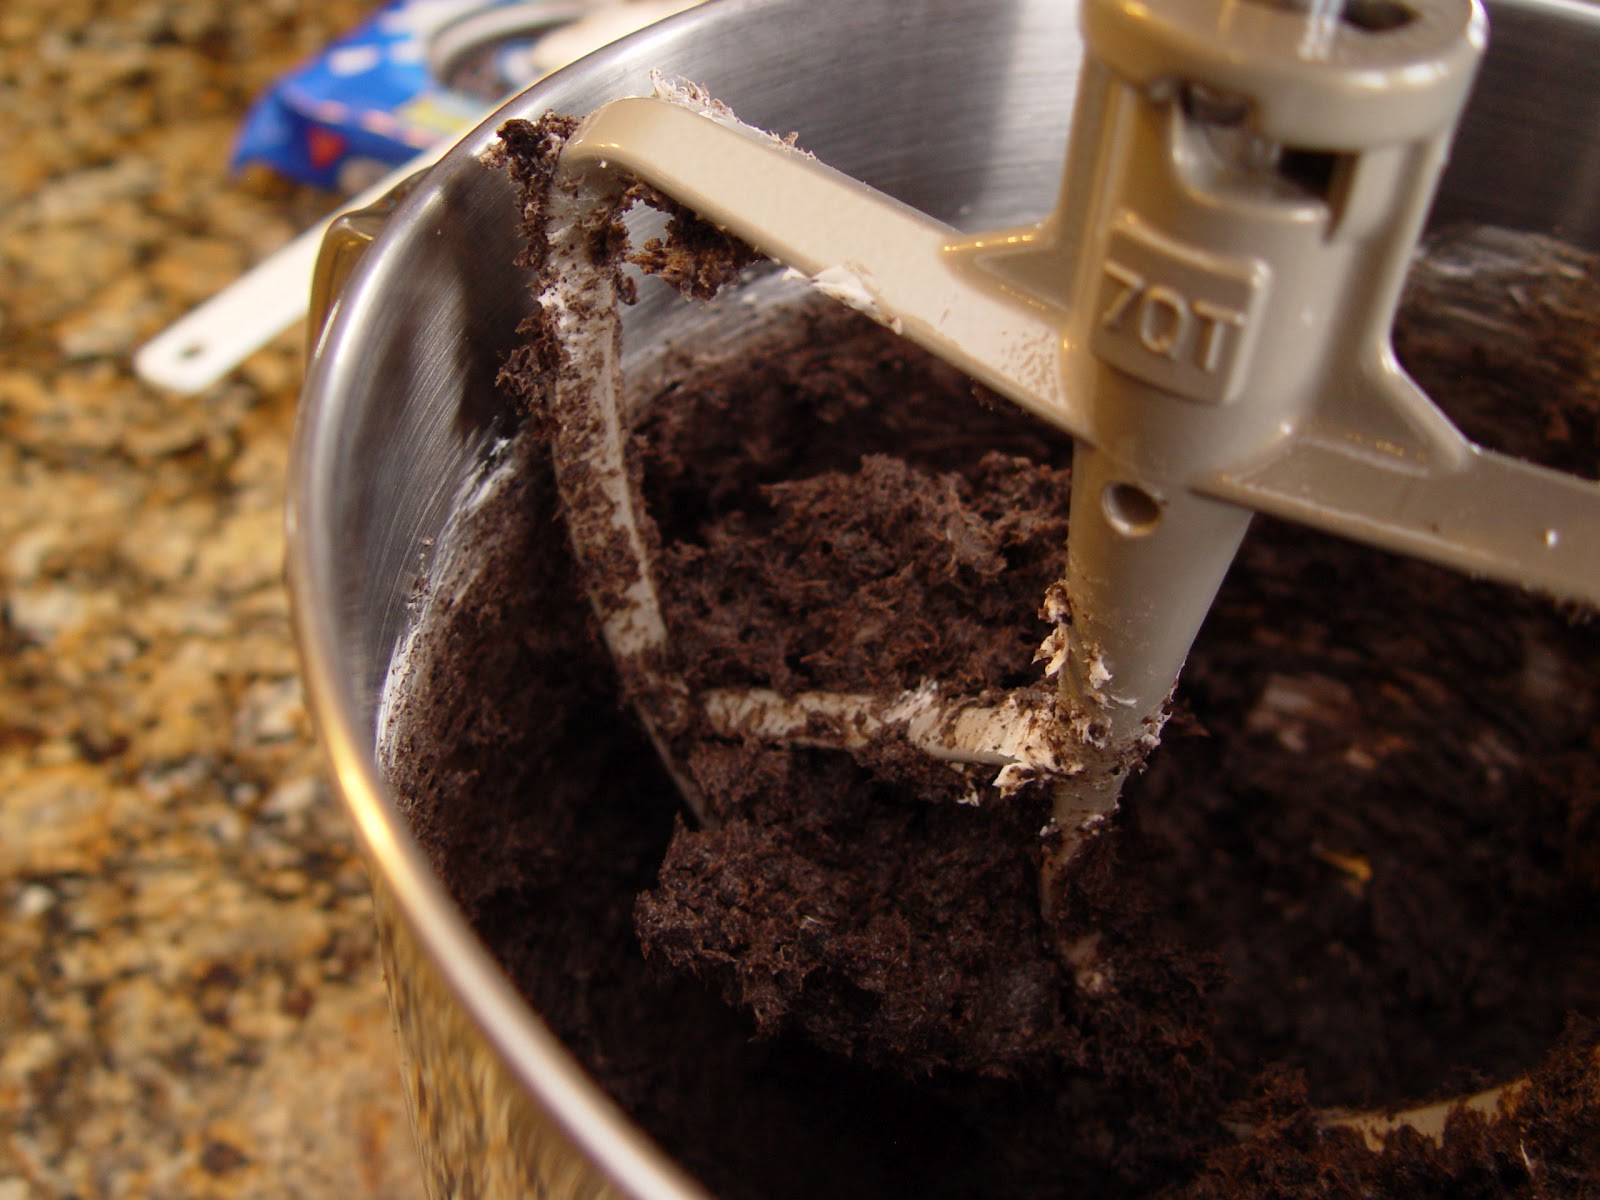
2. Put one package of cream cheese into the bowl and continue to mix
until the two are well combined. Cover the bowl with plastic wrap and place it into your freezer for at least 2 hours.
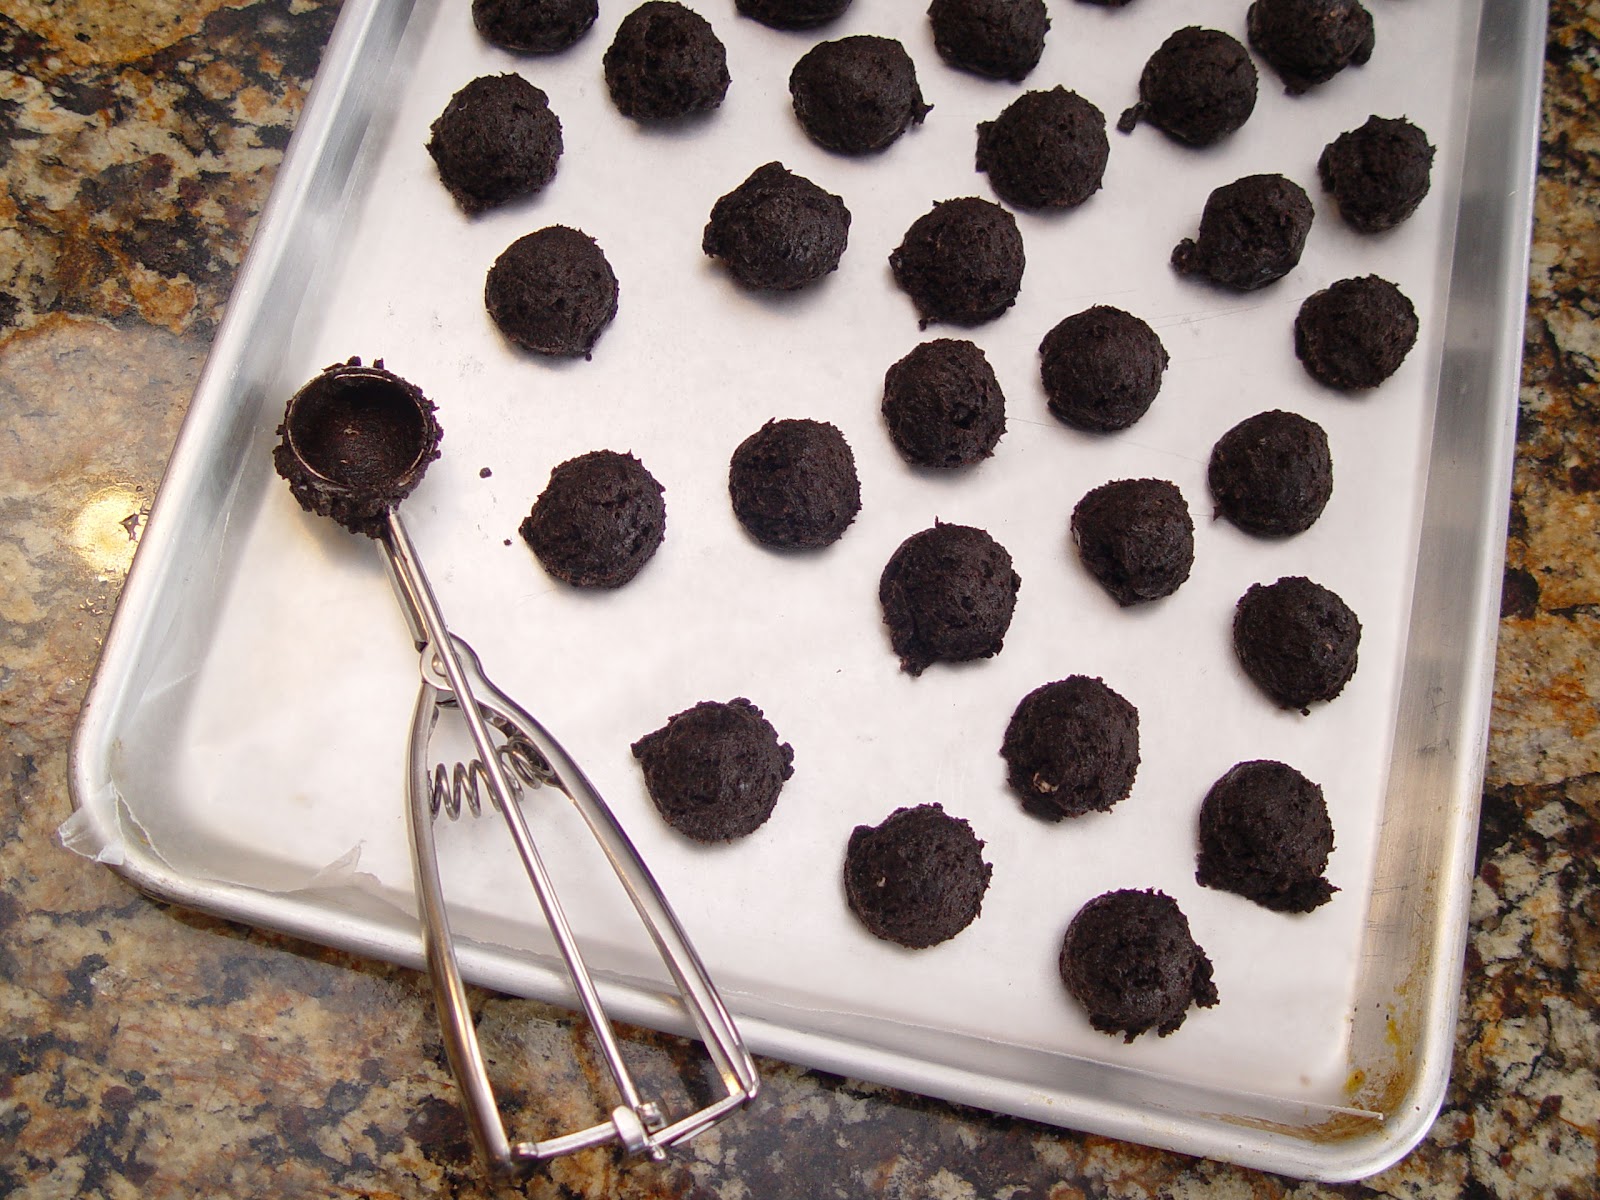
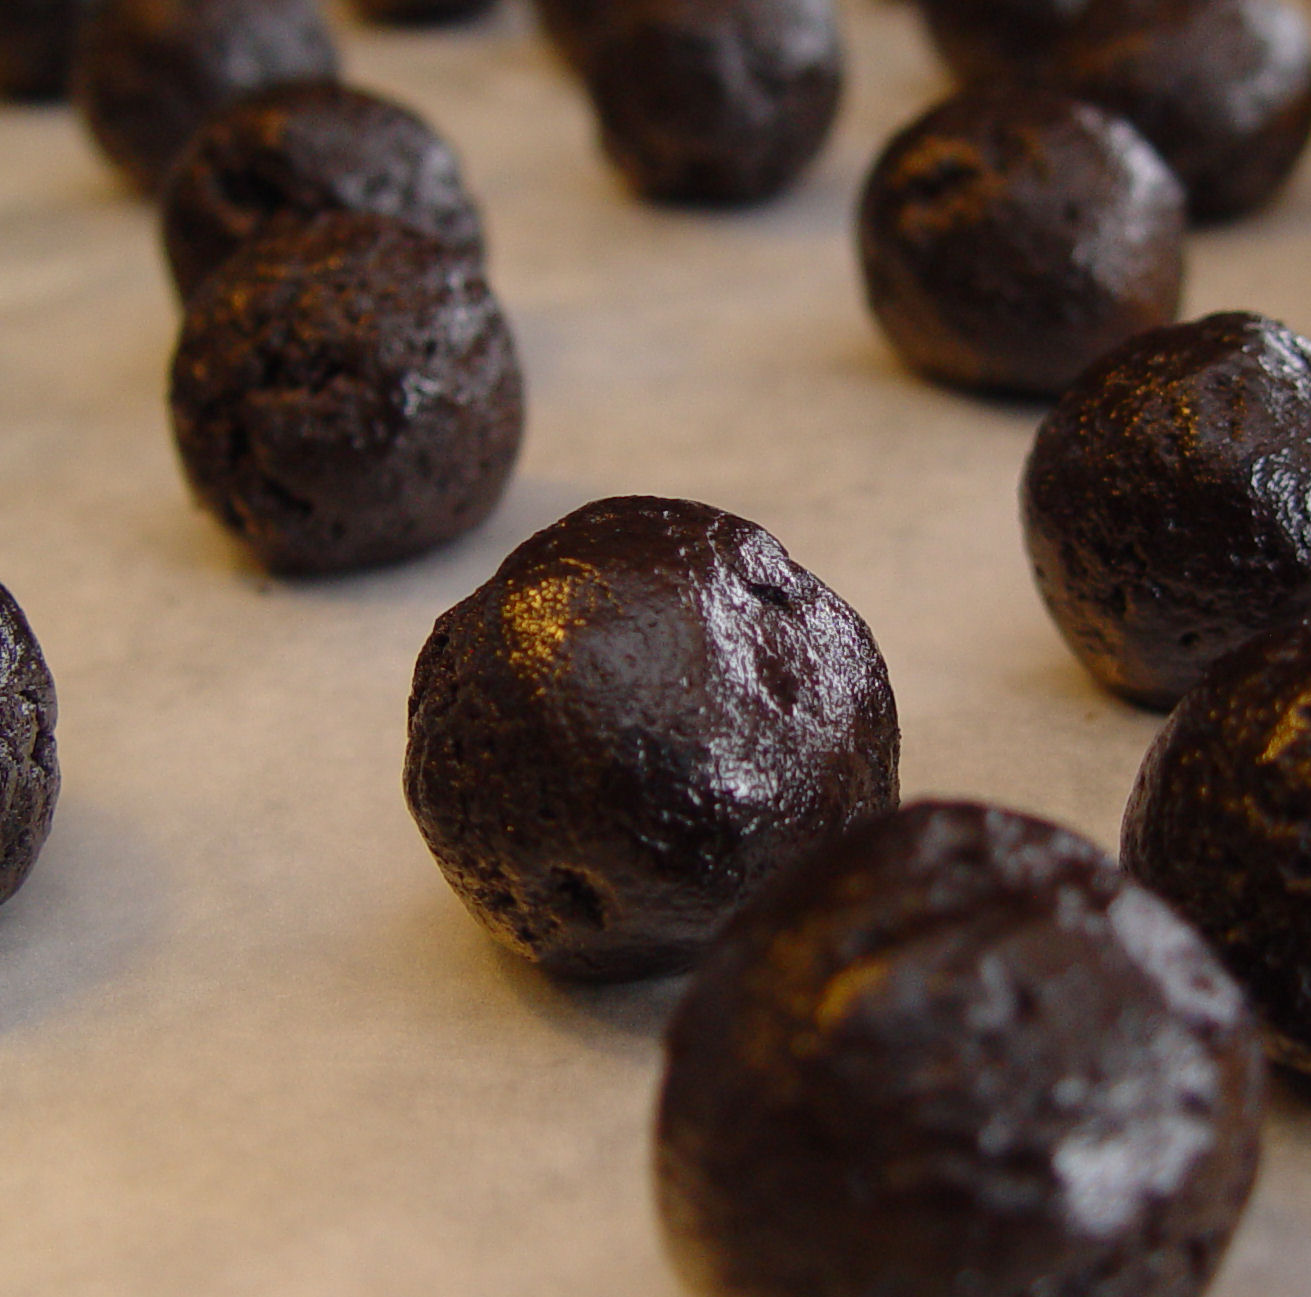
3. Once the filling is frozen scoop it into balls and place them onto a cookie sheet that has been lined with parchment or wax paper.
4. Spray your hands with cooking spray and roll each ball around in your hands so that the outside is nice and smooth.
5. Cover the pan with plastic wrap and get it back into the freezer. Let the balls hang out there for 1-2 hours.
***NOTE: I picked these candy wafers up at Hobby Lobby. They seem to have a great selection of colors. I’ve also seen melting chocolate called “Candy Melts” that are made by Wilton and sold at Walmart. They work just as nicely as the melts pictures above. Don’t buy regular white chocolate and try to dye it with food coloring, ok? Been there. Done that. It wasn’t pretty.
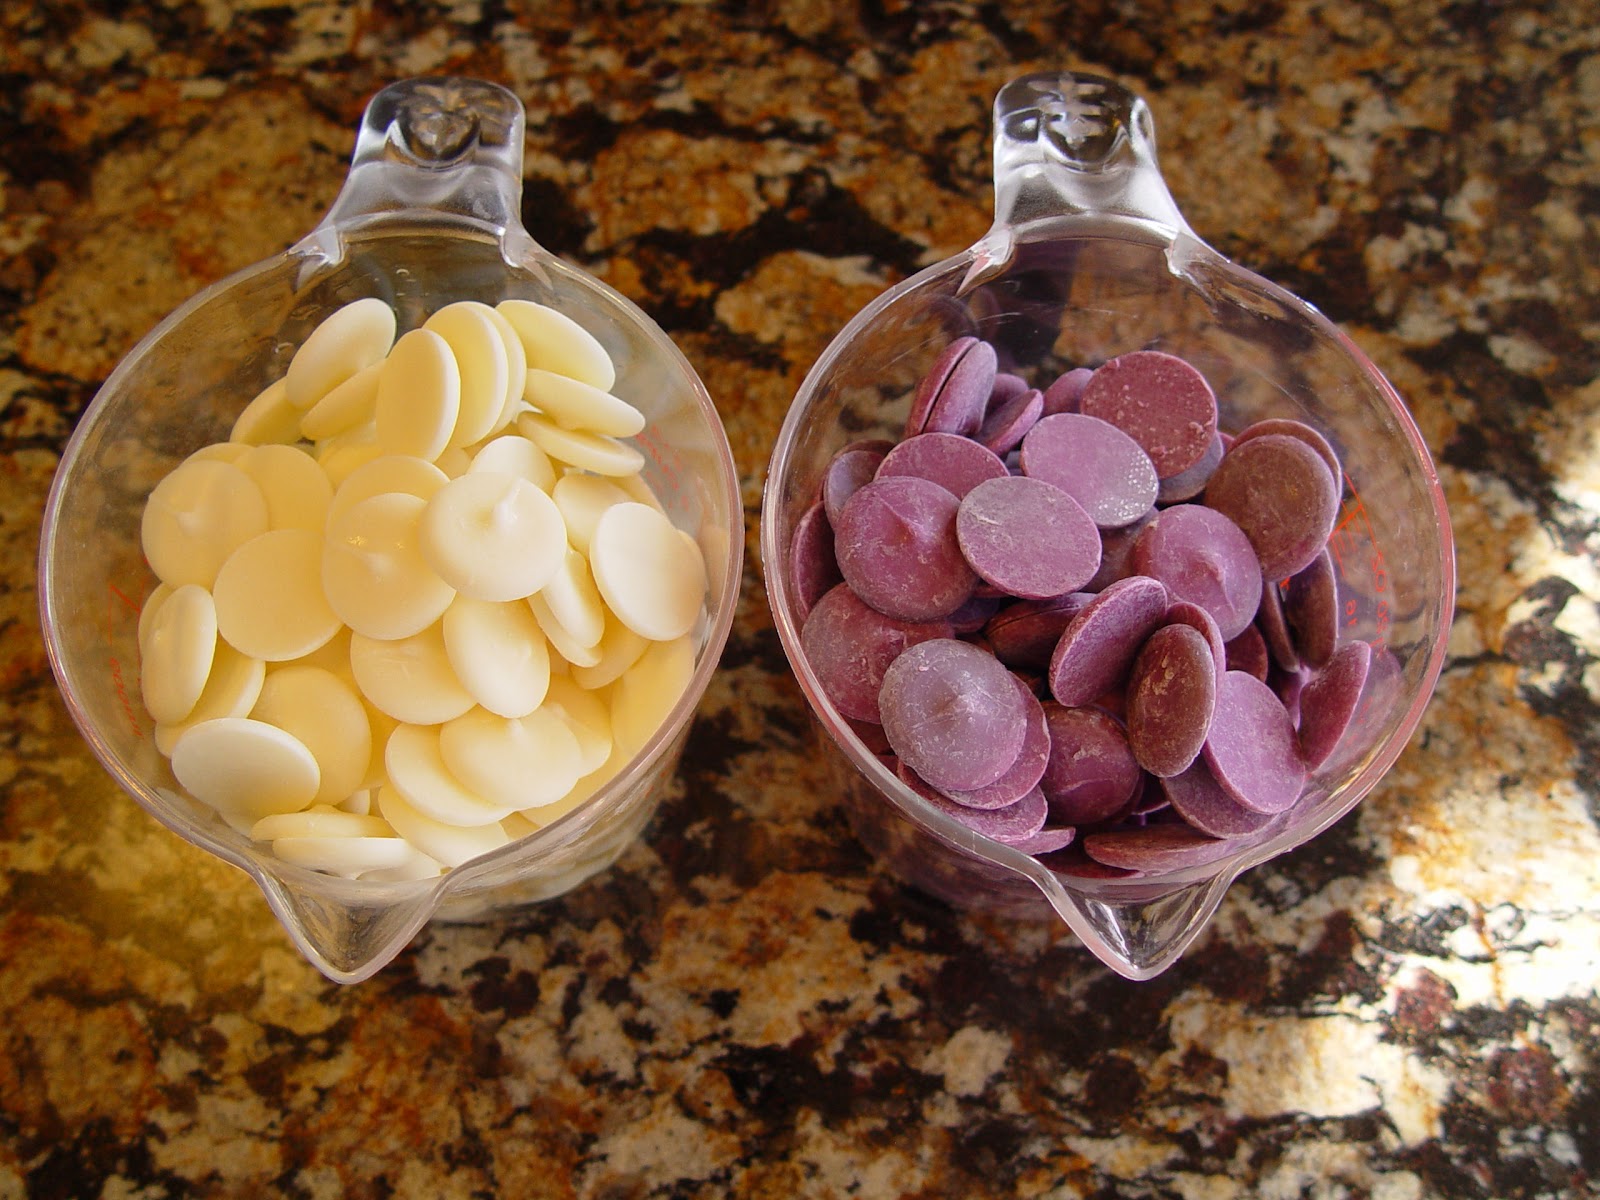
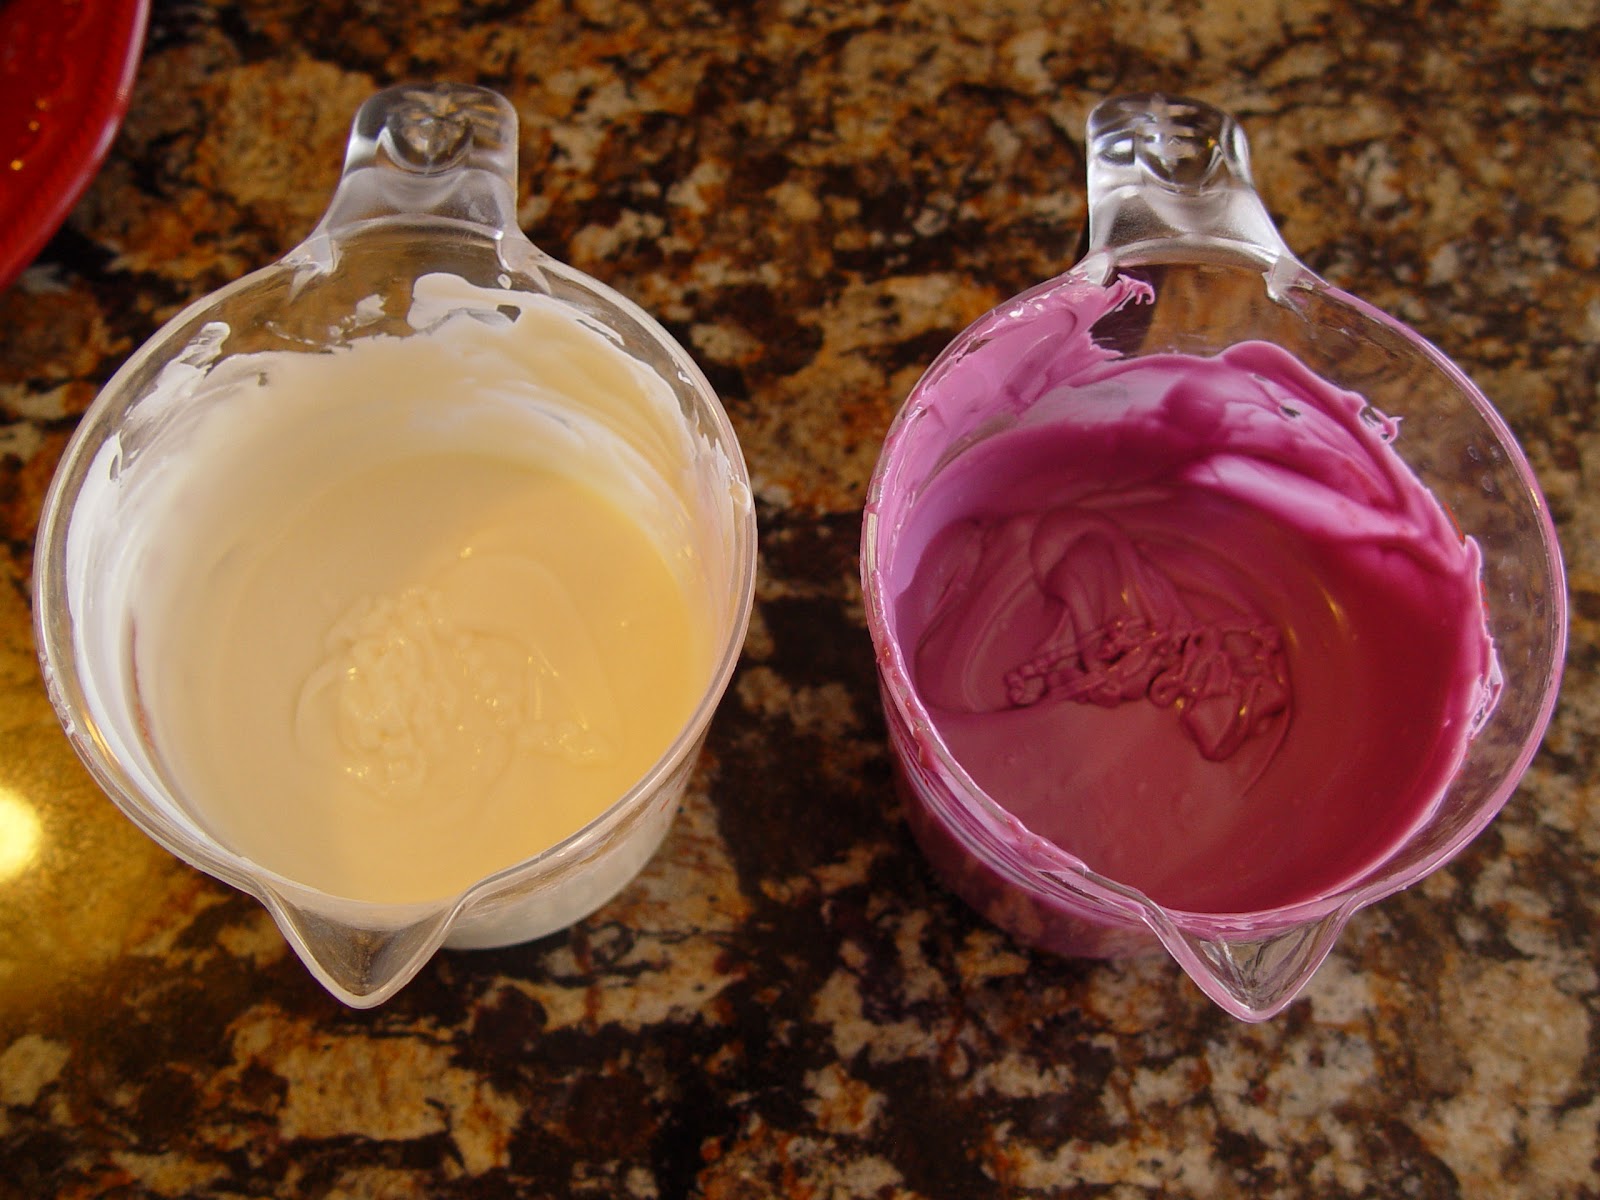
6. Place the candy melts into two separate microwave safe bowl, or glass measuring cups.
7. Melt the wafers in the microwave for 30 seconds at a time, stirring after each heating interval. Once the chocolate is smooth you are good to go.
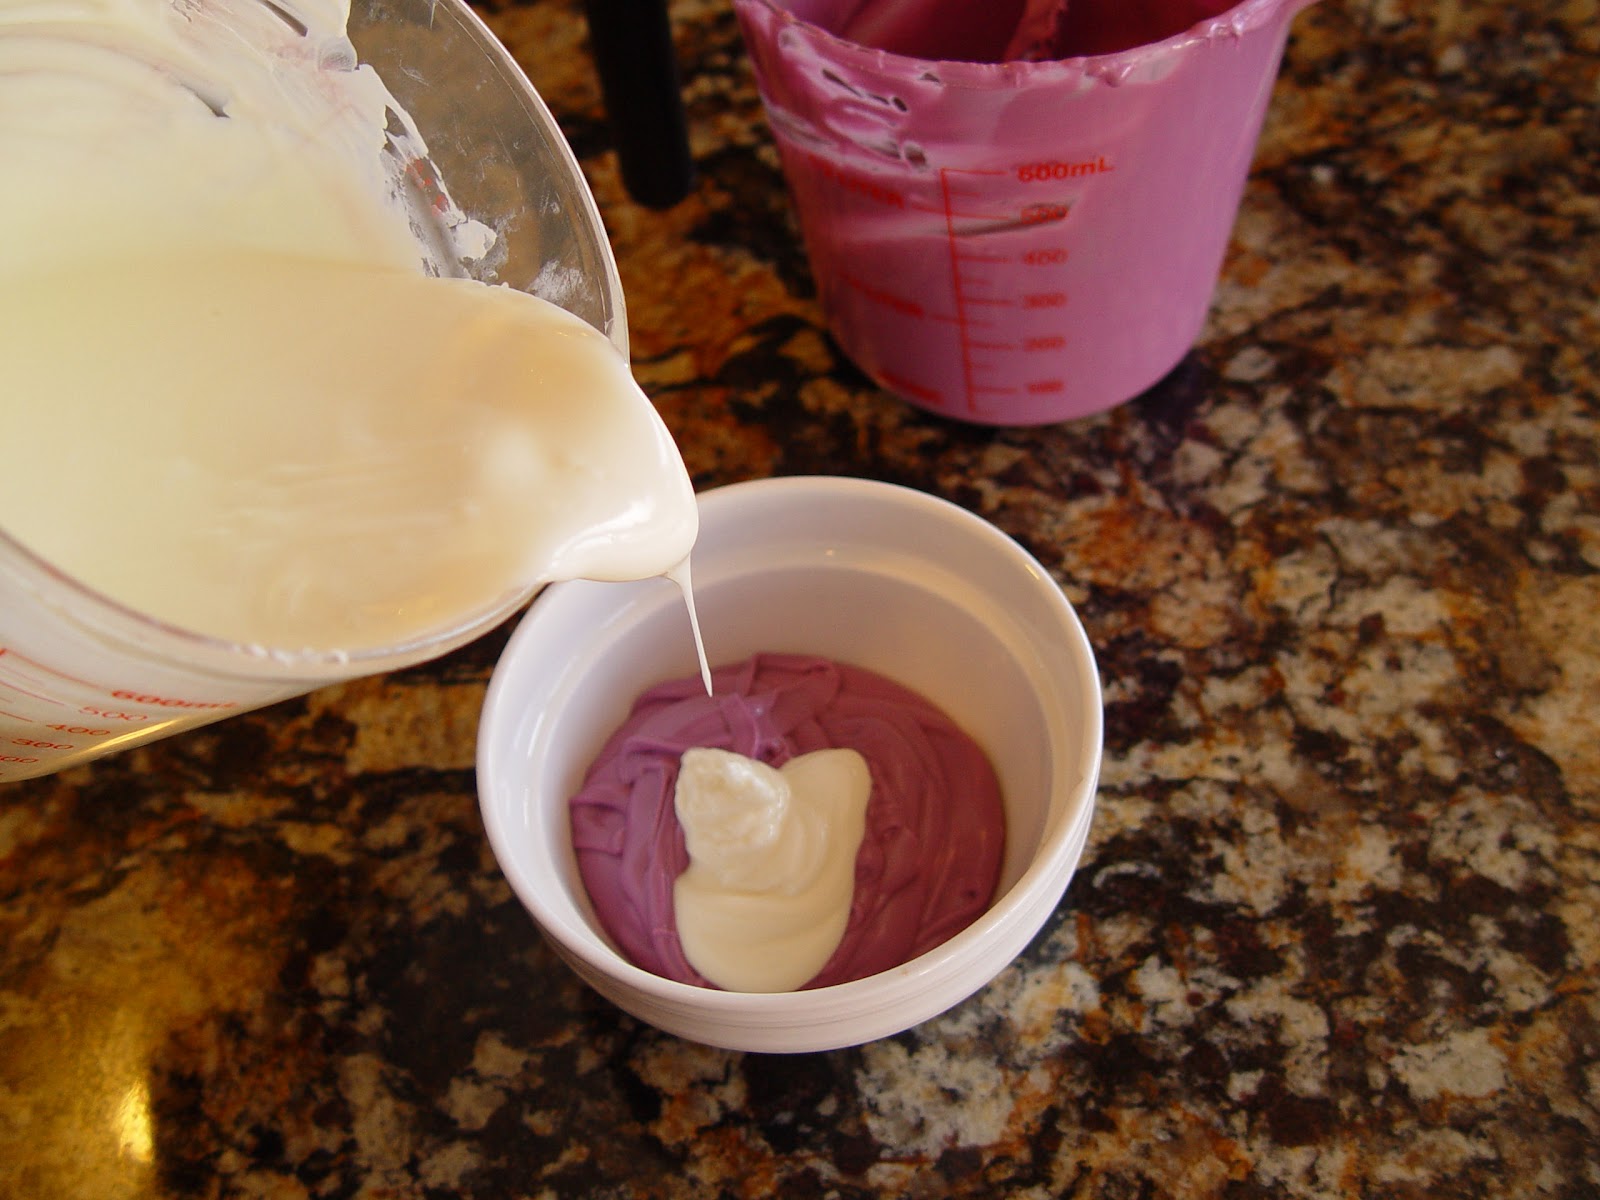
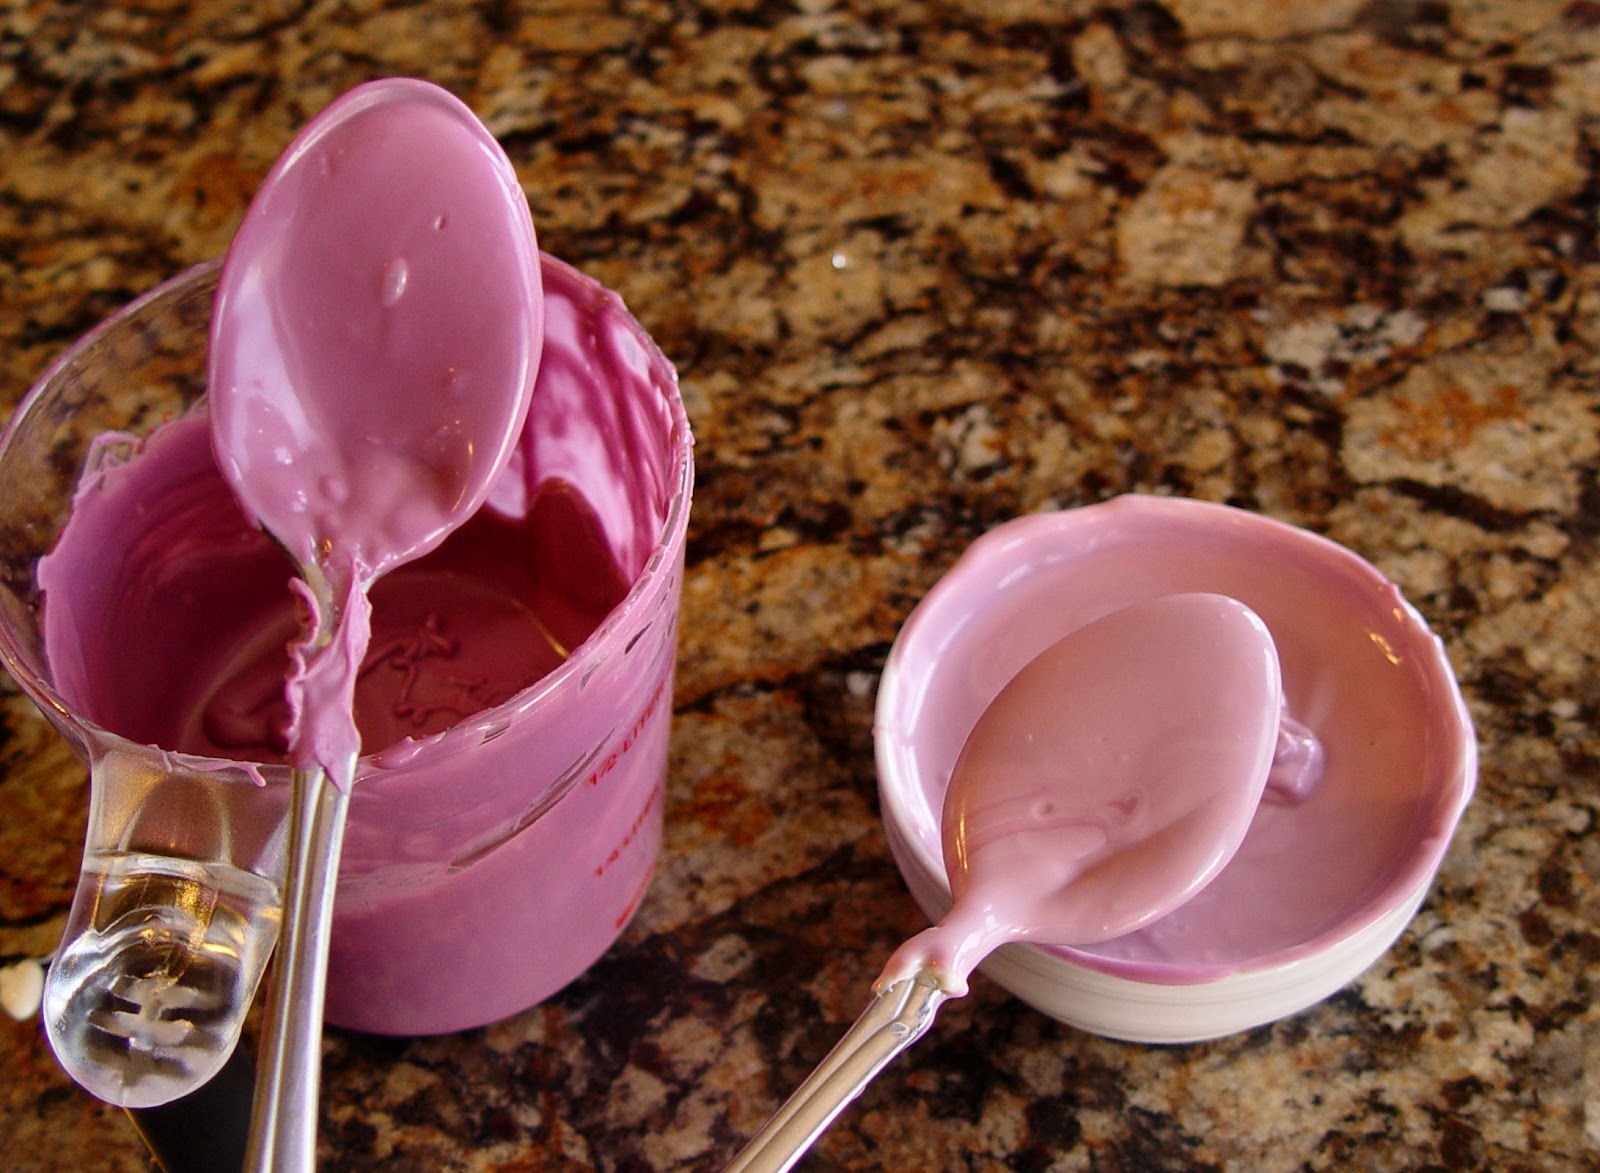
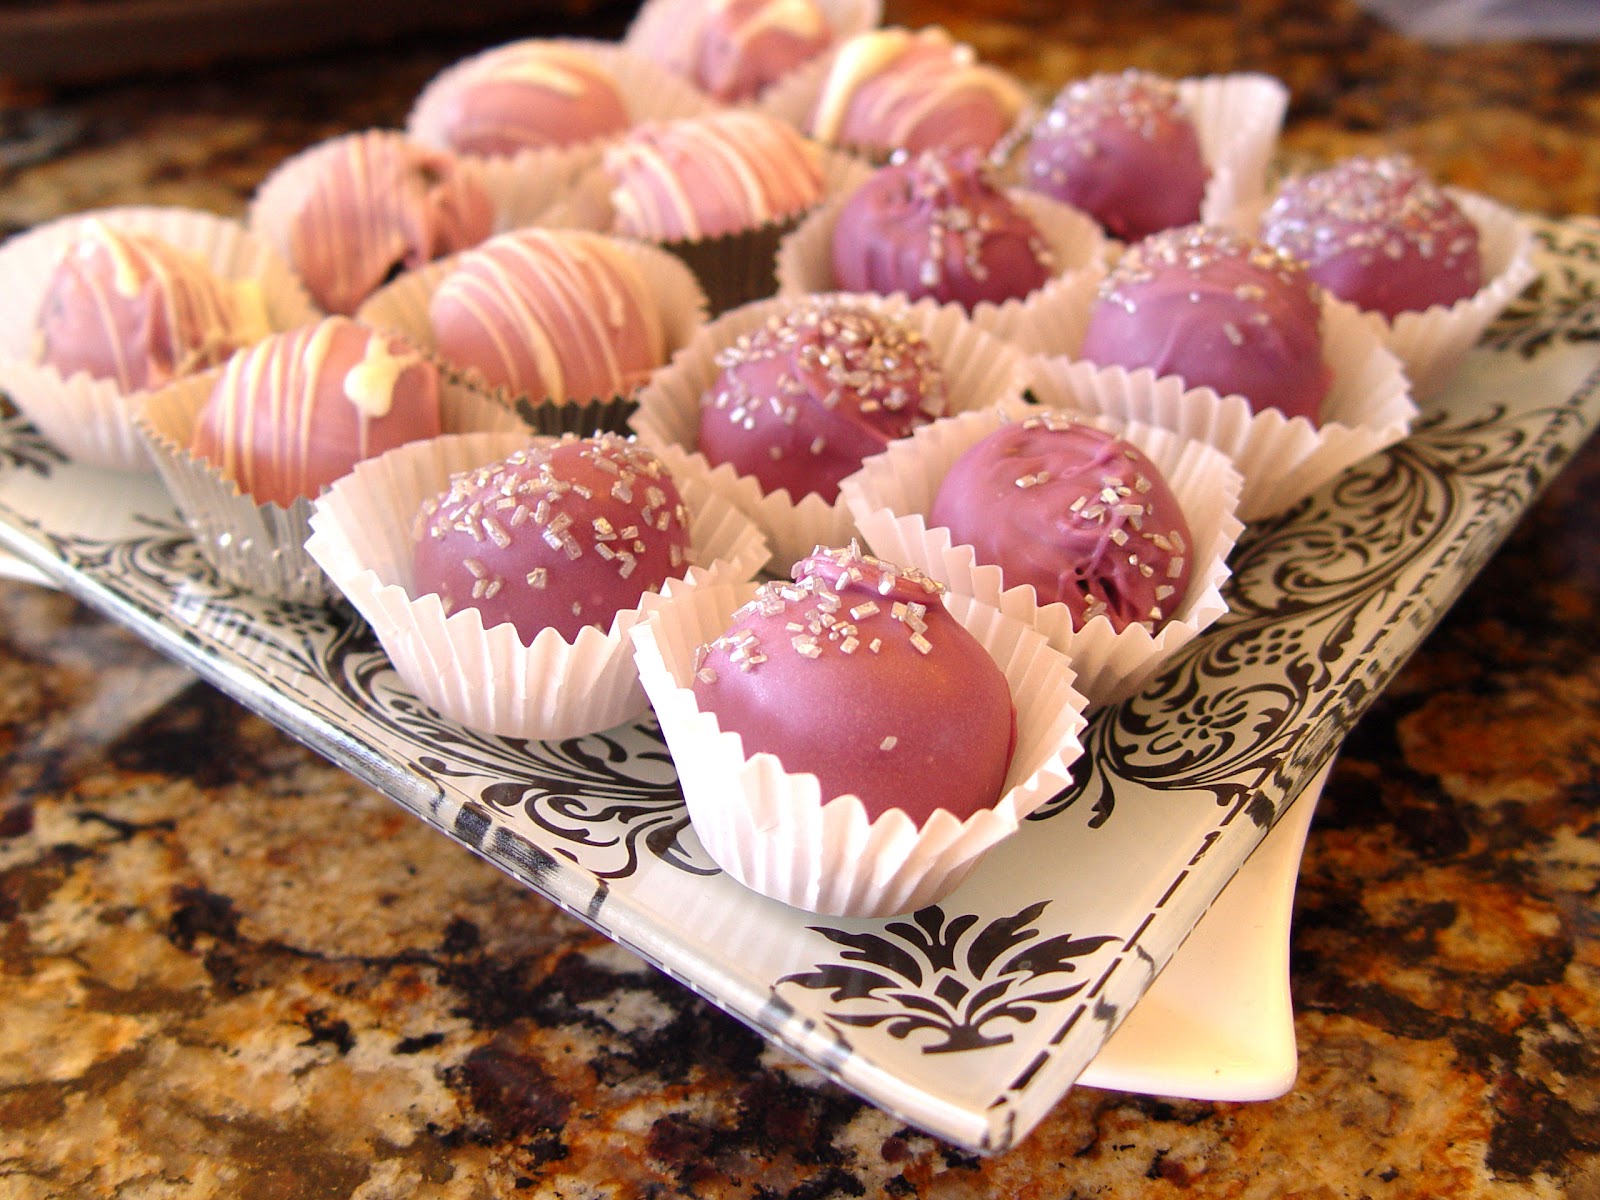
8. I wanted to make two different shades of purple for these bon bons, so I poured a bit of the purple into a small bowl and added some of the white chocolate to it
until I had the lighter shade of purple I was looking for.
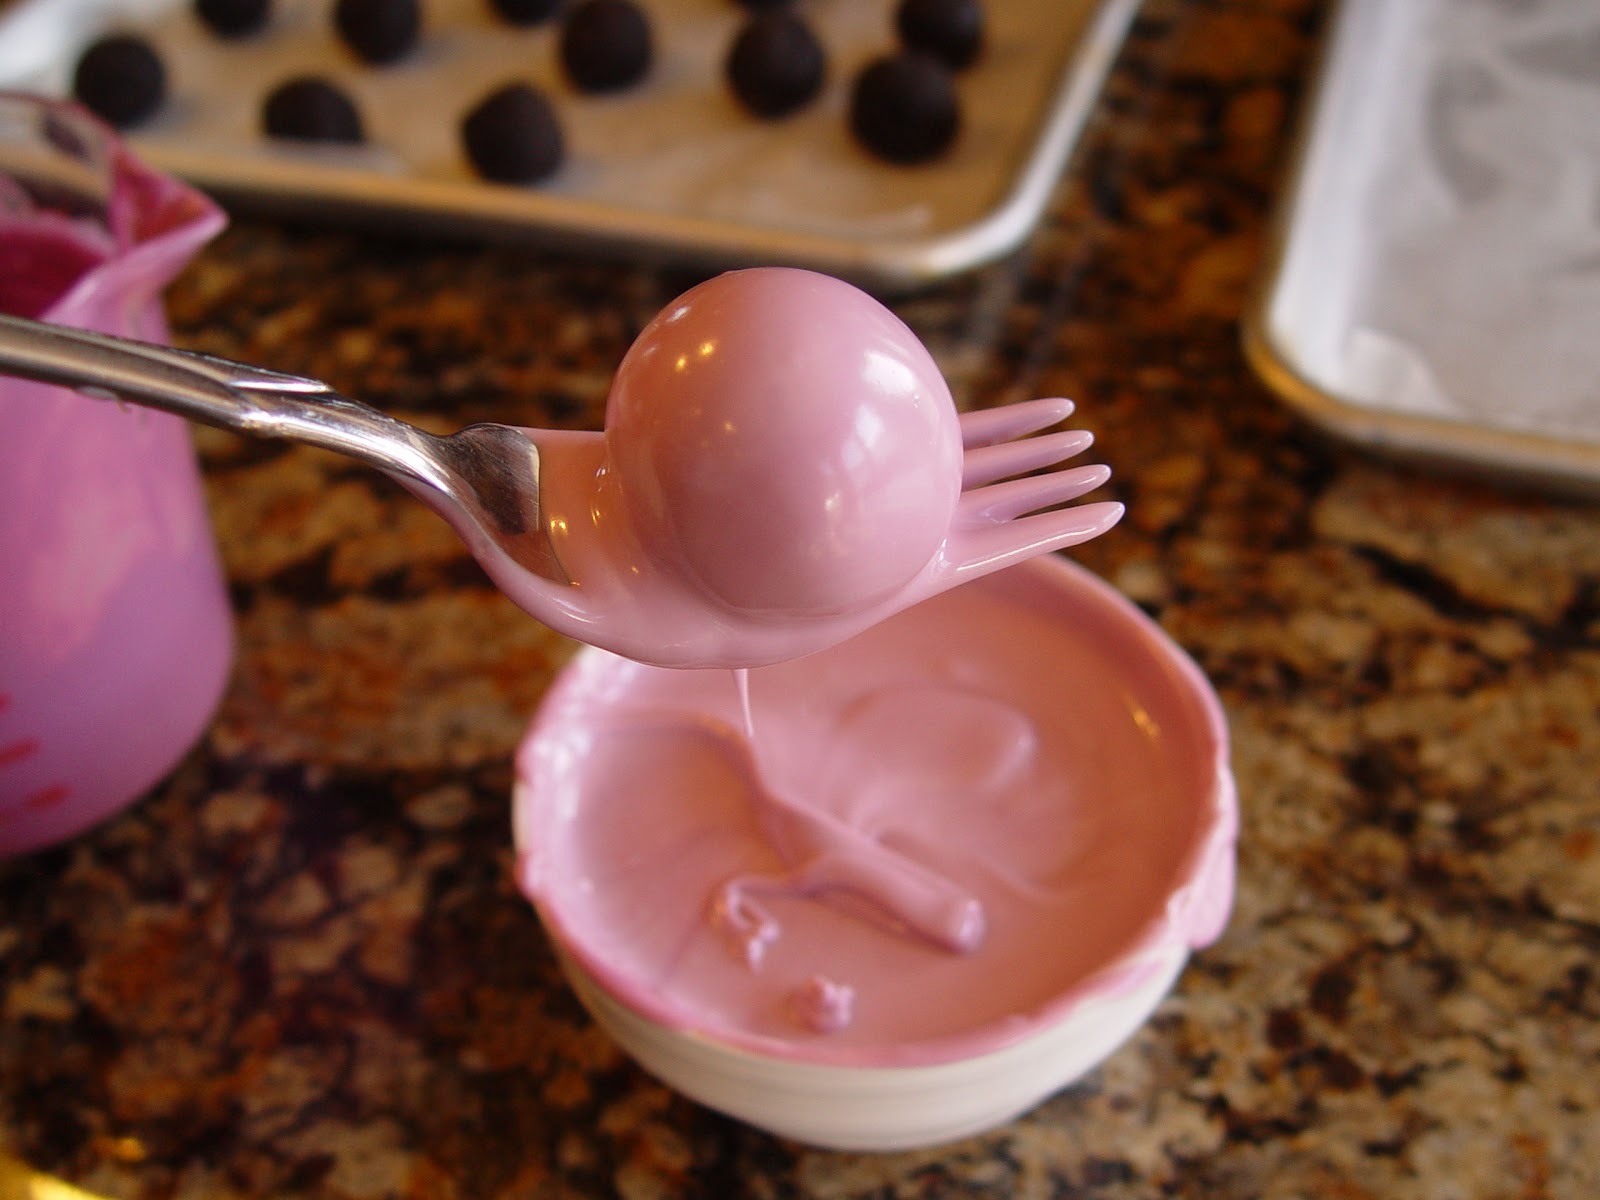
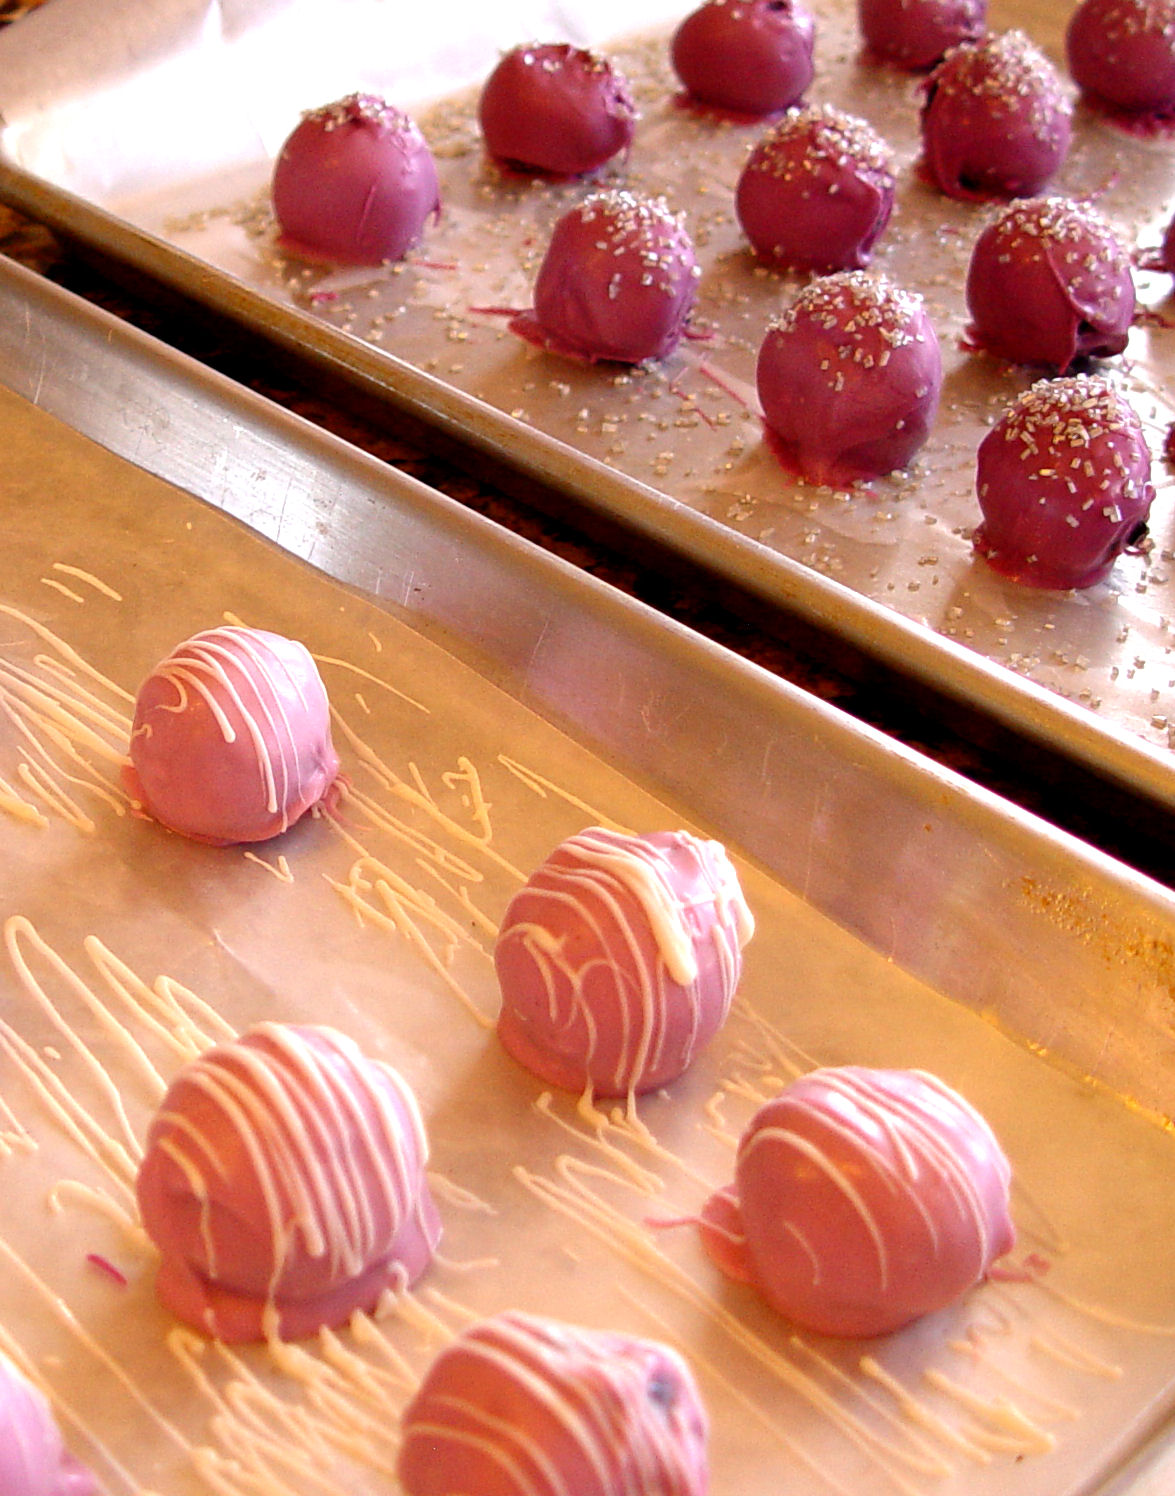
9. Drop the oreo balls into the melted wafers one at a time. Use two forks to scoop the balls out of the candy. Let any excess drip off the ball and back into the bowl. Then place the bon bon back onto the cookie sheet that has been lined with wax paper.
10. If you are using candy sprinkles pour them onto the bon bon just as soon as it has been dipped in the candy coating. If the coating starts to harden and set up, the sprinkle will not stick.
You can also take a spoon, dip it into some of the candy coating and drizzle it over the top of the dipped bon bons.
11. Let the candy set up. Should take about 15 minutes.
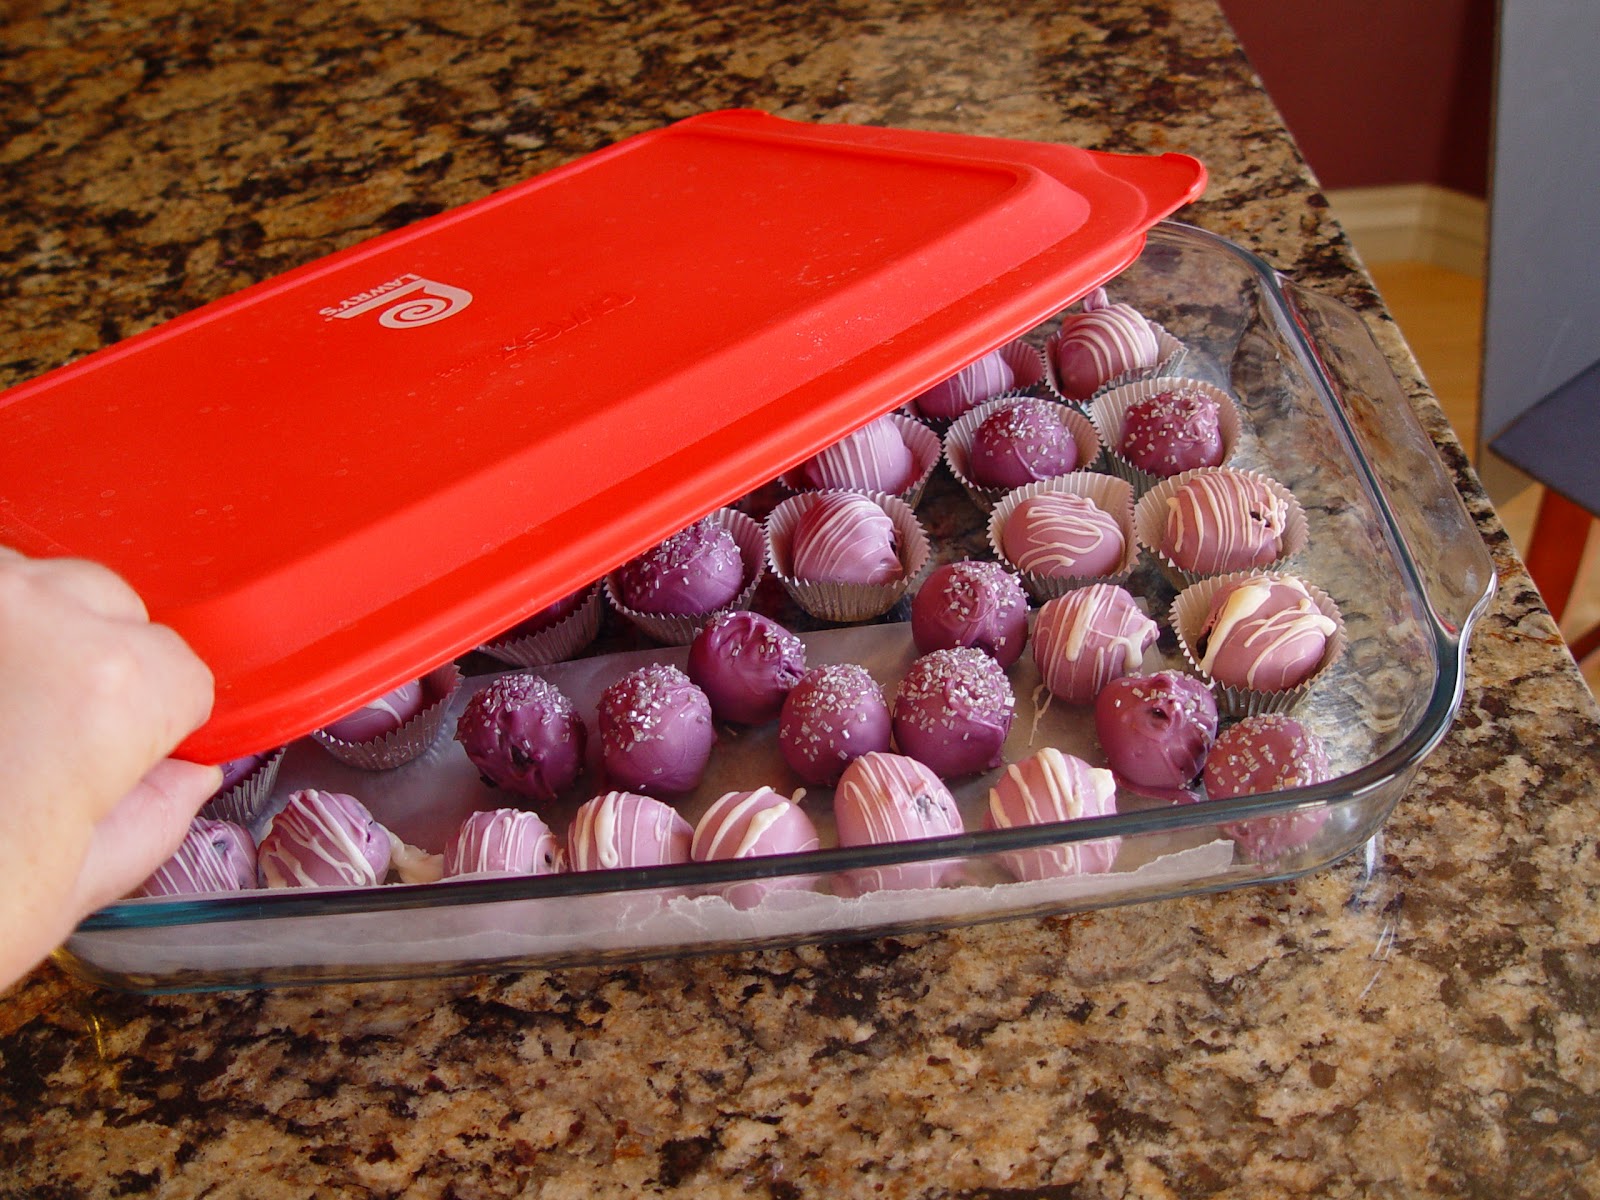
12. Once the bon bons have set up place them in a glass baking dish, cover and freeze until you are ready to serve.
I just came across for these bon bons in a cookbook. Googled it to look for tips and I hit the jackpot with this page! What wonderful tips for decorating. Thanks so much for posting!
I made these at christmas last year and plan to do it again. In fact these were such a hit we are having them tomorrow for a Birthday party. Simple to make and a hit with everyone who tried them.. We used several different colors however the favorite was what I called Grinch Balls since they were green…


Once you decorate the bon-bons, can they be left in the fridge for one day until being served? I don't have room in my freezer.
We used the Peanut Butter Oreos for my father in law who loves PB. Covered with Chocolate and decorated. Was a hit.
Do you freeze them all decorated or before you decorate them? Was thinking of making these for a kid's birthday party in advance. Thanks!
I just came across for these bon bons in a cookbook. Googled it to look for tips and I hit the jackpot with this page! What wonderful tips for decorating. Thanks so much for posting!
I made these at christmas last year and plan to do it again. In fact these were such a hit we are having them tomorrow for a Birthday party. Simple to make and a hit with everyone who tried them.. We used several different colors however the favorite was what I called Grinch Balls since they were green…
Try this with mint oreos