This post may contain affiliate links. Please read our disclosure policy.
A few years ago on Halloween night, my friend Julie brought me a plate of homemade doughnuts. After taking one bite MyHandsomeHusband and I nearly passed out from utter blissfullness.
This is not a lie. The doughnuts were by far the very best doughnuts I had ever EVER tasted. EVVVVVER.
I am happy to be sharing her recipe with you all today, ladies and gentlemen. Beware, please. These doughnuts are unbelievable. You may never want to buy another doughnut again. They do take a little bit of work, which is I suppose a good thing. If I thought I could make a batch of these babies in 15 minutes my life might be over as I know it. 🙂
It’s Halloween week, gang! Let’s make some doughnuts…
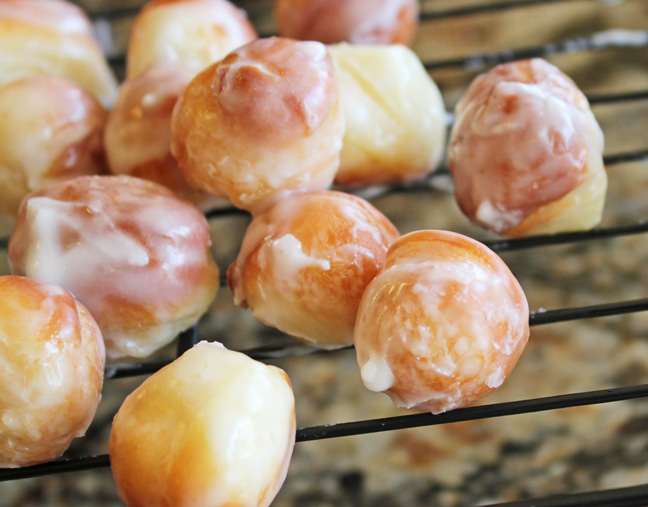
and doughnut holes!

1. Pour 1/4 C warm water into glass measuring cup. Sprinkle 2 packages (or 2 scant Tb) yeast and a dash of sugar over the water. Stir it to combine and let it sit for 5 minutes until foamy.
2. Place 1 1/2 C milk into the microwave and heat it for 90 seconds.
3. Into your stand mixer place the warm milk, 1/2 C sugar, 1 tsp salt, 1/3 C shortening and 2 C of the flour. Mix on low for 10 seconds or so. Add the eggs and mix again.
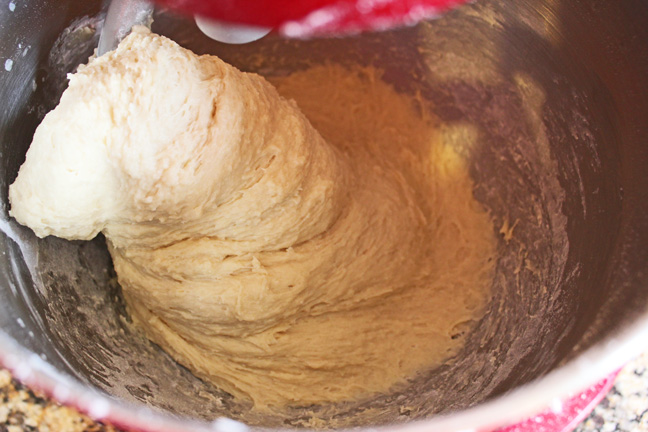
4. Add the yeast/water mixture and the remaining flour 1/2 cup at a time. You will know you have enough flour when the dough pulls away from the side of the bowl.
5. Once you have enough flour mix on medium speed for 5 minutes.
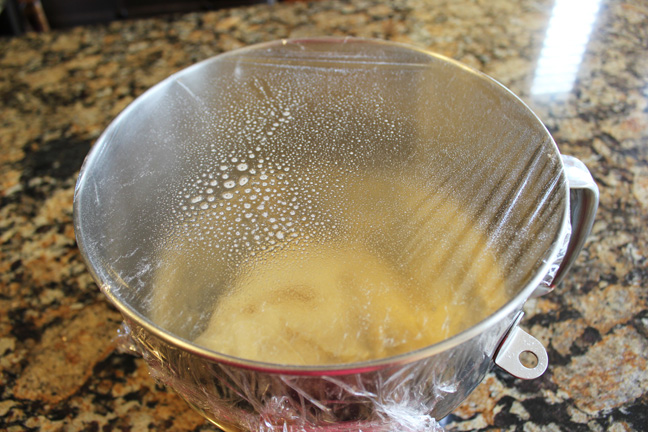
6. Spray a piece of plastic wrap with cooking spray. Turn it over and cover your mixing bowl (so the sprayed side is down).
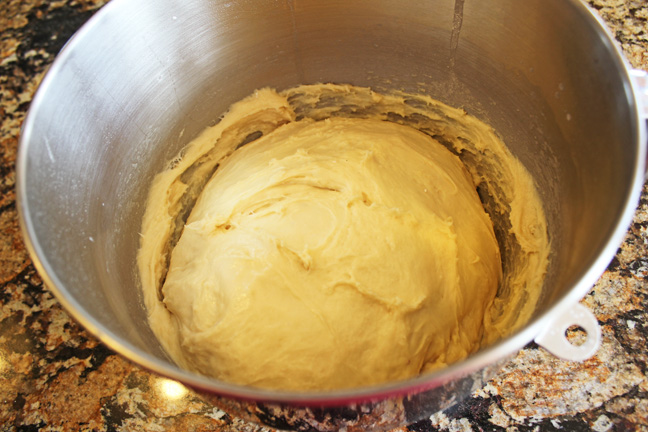
7. Let the dough rise in the warmest spot in your kitchen, until doubled in size. Should take about 45 minutes. Less, depending on how warm your kitchen is.
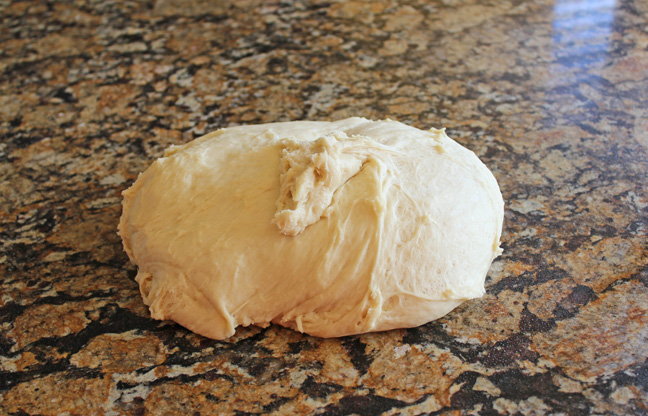
8. Spray your counter with cooking spray and place the dough on it. Allow it to rest for 5 minutes. This will make it much easier to roll out.
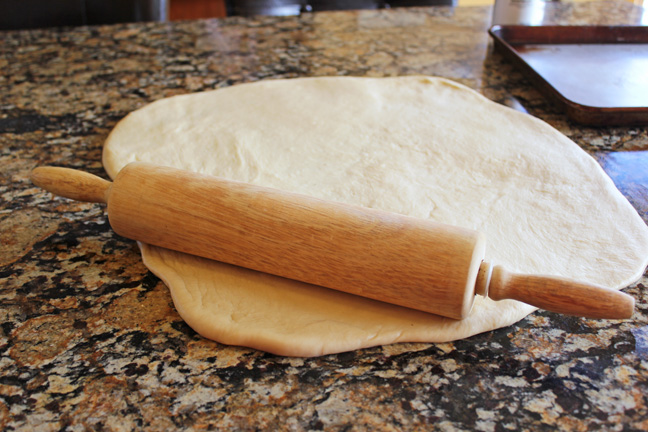
9. Roll out the dough until it’s 1/2 inch thick.
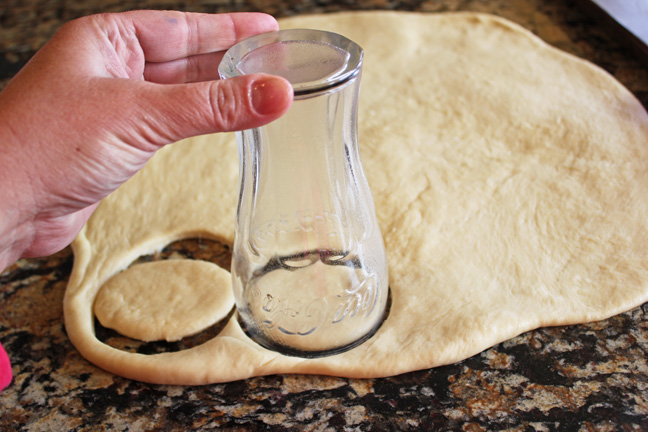
10. Cut the dough into circles with a glass (or doughnut cutter, if you have one!) I sprayed the edge of the glass with cooking spray.

Lovely!
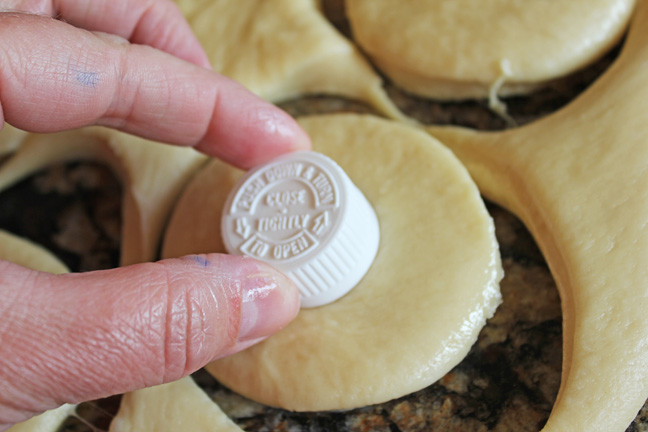
11. To cut the middle circle of the doughnut my friend Julie suggested I use the lid of a medicine bottle. Clever, isn’t she!
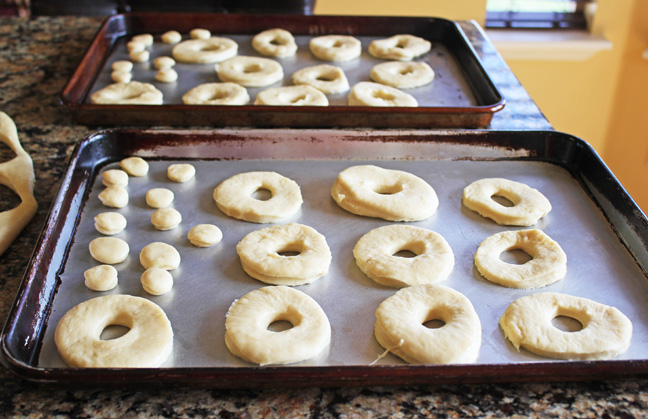
12. Spray several large cookie sheets with cooking spray and lay the doughnuts and doughnut holes out over the top.
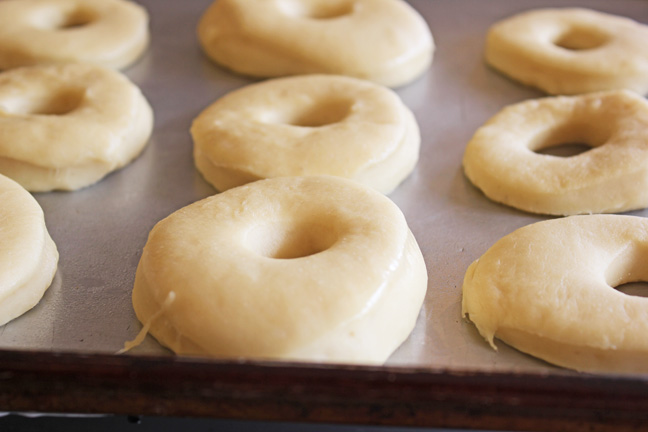
13. Allow them to rise until they are about double in size. Should take about 30 minutes. They will rise up even more when they are in the oil cooking.
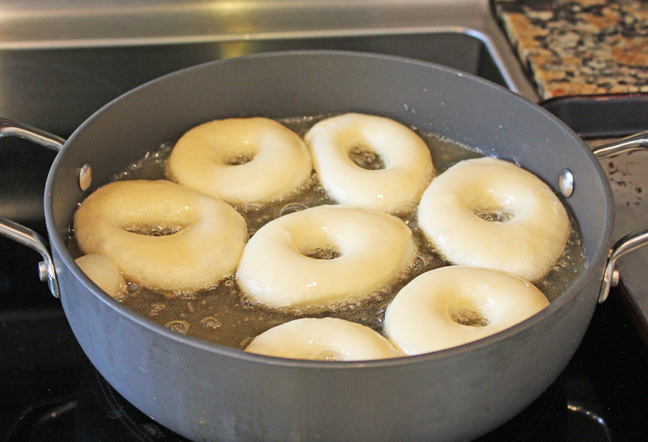
14. Into a deep skillet place 4 cups of vegetable or canola oil. Heat it over medium high heat. You want to be sure the oil is hot before you place any of the dough into it. The sides of the dough should have little bubbles simmering around it, when the oil is the right temperature. If it’s not hot enough the dough will soak in too much oil and not end up tasting very good. I suggest testing it with a doughnut hole to see if it’s ready before you put a whole batch of doughnuts in.

15. When the doughnuts are golden brown, reach in with a pair of metal tongs and turn them over so they can brown on the other side.
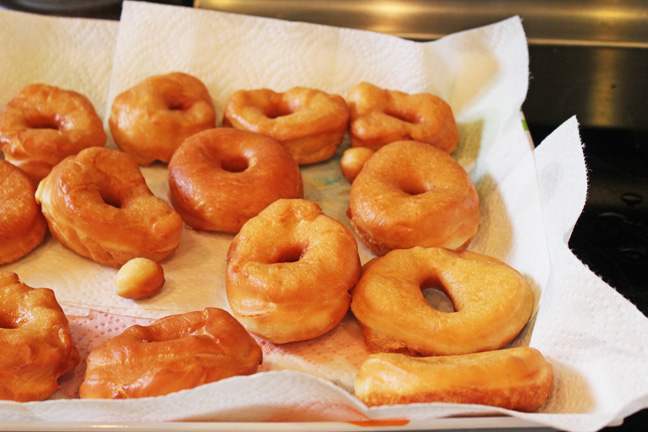
16. Line a large platter with paper towels and place the doughnuts on it when they come out of the skillet so some of the oil can drain off.
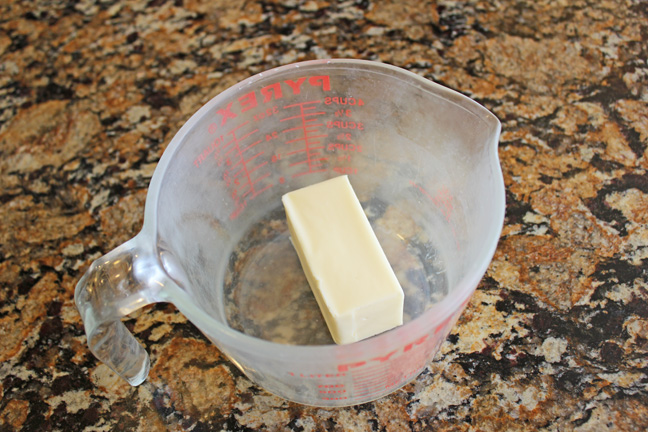
17. To make the glaze melt 1/2 cup butter.
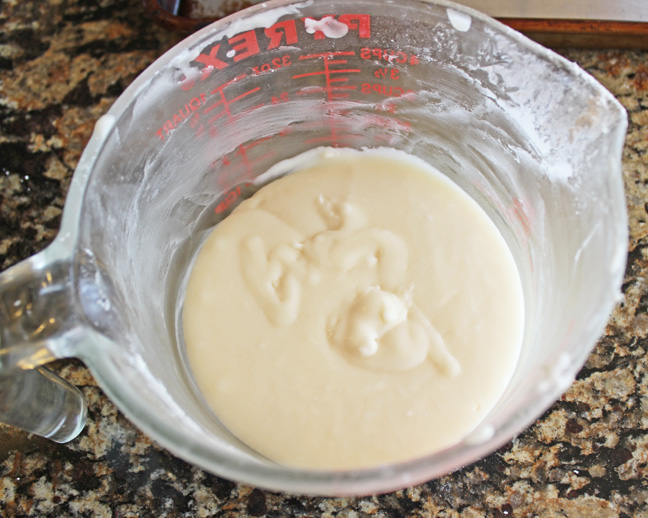
18. Add 2 1/4 C powdered sugar, 2 tsp vanilla, 1-2 Tb milk and a dash of salt. Whisk it all together with a fork until it’s thin and glaze like. Add a little more milk if you need to.
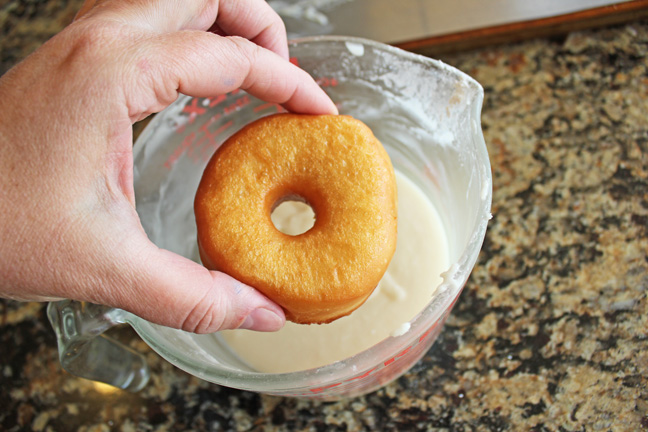
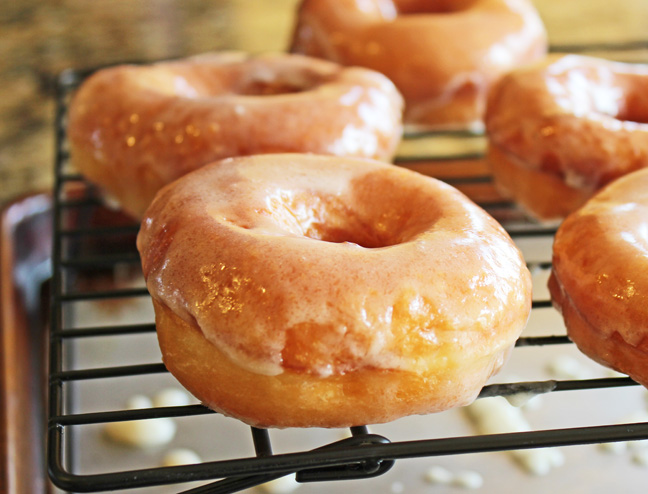
19. While the doughnuts are still warm dip them into the glaze…
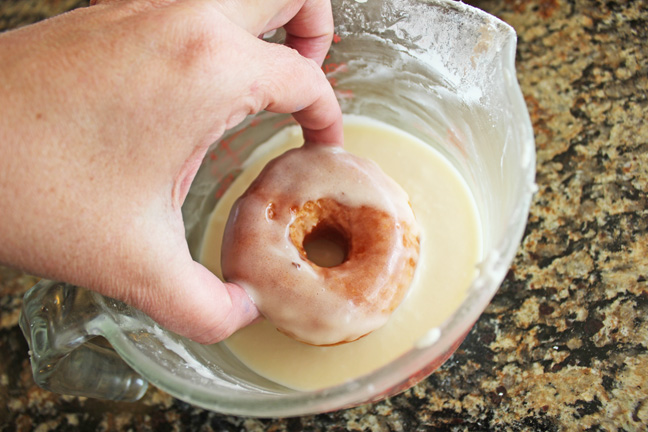
turning them over so they get covered on both sides.
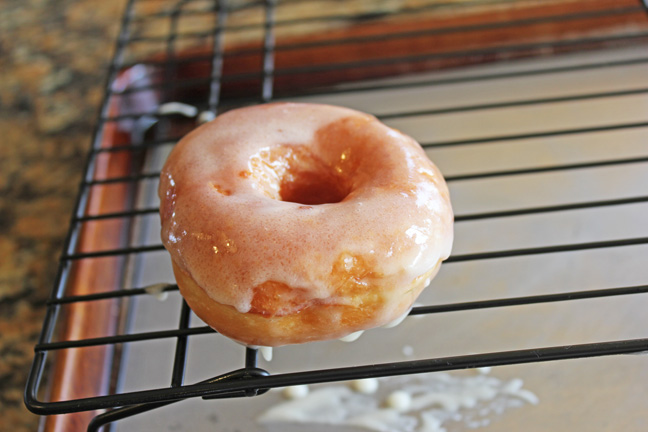
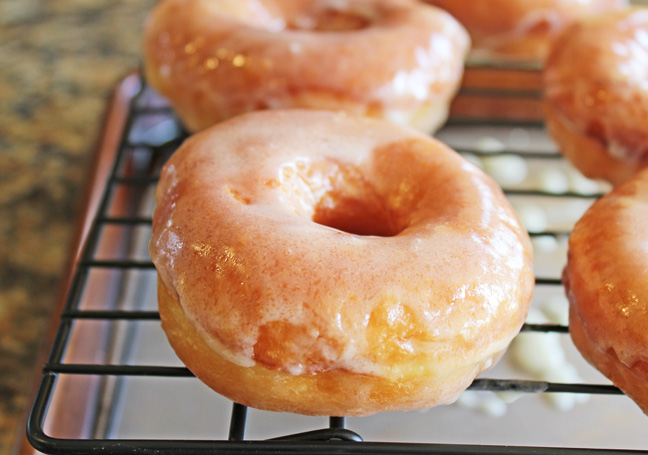
20. Set a large cookie sheet underneath a wire rack. Set the glazed doughnuts there to cool.
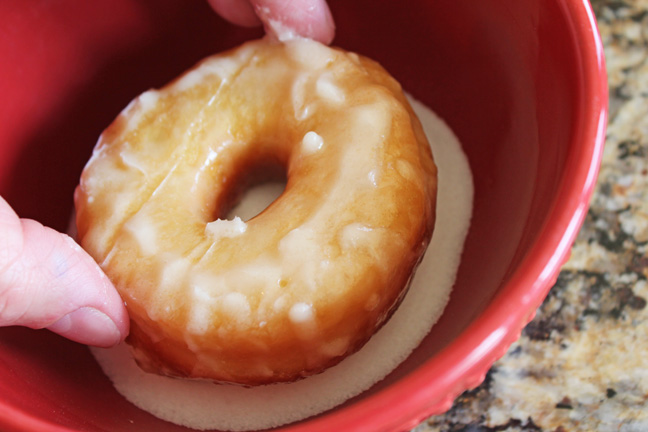
You can even dip the glazed doughnuts in a little bit of sugar if you would like as well.
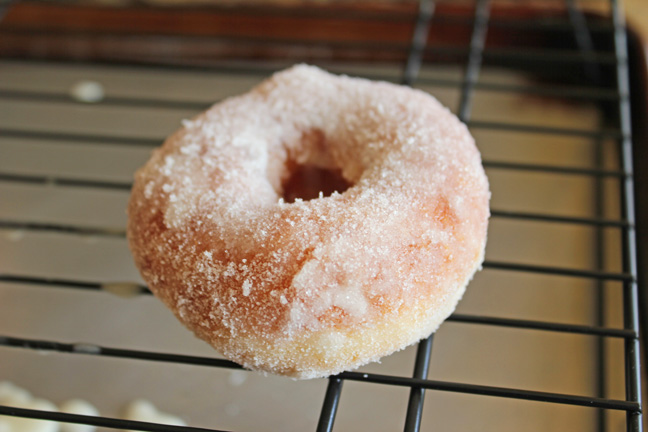
Yum!
Enjoy! These take a bit of work but are so worth it! At least…every other year or two. 🙂
Ingredients
- DOUGHNUTS:
- 2 packages yeast (or 2 scant Tb)
- 1/4 water, warm
- 1 1/2 C milk
- 1/2 C sugar
- 1 tsp salt
- 2 eggs
- 1/3 C butter flavored shortening
- 5-5 1/2 C flour
- 4 C oil for frying
- GLAZE:
- 1/2 C butter
- 2 1/4 C powdered sugar
- 2 tsp vanilla
- dash salt
- 1-2 Tb milk
Instructions
1. Pour 1/4 C warm water into glass measuring cup. Sprinkle 2 packages (or 2 scant Tb) yeast and a dash of sugar over the water. Stir it to combine and let it sit for 5 minutes until foamy.
2. Place 1 1/2 C milk into the microwave and heat it for 90 seconds.
3. Into your stand mixer place the warm milk, 1/2 C sugar, 1 tsp salt, 1/3 C shortening and 2 C of the flour. Mix on low for 10 seconds or so. Add the eggs and mix again.
4. Add the yeast/water mixture and the remaining flour 1/2 cup at a time. You will know you have enough flour when the dough pulls away from the side of the bowl.
5. Once you have enough flour mix on medium speed for 5 minutes.
6. Spray a piece of plastic wrap with cooking spray. Turn it over and cover your mixing bowl (so the sprayed side is down).
7. Let the dough rise in the warmest spot in your kitchen, until doubled in size. Should take about 45 minutes. Less, depending on how warm your kitchen is.
8. Spray your counter with cooking spray and place the dough on it. Allow it to rest for 5 minutes. This will make it much easier to roll out.
9. Roll out the dough until it's 1/2 inch thick.
10. Cut the dough into circles with a glass (or doughnut cutter, if you have one!) I sprayed the edge of the glass with cooking spray. Lovely!
11. To cut the middle circle of the doughnut my friend Julie suggested I use the lid of a medicine bottle. Clever, isn't she!
12. Spray several large cookie sheets with cooking spray and lay the doughnuts and doughnut holes out over the top.
13. Allow them to rise until they are about double in size. Should take about 30 minutes. They will rise up even more when they are in the oil cooking.
14. Into a deep skillet place 4 cups of vegetable or canola oil. Heat it over medium high heat. You want to be sure the oil is hot before you place any of the dough into it. The sides of the dough should have little bubbles simmering around it, when the oil is the right temperature. If it's not hot enough the dough will soak in too much oil and not end up tasting very good. I suggest testing it with a doughnut hole to see if it's ready before you put a whole batch of doughnuts in.
15. When the doughnuts are golden brown, reach in with a pair of metal tongs and turn them over so they can brown on the other side.
16. Line a large platter with paper towels and place the doughnuts on it when they come out of the skillet so some of the oil can drain off.
17. To make the glaze melt 1/2 cup butter.
18. Add 2 1/4 C powdered sugar, 2 tsp vanilla, 1-2 Tb milk and a dash of salt. Whisk it all together with a fork until it's thin and glaze like. Add a little more milk if you need to.
19. While the doughnuts are still warm dip them into the glaze turning them over so they get covered on both sides.
20. Set a large cookie sheet underneath a wire rack. Set the glazed doughnuts there to cool.
You can even dip the glazed doughnuts in a little bit of sugar if you would like as well.
Enjoy!
Recipe from my dear friend, Julie Thomson

Jamie I am sorry I think I jumped the gun on this one.So Sorry but I love Your sight.CB
I just made these donuts tonight – yum! They weren’t rising much after I cut them. My Kitchen Aid oven has a “proofing” button so I used that and it helped tremendously! It heated the oven to 100 degrees to help the dough to rise.
Please be sure to let your readers know which attachment to use on the stand mixer. I’m a novice user and luckily one of your photos showed me that you were using the dough hook.
Thank you for a great recipe, instructions & photos!
Can i use plain crisco dont have butter crisco
Hi, I think I wanna try this recipe. Did you use instant or active dry yeast? Thanx for your response