This post may contain affiliate links. Please read our disclosure policy.
This past weekend MyHandsomeHusband and I got to work and canned Homemade Salsa. We haven’t engaged in this kind of activity for a few years now and Homemade Salsa was calling my man’s name. He loves the stuff and puts it on just about everything. Considering his love for it, you’d think I would make a better effort to make it every year! Note to self. “Be a better wife. Make the salsa for your man!” 🙂 In my defense, the whole process takes a lot of time, makes a big mess and is a ton of work. (I’m not doing a very good job of convincing you to make it, am I!) So sorry. It really is delicious and I love knowing there is a plethora of it on my basement storage shelves, I truly do.
We ended up having a lot of fun working together in the kitchen. MyHandsomeHusband helped with every last detail, including the chopping, stirring, mixing, running to the farmers market for more tomatoes, and even mopping the kitchen floor when I left home to attend the LDS Womens Conference with my sisters and mother.
He is a dream. Have I mentioned that in the past? The man is one in a million.
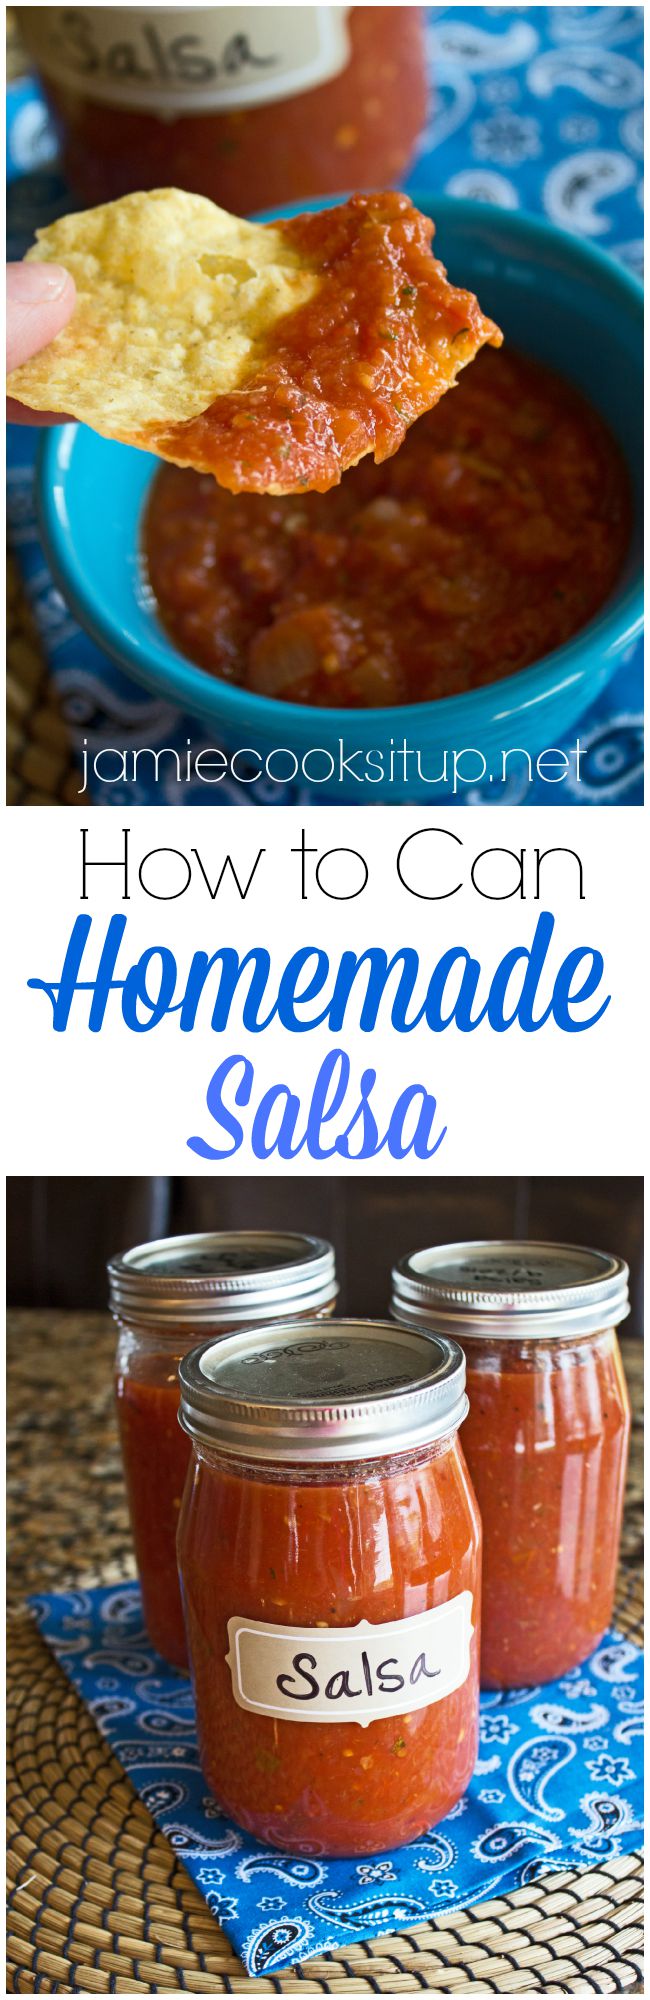
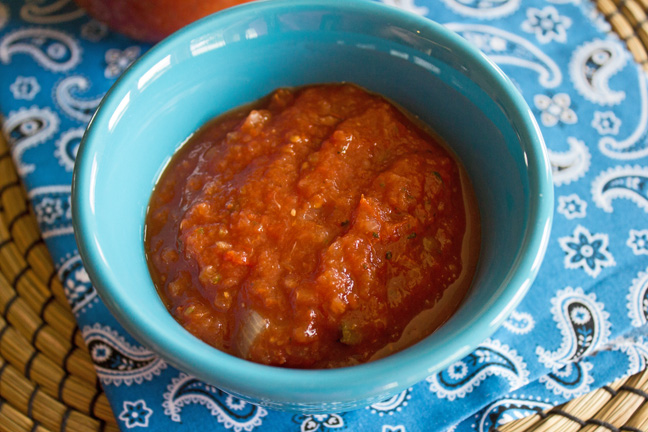
Now, about this Homemade Salsa. We’ve tried many different recipes in the past, but we always like this one the best. It has a kind of hearty, smoky flavor with just the right amount of kick. It’s been our favorite for years. I’ve added many instructional photos to this post. Crossing my fingers they will help those of you who are willing to spend the time needed for this recipe.
Now let’s make some salsa, baby!
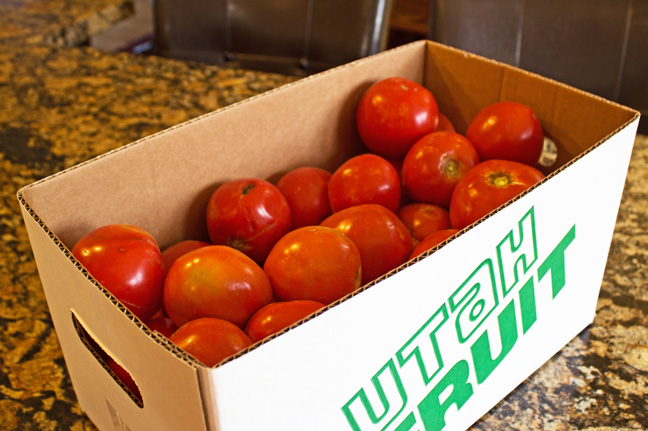
1. Grab a half bushel of fresh tomatoes. I found these at a local farmers market, they were $15.00 per box which I felt to be pretty reasonable.
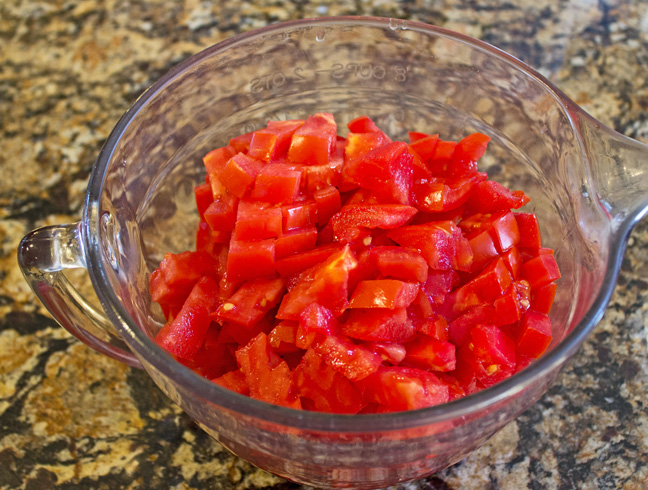
2. Wash the tomatoes, remove the core and chop into bite sized pieces. I know many people end up removing the tomato skins, but we always skip that step, leaving the skins on. We use an immersion blender at the end of the process which helps incorporate the skins. One less step, guys. It’s a blessing, trust me.
You will need 48 cups of chopped tomatoes, total. Wow, that seems like a lot doesn’t it! Keep in mind that it will cook down. This recipe will make 9 quarts, or 18 pints.
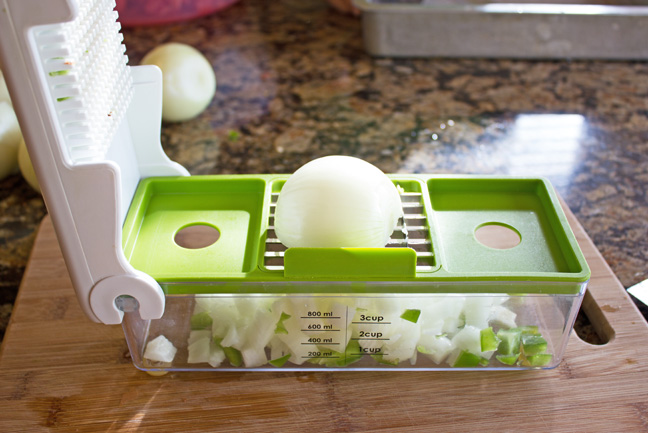
3. Chop 5 green peppers and 10 onions into small pieces. I love (LOVE!) this wonderful Vegetable Chopper (found at Amazon at the following link…Prepworks by Progressive by Progressive Fruit and Vegetable Chopper![]() ). It makes chopping the veggies so much easier. I also love that it keeps them uniformly shaped.
). It makes chopping the veggies so much easier. I also love that it keeps them uniformly shaped.
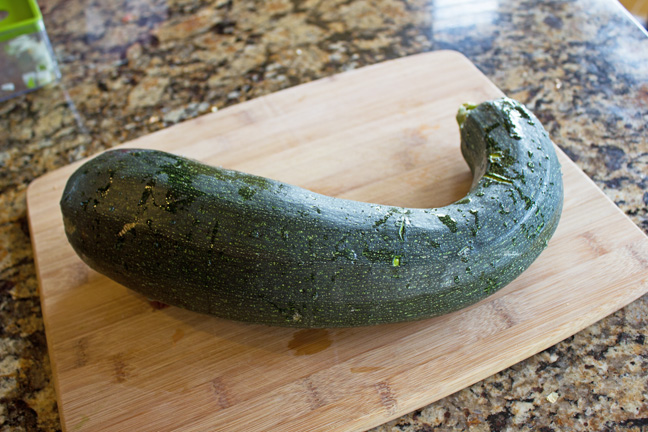
4. Grab 1 medium-large zucchini and chop it up as well.
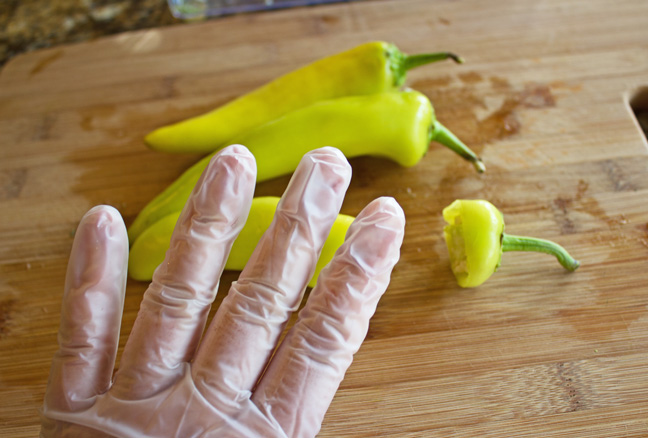
5. Now, for the hot peppers. Just a word of caution here. When chopping hot peppers of any kind you’ll want to wear rubber gloves. The seeds will burn you, man. They really will. Take heed and wear the gloves. Grab 4 hot yellow peppers, 4 anaheim peppers and 2 jalapeno peppers. Remove the top stem and chop them into small pieces. (I use the vegetable chopper shown above). Also, the seeds pack the heat here. If you want a less spicy salsa, then add fewer seeds. The jalapeno are much hotter than the anaheim and yellow peppers, so adjust accordingly.
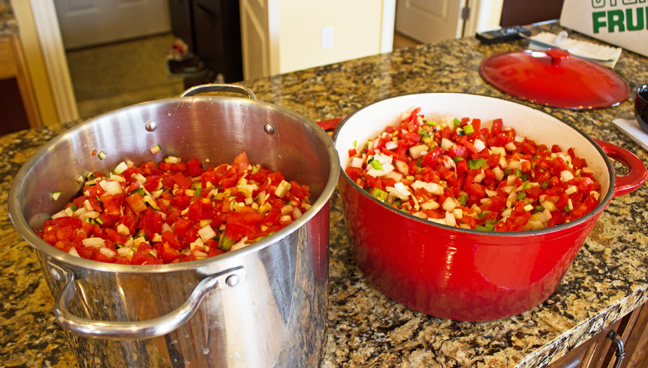
6. Pour all of the chopped veggies into two large pots.
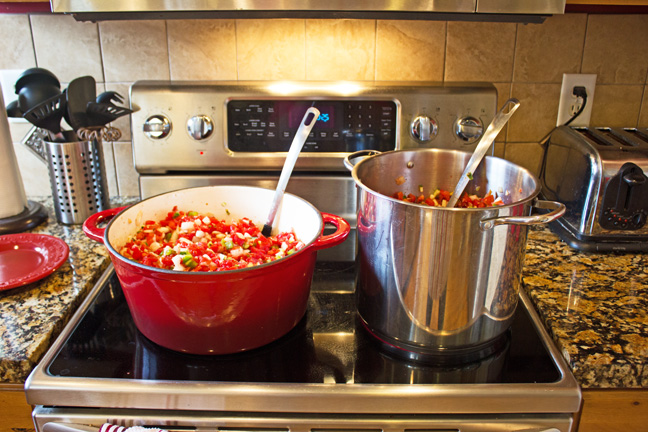
Get them onto the stove top and bring them to a simmer.
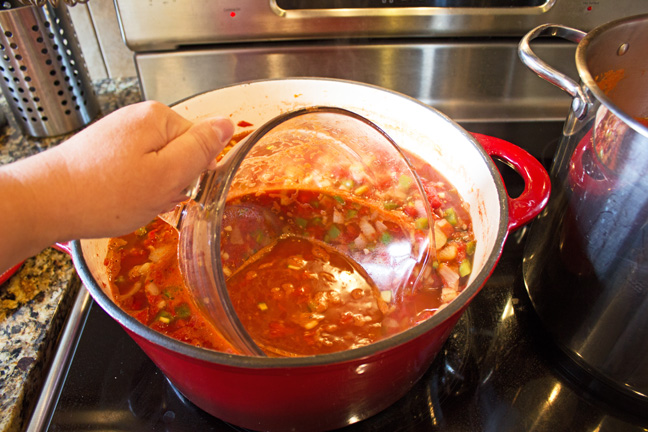
After cooking for about 15 minutes or so tomatoes will start to release a lot of juice. I like to scoop a bit of the juice out and discard it. This helps to speed up the cooking time. I generally just discard about 2 cups of juice per pot.
7. Once you have discarded a bit of juice, add the seasonings. Now keep in mind these measurements are for the entire batch (both pots). I like to keep the same amount of veggies in each pot so I can divide all of the seasonings equally. For example the recipe calls for 1 C apple cider vinegar, so I put 1/2 C in each pot. Hoping that makes sense, gang. 🙂 Let me know if you need clarification.
To the entire batch (half in each pot) add, 1 C apple cider vinegar, 1/2 C sugar, 2 Tb black pepper, 1 tsp garlic powder, 1/4 C salt, 2 Tb cumin, 2 tsp smoked paprika, 4 Tb Worcestershire, 2 tsp fresh garlic (minced), and 2 Tb chipotle peppers (chopped).
Give everything a nice stir and continue to simmer over medium high heat for 1-2 hours, or until the salsa has cooked down and thickened to your liking. (While the salsa is cooking, wash and dry your jars).
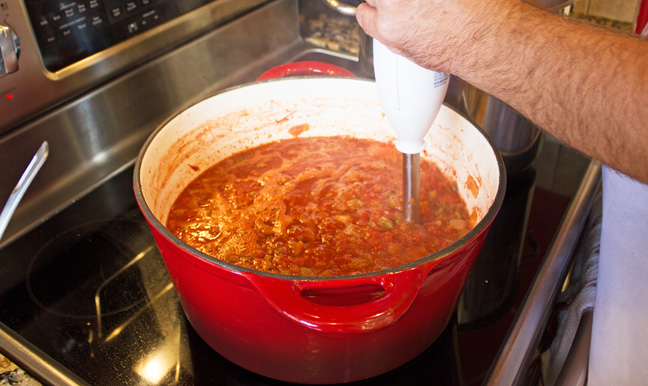
8. Grab an immersion blender and blend to your desired consistency. You can leave this step out if you like a chunkier salsa.
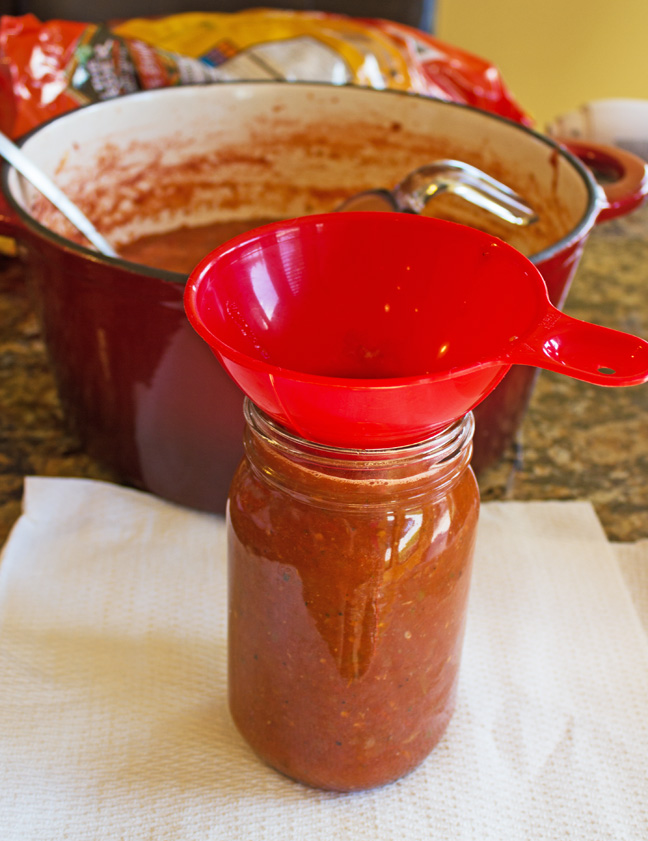
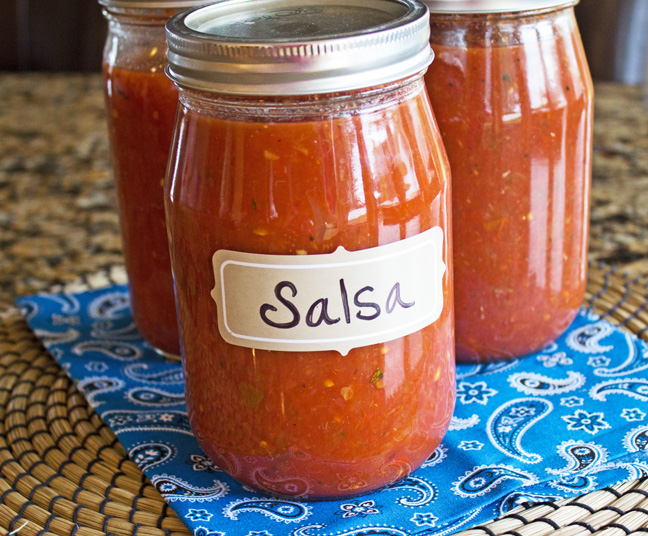
9. Carefully pour the hot salsa (I use a glass measuring cup) into the mason jars, leaving 1/2 inch of space at the top of the jar. I opted to use quart sized jars, because we use the salsa pretty quickly, but pint-sized jars will work as well. Take a wet paper towel and clean the rim of the jar, making sure there isn’t any salsa on it.
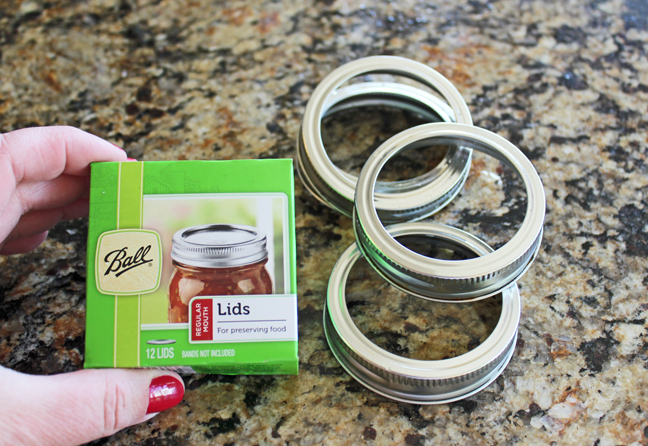
10. Place a new lid on top of the jar and twist a metal ring around it. You can find both of these in the canning section of your local grocery store. You can reuse the rings from year to year, but need to be sure to always use new lids.
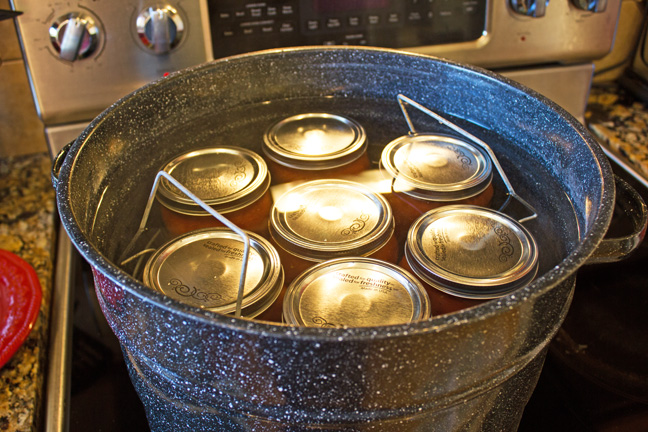
11. Place the jars carefully in a water bath canner. Pour warm water over the top of the jars, until there is about 1 inch of water covering them. Cover and bring to a boil. Allow them to process (with the water boiling) for 45-60 minutes.
12. Repeat step 11 with the remaining jars.
***Please note*** placing jars that haven’t been processed yet into hot boiling water may cause the jars to crack. This will ruin your day and cause you to drop 95 curse words. At least, that has been my experience in the past. You are most likely much more gentle of spirit than I and could get through that kind of drama without cursing. Ha! 🙂 Anyhow, to avoid cracked jars… I generally remove the first batch of processed jars, and pour a couple of pitchers full of ice into the water bath canner. This will bring the water temp down and you should be good to add the unprocessed jars to it.
13. Make sure the processed jars have a nice seal. To check, press your finger in the center of the lid. If it is solid to the touch, you have a nice seal. If the lid gives in the center it hasn’t sealed properly and should be processed longer.
14. Store the jars in a dark, cool place. They should keep for up to 1 year. Once a jar has been opened it should be stored in the refrigerator.
Ingredients
Instructions
Recipe adapted from Charlotte Jepsen


18 Comments