This post may contain affiliate links. Please read our disclosure policy.
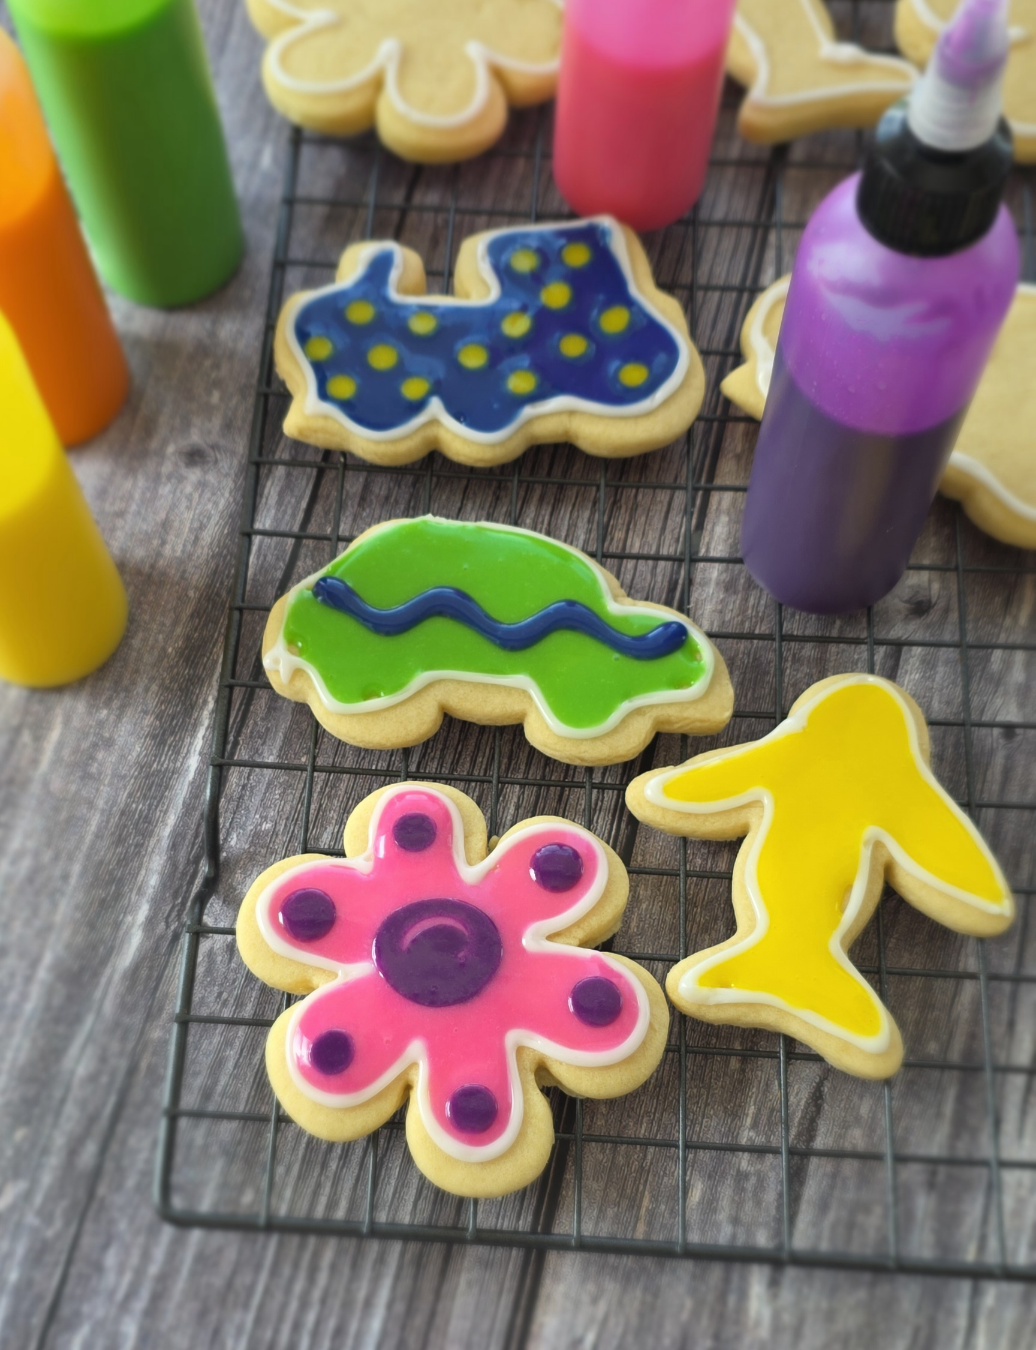
UPDATE NOTE: These fun Cut out Sugar Cookies with Icing Paint have been on my site for nearly 15 years, but have been kind of buried in my Christmas recipe archives. I wanted to give them an update with new pictures, instructions and ideas for making them with a group. Enjoy!
I absolutely adore this recipe, for many reasons!
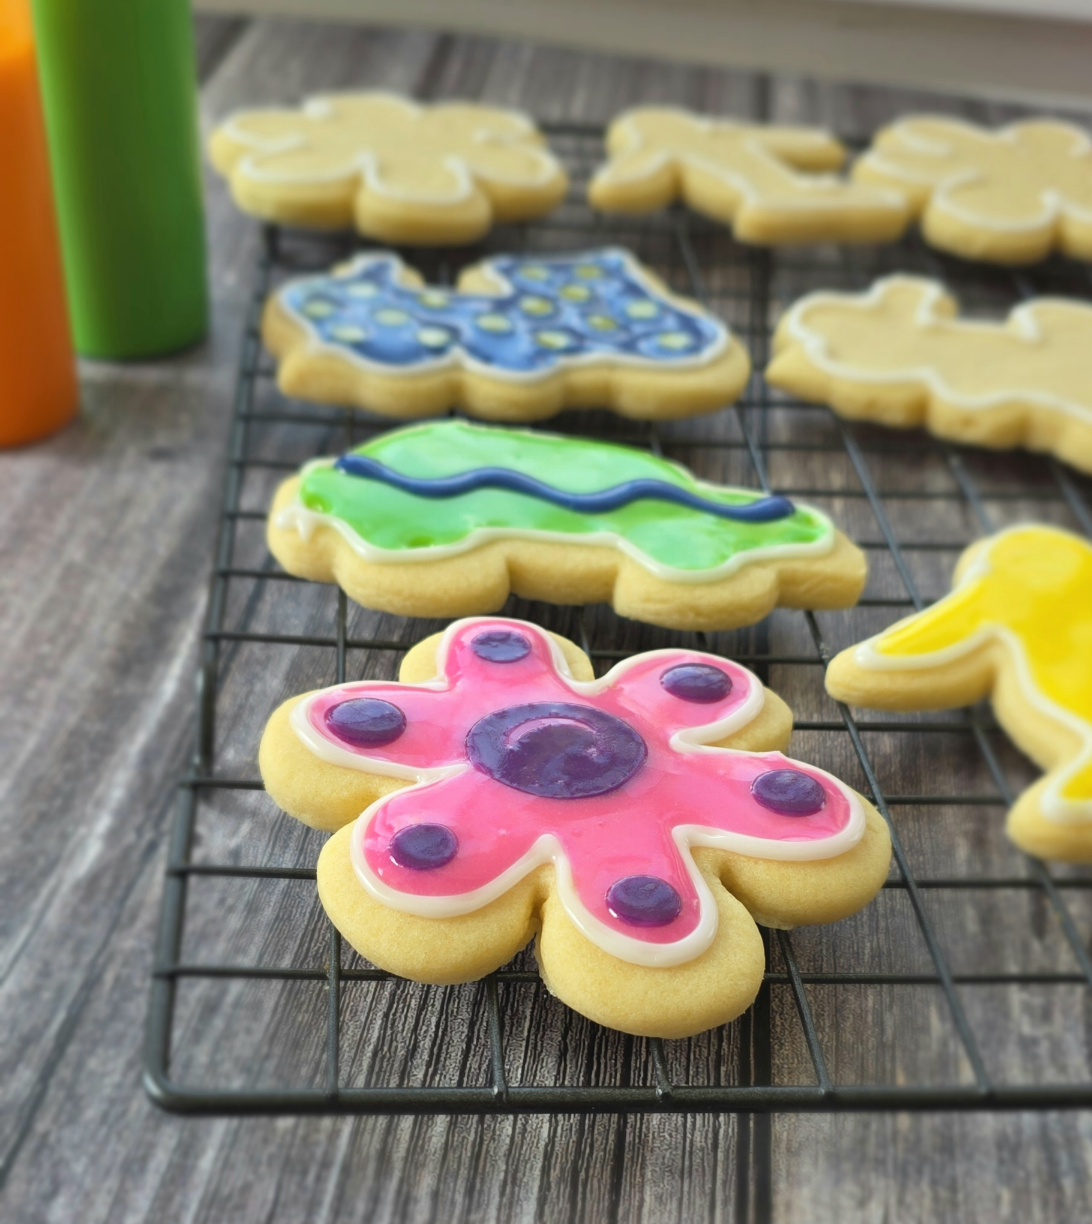
First, the dough comes together super quickly. You start with cold butter, directly from the fridge. Once the dough is mixed, you just start rolling it out, no need to chill as most cut out sugar cookies require. This makes it possible to mix, cut out and bake 60 of these little treasures in about an hour. A good thing, yes?
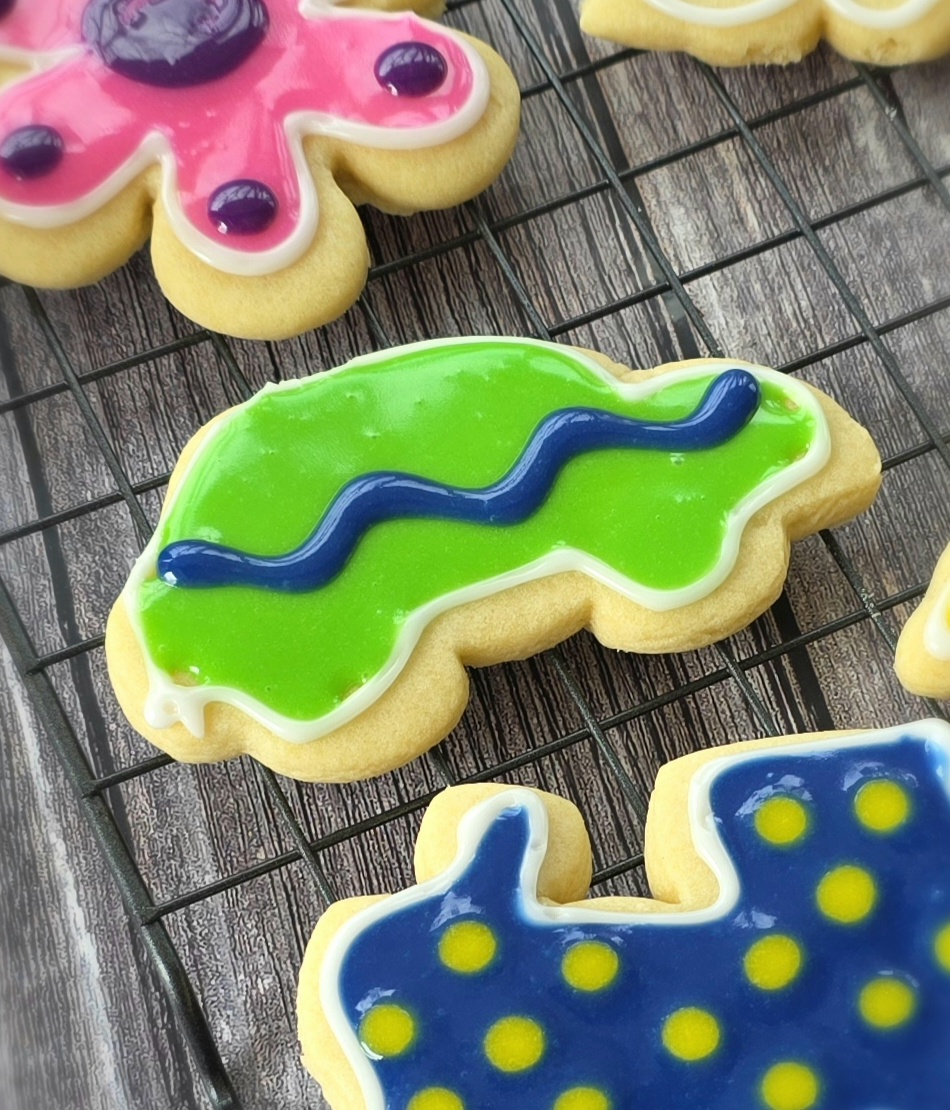
Second, the Icing Paint is so fun to work with!
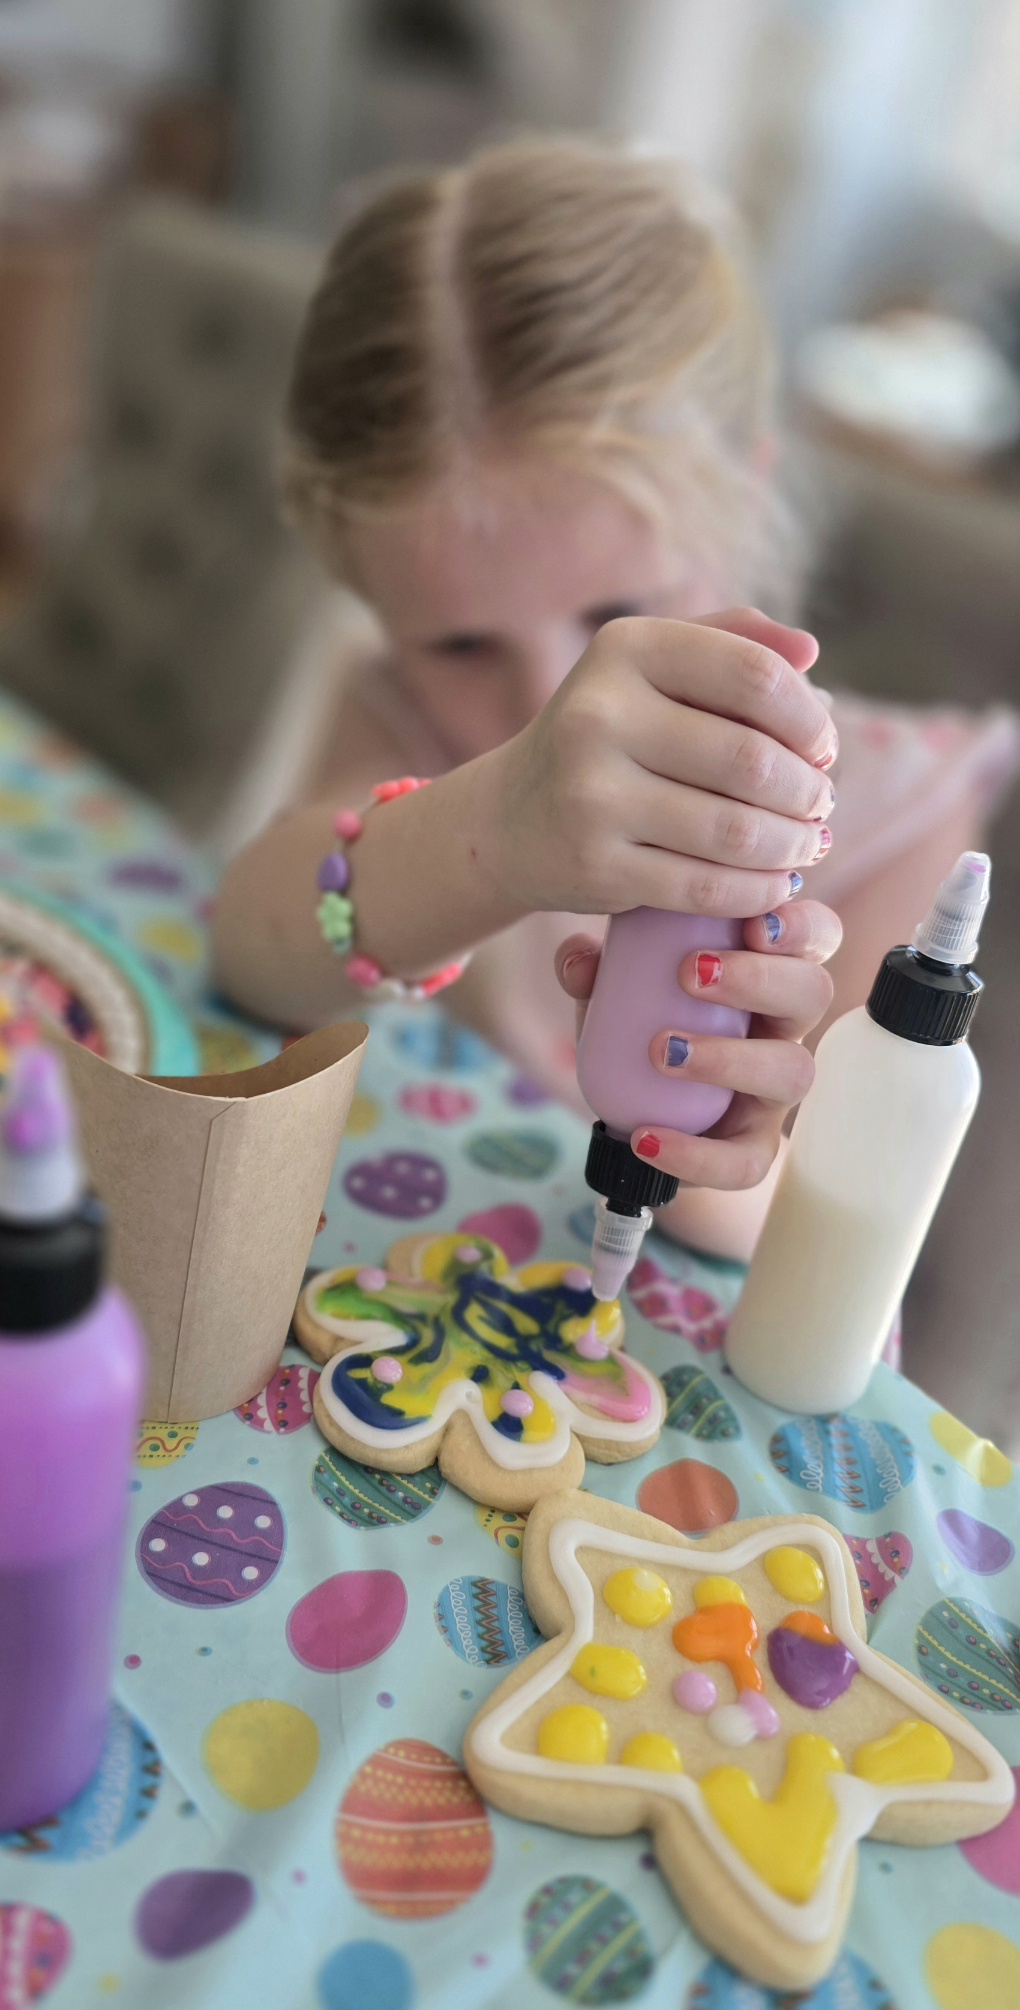
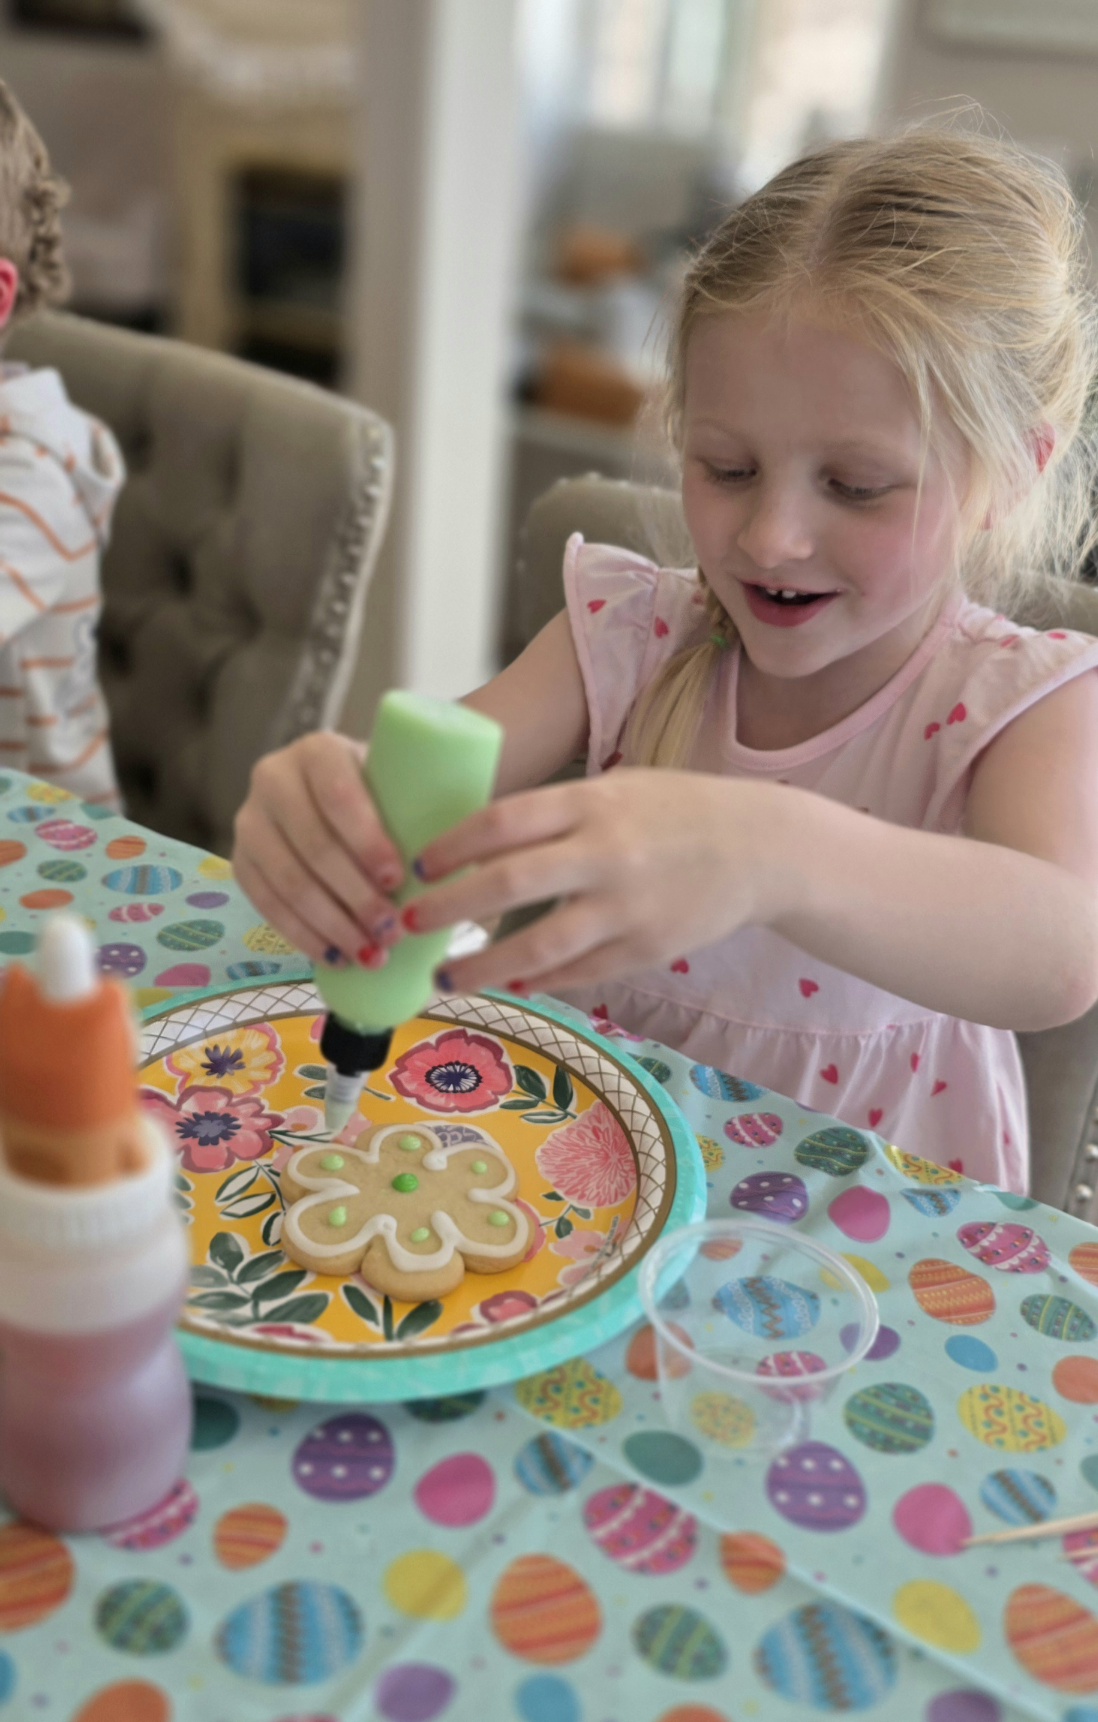
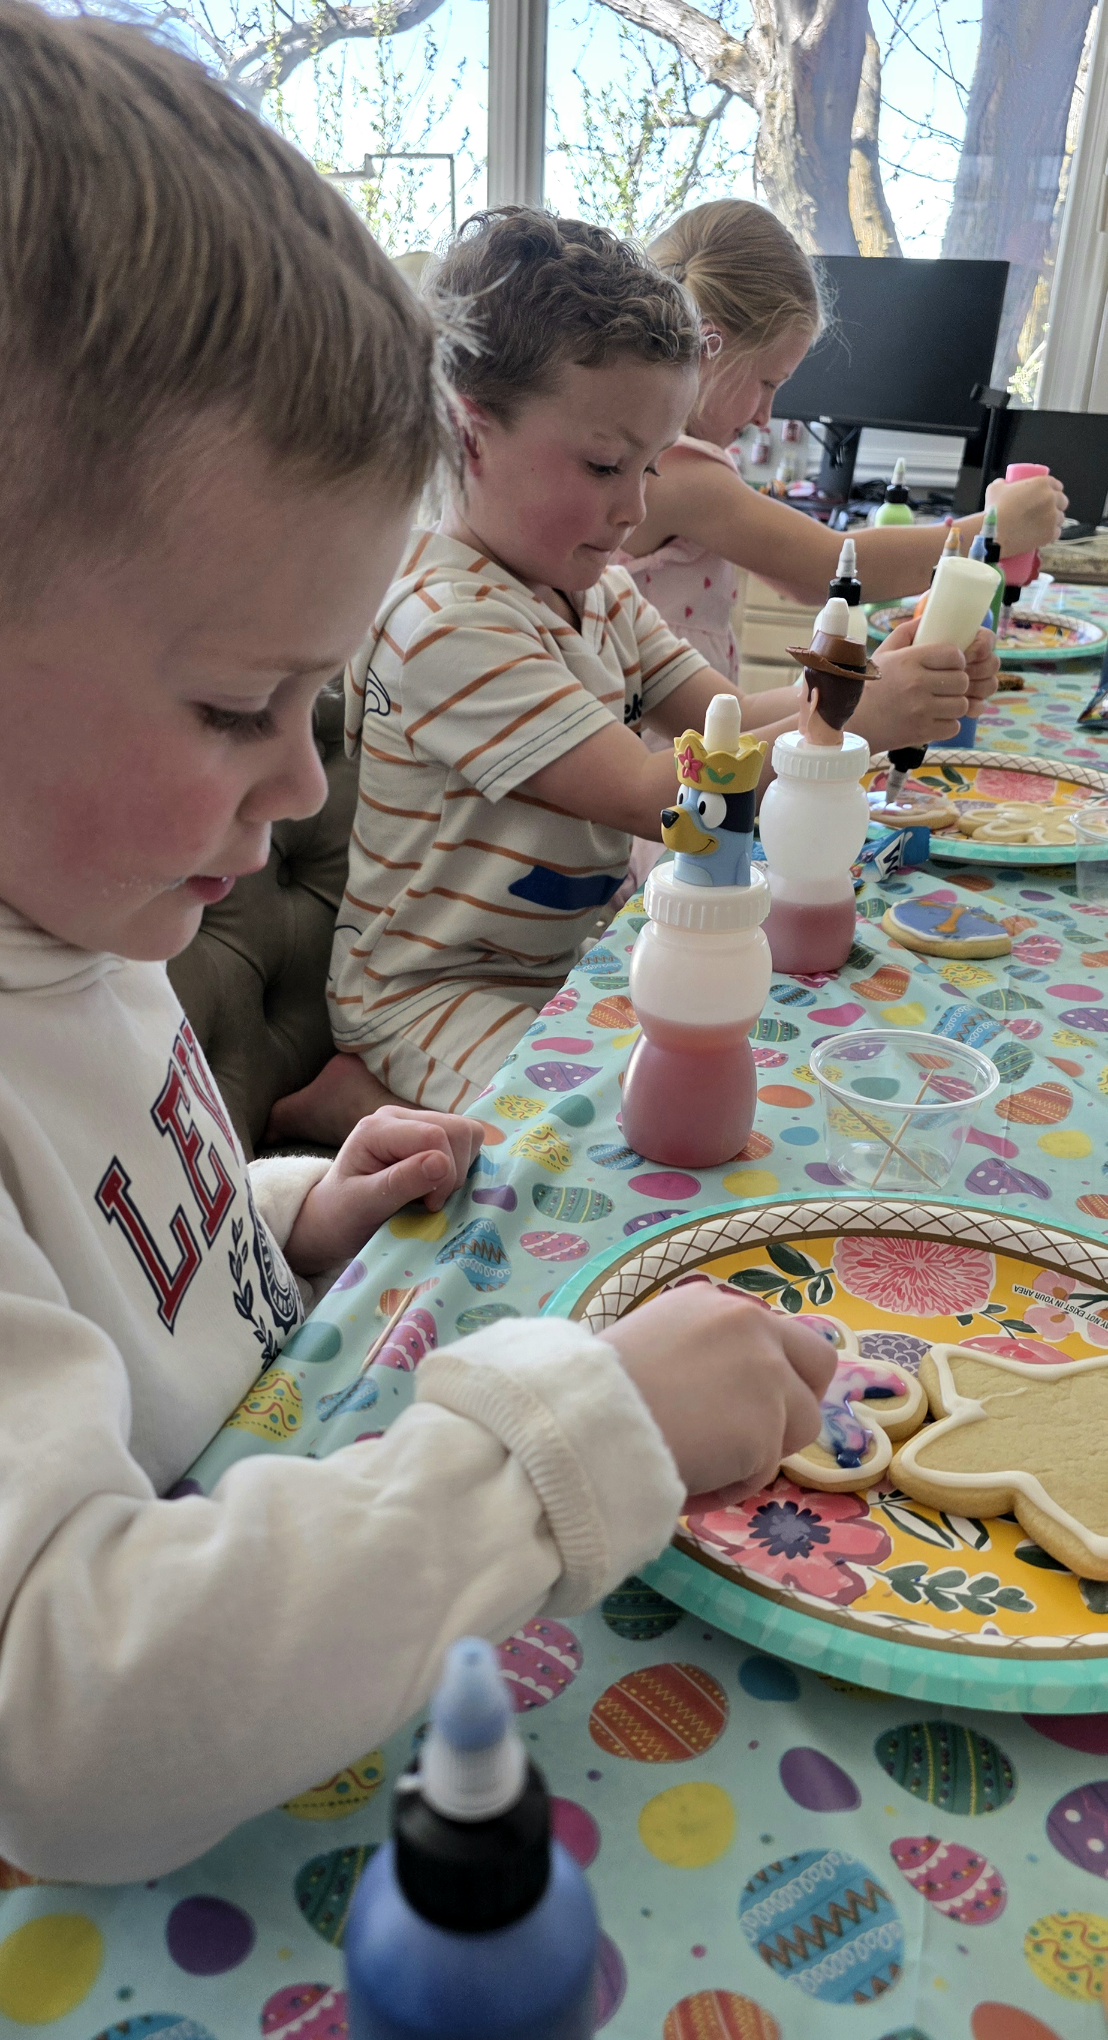
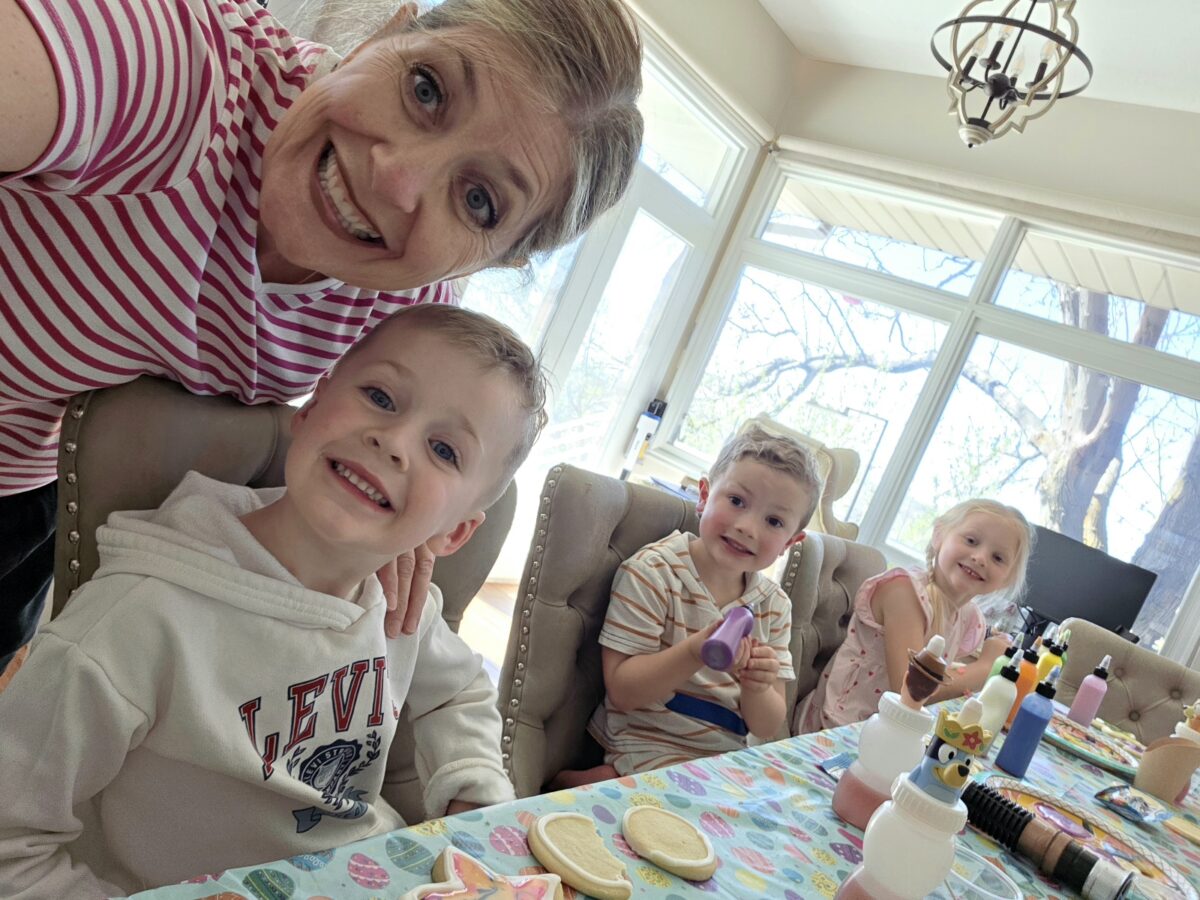
My Grandies and I had the best time this past week, painting cookies together. They range between ages 3-5 and they literally ate the whole experience up. 🙂 It kept their attention for hours. Heaven, is what it was, my friends. It gave us lots of time to visit while we worked and played and painted.
This recipe also works great for older kiddos, as well as teenagers and even young adults. Several of my adult kids came home when I was prepping for my little Grandkid party and they painted them for a while as well.
Let me show you how to make it happen!
Preheat your oven to 350 degrees.
Add the cold butter (not frozen, just cold) to your stand mixer and beat until it starts to break up just a bit. Add the sugar and mix until combined. Add the eggs and mix on medium high for 2-3 minutes, or until it starts to fluff up a bit. Add the vanilla and almond extract and mix just until combined.
Into the top of your mixing bowl, add the flour, baking soda and salt. Use a fork to lightly toss these dry ingredients together before you mix them into the creamed mixture. Then, go ahead and turn the mixer on medium low and allow the dough to come together. It will look a little bit crumbly at first, but will come together. You may need to knead it just a bit with your hands before rolling them out and shaping them.
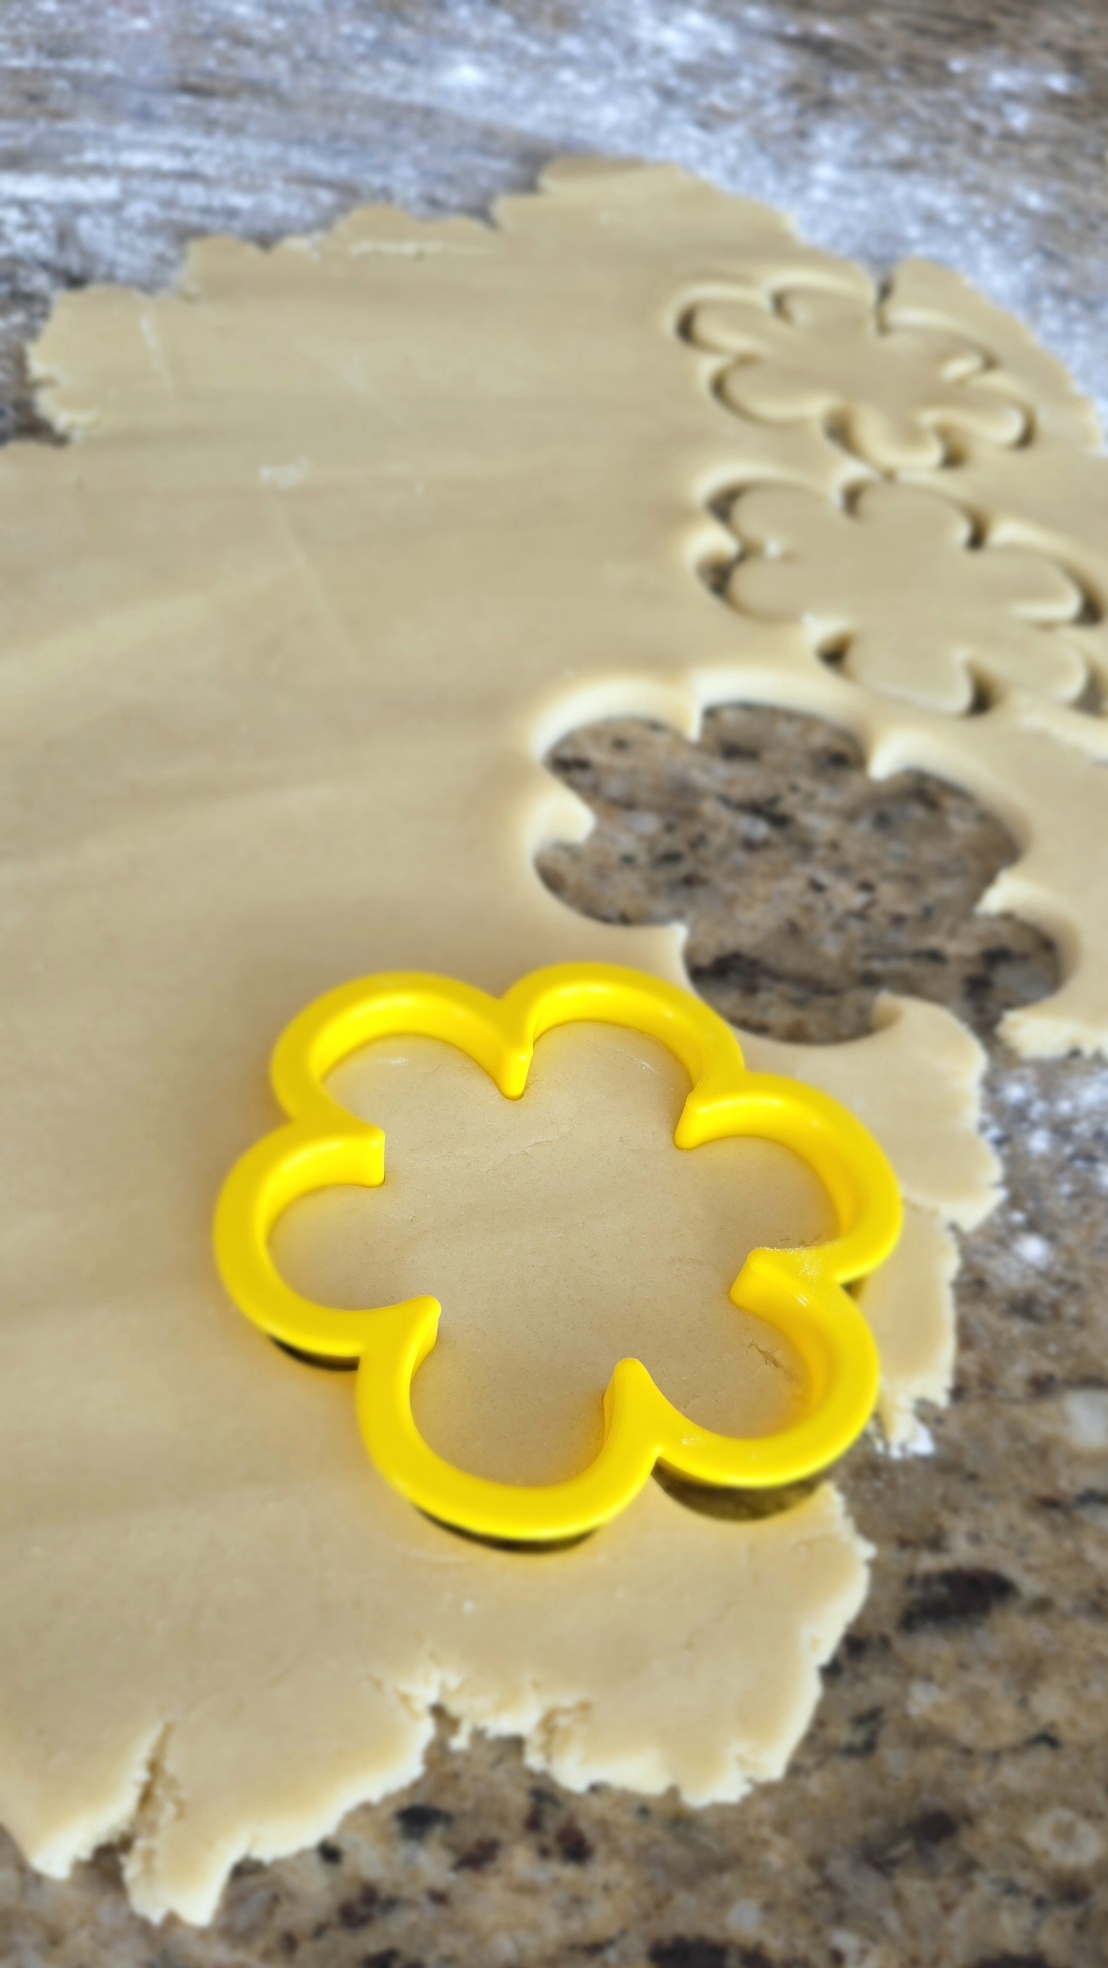
Lightly flour your counter top. Scoop about 1/3 of the dough into a ball, and place it on your counter. Roll it out with a rolling pin, until it’s about 1/4 inch thick. Cut into shapes. Place the cookies onto parchment lined baking sheets. I like to bake 2 sheets at a time.
Bake for 8-9 minutes, or until the cookies seems set on the bottom. I like to underbake mine just a bit and let them finish cooking on the hot sheet, sitting on my counter. Allow the cookies to cool completely.
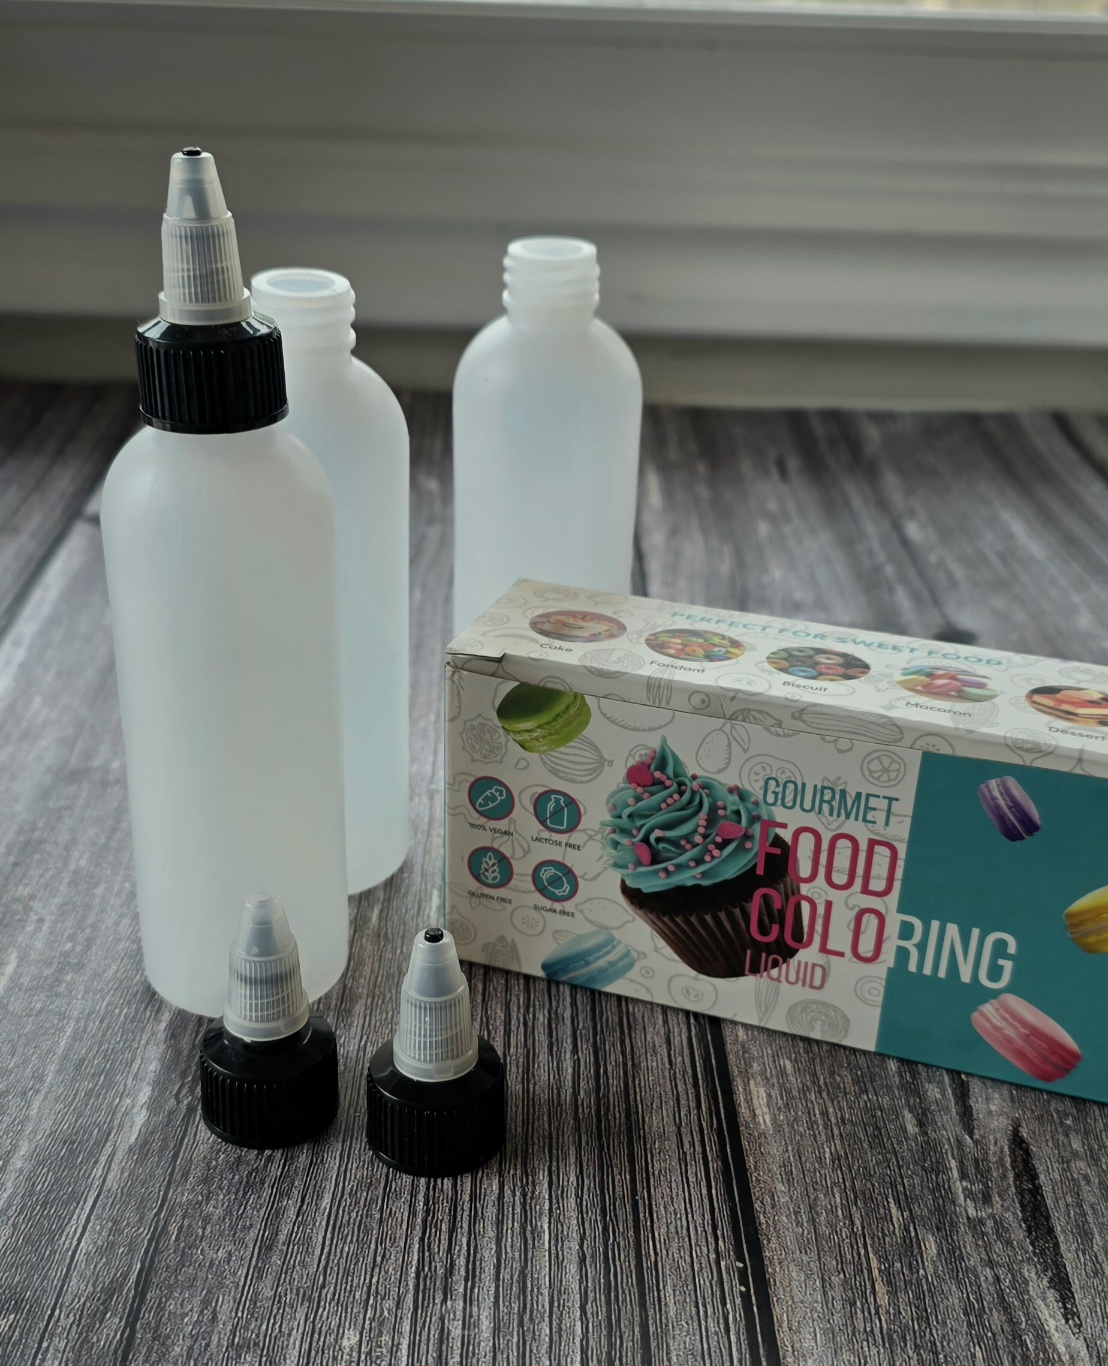
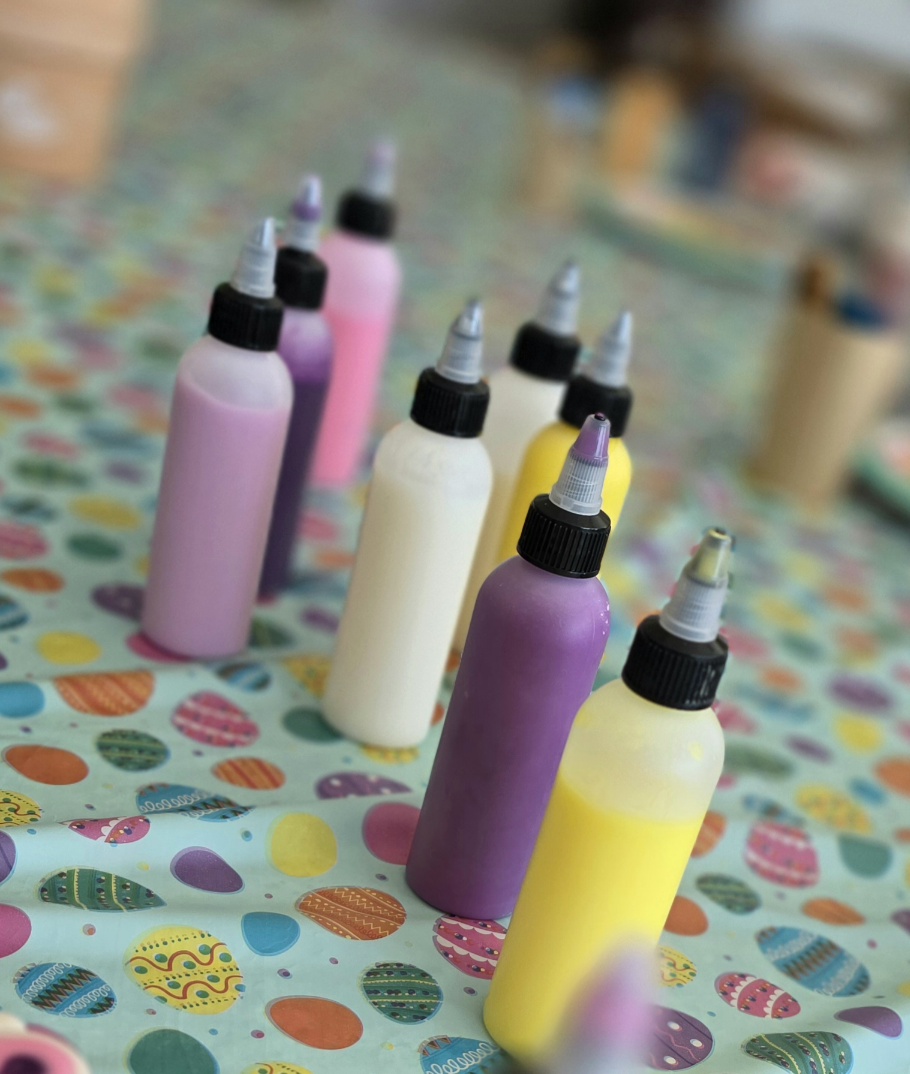
Let’s make the Icing Paint. So fun. 🙂 I got the food coloring and these fantastic disposable squeeze bottles on Amazon. Food coloring linked HERE, and Squeeze Bottles found HERE.
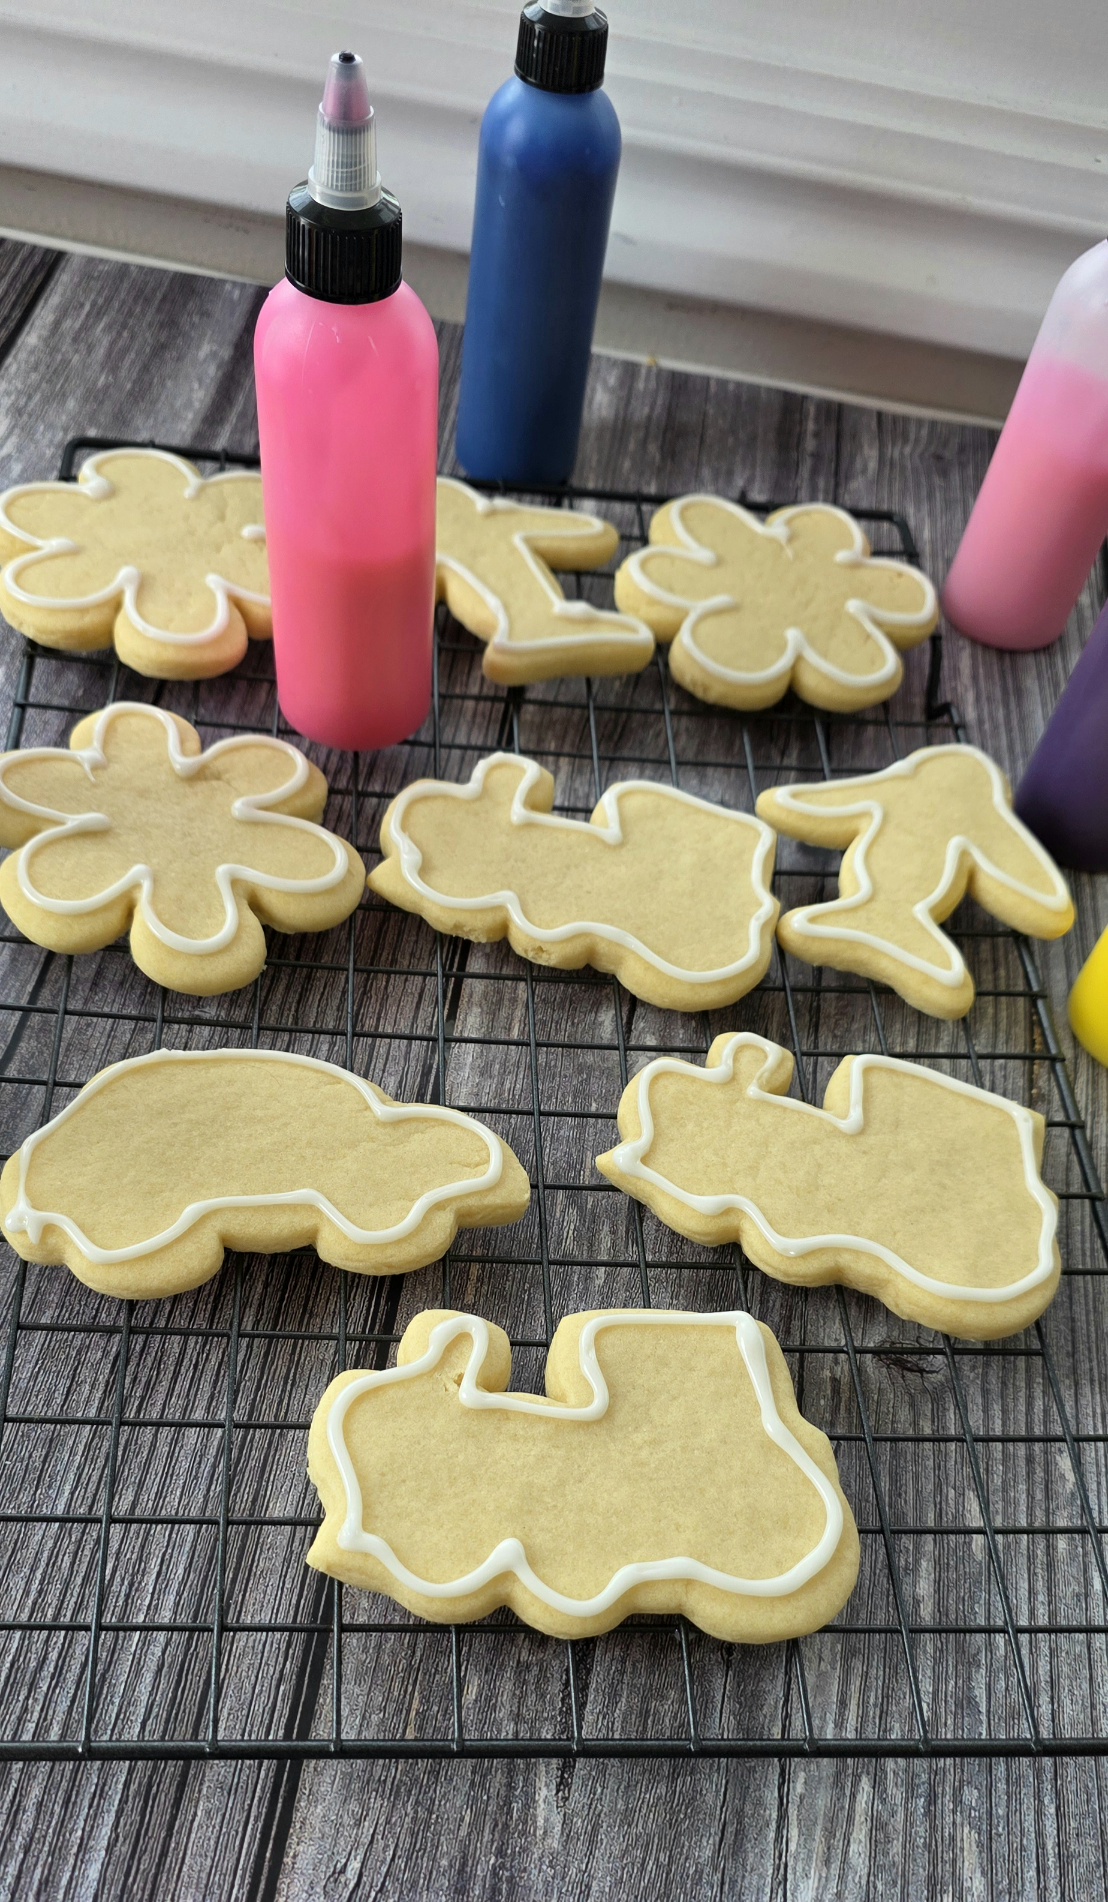
You need a thicker consistency of icing for the border, and a thinner consistency for the inside paint. The thicker border keeps the icing paint from rolling off the sides before it has a chance to dry. Since my grandkids are still little, I just added a the border to all the cookies, so they could just have fun with the colored paint. Older kids could certainly do it on their own.
To make the thicker icing for the border, mix together 2 C powdered sugar, 2 Tb light karo syrup, a few drops of lemon juice and about 1 Tb of milk. You are looking for the consistency of toothpaste. Whisk it around until combined, then add a little more milk or powdered sugar to reach the desired consistency.
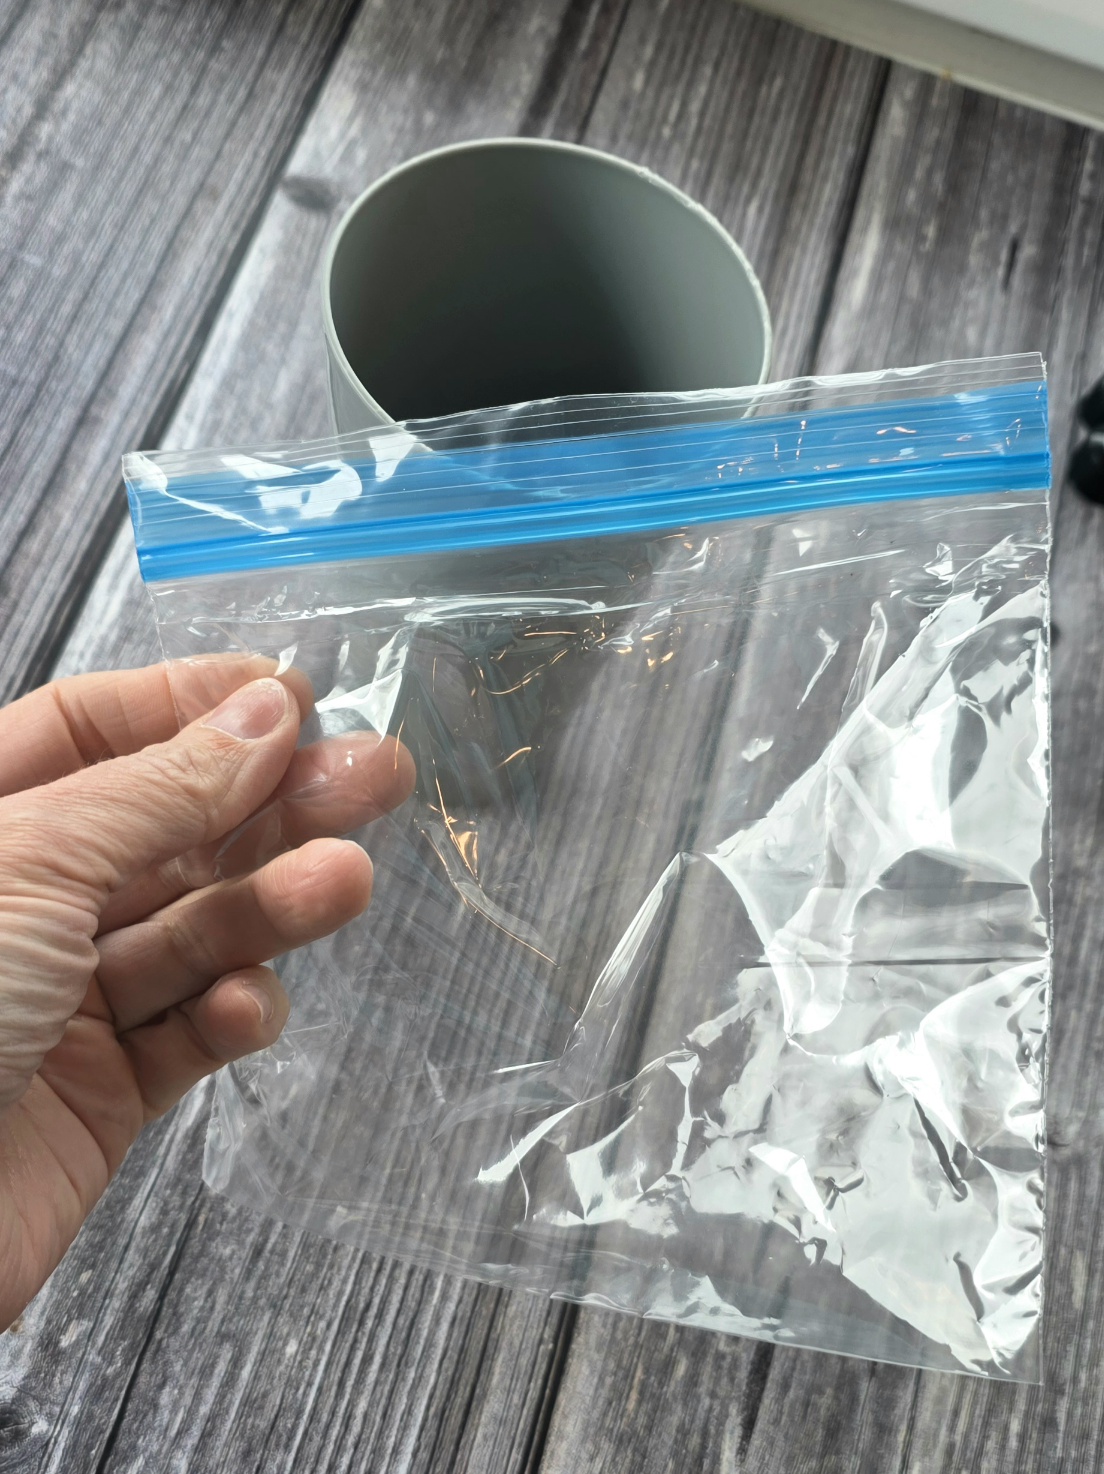
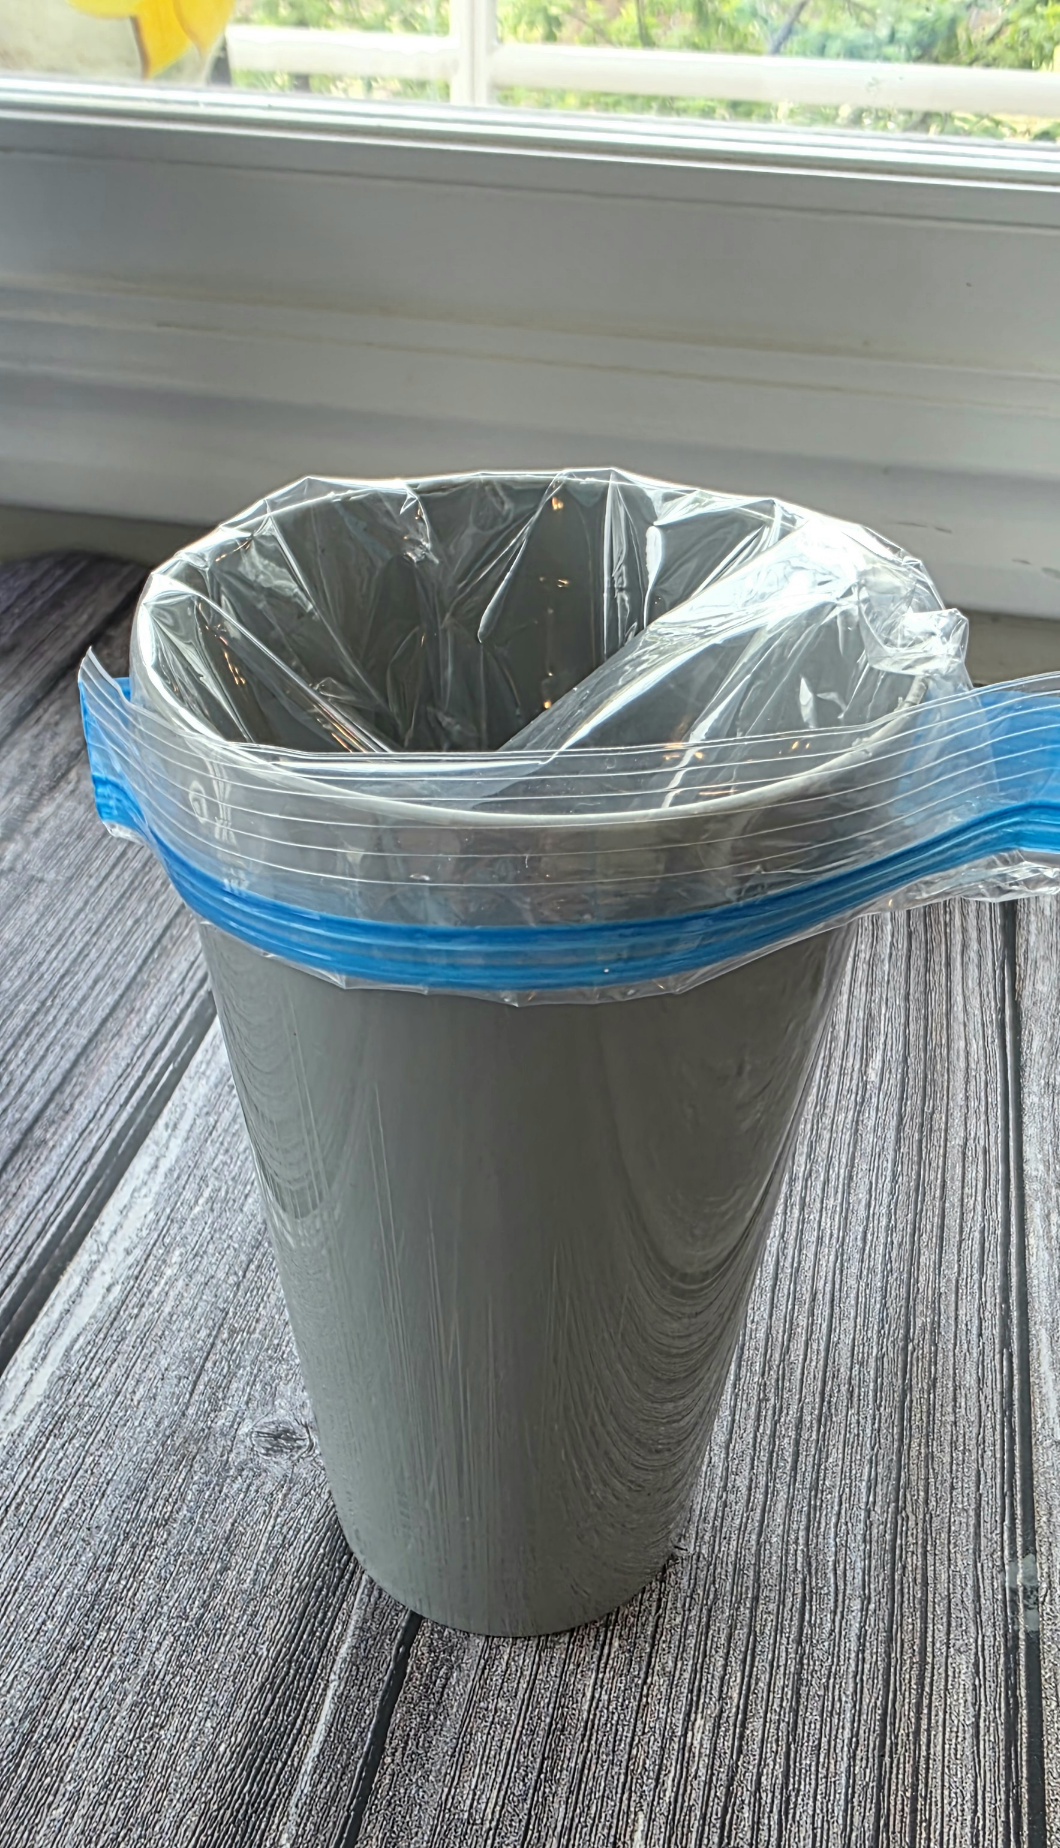
Grab a sandwich sized zip lock bag (or a disposable cake decorating bag, if you have that) and line a tall glass or cup with it, folding the top over the edges of the glass. Carefully spoon the thicker icing into the bag. Remove the icing bag from the cup and seal the bag.
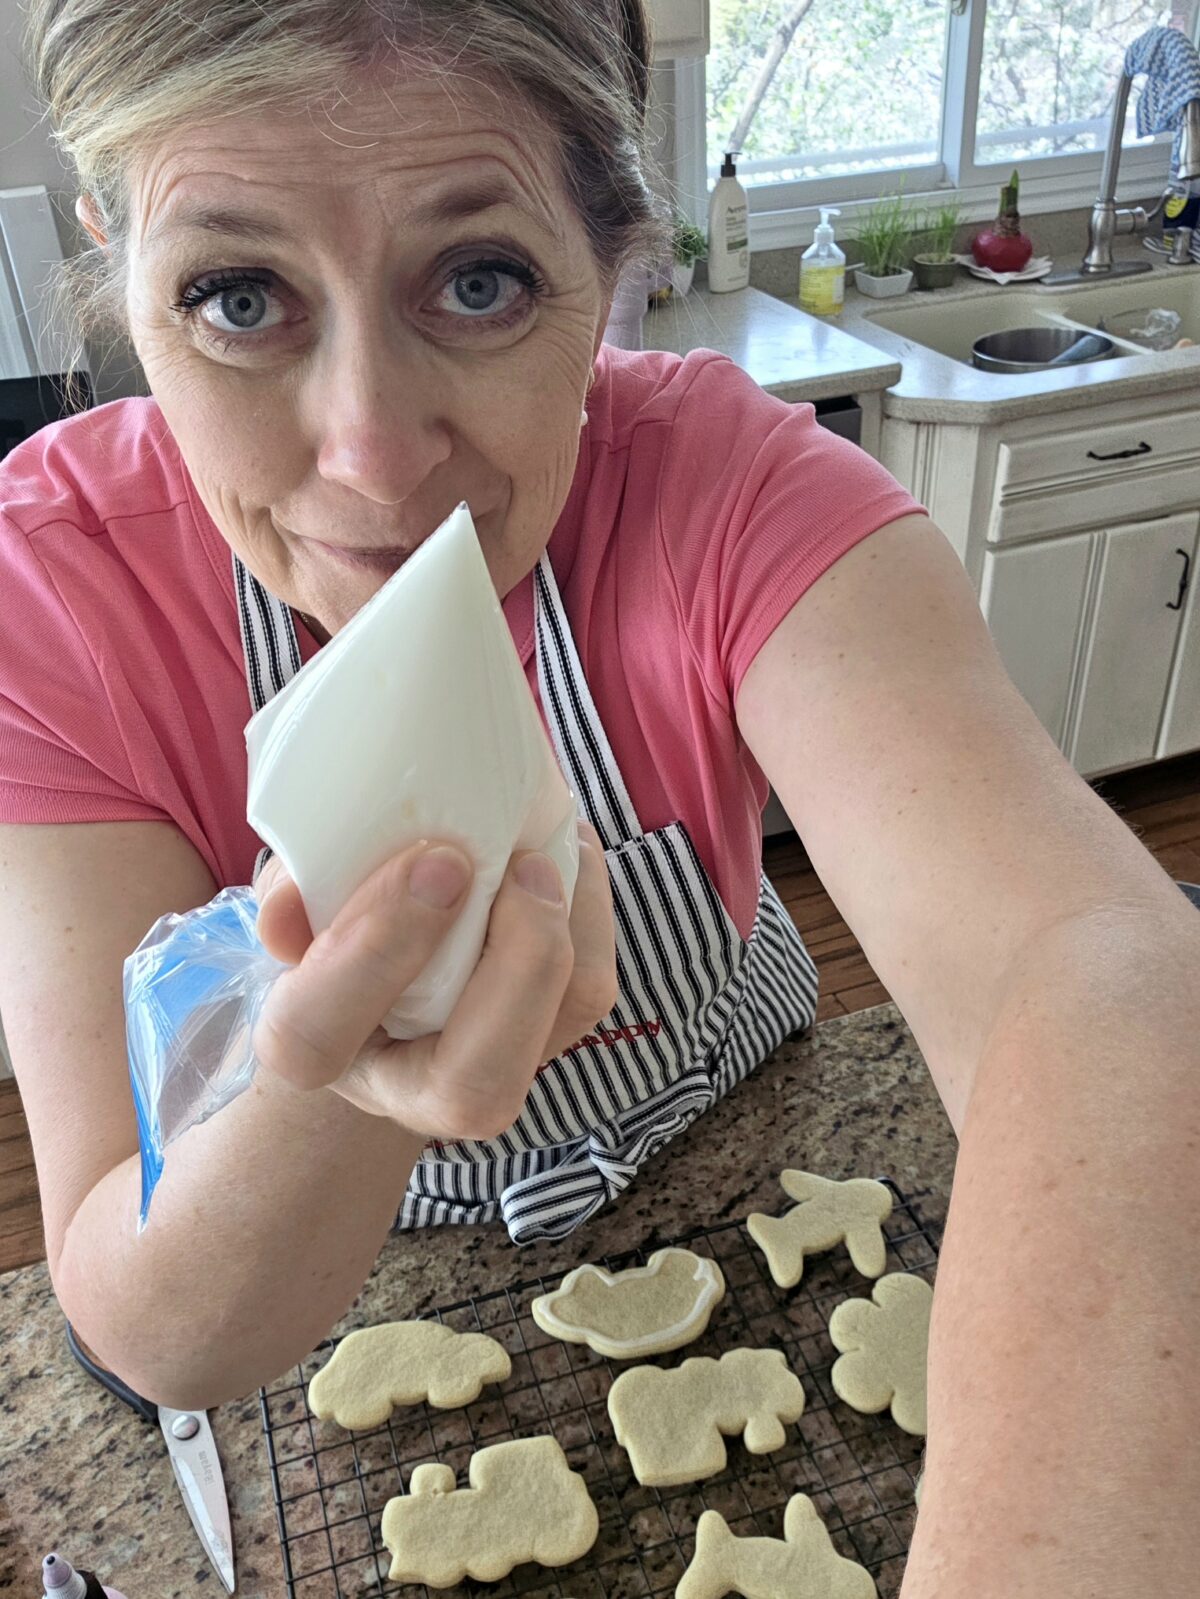
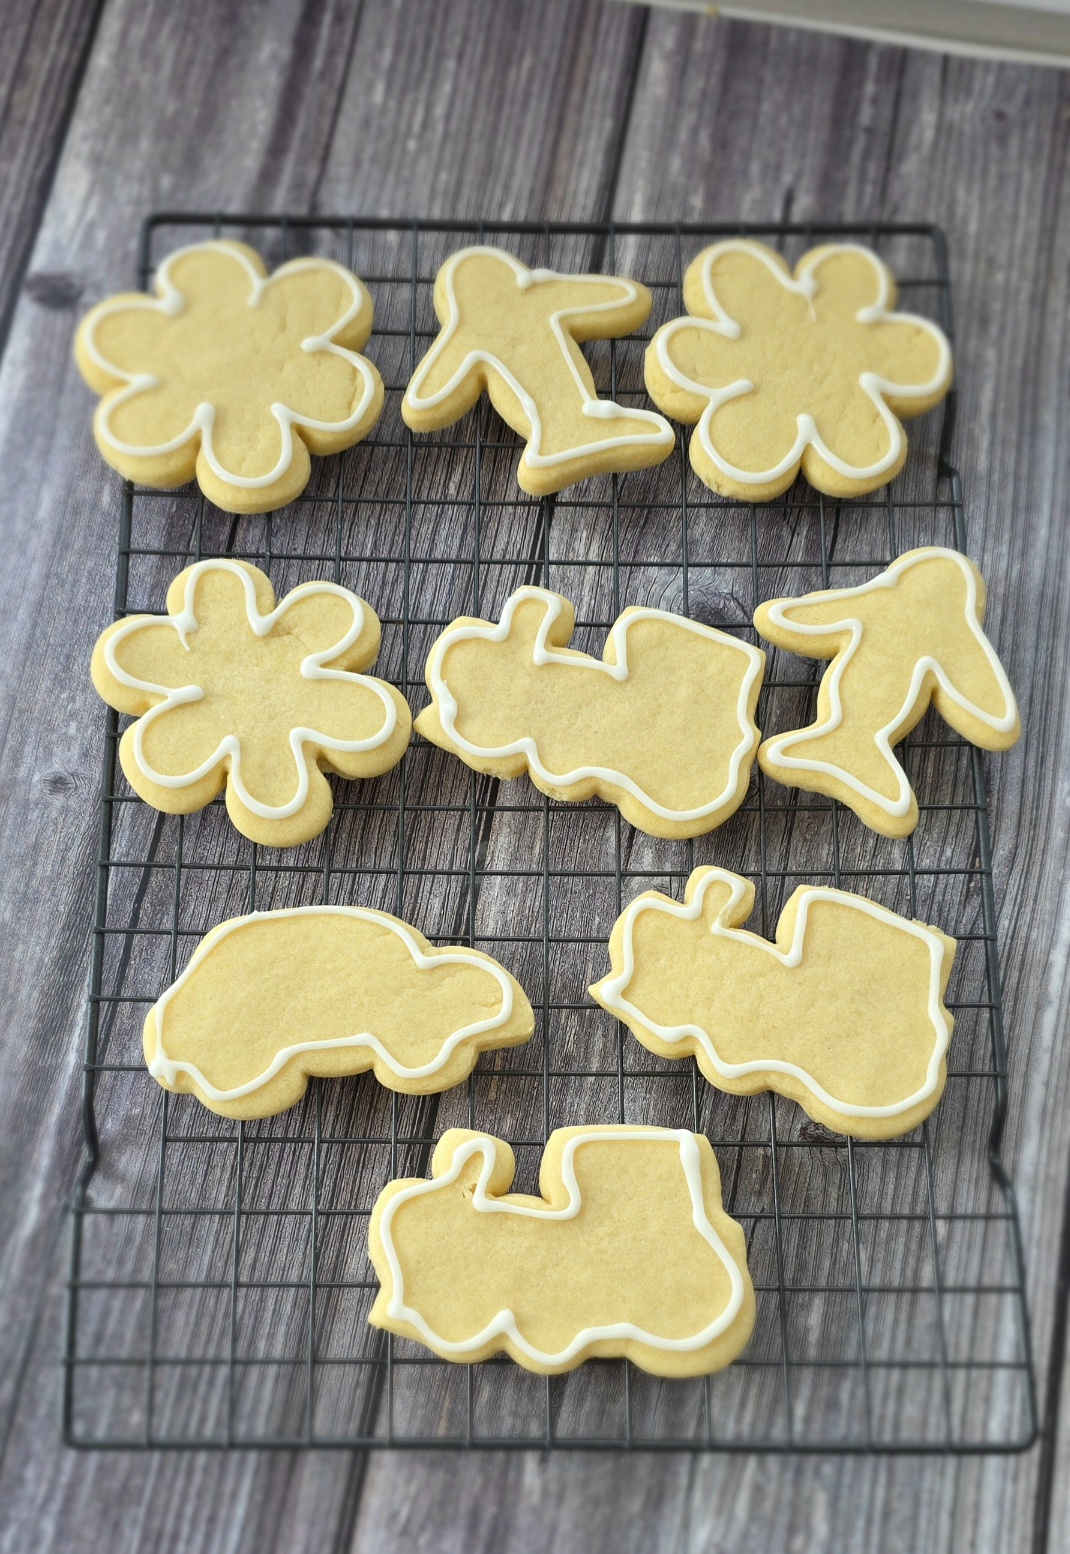
Twist the zipped side of the bag and place that portion between your thumb and first finger. Cut a tiny snip out of one of the corners. Pipe a thin line around the border of each of the cookies. Allow to set up and harden. (Should take about 15 minutes).
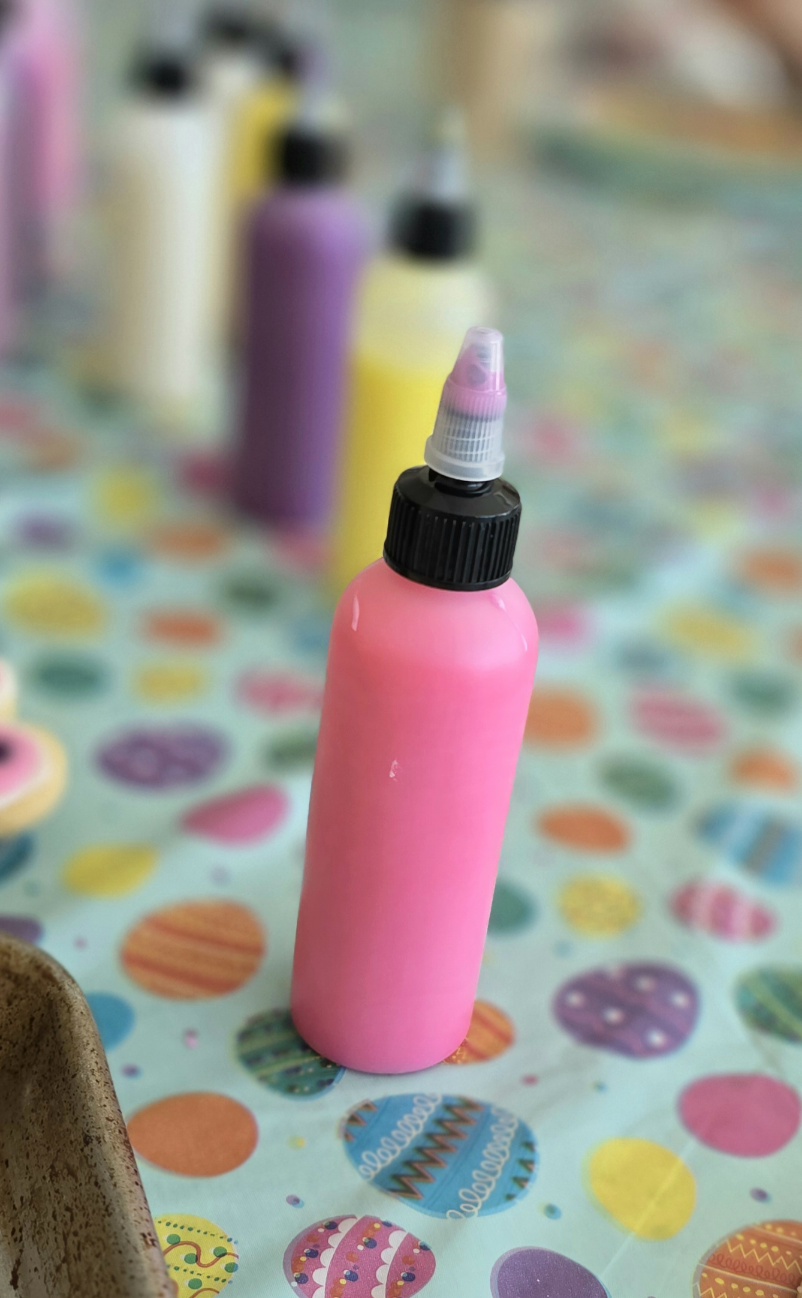
To make the thinner icing (the icing paint!), add 5 cups of powdered sugar to a large mixing bowl, or your stand mixer. Add 5 Tb corn syrup, 6 drops lemon juice, and 3 Tb milk. Mix well until combined, adding more milk a little at a time, until the mixture resembles the texture and thickness of maple syrup. You want to err on the side of thinness here. If the icing is too thick it’s kind of hard to get it out of the squeeze tubes.
Grab a small glass measuring cup (I used the 1 C size). The glass measuring cup, with a nice spouted side will work well to mix the color and pour the icing into the squeeze bottle. Pour 4 ounces of the thin icing into the cup and add a few drops of your desired food coloring, stirring it around well to combine. Pour the icing paint into one of the squeeze tubes and screw on the lid. Set aside, wash your measuring cup and repeat with a new color, until you have all the different colors you’d like. You can certainly make more icing, if you choose. I admit, I got a little carried away with all the fun color options. 🙂
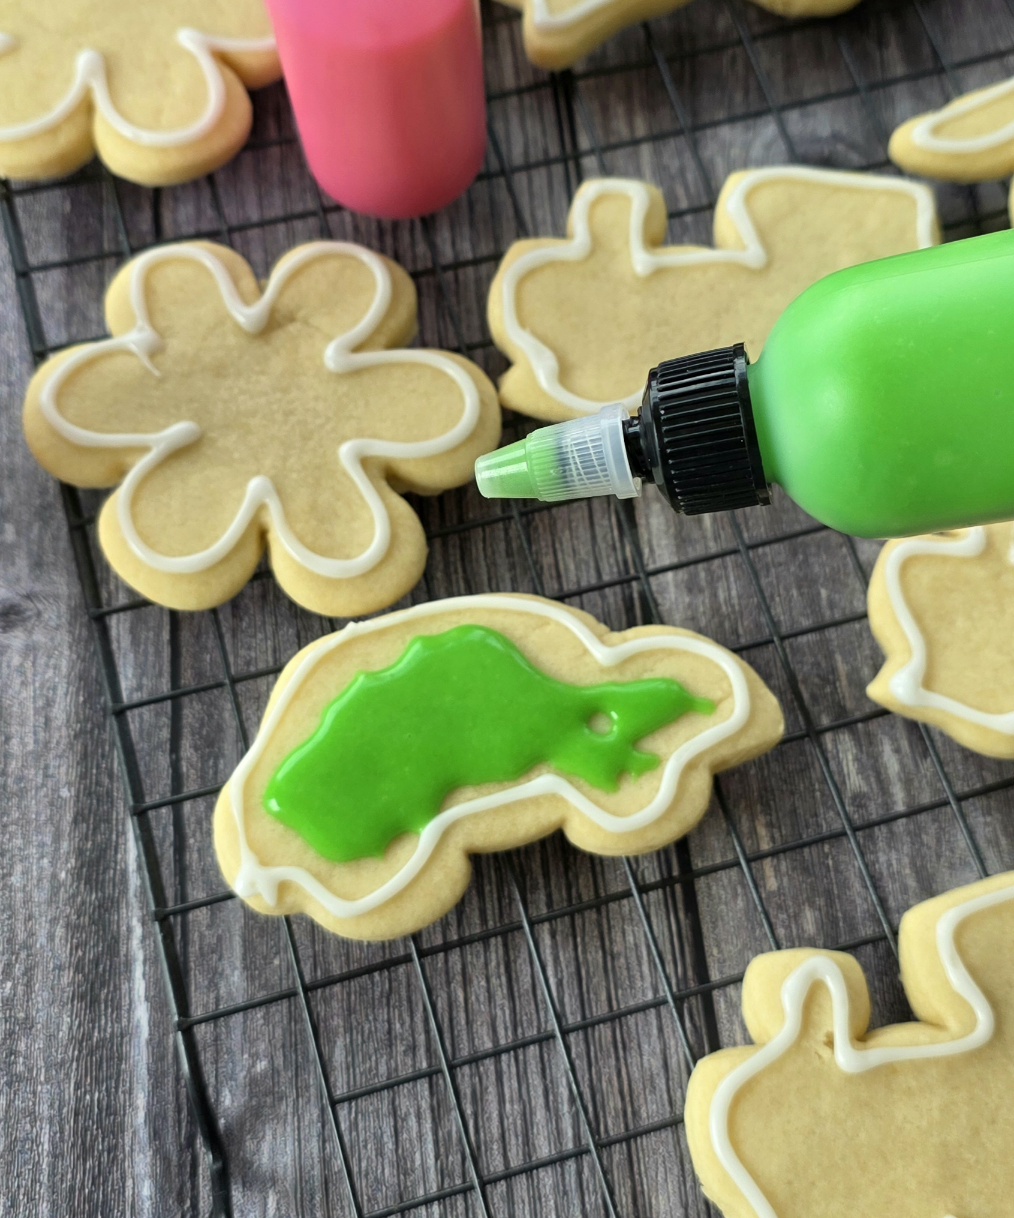
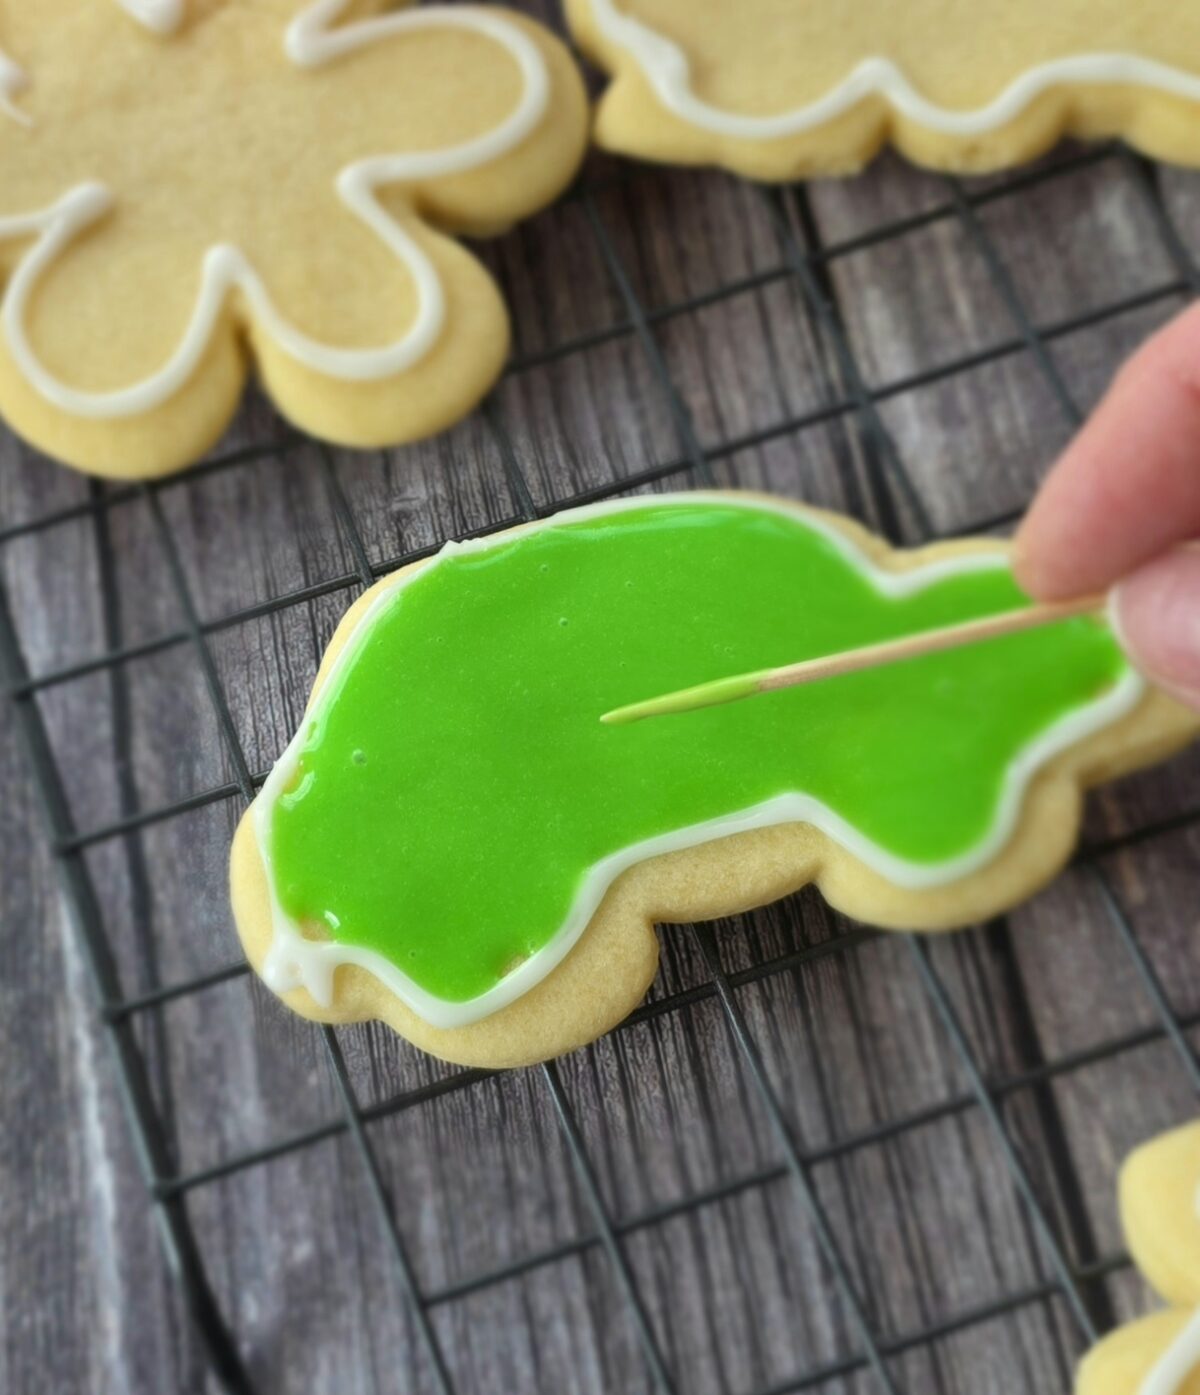
Then the fun begins! Squeeze some of the paint into the center of the cookie, and spread it around a bit with a toothpick. You can wait for the first layer to dry, and then squeeze another color over the top (like the blue stripe on the car above) or you can add more paint to the first layer while it’s still wet (like the yellow polka dots on the train).
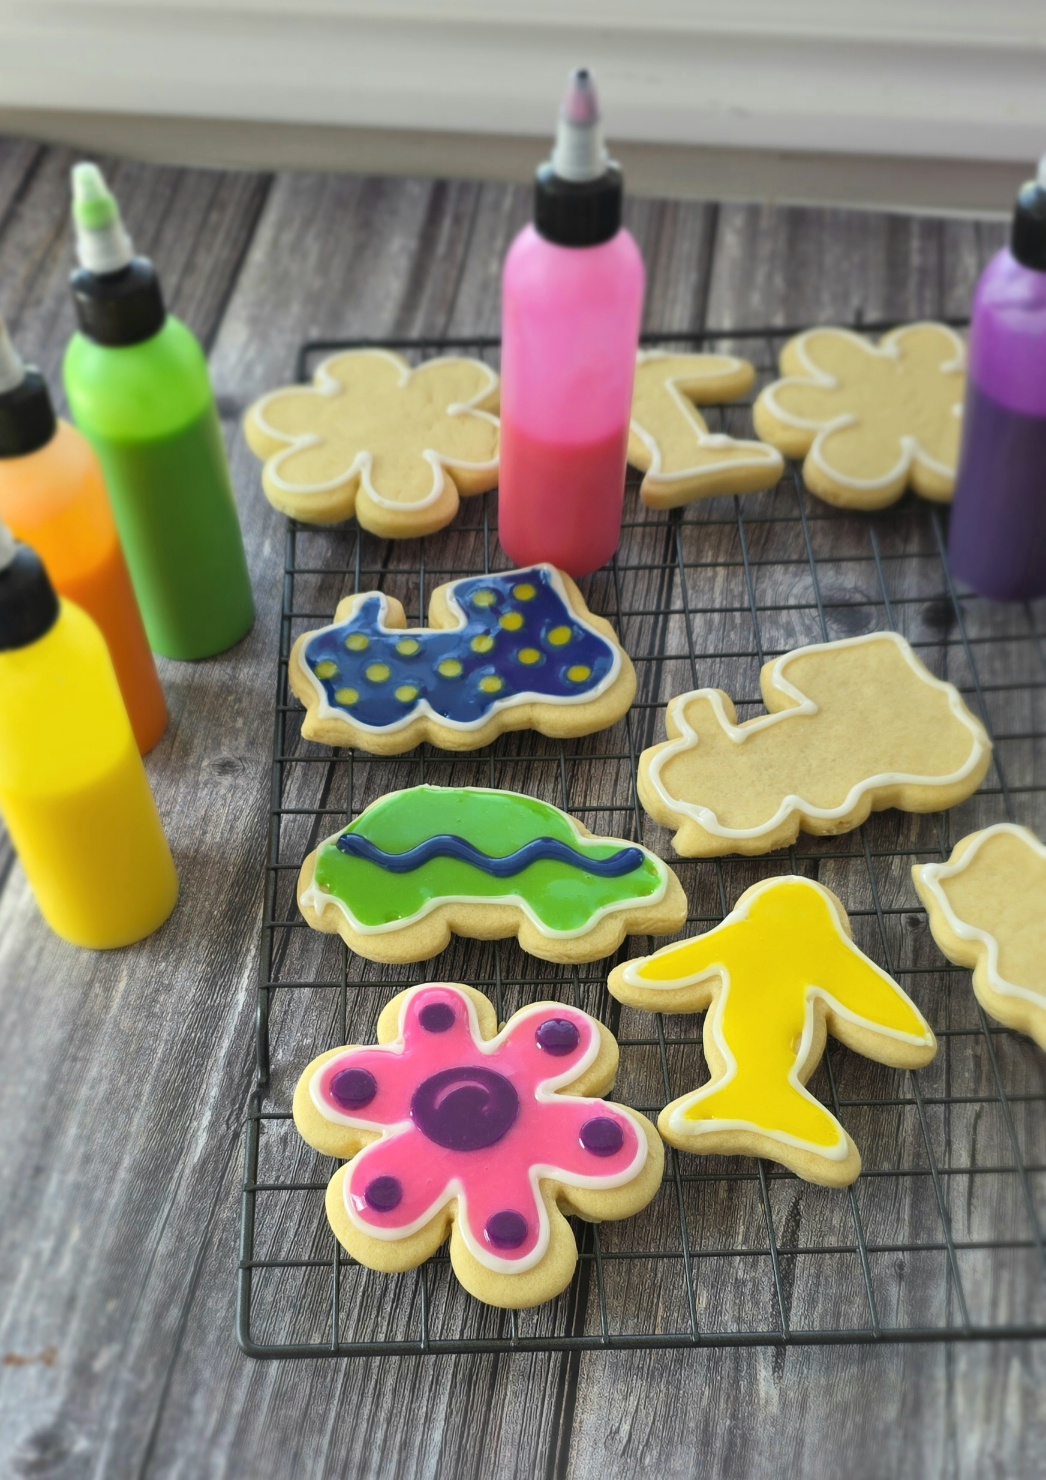
Lots of fun possibilities here! Allow the paint to set up for about 1 hour. Or just eat them as you go. Really, the fun part is being together.
I suggest prepping everything the day before you are ready to decorate. If you go that route, cover the cookies with plastic wrap and refrigerate the icing until about 2 hours before you are ready to paint, allowing it to come back to room temperature.
Enjoy!
Ingredients
- SUGAR COOKIES:
- 2 C butter
- 2 C sugar
- 2 eggs
- 2 tsp vanilla
- 1 tsp almond extract
- 6 C all purpose flour
- 4 tsp baking soda
- 1 tsp salt
- BORDER ICING:
- 2 C powdered sugar
- 2 Tb light corn syrup
- 2 drops lemon juice (bottled is great)
- 1-2 Tb milk
- PAINT ICING:
- 5 C powdered sugar
- 5 Tb light corn syrup
- 6 drops lemon juice (bottled is still great)
- 3-5 Tb milk
- Food Coloring Gel or liquid (see picture and link above for most vibrant colors)
- Disposable squeeze bottles (see picture and link above)
Instructions
CUT OUT COOKIES:
- Preheat your oven to 350 degrees.
- Add the cold butter (not frozen, just cold) to your stand mixer and beat until it starts to break up just a bit. Add the sugar and mix until combined. Add the eggs and mix on medium high for 2-3 minutes, or until it starts to fluff up a bit. Add the vanilla and almond extract and mix just until combined.
- Into the top of your mixing bowl, add the flour, baking soda and salt. Use a fork to lightly toss these dry ingredients together before you mix them into the creamed mixture. Then, go ahead and turn the mixer on medium low and allow the dough to come together. It will look a little bit crumbly at first, but will come together. You may need to knead it just a bit with your hands before rolling them out and shaping them.
- Lightly flour your counter top. Scoop about 1/3 of the dough into a ball, and place it on your counter. Roll it out with a rolling pin, until it's about 1/4 inch thick. Cut into shapes. Place the cookies onto parchment lined baking sheets. I like to bake 2 sheets at a time.
- Bake for 8-9 minutes, or until the cookies seems set on the bottom. I like to underbake mine just a bit and let them finish cooking on the hot sheet, sitting on my counter. Allow the cookies to cool completely.
ICING BORDER and ICING PAINT:
Food coloring and disposable squeeze bottles on Amazon. Linked above.
- You need a thicker consistency of icing for the border, and a thinner consistency for the inside paint. The thicker border keeps the icing paint from rolling off the sides before it has a chance to dry. Since my grandkids are still little, I just added a the border to all the cookies, so they could just have fun with the colored paint. Older kids could certainly do it on their own. To make the thicker icing for the border, mix together 2 C powdered sugar, 2 Tb light karo syrup, a few drops of lemon juice and about 1 Tb of milk. You are looking for the consistency of toothpaste. Whisk it around until combined, then add a little more milk or powdered sugar to reach the desired consistency.
- Grab a sandwich sized zip lock bag (or a disposable cake decorating bag, if you have that) and line a tall glass or cup with it, folding the top over the edges of the glass. Carefully spoon the thicker icing into the bag. Remove the icing bag from the cup and seal the bag. Twist the zipped side of the bag and place that portion between your thumb and first finger. Cut a tiny snip out of one of the corners. Pipe a thin line around the border of each of the cookies. Allow to set up and harden. (Should take about 15 minutes).
- To make the inner icing (the icing paint!), add 5 cups of powdered sugar to a large mixing bowl, or your stand mixer. Add 5 Tb corn syrup, 6 drops lemon juice, and 3 Tb milk. Mix well until combined, adding more milk a little at a time, until the mixture resembles the texture and thickness of maple syrup. You want to err on the side of thinness here. If the icing is too thick it's kind of hard to get it out of the squeeze tubes.
- Grab a small glass measuring cup (I used the 1 C size). The glass measuring cup, with a nice spouted side will work well to mix the color and pour the icing into the squeeze bottle. Pour 4 ounces of the thin icing into the cup and add a few drops of your desired food coloring, stirring it around well to combine. Pour the icing paint into one of the squeeze tubes and screw on the lid. Set aside, wash your measuring cup and repeat with a new color, until you have all the different colors you'd like. You can certainly make more icing, if you choose. I admit, I got a little carried away with all the fun color options. 🙂 With the ingredients I've listed in the recipe, you should be able to get about 7-8 bottles of icing.
DECORATING:
- Then the fun begins! Squeeze some of the paint into the center of the cookie, and spread it around a bit with a toothpick. You can wait for the first layer to dry, and then squeeze another color over the top (like the blue stripe on the car above) or you can add more paint to the first layer while it's still wet (like the yellow polka dots on the train).
- Lots of fun possibilities here! Allow the paint to set up and harden for about 1 hour. Or just eat them as you go. Really, the fun part is being together.
Enjoy!
Notes
I suggest prepping everything the day before you are ready to decorate. If you go that route, cover the cookies with plastic wrap and refrigerate the icing until about 2 hours before you are ready to paint, allowing it to come back to room temperature.
Recipes adapted from I Am Baker