This post may contain affiliate links. Please read our disclosure policy.
August is passing us by, ladies and gentlemen. Soon it will be fall and I’m itching to bake with pumpkin, see the leaves turn a gorgeous golden and quite simply…to wear my jacket on a cool day. I’m a sucker for fall, is what I’m trying to say to you, right this very minute. I’m in love with every part of it.
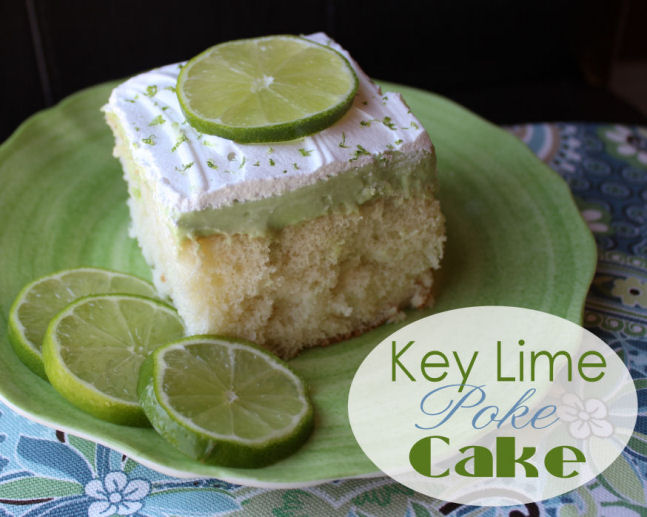
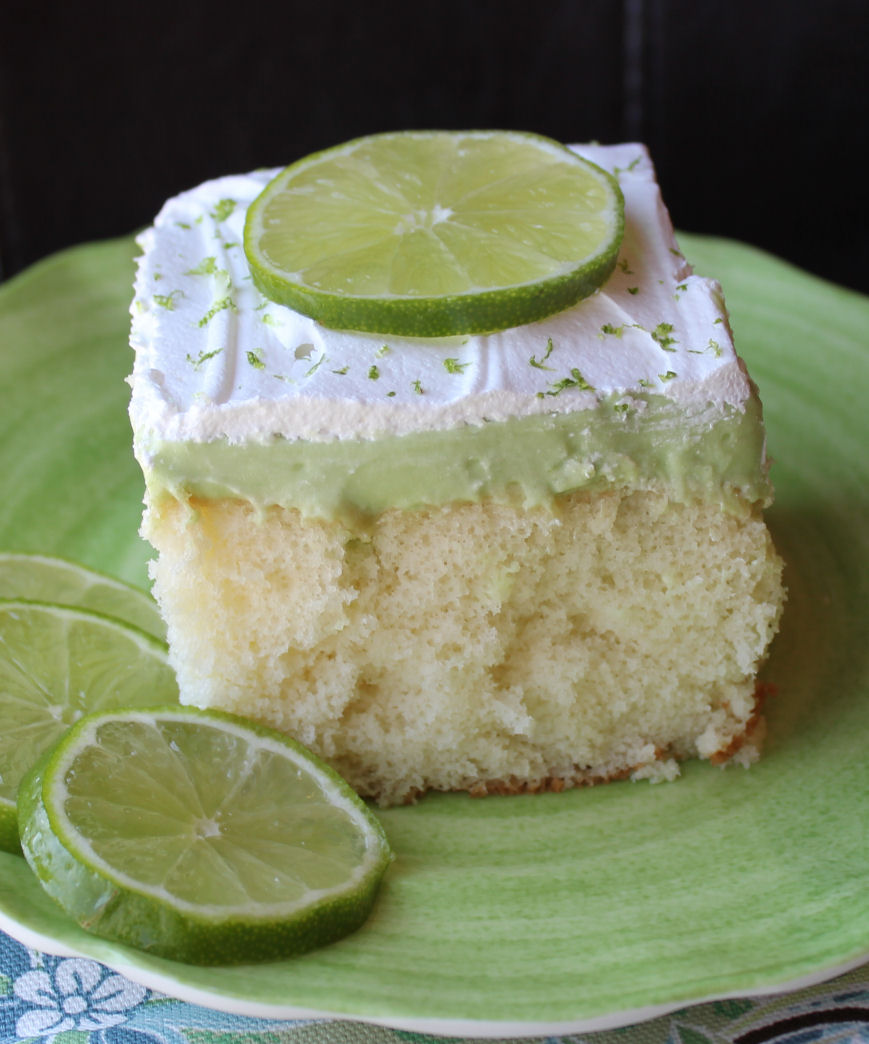
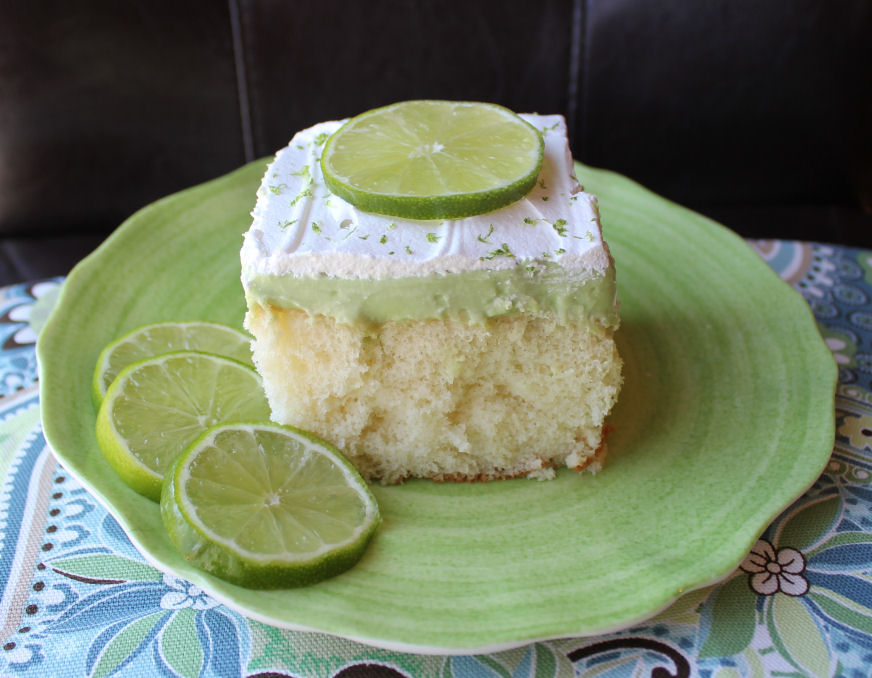
But today, the temperature is still smoking hot. A nice, light and refreshing dessert sounds like something you and I could enjoy, don’t you think? This Key Lime Poke Cake could be just the thing. It has a wonderful lime flavor and is super easy to prepare. It would make a great addition to any end of the summer plans you have underway.
Let me show you how to make it, won’t you? Light and refreshing…here we come.
Key Lime Poke Cake
Time: 20 minutes hands on + 25 minutes baking
Yield: 12 servings
Recipe adapted from Betty Crocker
CAKE:
1 while cake mix
1 1/4 C water
4 T canola or vegetable oil
4 eggs
FILLING:
3/4 C whipping cream
1 (14 ounce) sweetened condensed milk
1/2 C lime juice (bottled is fine)
1 t lime zest
3 drops yellow food coloring
2 drops green food coloring
TOPPING:
1 (8 ounce) container cool whip, thawed

1. Find yourself one white cake mix. Toss it into your stand mixer or large mixing bowl. Add 1 1/4 cup water, 4 tablespoons of oil and 4 eggs. Mix on low for 1 minute, then scrape the bottom of the bowl with a rubber spatula and mix on medium high speed for 2 minutes.
2. Spray a 9×13 pan with cooking spray
and pour your batter in.
3. Bake your cake at 350 degrees for 25-35 minutes or until a toothpick inserted into the center comes out clean.
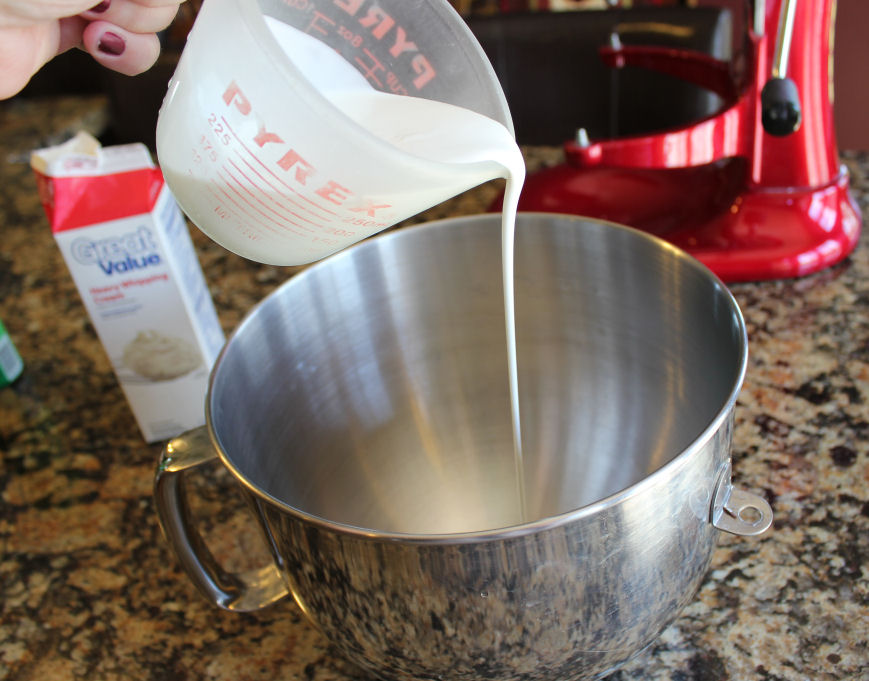
4. While your cake is baking, pour 3/4 cup whipping cream into your stand mixer or medium sized mixing bowl.

Add 1 can of sweetened condensed milk

1/2 cup lime juice
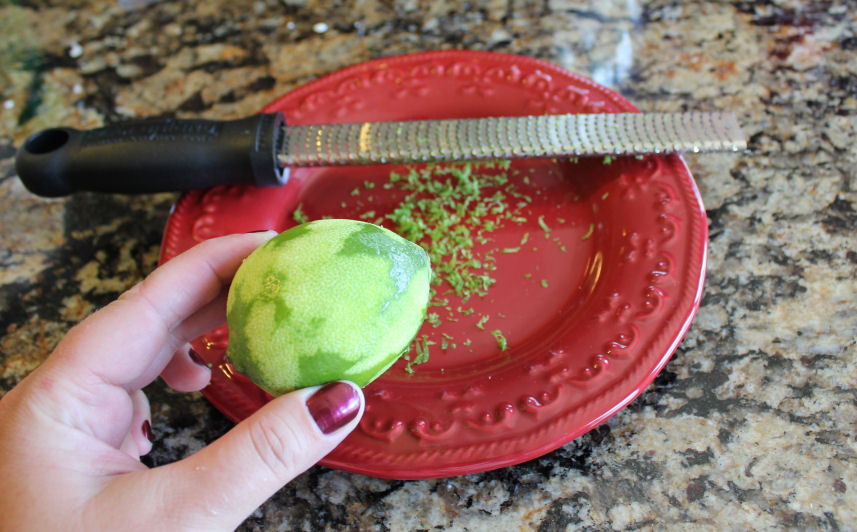
1 teaspoon of lime zest, 3 drops of yellow food coloring and 2 drops of green coloring.
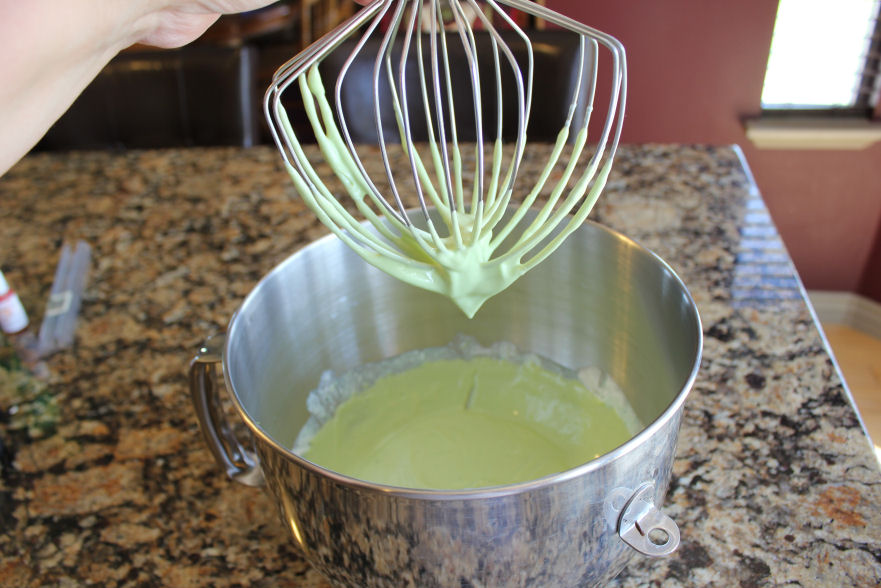
5. Whip all of the ingredients until the mixture is nice and thick. Cover the bowl and let it sit in the fridge until you cake is baked and has cooled completely.

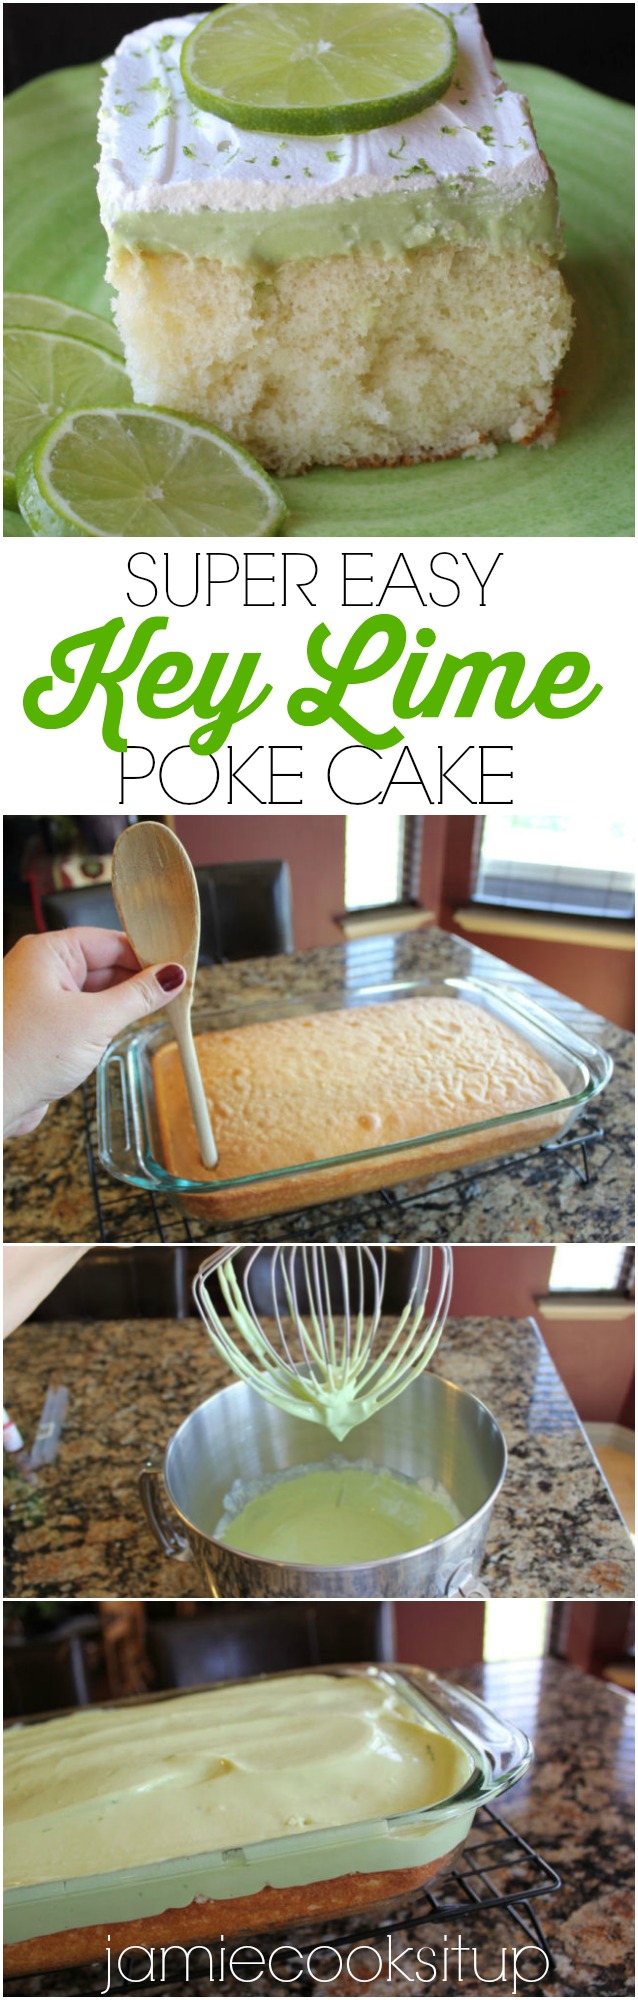
6. When your cake is done, take it out of the oven and let it cool on a wire rack for about 5 minutes. Then take a wooden spoon and poke holes all over the top of the cake with the handle.
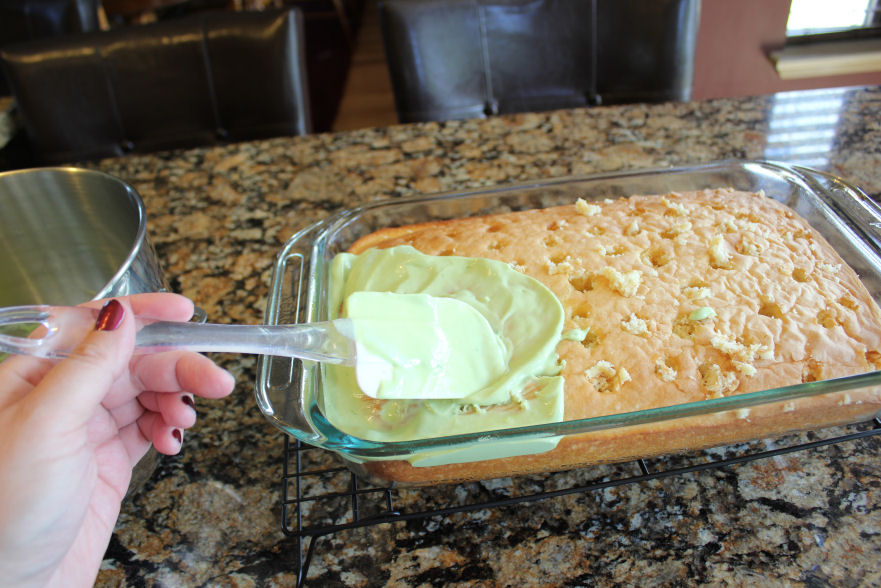
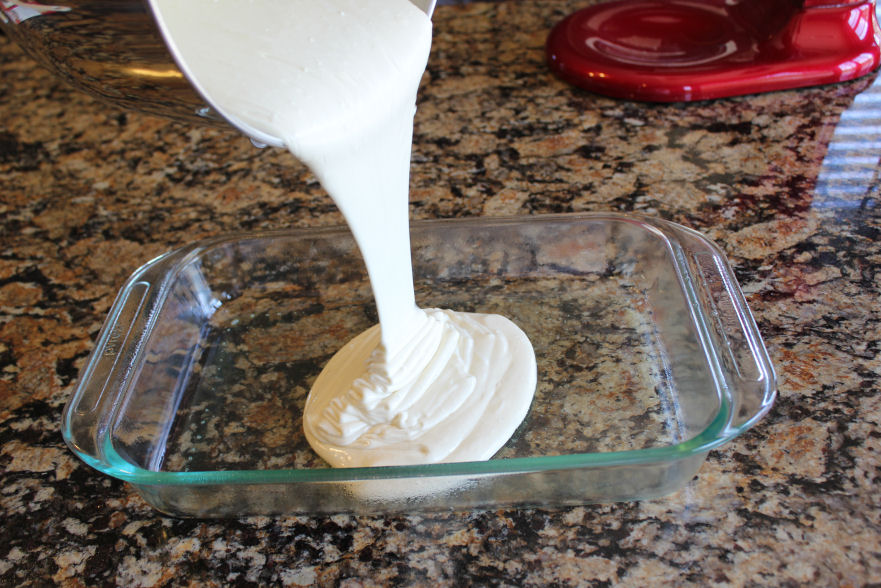
7. When the cake has cooled completely spread the filling all over the top of the cake and down through the holes.
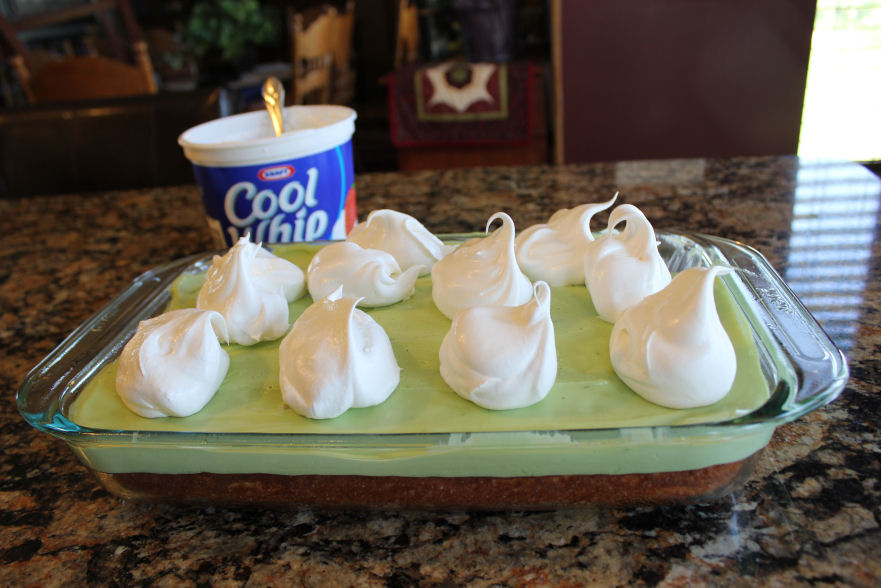
8. Place big spoonfuls of cool whip all over the top of the filling
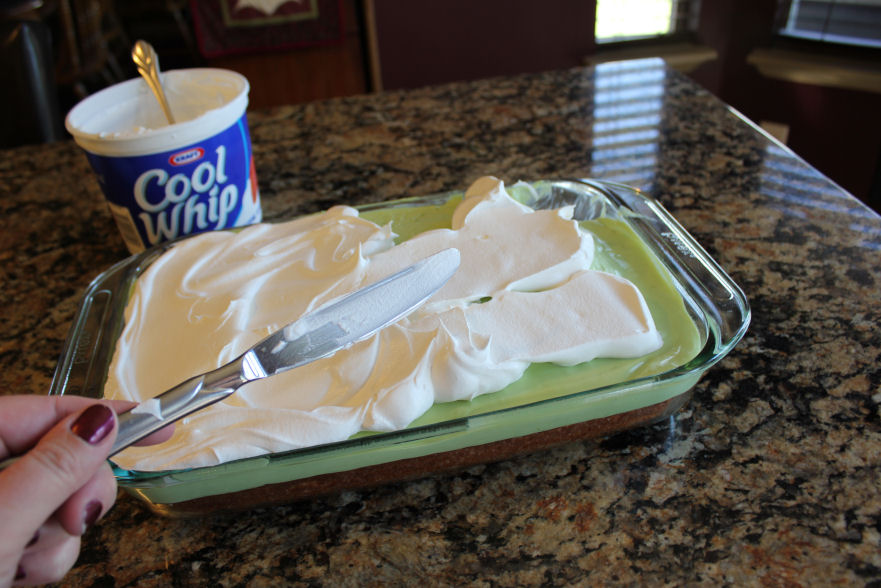
and then spread it around with a knife.
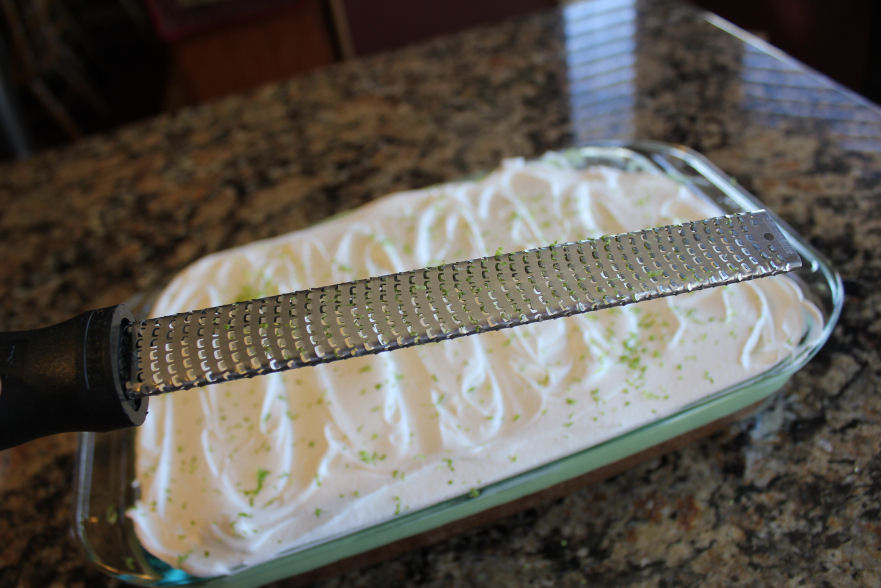
9. Zest a bit of lime peel over the top of the cool whip. Cover loosely with plastic wrap and refrigerate for at least an hour.
Serve and enjoy!


I couldn’t get the recipe for the filling to thicken, so I punted…used (2) boxes Cook n Serve vanilla pudding & followed the pie filling variation. AFTER removing from heat & cooling slightly, added 5 tsp key lime flavoring & a few drops green food coloring. Let it cool completely at room temp & followed the rest of the original recipe….YUMMMMM!
Hi Debi,
Sounds great! So glad it turned out well for you!
~Jamie
The goo is supposed to be pushed into the holes. If it is too thick it won’t go into those holes you poked thence the name poke cake
JanT- REAL key limes are YELLOW.
After I added the lime juice, I couldn’t get the whipped cream to whip at all. The kitchen was very cold because it’s still cold here, and we keep the house cold. What did I do wrong?
Hi Payy,
Thanks for your question. Where you using hand held beaters or a stand mixer?
Thanks,
~Jamie