
This post may contain affiliate links. Please read our disclosure policy.

So I have been thinking lately.
“A dangerous past time, I know.”
But, I just can’t help myself.
I’ve been dreaming and scheming and thinking of how I could make some really wonderful dinner rolls,
without taking up 3 hours of time. Yes, I know. An extremely intellectual topic.
There are two roll recipes already on the site that are FABULOUS, if I do say so myself. If you are looking for some knock your socks off crescent rolls that will feed a crowd (the recipe makes 48) then try these
HOLIDAY CRESCENT ROLLS You’ll be the hit of the party with these beauties.
CRACKED WHEAT FEATHER ROLLS are also wonderful. The cracked wheat gives them a great texture. There is a tutorial included in this post on making the rolls into a beautiful rosette shape. They turn out beautiful and delicious. Again, another crowd pleaser.
But sometimes, I just want something a little bit faster that still tastes delightfully delicious. And so I have for you these Fluffy Dinner Rolls. The recipe makes one dozen, perfect for a week night dinner. They take just over an hour to make, most of that time being rising in your warm oven, and then baking. So the hands on time is pretty short. Woo Hoo! MyHandsomeHusband said they tasted just as good as my Holiday Crescent Rolls. Hot diggity dog. Put a smile on my face for the rest of the day.

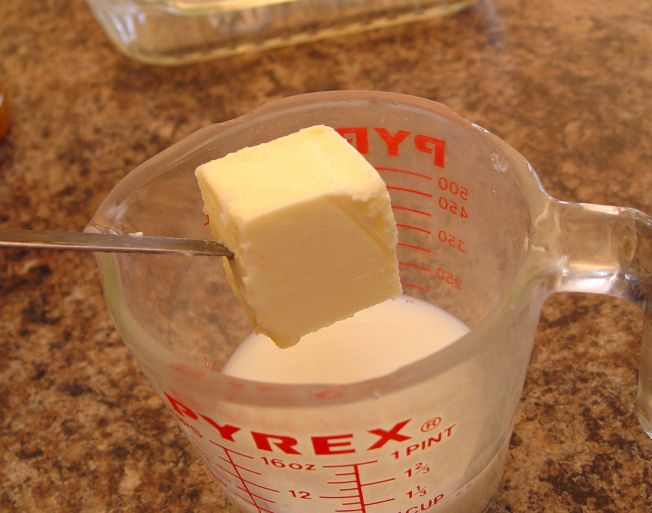
1. Pour your milk into a microwave safe container. These Pyrex glass measuring cups work fabulously. Add your butter to the milk and put it in the microwave for 1 1/2 minutes.
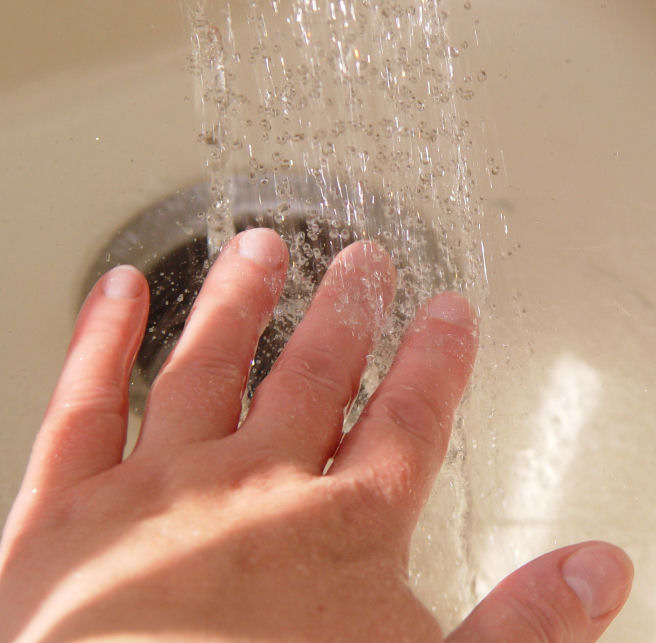
2. Preheat your oven to 170 degrees. While the milk is getting nice and toasty, turn on the tap to get your hot water. Temperature is important to making these rolls rise quickly. If you add cold water, your rolls will are going to rise at a snails pace, and you’ll feel like cursing. We wouldn’t want that kind of thing going on….so please add hot water. I put my hand in the water to test it. You want it to be almost too hot to put your hand in.
3. Put your milk/butter and hot water in the bottom of your Kitchen Aid Mixer. Add the sugar and salt. Then add 2 C of the flour…let it mix for 1 minute.
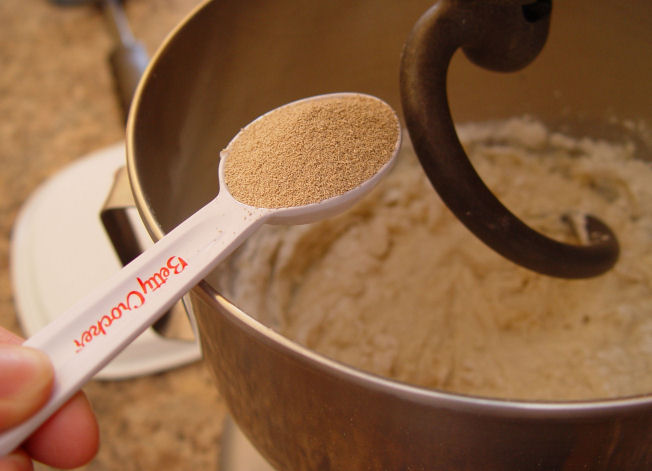
4. Add the yeast. Turn the mixer on and add the rest of the flour 1 C at a time.
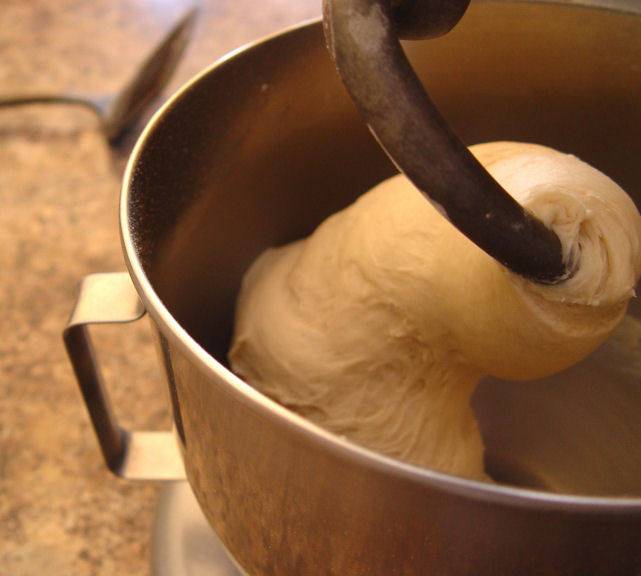
5. You have enough flour when the dough scrapes the side of the bowl clean. Mix on medium speed for 5 minutes.
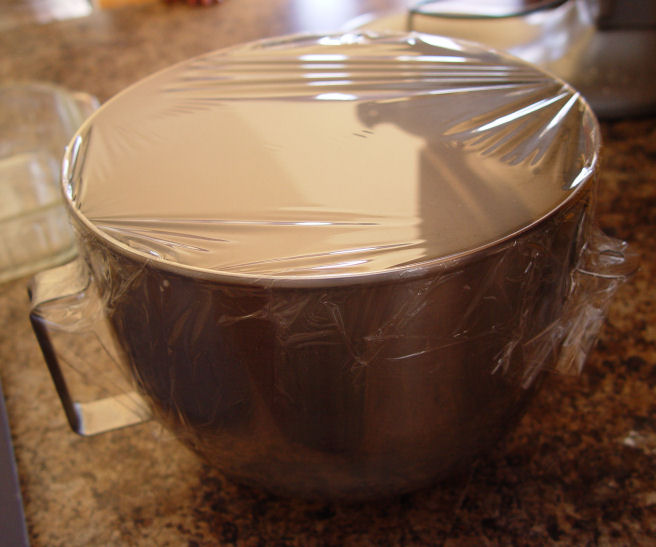
6. Cover with plastic wrap and let sit for 5 minutes. You need the plastic wrap to trap the heat.
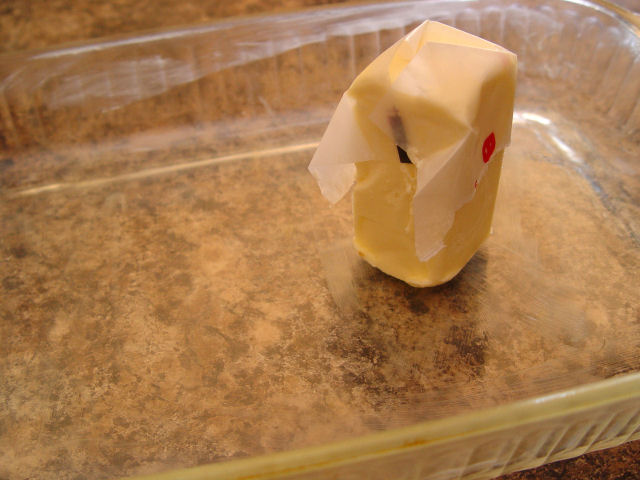
7. Take a bit of butter and coat the inside of a 9×13 pan.
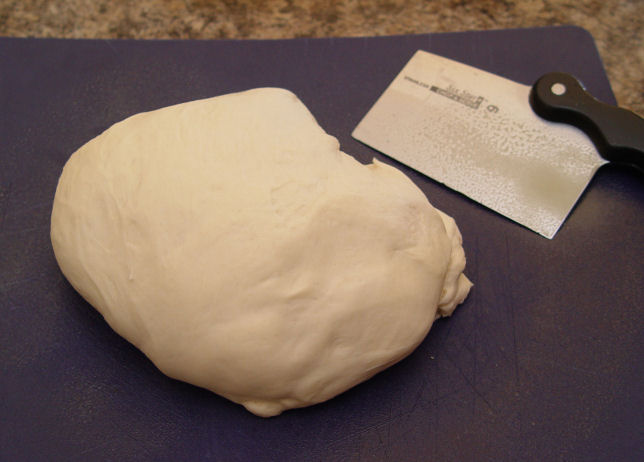
8. Spray your counter, or a cutting board with cooking spray. Lay your dough on top of it.
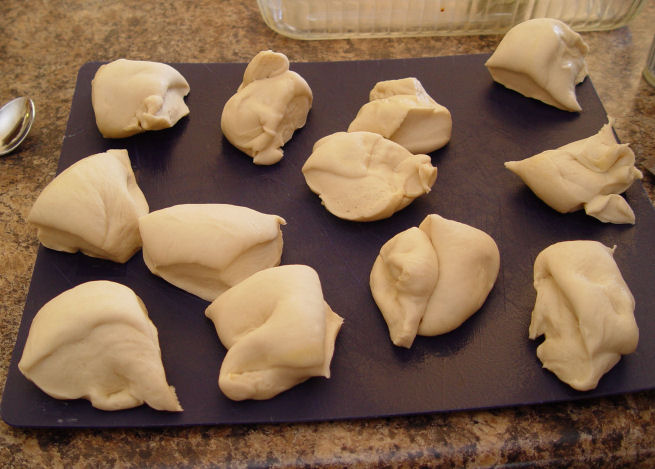
9. Take a sharp knife, spray it with cooking spray and cut your dough into 12 pieces. Make them as equal as you can….perfection is not necessary. What a relief.
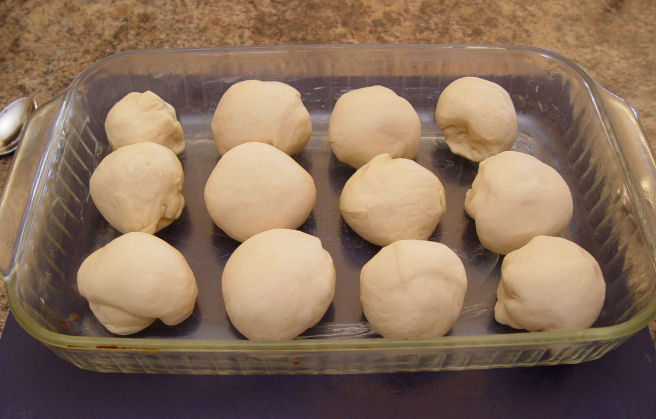
10. Gently round them into balls, and put them in your buttered 9×13 pan.
11. Put the pan into your warm 170 degree oven. Let them rise for about 20 minutes or until they have risen an 1 inch above the rim of the pan.
12. Leave your pan in the oven and turn the heat up to 350 degrees. Bake for 15 minutes. The 15 minutes includes the time it takes the oven to increase in temperature. If your oven takes a long old time….you will of course need to increase the time baking. Bake until golden brown.
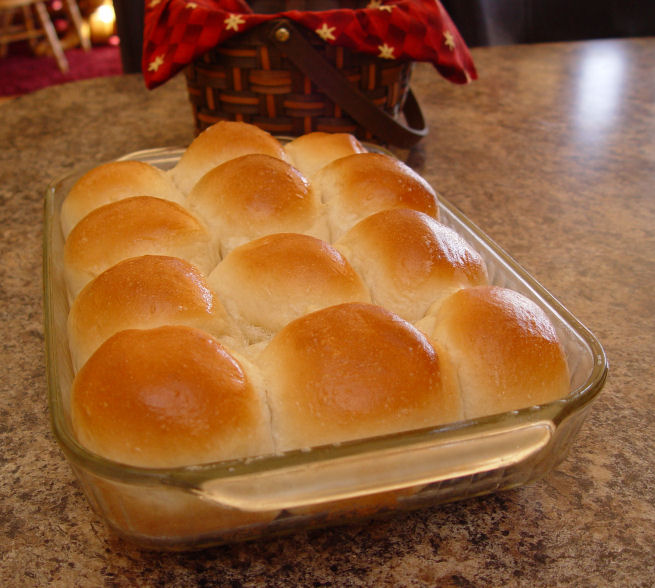
13. Brush with a little softened butter.

Ingredients
- 3/4 C milk
- 4 Tb butter
- 3/4 C hot water
- 4 Tb sugar
- 1 tsp salt
- 4 - 4 1/2 C flour
- 1 heaping Tb yeast (I use active dry)
Instructions
1. Pour your milk into a microwave safe container. These Pyrex glass measuring cups work fabulously. Add your butter to the milk and put it in the microwave for 1 1/2 minutes.
2. Preheat your oven to 170 degrees. While the milk is getting nice and toasty, turn on the tap to get your hot water. Temperature is important to making these rolls rise quickly. If you add cold water, your rolls will are going to rise at a snails pace, and you'll feel like cursing. We wouldn't want that kind of thing going on....so please add hot water. I put my hand in the water to test it. You want it to be almost too hot to put your hand in.
3. Put your milk/butter and hot water in the bottom of your Kitchen Aid Mixer. Add the sugar and salt. Then add 2 C of the flour...let it mix for 1 minute.
4. Add the yeast. Turn the mixer on and add the rest of the flour 1 C at a time.
5. You have enough flour when the dough scrapes the side of the bowl clean. Mix on medium speed for 5 minutes.
6. Cover with plastic wrap and let sit for 5 minutes. You need the plastic wrap to trap the heat.
7. Take a bit of butter and coat the inside of a 9x13 pan.
8. Spray your counter, or a cutting board with cooking spray. Lay your dough on top of it.
9. Take a sharp knife, spray it with cooking spray and cut your dough into 12 pieces. Make them as equal as you can....perfection is not necessary. What a relief.
10. Gently round them into balls, and put them in your buttered 9x13 pan.
11. Put the pan into your warm 170 degree oven. Let them rise for about 20 minutes or until they have risen an 1 inch above the rim of the pan.
12. Leave your pan in the oven and turn the heat up to 350 degrees. Bake for 15 minutes. The 15 minutes includes the time it takes the oven to increase in temperature. If your oven takes a long old time....you will of course need to increase the time baking. Bake until golden brown.
12. Leave your pan in the oven and turn the heat up to 350 degrees. Bake for 15 minutes. The 15 minutes includes the time it takes the oven to increase in temperature. If your oven takes a long old time....you will of course need to increase the time baking. Bake until golden brown.
13. Brush with a little softened butter.
Recipe from Jamie Cooks It Up!



Hi there! Can’t wait to give this recipe a go.. can you tell me if they freeze well?
Hi Jamie!
I wanted to make these for Thanksgiving, but wanted to do it a day ahead because I won’t have time the day of. Can I refrigerate them and make the next day? After which step do I put in the fridge, for up to how long can I keep in fridge, and how long do I keep at room temp before putting in the oven the next day? Thanks for your input!!
Hi Ashley,
Thanks for your question. This recipe isn’t designed to keep in the fridge. Your dough will continue to rise, leaving you with a big mess. I do, however have a frozen roll dough recipe that I would recommend to you. It really helps save time the day of. Here it is…
https://jamiecooksitup.net/2011/11/butterflake-frozen-roll-dough/
Best of luck to you!
~Jamie
I just made these and put them in the oven. My yeast never completely resolved and we’re still in my dough. Is this a problem. I’ve never used a recipes that didn’t call to desolve the yeast. Thanks ?
I have been trying to learn how to make bread with poor results for a long time now. I found this recipe on Thanksgiving Day and tried it as my final attempt at having decent Thanksgiving rolls. They were AMAZING. The pictures help a lot especially for someone like me who never even touched yeast until two years ago. They came out perfectly. Thanksgiving was a week ago and my husband just asked today if we could have rolls with dinner tonight “using that good recipe you found.”
I have never been great with cooking but I suddenly feel like Martha Stewart or something. Thank you!!!
Hi Paige,
I’m so happy to hear the rolls have turned out well for you. Thanks so much for letting me know!
Best,
~Jamie
My go to recipe! Perfect every time! They smell and taste like a bakery roll! Thank you so much for sharing Jamie! By the way my daughter’s name is Jaime???
The receipt just says flour, all-purpose flour or bread flour? Thanks, Denise
Hi Denise,
All-Purpose flour will work great. Good luck to you!
~Jamie
how does the yeast dissolve in milk water butter 2 c flour?
Hey! I have made these rolls several times and now have to make them every Holiday for the family….They always go fast, can I double the recipe?
Can I substitute almond or soy milk for the milk? I made these a long time ago and loved them. I’m craving a buttery roll but only have almond milk.
This recipe was awesome! I always want to bake amazing bread and rolls, but my reality is that I don’t love doing it and results are often underwhelming. These were perfect and easy!!!