This post may contain affiliate links. Please read our disclosure policy.
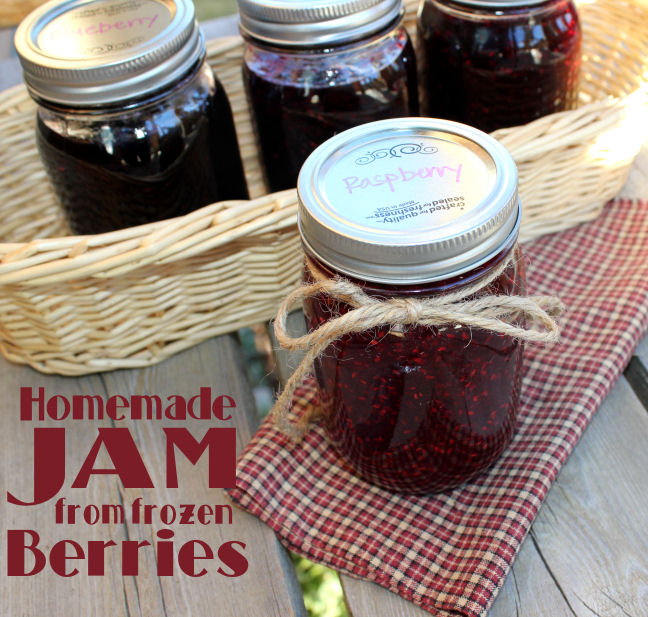
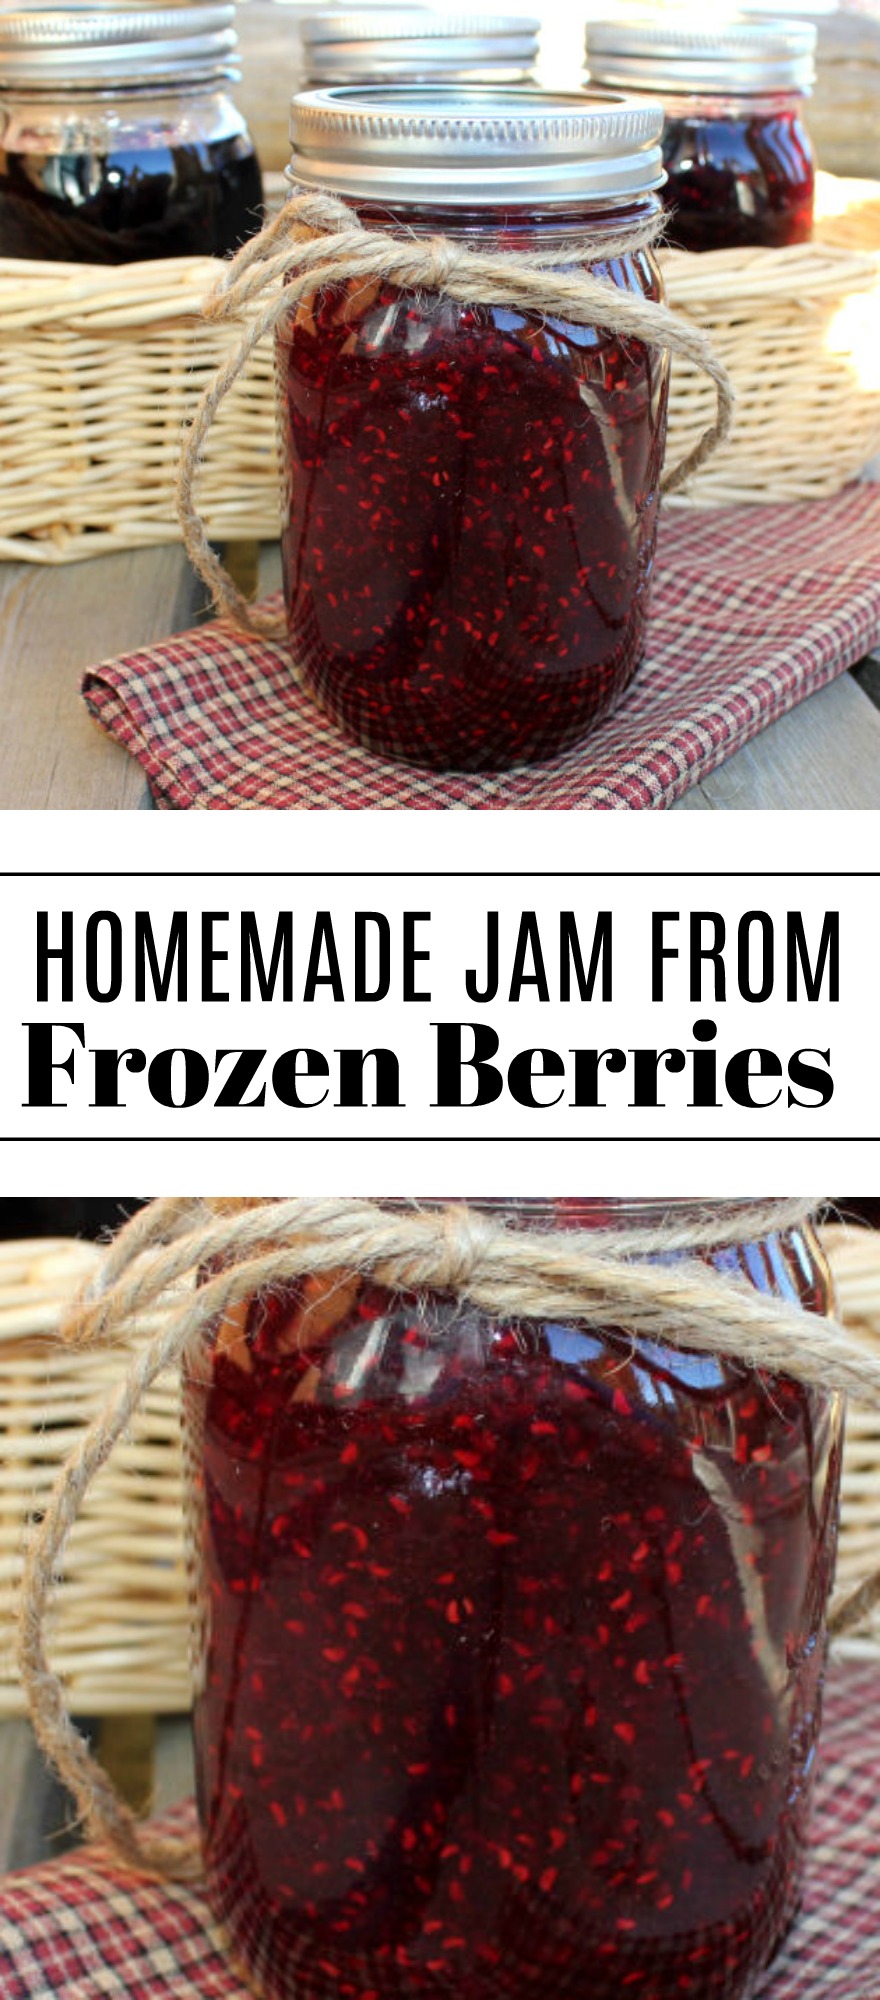
Homemade jam has to be one of my all time favorite things to make. I love the way my house smells when I make it. I love the beautiful bright color of the jam. I love stacking jars and jars of it in my pantry. And most of all…baby. I love the taste. There really is no comparison between homemade jam and store purchased jam, am I right!
I made a bunch of jam yesterday, and thought you might enjoy seeing a little tutorial in case you want to make homemade jam a reality in your life. I am aware that it is the middle of October and fresh berries are hard to come by. I have had a lot of success using frozen raspberries, blueberries and marionberries for jam. (Please don’t use frozen strawberries). Which means, you don’t have to wait for prime berry season to make heavenly jam. Frozen berries work just as well.
There are a lot of methods around for making jam. There is Freezer Jam, Cooked Jam and Really Quick/Easy Jam, just to name a few. I prefer the Cooked Jam method, mostly because that’s what I grew up with. I have mentioned to you all in the past that my late Grandma made the most delightful cooked raspberry jam ever to walk the planet. Why would I want to mess with perfection! And so, her method is my method. The tips and tricks I share in this post come straight from her experience of making jam for decades upon decades. She most often used raspberries from her garden that she stored in the freezer until she had enough to do a batch of jam.
If you have any tips or advice for making jam, I would love for you to leave them in the comment section at the bottom of the post.

SUPPLIES NEEDED:
Frozen Raspberries, Blueberries or Marionberries
***NOTE: I do not recommend using frozen strawberries. I have made jam with frozen strawberries before, without much success. However, several readers have informed me they use frozen strawberries with fabulous results. Perhaps I will try it agian and see if I can do better next time. 🙂 ***
Pectin
Jars (I buy regular mouth, pint-sized jars)
Lids
Rings
Sugar
Butter

1. Lay your berries out to thaw. I purchased my berries at Costco in a triple berry medley bag, and then separated them out. I purchased three 5 pound bags which gave me enough berries for 5 batches of jam, about 19 pints worth. Now, don’t leave your berries out for hours and hours to thaw. I like them to still be a little bit cold when I put them into the jam making pot. I generally lay them out to thaw and then get my jars washed, dried and ready to go. Once my jars are ready the berries have thawed enough to start using them. The longer they sit, the more juice they lose and this can affect the thickening process. All told I was able to make all 5 batches in about 2 1/2 hours. The last batch of berries used were getting pretty juicy, but it still turned out well. Also, please note that mixed berry jam is wonderful as well if you would like to skip the sorting step and keep your berries mixed.

2. Find yourself some pectin.

Open it up and along with the actual pectin, you will find a chart that tells you exactly how much fruit and how much sugar you will need for each batch. I have found there to be several different brands of pectin available and each one varies a bit as to how much fruit and sugar to use. So, it is best if you read the specific recipe that comes with the pectin you end up purchasing. However, just for reference, I will list the increments I used for each kind of fruit so you can get an idea of about how much fruit and sugar you need to buy.
Raspberry: (Makes 4 pints)
5 cups crushed raspberries
7 cups sugar
Blueberry: (Makes 3 pints)
4 cups crushed blueberries
4 cups sugar
Marionberry: (Makes 4 pints)
5 cups crushed marionberries
7 cups sugar

3. While your berries thaw, wash your jars in hot soapy water. Dry them well and set them aside.

4. Place your rings

and lids into a sauce pan and cover them with hot water. Please note that the rings may be re-used from year to year, but the lids can only be used once.

Put the sauce pan on the stove and let it come to a boil. Reduce the heat and let them simmer until you are ready to use them. Keeping them nice and hot really helps the lids to seal nicely once they are on the jars.

5. Measure out the appropriate amount of sugar you will need for the first batch. And let me just interject here, and inform you that as disappointing as it may seem…it isn’t a great idea to double the batches. It just doesn’t turn out as well and the jam won’t thicken up like you want it to. Then you will have wasted money and time and you might want to crawl under the kitchen table and hide for a day or two. Just stick with one batch at a time, ok? Power through, man. 🙂 Heavenly tasting jam is a just aroung the bend.

6. Measure out the correct amount of berries and place them in a large, heavy pot. If you are using raspberries or marionberries, just mash them up a bit with a potato masher. They are such delicate little beauties, it won’t take much to break them up. They will also come apart really quickly once they start to heat up, so if you skip the mashing step…it will be just fine.

However, if you are using blueberries it’s a good idea to blend them up before you place them in the pot. This helps the outer skin of each berry become incorporated into the jam. I find it handy to use an immersion blender, but you can use a regular blender as well.

7. Sprinkle the pectin over the top of the berries and stir it in with a large spoon. Turn the heat to high and stir the berries constantly until you have a hard boil. What in the wide world is a hard boil, you are wondering? A hard boil means that the mixture can hold a bubbling boil, even while you are stirring. Once this happens…

Quickly add the sugar to the pot and stir it in.

8. Continue stirring constantly while the mixture returns to a hard boil. Once the hard boil has been attained, let it boil away for 1 minute, stirring constantly. Now, if your jam starts to pop and explode and get really wild, just turn the heat off. Leave the pot on the burner and watch it to make sure it’s still boiling away. Once it has boiled for 1 minute, remove the pot from the heat.

9. Add 1 teaspoon of butter to the pot and stir it around until it’s melted and incorporated. The butter helps the jam stay glossy and eliminates foam.

10. Place a wide mouth funnel onto the top of a jar.

Dip a large measuring cup into the pot of hot jam and fill it up. Pour the hot jam into each jar. Do you like how I so nicely laid out some paper towels to catch any drips that might happen. Notice the drips…? Kind of missed the paper towel, didn’t I. Have I mentioned to you that I am a work in progress?

11. Take a damp paper towel, or dish rag and wipe off the rim of each jar. You want to be sure they are free from any of the sticky jam, so the lids will seal up nicely for you.

12. Place a lid on each jar and fasten it with a ring. Let the jars cool. It’s really important that the lids seal to the jars. (I don’t want you or your loved ones to be poisoned…please take heed.) You will hear a popping noise as the lids seal to the jars. This usually takes about 30 minutes to an hour after the jars have been filled. You can also tell if the jars have sealed by pressing your finger gently into the center of the lid. If the lid has any give to it, it has not made a seal. If the lid is firm, you are good to go. Generally, the jam is so hot that the lids will seal without needing to be processed in a water bath. I haven’t ever had any trouble with mine. We generally eat the jam within 4-6 months. However, if your lids don’t seal you will most definitely need to process them. I did a little searching on YouTube and found this tutorial on water bath canning to be helpful. If you should need it. 🙂
13. The jam will take about 24 hours to thicken up. Store it in a dark, cool spot. Once each jar is opened, please store it in the refrigerator.
Enjoy!


I found a recipe for chocolate Lavender raspberry jam by jennifer vasich and would like to incorporate the lavender/chocolate portion to your recipe. I wonder if it would work. Any ideas?
3 hours ago I made Cherry Triple Berry Jam following your tutorial. Thanks so much, It is already setting up and I know it will be a success! I used 3 bags of cherry triple berry mixed fruit from the freezer section at Trader Joe’s for a single batch (with 1 1/2 cups leftover that I refroze and will use for smoothies). I pulsed the frozen fruit in the food processor. Put it on the stove with one box of Sure Jell. Then added 7 cups of sugar according to your directions. I jarred up 12 half pint and 4 pint jars. I Then used the water bath method. Easy peasy. Thank you so much for this recipe. It is a keeper for sure.
can I use frozen rhubarb
I just made this with frozen mangos. “mango citrus jam” Steeped 2 TBS of cardomon pods in the juice of a few fresh lemons, limes and one big orange. strained it after 20 min and added it to the mango. Then followed your directions. Added the zest of the orange at the end before canning. Ta Da! Perfection.
Actually, you do not need to boil the rings at all. They just need to be clean (I run mine in the dishwasher with the jars if they have been used. The ring doesn’t come in contact with the jam at all.
So, I simmer the lids on the stove, not the rings.
I make raspberry jam ALL the time with bagged, frozen fruit. I got tired of buying expensive raspberries that were molded in the middle of the pack.
Hello, what changes would I need to make if I was mixing all three berries for a triple berry jam using sure jell? Hoping to make it today!
Sandy,
There are no alterations needed in order to mix the berries. Just read the package directions and use the amount of fruit required for raspberry jam. Best of luck to you!
~Jamie
Thank you for posting this. After 42 years living in the AZ desert, we’ve moved to where I can grow things. This property came with a raspberry patch and this year we’ve got a bunch! Of course, they don’t all ripen at once, so I was wondering about freezing them until there were enough to make a first attempt at jam. I do believe you’ve answered all the questions and I’m anxious to try this. Thank you for sharing your Grandmother’s recipe. I treasure my Grandmother’s recipes and I think we can learn so much from the “old ways”.
Can you make freezer jam with frozen strawberries and frozen rhubarb?
I am glad to know I am not the only one that doesn’t process the jars after making jam! I helped my mother-in-law make peach jam a few years ago and we did not process the jars. She was about 70 years old at the time. I was concerned about spoilage but it never happened. I figured if she had been canning with her mother since she was a little girl and none of them got sick or died then we should be ok! So, I don’t process my jars and have never had a spoilage problem. I do put my jars and lids in a hot water bath before I put the hot jelly in and then after they are tight I turn them upside down because that is what she did. I don’t know the purpose of turning them upside down.
made this jam with frozen raspberries with my 11 year old son for a 4-H project. turned out great. He did everything except pouring hot jam in jars. have 2 more bags in freezer so will make this recipe again