This post may contain affiliate links. Please read our disclosure policy.

Last year during November I recieved a lot of emails and comments full of ROLL questions. How could a person make them on Thanksgiving Day without taking up so much TIME and oven space, would they be good made the day before, would it be possible to freeze the dough and would it be possible for the government to end the war and get us out of this recession.
I can’t do much with that last question my friends…but my mind has been thinking and pondering and wondering how we might solve this Thanksgiving Roll dilemma.
Since I have no idea how to improve the government.
Since I have no idea how to improve the government.
When I was growing up my mother frequently purchased some amazing frozen roll dough from a local bakery. The dough was stored in the freezer, then set out on the counter in muffin tins to rise for several hours, then baked. I remember them being absolutely fabulous, light, fluffy, buttery and wonderful.
I’m pretty sure I also remember a certain younger sibling eating my roll right off my dinner plate, while I wasn’t looking.
You know who you are. 🙂
Anyhow…to make a long story short!
You know who you are. 🙂
Anyhow…to make a long story short!
I have been working on a recipe for homemade frozen roll dough for a while now…eager to make sure it was just perfect before I posted. And I can assure you….
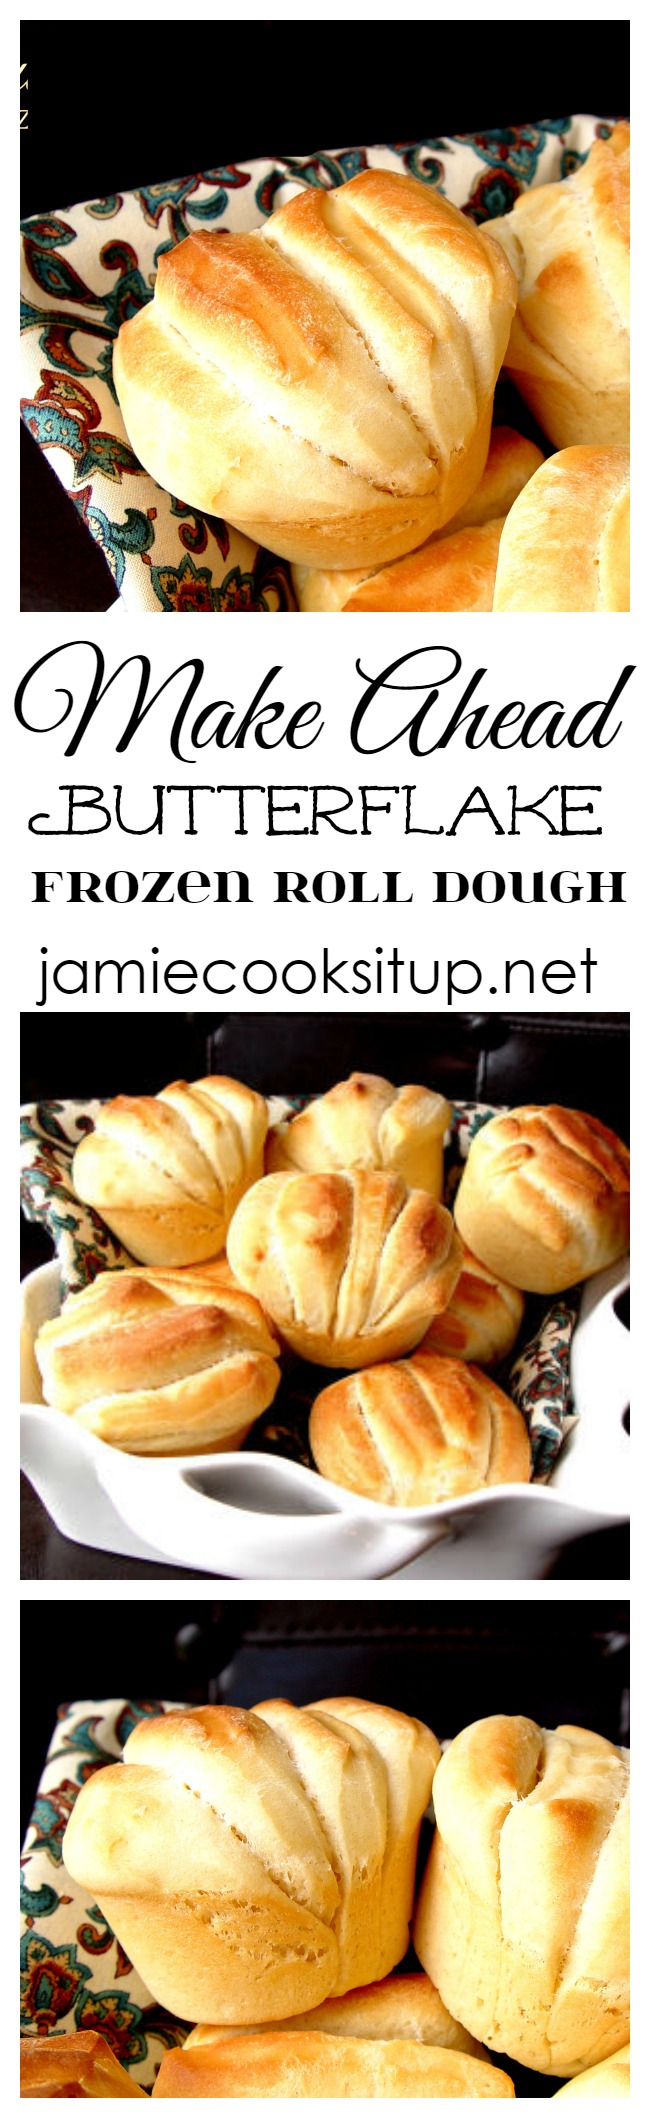
These rolls are wonderful.
The dough only takes about 20 minutes to make.
Freezing the dough is a must…the rolls don’t turn out as fluffy and heavenly if the dough hasn’t been frozen. (Go figure, right?)
It makes 24 rolls, but can be doubled if need be.
It doesn’t have to be Thanksgiving for you to enjoy these rolls.
They work fabulously well on a Sunday or a Monday or a MotherIsImprovingHerMentalHealthByRestingDay.
Just take the roll dough out of the freezer,
let it hang out for several hours…and bake.
Martha Stewart would be so proud!
Let’s make them!

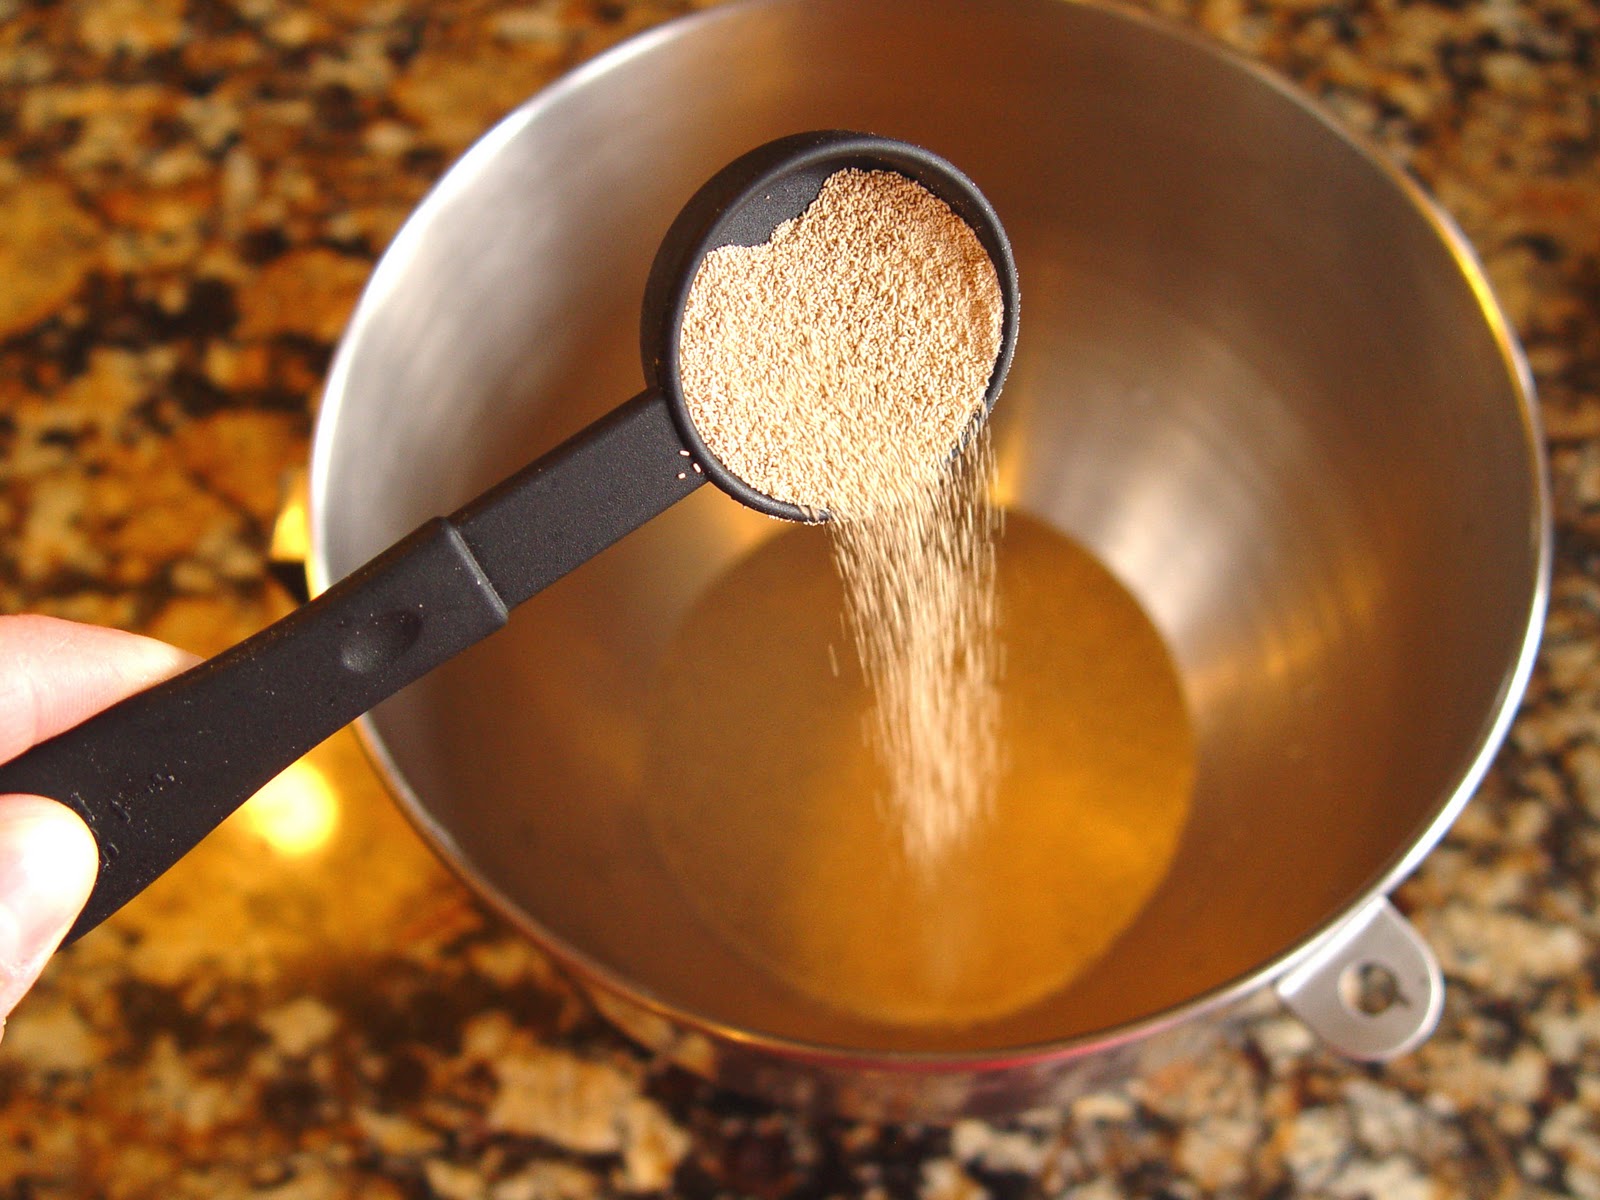
1. Pour the warm water into the bottom of your stand mixer and pour the yeast over the top.

2. Add the 1/2 t of sugar and stir the mixture around a bit, allowing the yeast and sugar to dissolve.
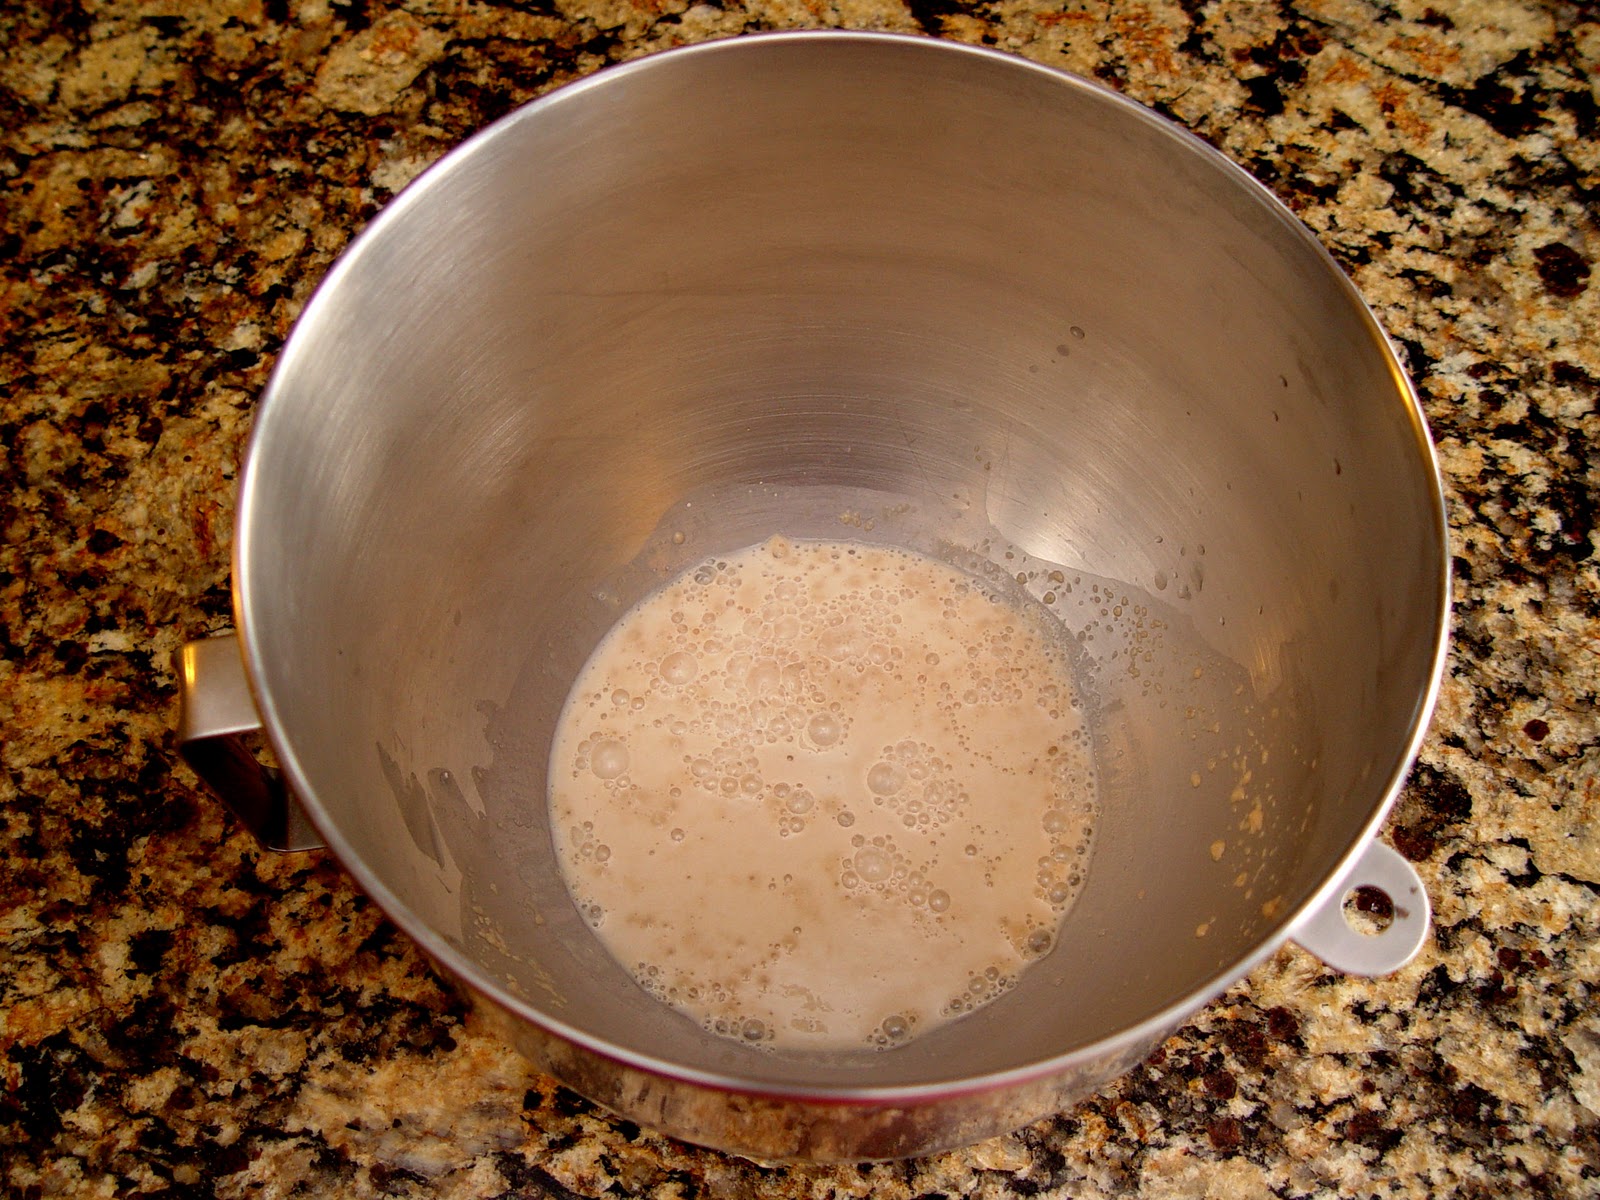
3. Let the mixture sit for five minutes, or until it starts to bubble up a bit.

4. Add two cups of the flour,

the salt

the sugar
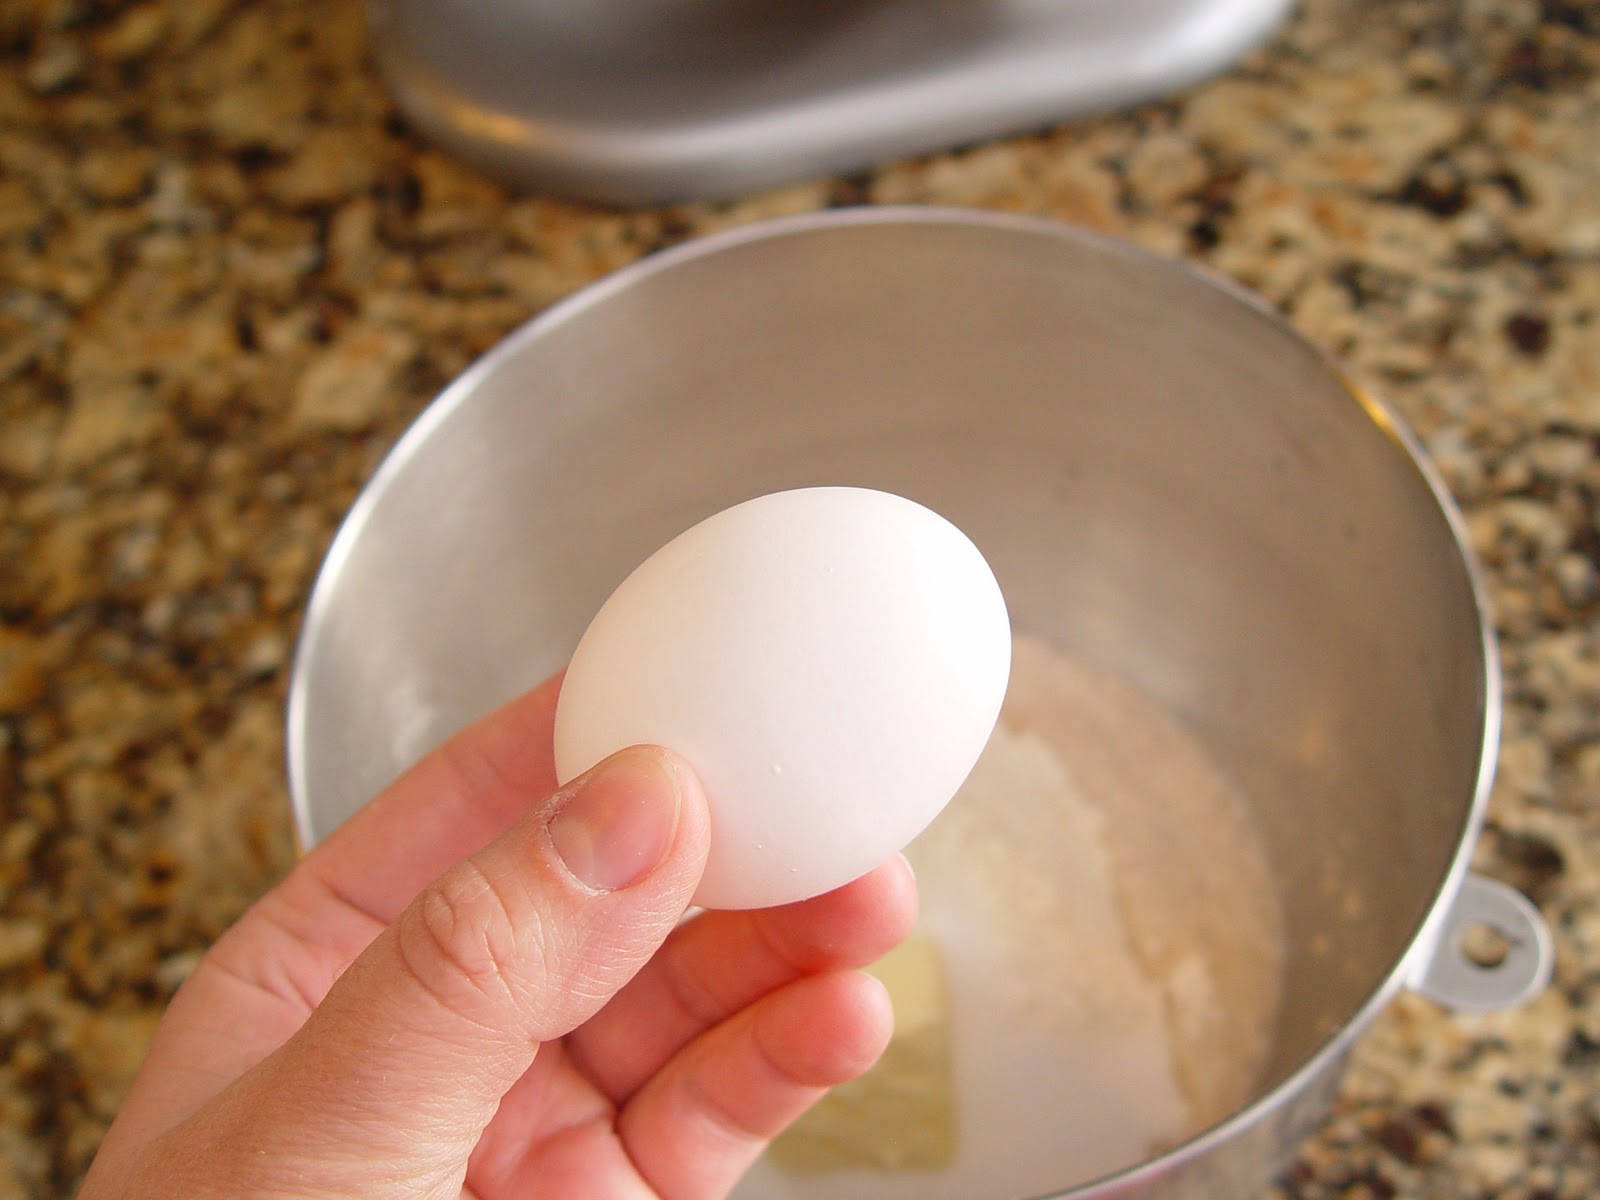
the eggs

and 4 T of the softened butter.
5. Let the dough mix for about 1 minute.

6. Heat your milk in the microwave for 1 minute and pour it into the mixer.
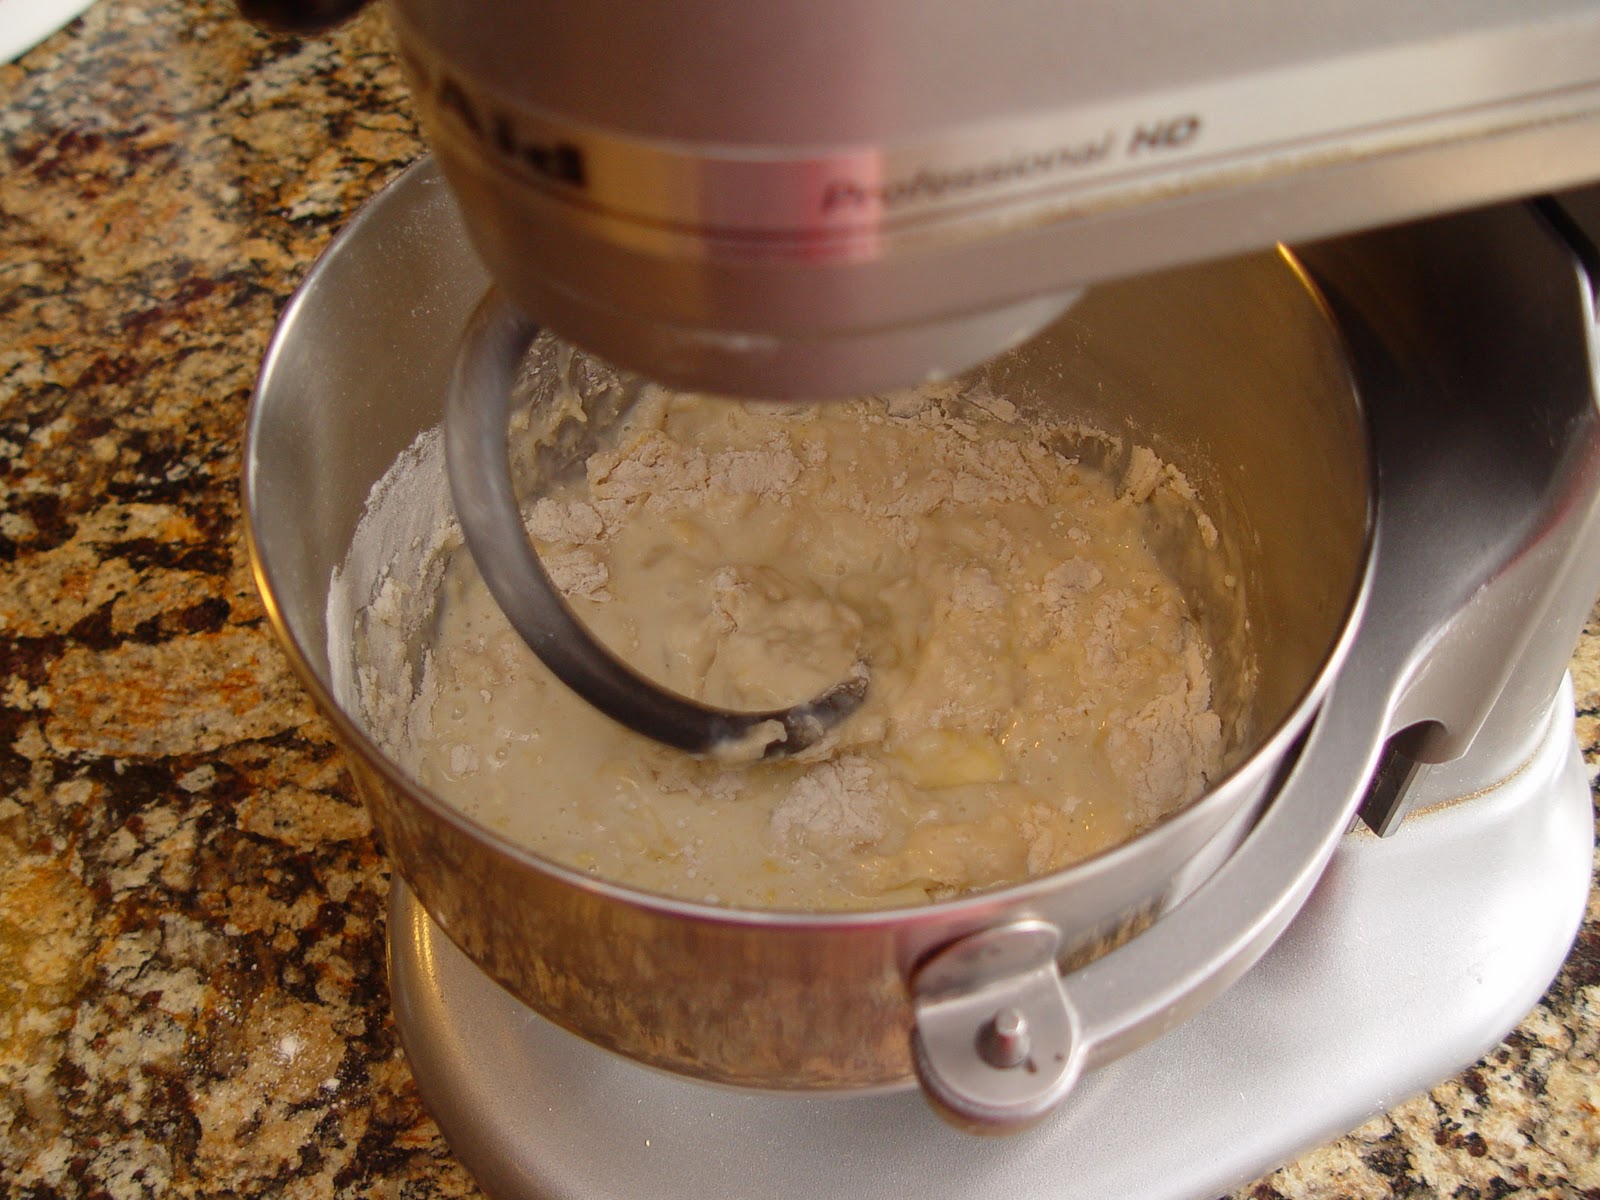
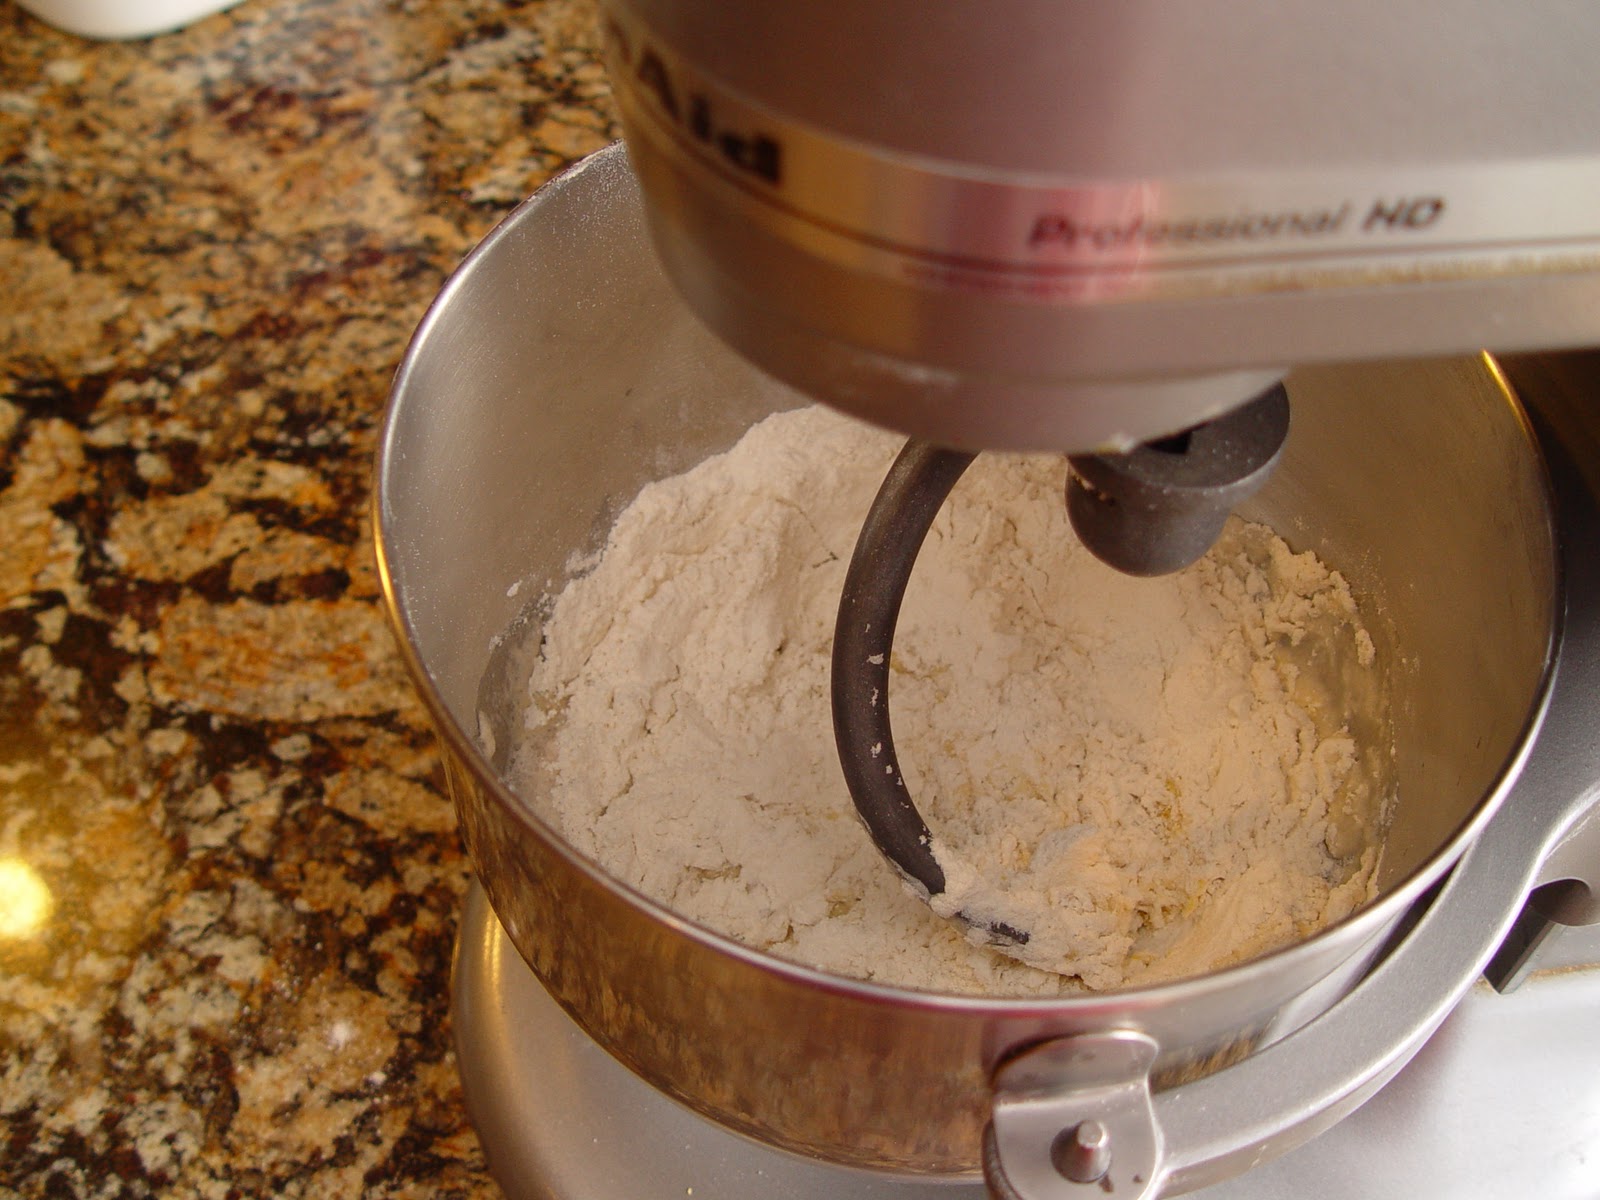
7. Turn the mixer on and add the rest of the flour one cup at a time.

You will know that you have enough flour when the dough pulls itself away from the sides of your mixer.
8. Once you have enough flour let the dough mix on medium speed for 5 minutes.
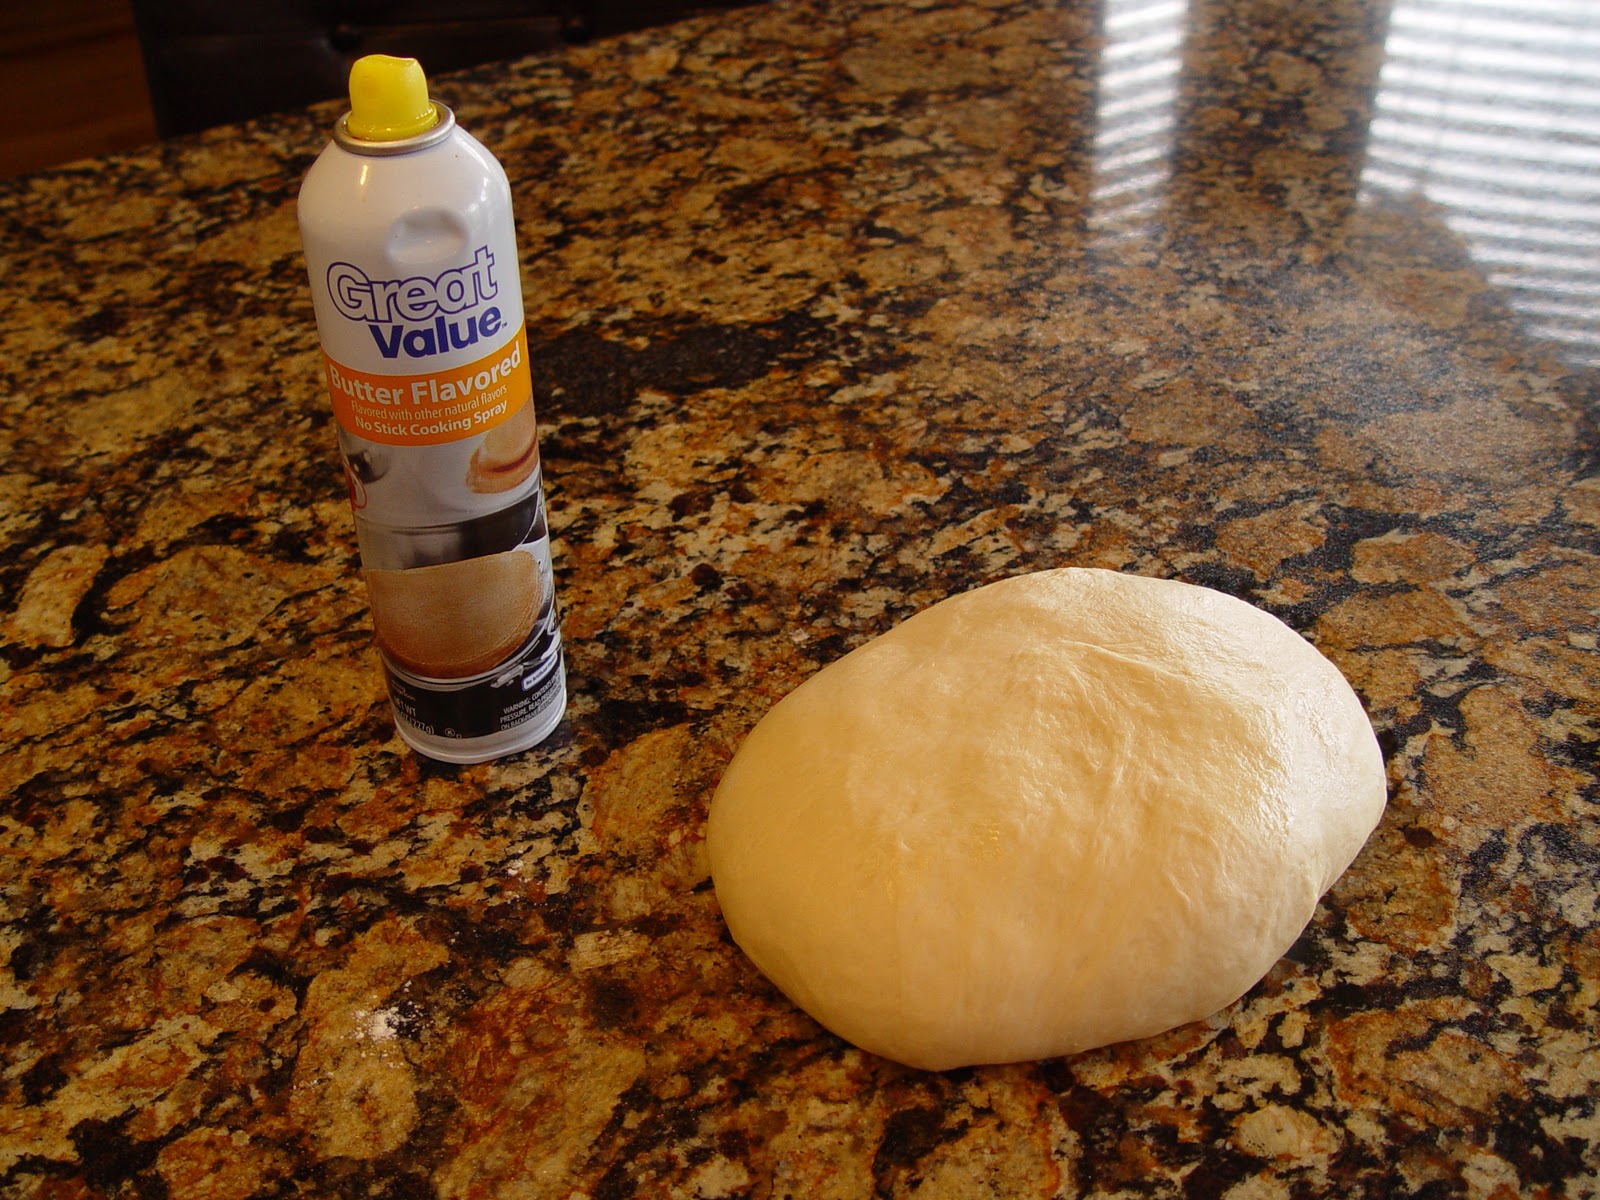
9. Spray a large portion of your counter with cooking spray and set the dough onto it. Shape the dough into an oval. Let it rest for 5 minutes. This part is important…you won’t be able to roll the dough out well if it hasn’t had a chance to sit.

10. Roll the dough into a large rectangle.

11. Spread the remaining butter over the top.

12. With a pizza cutter, cut the dough into quarters.
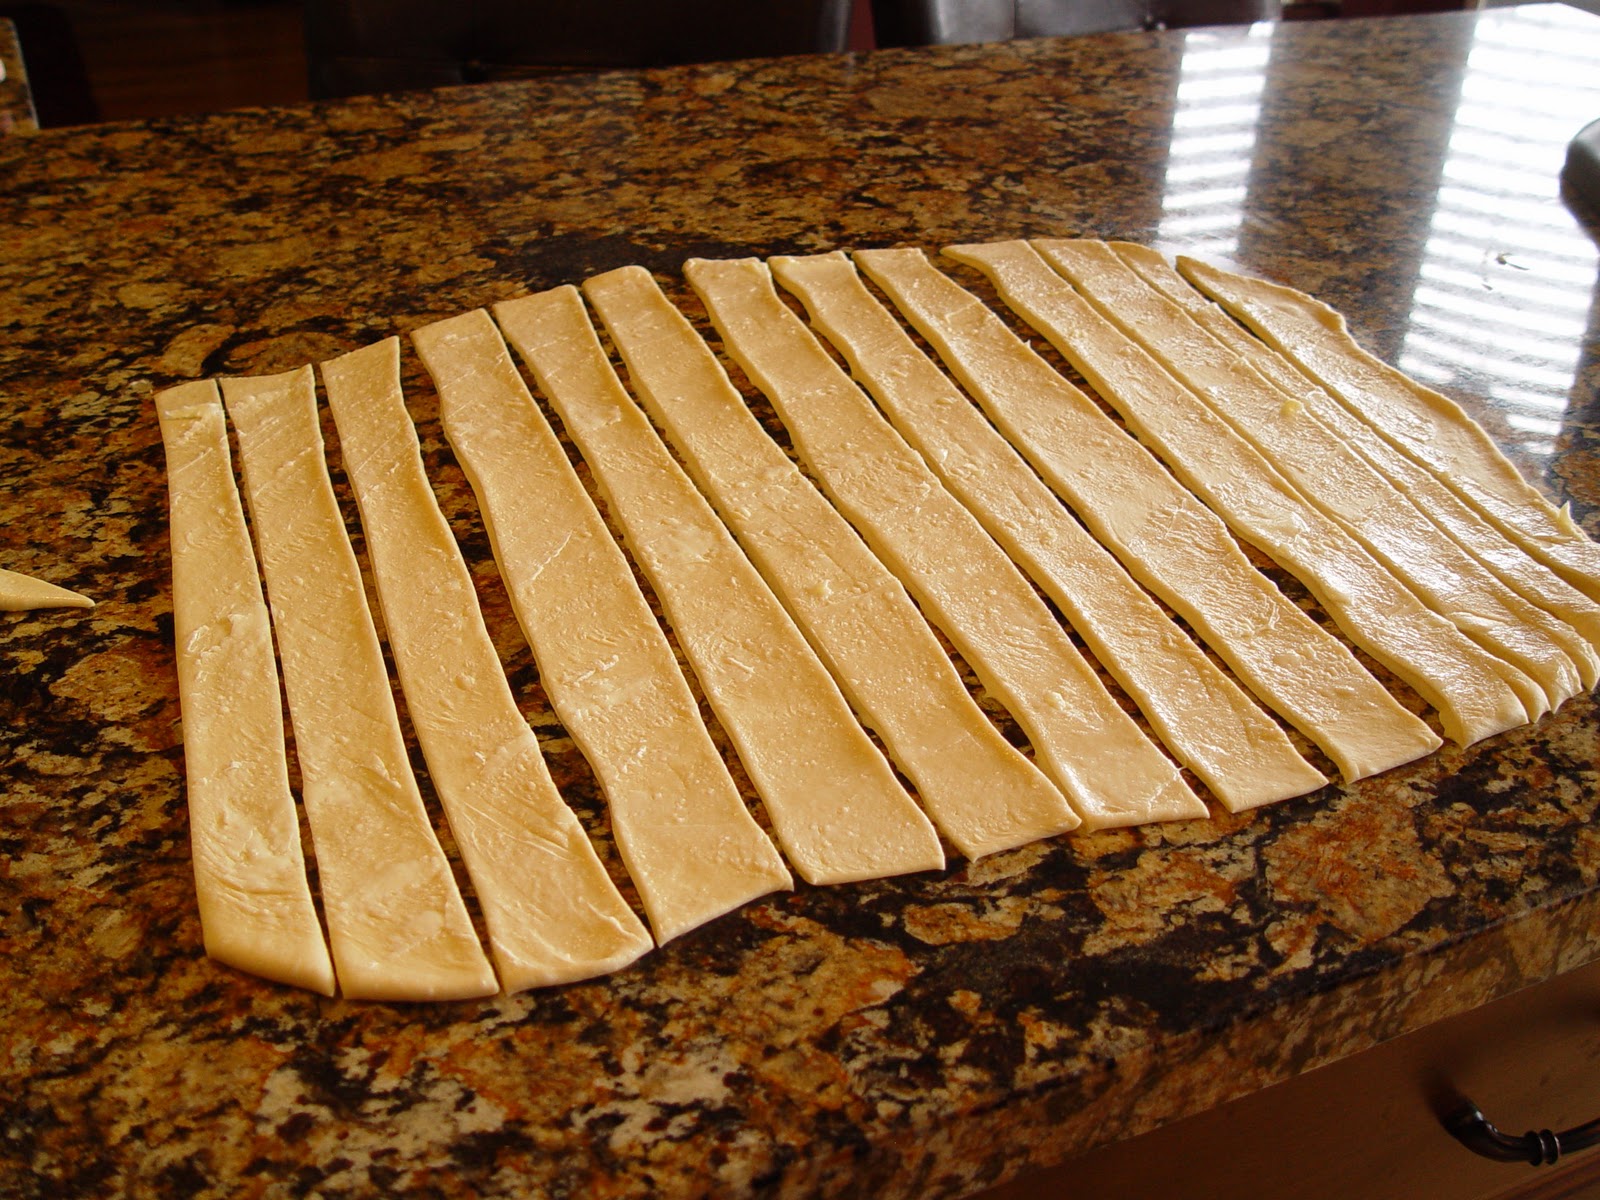
13. Cut each quarter into thirds.
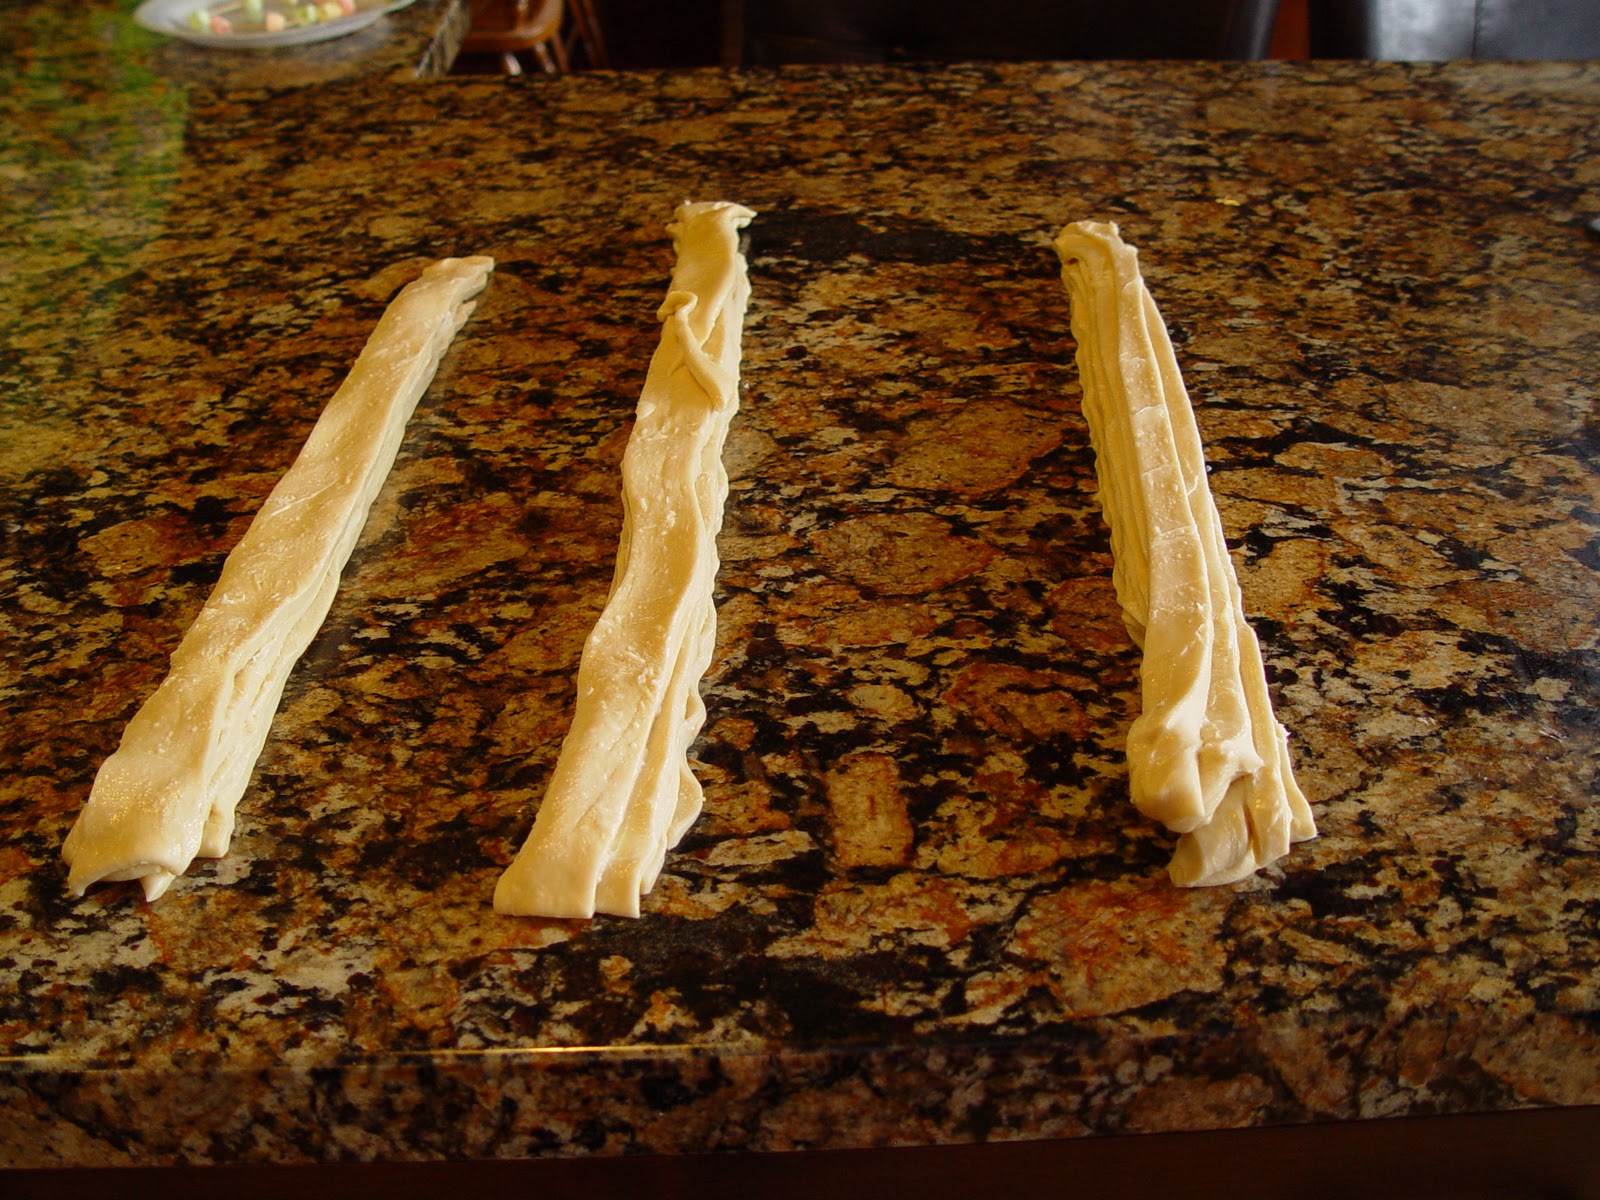
14. Stack the strips four deep.
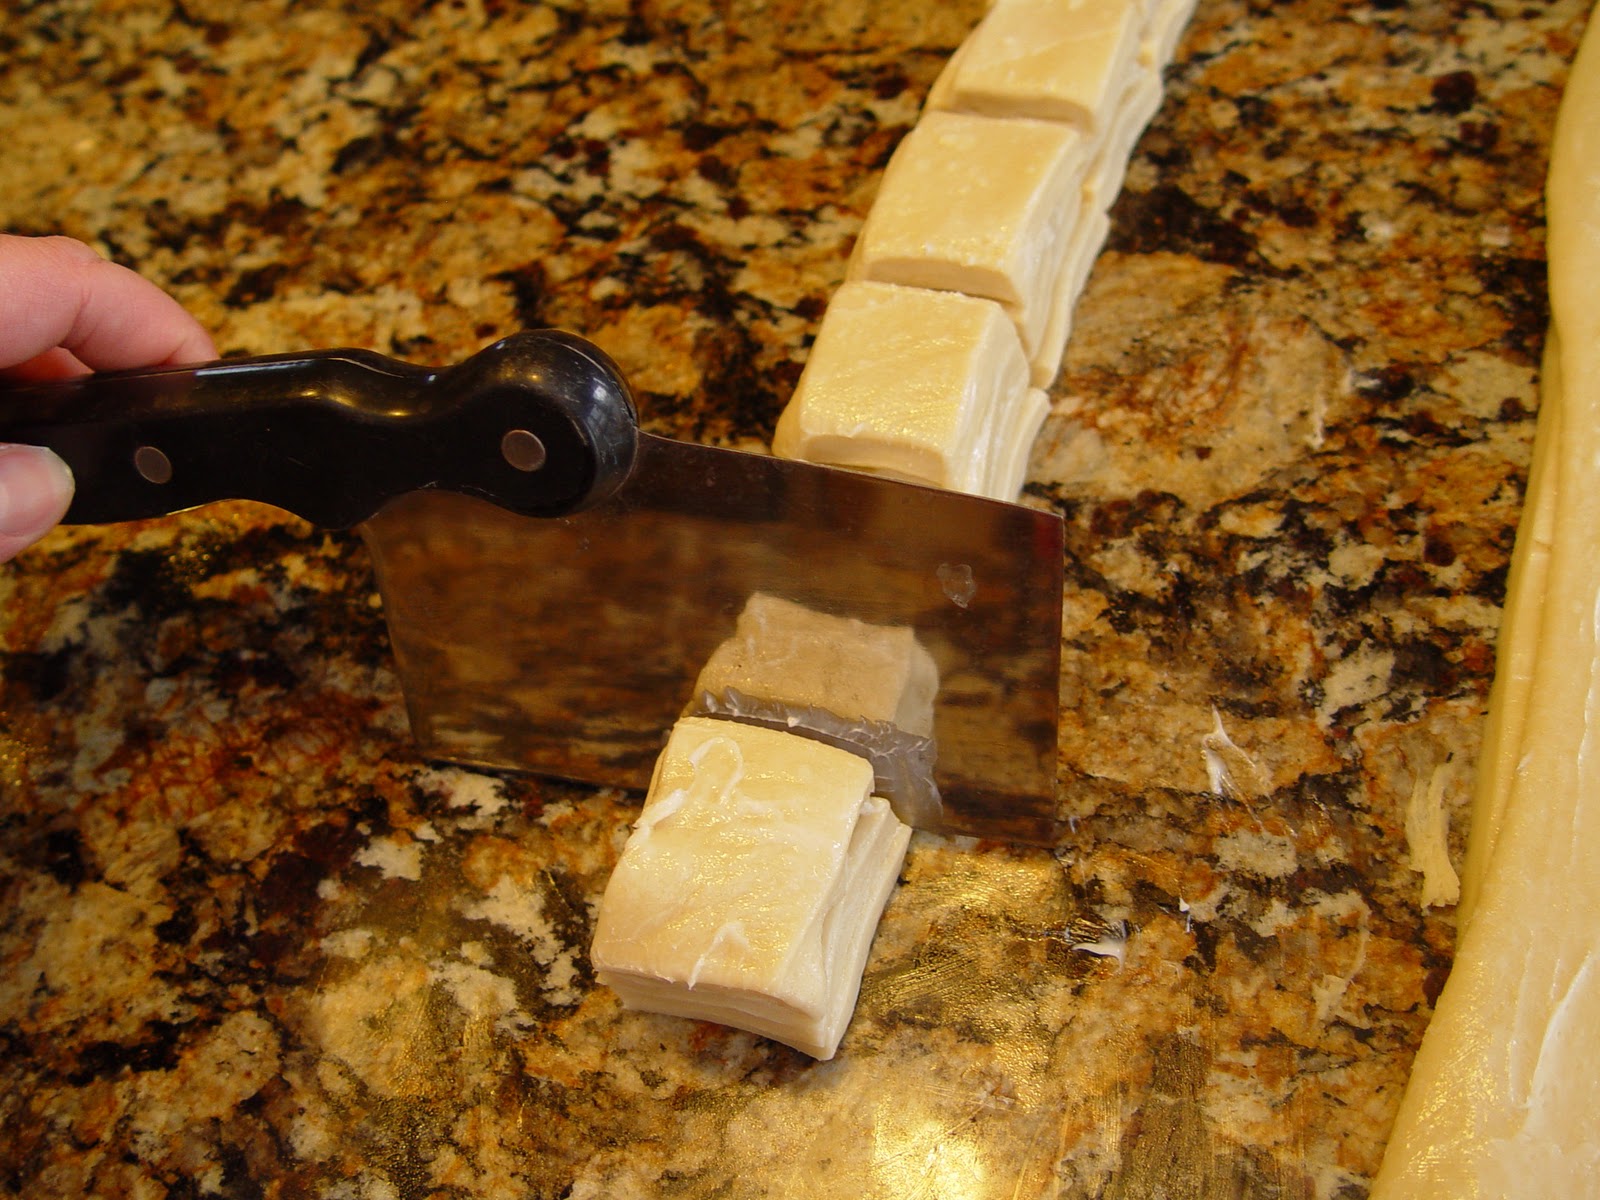
15. Cut the stacks into chunks about 2 inches wide.
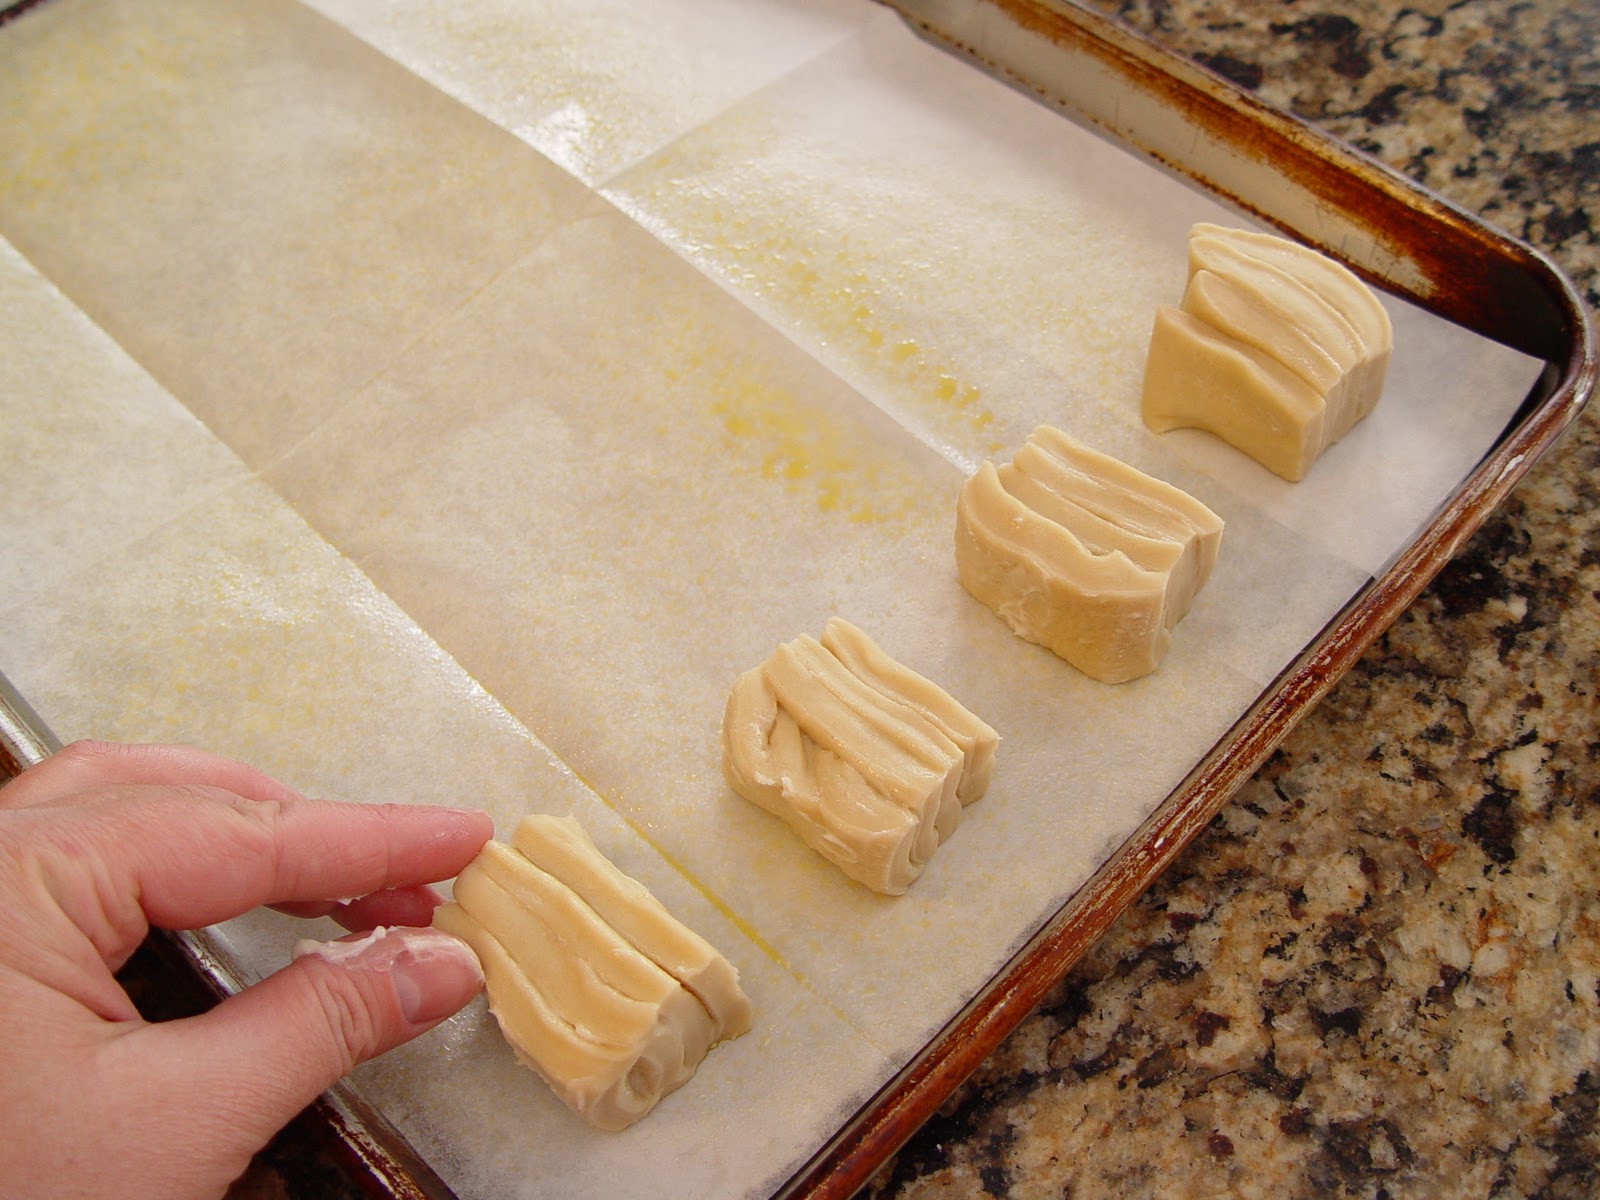
16. Place a piece of parchment paper onto a large jelly roll pan, and spray it with cooking spray. Set each little roll onto the parchment.

17. Cover loosely with plastic wrap. Spray the top of the wrap with cooking spray…
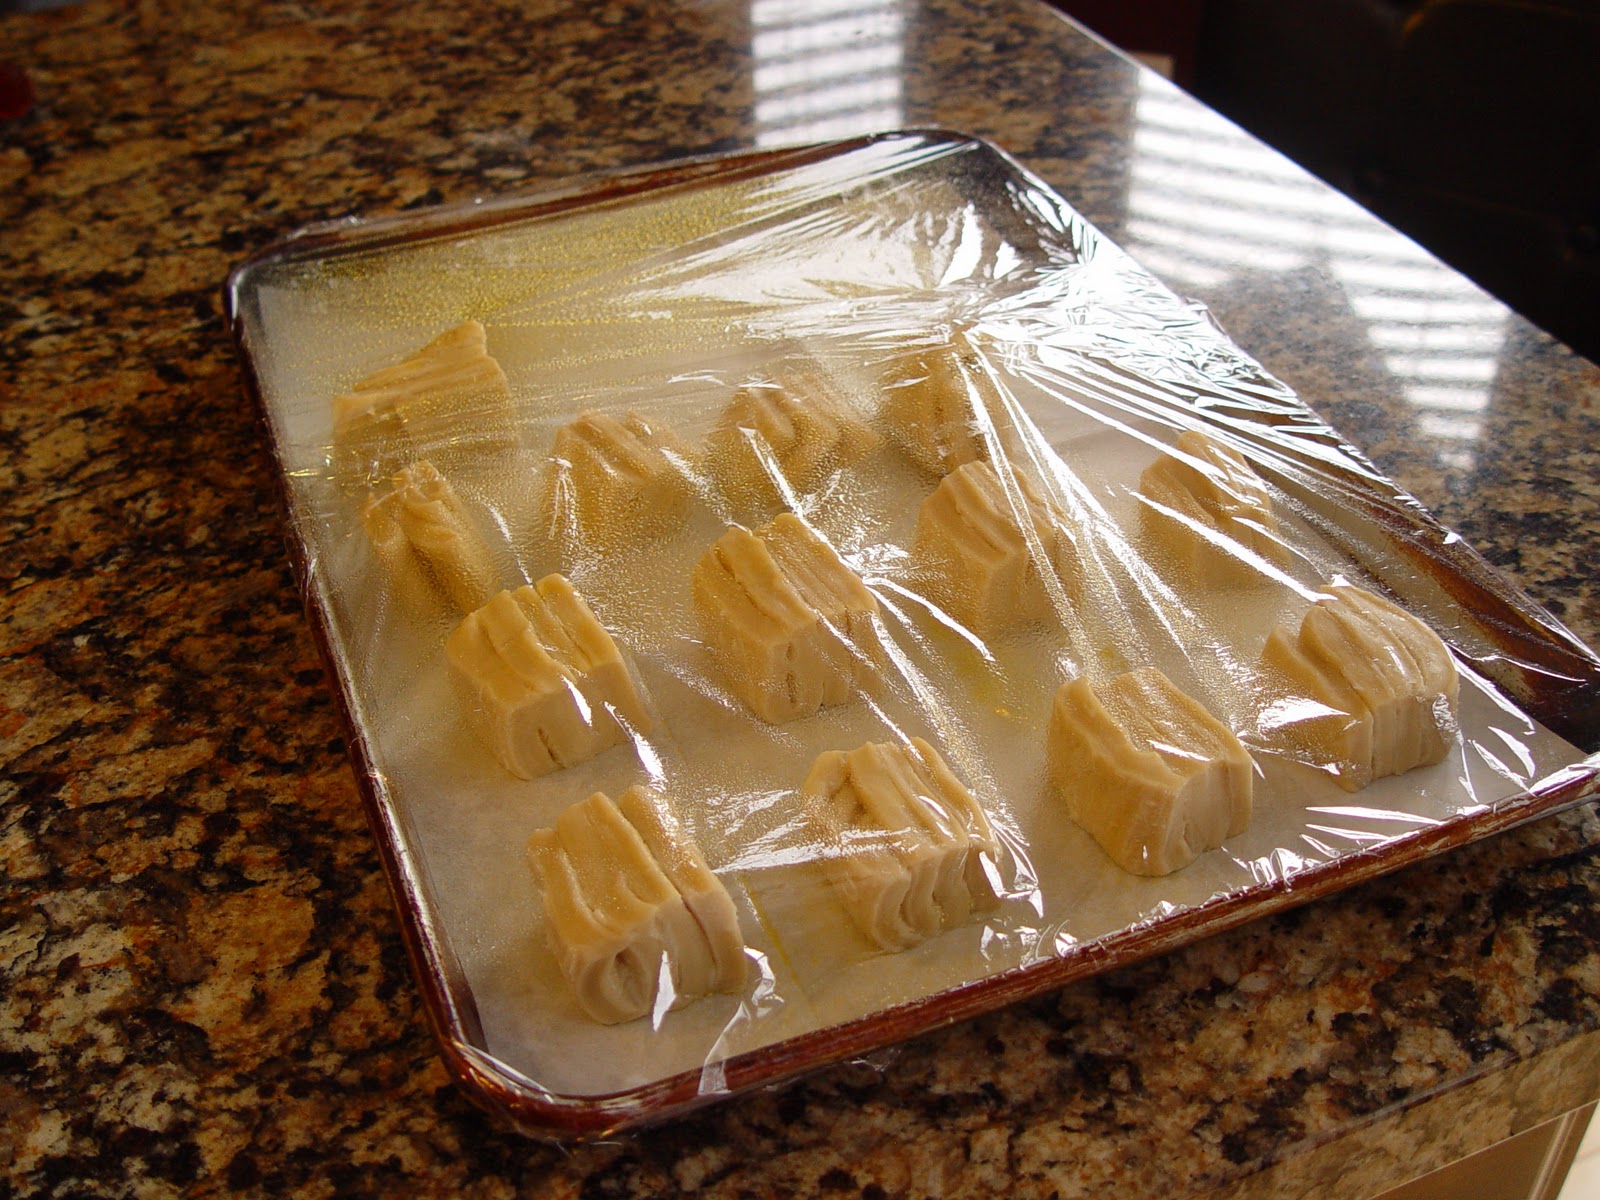
then carefully turn it over so that the side you sprayed is touching the dough and wrap the pan securely.
18. Put the pan in your freezer overnight.

19. Once the roll dough is frozen you can remove them from the pan and place them in a freezer safe Ziploc bag, and then store it back in the freezer.

20. When you are ready to use the dough, place as many rolls as you need in muffin tins that have been sprayed with cooking spray. Cover loosely with plastic wrap..spray the top of the wrap with cooking spray and then carefully turn it over so the side with the spray is touching the dough.
21. Let the dough rise for about 3-5 hours.

or until the dough has risen about 1 inch above the rim of the pan. The dough will rise faster if kept in a warm place.
22. Take the plastic wrap off and bake at 350 degrees for 15 minutes of until golden brown.
Enjoy!!!!

Pinterest friendly image below…
Ingredients
- 2/3 C warm water
- 1 T yeast (I use active dry)
- 1/2 t sugar
- 4 1/2-5 C flour
- 2 t salt
- 1/4 C sugar
- 2 eggs
- 1/2 C butter, softened
- 1 C milk
Instructions
1. Pour the warm water into the bottom of your stand mixer and pour the yeast over the top.
2. Add the 1/2 t of sugar and stir the mixture around a bit, allowing the yeast and sugar to dissolve.
3. Let the mixture sit for five minutes, or until it starts to bubble up a bit.
4. Add two cups of the flour, the salt, the sugar, the eggs and 4 T of the softened butter.
5. Let the dough mix for about 1 minute.
6. Heat your milk in the microwave for 1 minute and pour it into the mixer.
7. Turn the mixer on and add the rest of the flour one cup at a time. You will know that you have enough flour when the dough pulls itself away from the sides of your mixer.
8. Once you have enough flour let the dough mix on medium speed for 5 minutes.
9. Spray a large portion of your counter with cooking spray and set the dough onto it. Shape the dough into an oval. Let it rest for 5 minutes. This part is important...you won't be able to roll the dough out well if it hasn't had a chance to sit.
10. Roll the dough into a large rectangle.
11. Spread the remaining butter over the top.
12. With a pizza cutter, cut the dough into quarters.
13. Cut each quarter into thirds.
14. Stack the strips four deep.
15. Cut the stacks into chunks about 2 inches wide.
16. Place a piece of parchment paper onto a large jelly roll pan, and spray it with cooking spray. Set each little roll onto the parchment.
17. Cover loosely with plastic wrap. Spray the top of the wrap with cooking spray then carefully turn it over so that the side you sprayed is touching the dough and wrap the pan securely.
18. Put the pan in your freezer overnight.
19. Once the roll dough is frozen you can remove them from the pan and place them in a freezer safe Ziploc bag, and then store it back in the freezer.
20. When you are ready to use the dough, place as many rolls as you need in muffin tins that have been sprayed with cooking spray. Cover loosely with plastic wrap..spray the top of the wrap with cooking spray and then carefully turn it over so the side with the spray is touching the dough.
21. Let the dough rise for about 3-5 hours, or until the dough has risen about 1 inch above the rim of the pan. The dough will rise faster if kept in a warm place.
22. Take the plastic wrap off and bake at 350 degrees for 15 minutes of until golden brown.
22. Take the plastic wrap off and bake at 350 degrees for 15 minutes of until golden brown.
Enjoy!!!!


So, I made these puppies for Thanksgiving today and I have to say they were the most delicious rolls I've ever made!! I was a little worried at first because I had a lot of trouble with the rolling out, stacking and cutting of the rolls yesterday (my dough was SUPER sticky!). But they were *totally* worth the fiddliness today!! Thanks for posting this tutorial!!
I made these for Thanksgiving last week. They were so delicious….the so did not look like yours. After a family vote…it was decided to work on the technique…again and again and again. Thank you so much for the recipe. I made ahead a froze…how cool was it to take them out on Thursday morning…pop them in muffin tins and sit them in my pantry to rise..I was impressed with myself..*smile* Also did homemade pie crust for the very first time (and I'm old)…wow.
I tried these for Thanksgiving and somehow messed them up. They didn't rise and tasted awful. I don't know where I messed up. I'm glad I had some pillsbury in the fridge.
These look amazing and I've been wanting to start trying to make my own rolls. But I don't have a stand mixer. And tips for someone doing it by hand?
Melissa,
I would YouTube a couple of “Breads made by hand” videos. There is a certain technique that's difficult to explain without seeing pictures and what not. Good luck! Hope that helps.
~Jamie
Thank you so much for this recipe! I made up two batches yesterday afternoon: one plain and one with cinnamon sugar. I rolled up the cinnamon batch just as you would regular cinnamon buns and sliced. I followed your instructions for freezing and they turned out wonderful. I’m going to try them with garlic and Italian seasoning in the next batch. Thanks again. This recipe is a keeper!
Looks like Trixie is feeling btteer based on her sleep last night and today? I hope this is what the pattern indicates! And not that she’s merely collapsed from sheer exhaustion and/or the baby sleeping agents you dosed her with.p.s. let’s face it I’m just old hannah. Although I long to be cool and old school I’m really just old and we all know it hence my new new name.
I just made these and put them in my freezer. I was having a problem with the strips staying stacked. I’m thinking maybe I put too much butter on the dough? I just hope they turn out! I am certain they will taste good, I just don’t know if they will look good. Any techniques/tips on how to keep them stacked? It looked like they were rising too. Maybe I didn’t roll my dough out enough either. But I had more than 24 rolls. Any suggestions? Thanks, love your site and live by it. Everything I have made is absolutely wonderful and I feel like an amazing cook. I have definitely learned so much from your site. Thanks!!!
Hi Christen,
It sounds like maybe you rolled your dough too thin. I’m sure they will still taste great. Good luck!
~Jamie
Thanks for helping us have a wonderful Thanksgiving. The rolls turned out fantastic and the sour cream blueberry pie was amazing. Thanks for all the great tips. I put my mashed potatoes in the crock pot and they turned out amazing. And of course the cranberry drink. So….basically everything we ate today was from your site!!!!!! Thank you thank you!!!!! Have a wonderful thanksgiving!!!
Hi Jamie, Are you using plain white flour? That’s what it looks like. Also can you tell me what kind of knife you use to cut with and maybe where it can be purchased. Also have you ever used hard white winter wheat to make this recipe? I’ve just purchased a wheat grinder and found some hard winter wheat on the Sam’s club web site. Made my first fresh ground bread a whole wheat french bread recipe. It taste so awesome from fresh ground wheat. Thanks for your time I’ve learned so much about making bread from you now that’s all my family want to eat. Thanks again…..P.S. can you buy wheat for grinding your own white flour?