This post may contain affiliate links. Please read our disclosure policy.
A couple of weeks ago I published a post about saving money on groceries. You can see that HERE. In the post I mentioned that this wonderful Whole Wheat Bread you see pictured before your very eyes, costs around 40 cents to make. Cheap, right!? Since the time I proclaimed its economic benefits, I have received many emails with questions regarding the recipe and how to make it happen. Seeing as my original posting of the Wheat Bread Recipes was almost 4 years ago (with ugly pictures and all) I felt it might be helpful to post it again with new instructional pictures and a few added details.
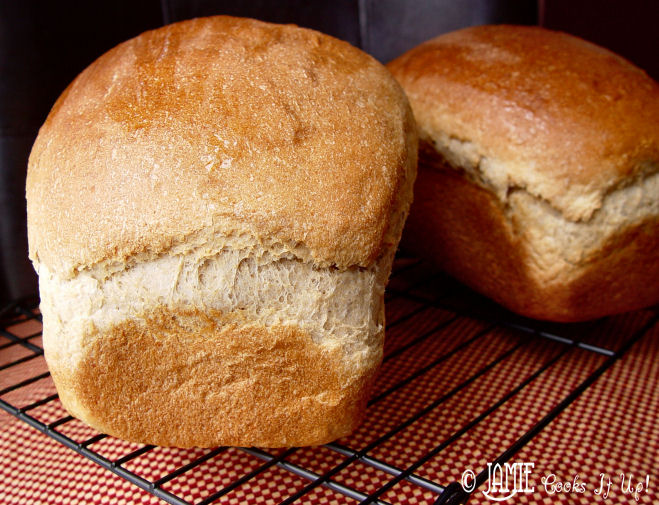
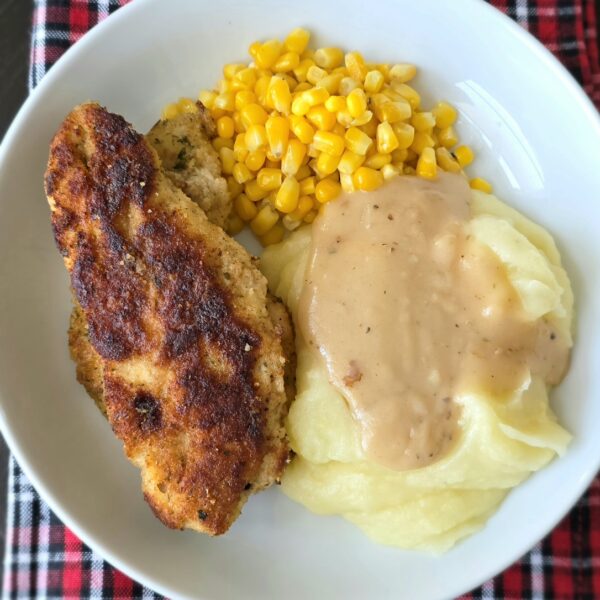
This bread is a staple in our family and is fabulous for sandwiches, toasted, with homemade soup…or simply fresh from the oven with a bit of butter and honey. I know many of you make it on a regular basis, and that makes me smile. 🙂 For those of you who haven’t tried it yet I hope you will find this updated post to be useful and informative.
And now, let’s do it. Whole Wheat Bread, renewed and updated…just for you.
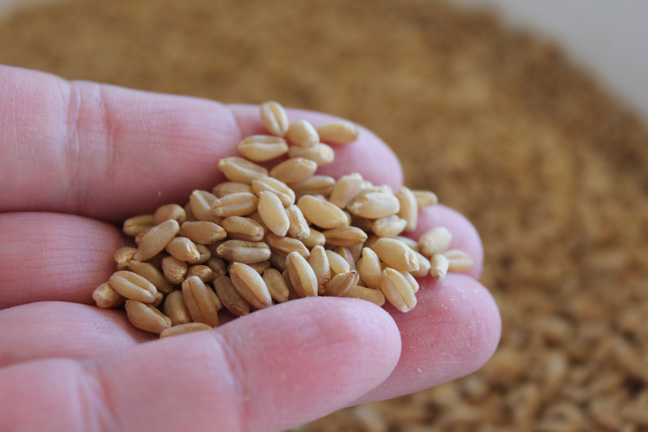
Just a word about wheat berries, here. You can buy them in all sorts of varieties. Hard Red Wheat, Soft White Wheat and Hard White Wheat. I prefer Hard White Wheat, which yields a fluffy bread that is both lighter in texture and color than bread made with red wheat. You can purchase wheat berries all over, but are most economical purchased in bulk. I buy them at Costco, or Lehi Roller Mills in large 5 gallon buckets. Wheat has a VERY long shelf life and is said to store well for up to 30 years. That, is a long old-time. 🙂
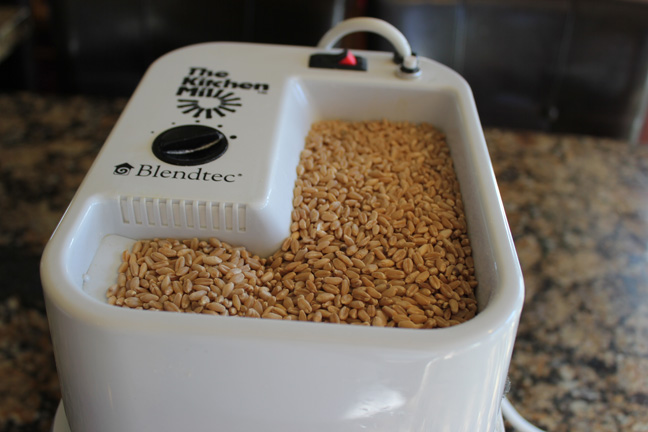
To grind the berries into flour, I use this wonderful Kitchen Mill from Blendtec. It works well and will grind all of the flour I need to make 5 loaves of bread in about 10 minutes. I will warn you, it’s really…really loud. 🙂 My kids opt to flee the room when it’s grinding. I have suggested they man-up a little, but then they can’t really hear what I am saying and so I just let them go. I have had a few readers mention that they have The Whisper Mill, which is said to be much quieter.

1. Preheat your oven to 170 degrees.
2. Grind 10-12 cups wheat berries into flour. You will need about 12-15 cups of ground flour. I generally grind more than I need for this recipe so I have some wheat flour to use in rolls, and cookies. However, since it is freshly ground with no preservatives I would advise you store it in a ziploc bag in your freezer. It will last for months if you store it this way. If you leave it in your pantry, it will taste like saw dust in a matter of weeks. 🙂

3. Pour 6 cups hot water into a large, heavy-duty stand mixer. You want the water to be hot, but not so hot that it is unpleasant to touch. As for your mixer, I would advise using a Bosch Mixer. I have tried making it in a 7 quart Kitchen Aid, and it will work, but the dough is heavy and may burn out your motor if you make a habit out of making bread.

4. Into your stand mixer place 3 tablespoons dough enhancer and 1/3 cup vital wheat gluten. You can purchase both of these at most large grocery stores. Look in the long-term food storage section, or with the baking supplies.
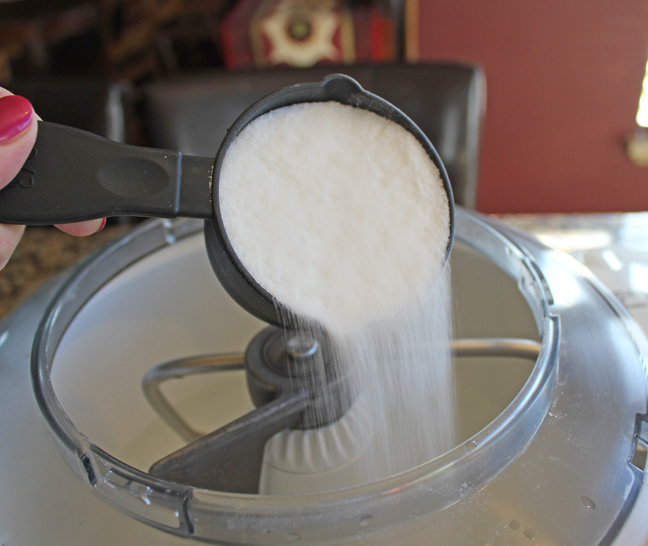
5. Add 2/3 cup sugar,
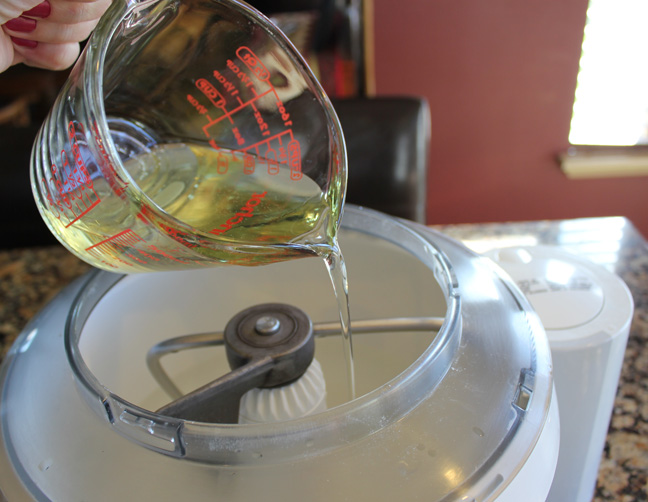
2/3 cup oil,
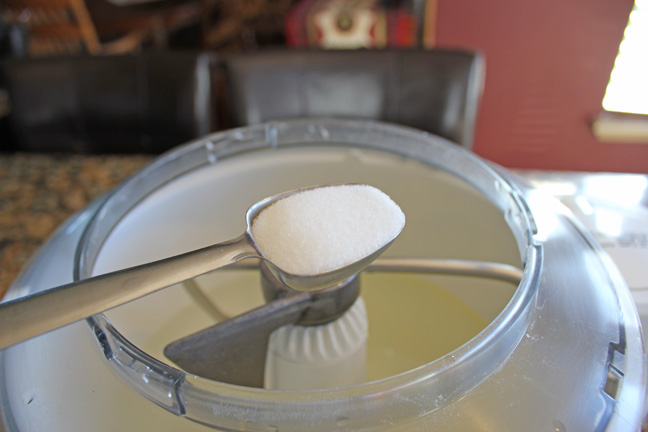
2 tablespoons salt,

and 4 cups wheat flour.
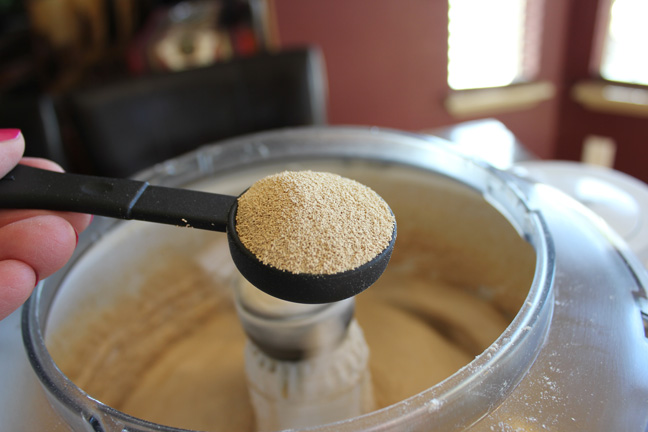
6. Mix on low for 30 seconds, then (with the mixer still going) add 3 heaping tablespoons of yeast.
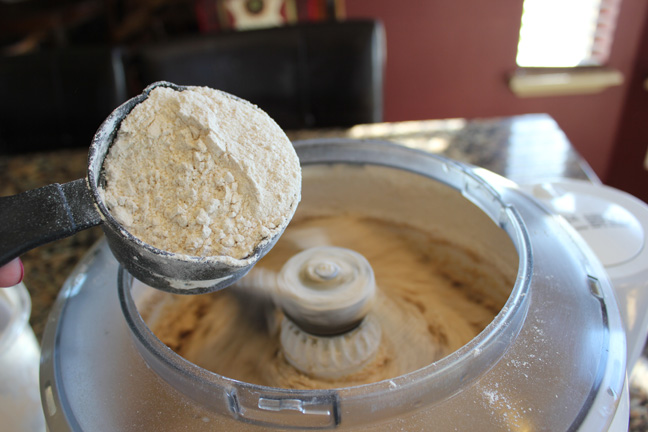
7. Continue to add more flour as the dough mixes on low.
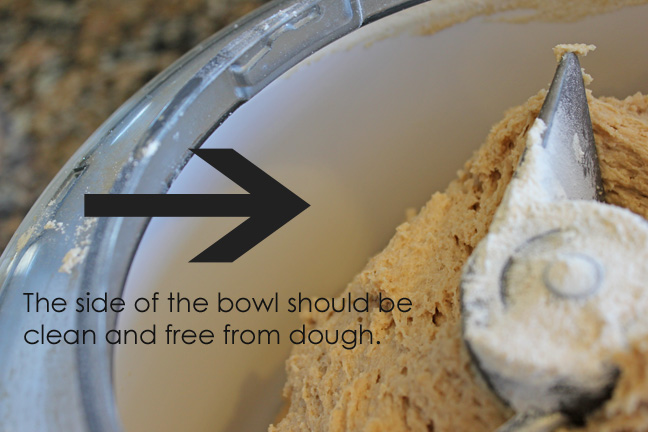
You will use between 12-15 cups wheat flour. I know that’s a wide range of measurement. 🙂 Let me give you a little tip. When the mixer is on, notice the sides of the bowl. When it is clean, and free from any dough, you have enough flour. Once you have the right amount, turn the mixer to high and let it mix for 8 minutes.

8. Grab 5 loaf pans. My pans are 9 1/2 x 5 1/2. Spray them with cooking spray.
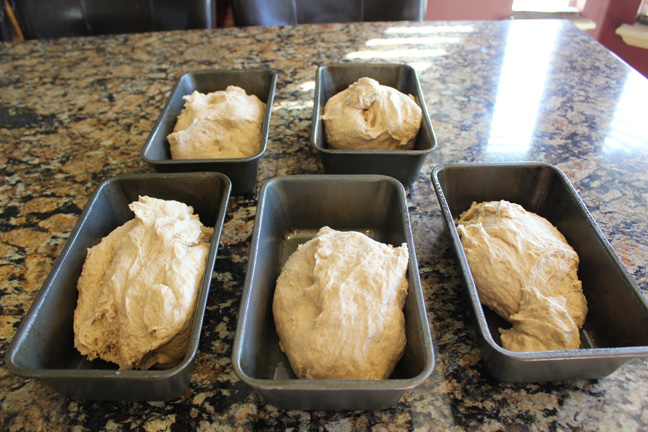
9. Spray your hands with some cooking spray as well, this will help with the stickiness of the dough. Reach into your mixer, break the dough into five equal portions and place each part into one of your pans.
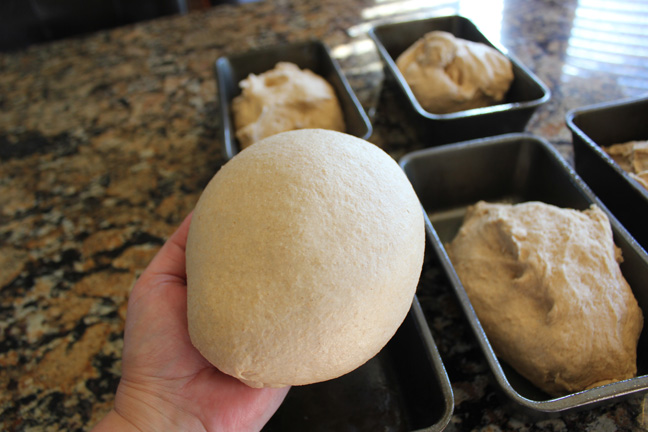
10. Wash your hands so they are free from any excess dough, then spray them with cooking spray again. Take each section of dough and slap it several times to remove any air bubbles that might be inside. Then shape it into a lovely ball and place it back into the pan.
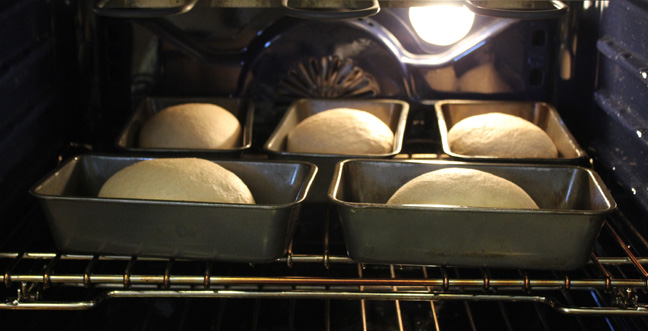
11. Place the pans into your warm oven and allow the dough to rise…
until it’s about 2 inches above the rim of the pan. Depending on how warm your oven is and how well it circulates the heat, this could take from 15 minutes to 25 minutes.
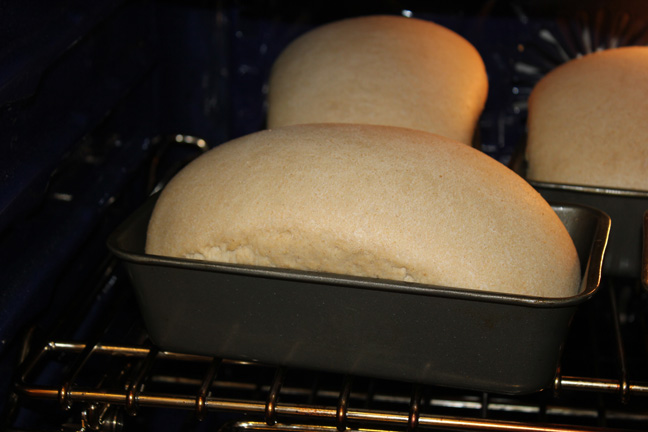
12. Leave the pans in the oven and turn the heat up to 350 degrees. The loaves will rise just a bit more and then bake. Mine usually take 25-35 minutes to bake, from the time I turn up the oven temperature.

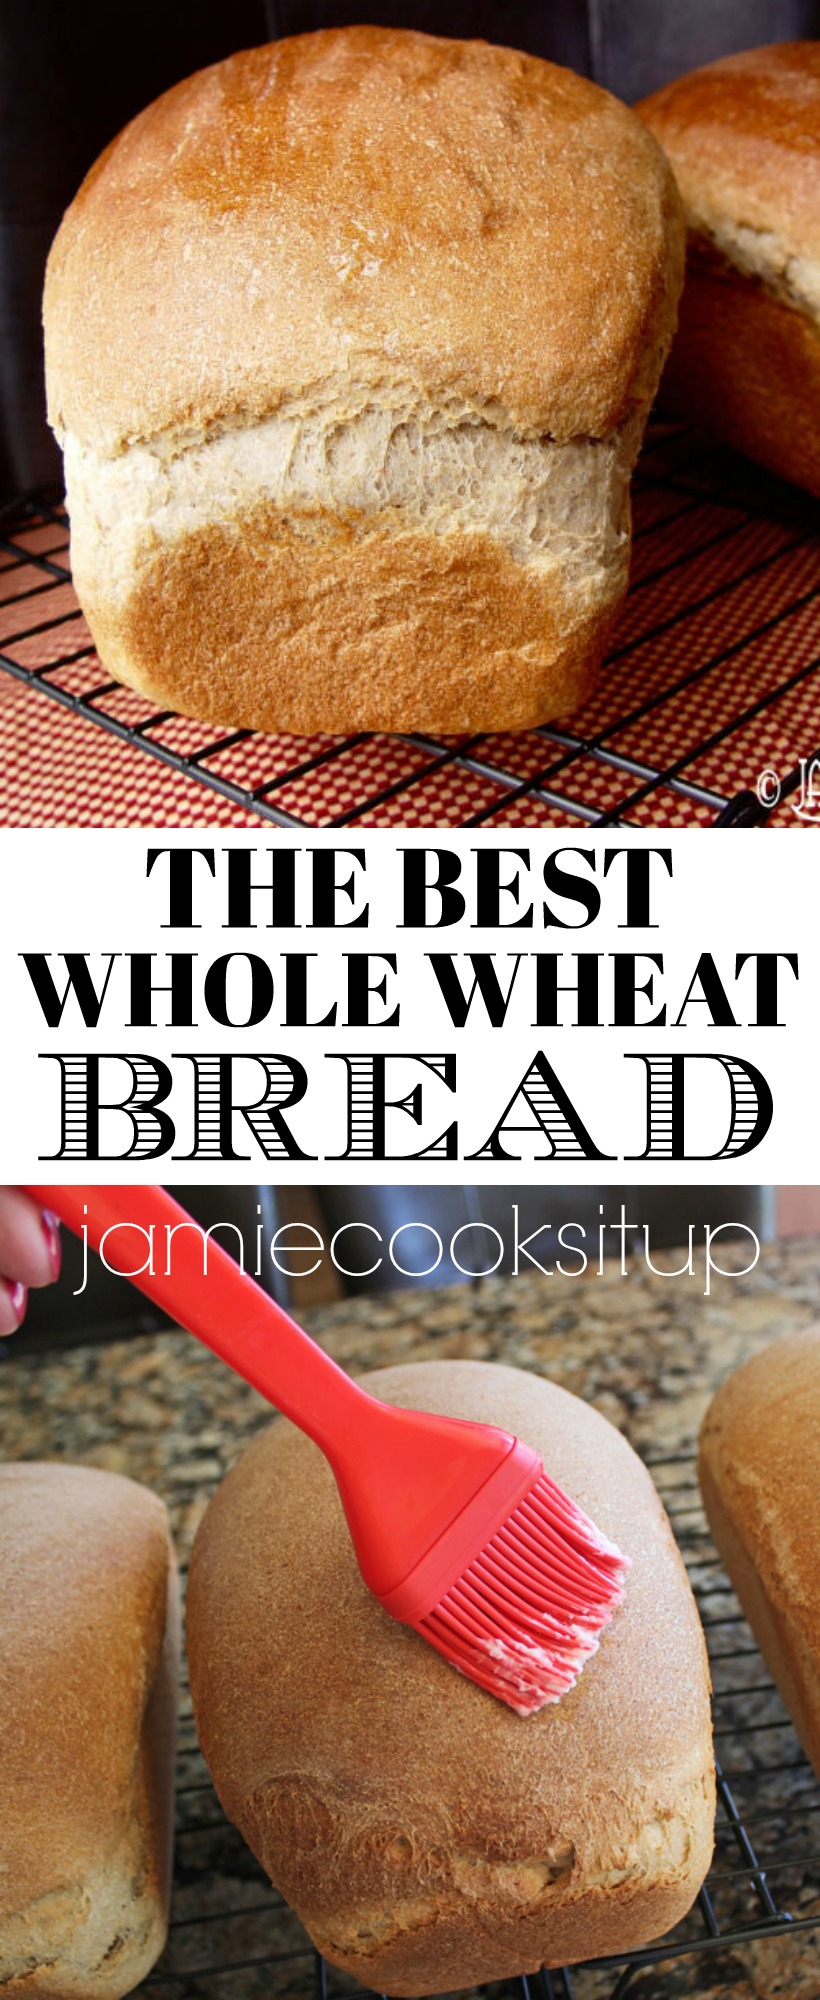
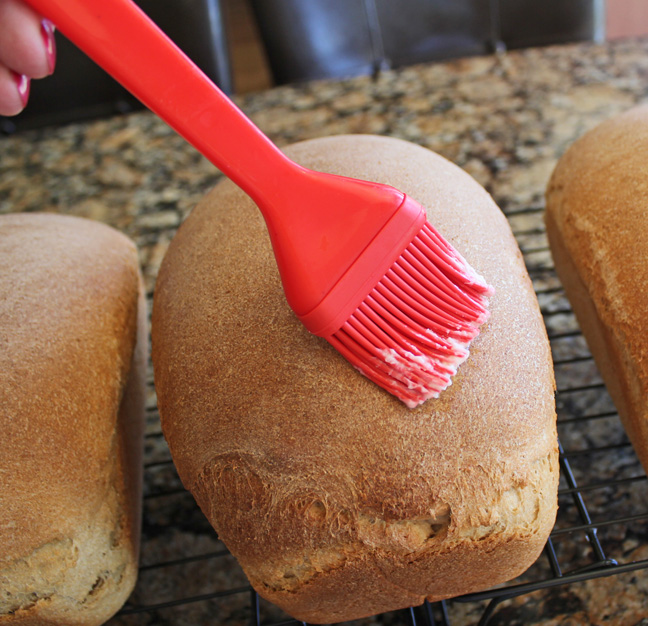
13. When the loaves are golden brown along the tops and bottoms take them out of the oven. Carefully remove the pans from the bread and place them on a wire rack. Spread a bit of softened butter over the top of each loaf. This helps avoid a super hard crust.
14. Allow the loaves to cool for about 10 minutes, then slice and enjoy.
Store leftovers in gallon sized zip lock bags, inside your freezer. They should keep well for 2-3 weeks.
Ingredients
- 10-11 cups Wheat Berries (I use Hard White Wheat)
- 6 C hot water
- 2/3 C sugar
- 2/3 C canola oil
- 2 Tb salt
- 3 T dough enhancer
- 1/3 C vital wheat gluten
- 3 T (heaping) yeast (I use active dry)
- 2 T softened butter
Instructions
1. Preheat your oven to 170 degrees.
2. Grind 10-12 cups wheat berries into flour. You will need about 12-15 cups of ground flour. I generally grind more than I need for this recipe so I have some wheat flour to use in rolls, and cookies. However, since it is freshly ground with no preservatives I would advise you store it in a ziploc bag in your freezer. It will last for months if you store it this way. If you leave it in your pantry, it will taste like saw dust in a matter of weeks. 🙂
3. Pour 6 cups hot water into a large, heavy-duty stand mixer. You want the water to be hot, but not so hot that it is unpleasant to touch. As for your mixer, I would advise using a Bosch Mixer. I have tried making it in a 7 quart Kitchen Aid, and it will work, but the dough is heavy and may burn out your motor if you make a habit out of making bread.
4. Into your stand mixer place 3 tablespoons dough enhancer and 1/3 cup vital wheat gluten. You can purchase both of these at most large grocery stores. Look in the long-term food storage section, or with the baking supplies.
5. Add 2/3 cup sugar, 2/3 cup oil, 2 tablespoons salt, and 4 cups wheat flour.
6. Mix on low for 30 seconds, then (with the mixer still going) add 3 heaping tablespoons of yeast.
7. Continue to add more flour as the dough mixes on low. You will use between 12-15 cups wheat flour. I know that's a wide range of measurement. 🙂 Let me give you a little tip. When the mixer is on, notice the sides of the bowl. When it is clean, and free from any dough, you have enough flour. Once you have the right amount, turn the mixer to high and let it mix for 8 minutes.
8. Grab 5 loaf pans. My pans are 9 1/2 x 5 1/2. Spray them with cooking spray.
9. Spray your hands with some cooking spray as well, this will help with the stickiness of the dough. Reach into your mixer, break the dough into five equal portions and place each part into one of your pans.
10. Wash your hands so they are free from any excess dough, then spray them with cooking spray again. Take each section of dough and slap it several times to remove any air bubbles that might be inside. Then shape it into a lovely ball and place it back into the pan.
11. Place the pans into your warm oven and allow the dough to rise until it's about 2 inches above the rim of the pan. Depending on how warm your oven is and how well it circulates the heat, this could take from 15 minutes to 25 minutes.
12. Leave the pans in the oven and turn the heat up to 350 degrees. The loaves will rise just a bit more and then bake. Mine usually take 25-35 minutes to bake, from the time I turn up the oven temperature.
13. When the loaves are golden brown along the tops and bottoms take them out of the oven. Carefully remove the pans from the bread and place them on a wire rack. Spread a bit of softened butter over the top of each loaf. This helps avoid a super hard crust.
14. Allow the loaves to cool for about 10 minutes, then slice and enjoy.
Store leftovers in gallon sized zip lock bags, inside your freezer. They should keep well for 2-3 weeks.


There are two different amounts for dough enhancer. Is it 2 tablespoons or 3? Thanks!
I still haven’t found out what the correct amount of dough enhancer is in your recipe (renewed). Another gal asked about it too. Is it 3 or 2 Tbs. that you use.
Thank you.
P.S. I make bread from fresh ground grains for my grown children and grandchildren. No matter what recipe I make, it is always so much better tasting than store bought with few ingredients. Your recipes for bread are some of my favorites!!!
Kathy,
Thanks for your question and I apologize for missing it last time. Must have gotten lost in the shuffle. Thanks for catching the error in the recipe. I use 3 tablespoons of dough enhancer. 🙂 Thanks for your patience! So happy to hear the bread recipes are working out well for you and your family.
~Jamie
You only have to let it raise once? I’ve never made bread with only one rise, but yours looks excellent so it must work!
I have made this recipe twice. The first time it worked wonderfully. The second time, my bread didn’t rise very well at all, and my friend who made it had the same result. Any suggestions? I know my yeast is good, because I just used it for rolls and pizza dough last week. I also know my water wasn’t hot enough to kill the yeast, especially after adding the other ingredients first. I would have thought it was a fluke except that it happened to both my friend and I. Our loaves never made it much above the pans. I do not have a setting on my oven below 200 except “warm.” I put it on warm, assuming it was about right, but maybe it was too hot? Could that have stunted the bread’s growth as it was rising? Just wondering if you have any suggestions. I can’t figure out why it worked the first time and not the second! 😉
I have had the same problem in the past and you will want to make sure you bring your yeast to room temperature. If you freeze your yeast you will not want to put it in straight from the freezer to your recipe. Not sure if you did that but that will make a difference
I have had the same results when I have put the dough to raise in a warmed oven.
The last time I made WW bread, I warmed the oven, then turned it off and set the dough on the oven door to raise. That brought good results for me. I did that as it was a rather chilly day.
Hi Jamie,
My long lost friend. I hope you are well and happy. I love your site and am teaching a class on how to make your bread tomorrow. I noticed that in the actual recipe you did not put the 2 Tablespoons of Salt. I have not put salt in one time and it was nasty. I hope you are well and happy. I have been in Cody for 3 years now and my kiddos are 6, 4 and 3 crazy how fast time goes. So fun. Miss ya Amy Dansie
Jamie – we LOVE this bread recipe. I literally don’t buy bread at all anymore because we make this bread every week.